How to Pack Christmas Decorations to Make It Easier Next Year
Inside: My best storage tips and tricks for efficiently packing Christmas ornaments, wreaths, trees, and other decorations. Take less time putting it away this year and make holiday decorating easier for next year! ➡
With another holiday season coming to an end it’s time for all of us to deal with the not as fun task of de-holidaying.
I’ve been decorating for Christmas and packing it all back up for thirty-eight years and in that time I’ve learned a lot from experience. What works for me and what’s not worth it. And I’ve acquired lots of sentimental Christmas decorations over the decades that I want to be careful to preserve.
To make things a little easier and more efficient for you too, I’ve put together all of my favorite Christmas storage and organization tips. These tricks protect all of the holiday decorations without going overboard and you’ll be able to start decorating on the right (organized) foot next season!
This post contains Amazon and other affiliate links for your convenience. As an Amazon Associate I earn from qualifying purchases. If you purchase something through any link, I may receive a small commission, at no extra charge to you. I only recommend products that I love or would purchase for myself. See my full disclosure here.
Take pictures of everything.
- Before you even start decking the halls, a good photo trick that saves lots of time on repacking later is to take a picture of everything in the bin before you unload it to decorate, so you know how it all goes back and in which boxes.
- And after Christmas, the very first thing I do before I start dismantling anything is to take pictures of all of my holiday decorations in place. The next year I review them and if I want to decorate something exactly the same way it takes no mental effort. And if I study the pictures from the year before and decide or remember that I didn’t love something, it saves me time by not repeating it!
Make notes for next year.
As many years as I’ve used some of my decorations, I’m always surprised at myself that I forget exactly how everything goes after a year passes (it’s a terrible feeling as you get older). I’m a major list and notes-to-myself maker so of course I make notes for next year to instruct me.
- I write notes and tape them inside the top of the storage bins, such as which string of the outdoor lights goes on what side of the house. Or detailed instructions on how to put something back together. And I always thank my “self from last year” in my head for reminding me!
- I also keep a list in my phone of things I’ll need to purchase next Christmas whether it be a replacement light strand, extra greenery picks, another spool of ribbon, or more gift tags. I’ll already have them when I’m ready to decorate again and if I buy them early in the season I don’t have to worry about the store selling out.
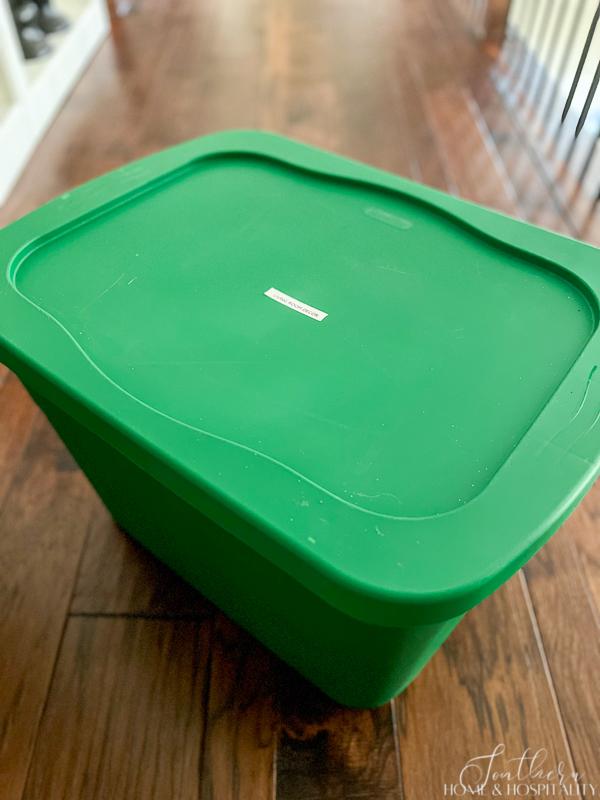
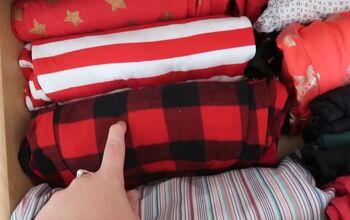
Ornament storage.
There are so many specialty ornament storage containers with nicely divided sections for sale, and I’ve used them in the past. But honestly, I now have so many ornaments that I found I needed more of these boxes than I had storage area for.
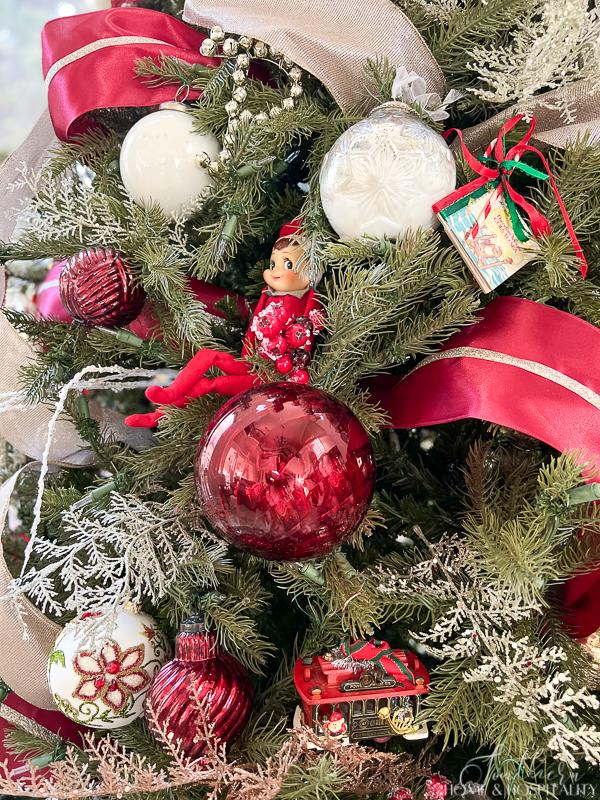
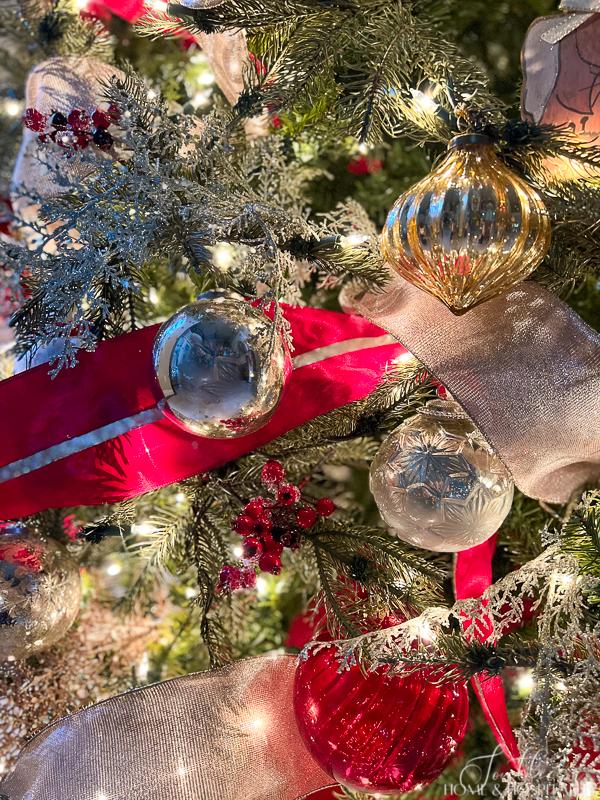
- You don’t have to spend extra money on special ornament boxes. I keep all of my ornaments in regular old Rubbermaid-type plastic bins. Not that they’re expensive, but they’re definitely worth the investment over free cardboard boxes, and last for many years. I used to store a lot of my ball ornaments in their original boxes but also in the interest of storage space, I’ve eventually ditched them. I even took the pieces of cardboard that separate the ornaments out of specialty bins I already had to make room for oddly shaped ornaments that don’t fit in a neat square.
- Handle with care. Since I know that a lot of the ornaments in these certain bins are breakable, I take extra care carrying and placing these boxes in the closet. When the ornaments are loose in a storage container like this, make sure to place them upright and don’t manhandle them (storing them like this is space efficient but not suitable if you’re moving).
- Keep ornaments inside. It gets insanely hot in our attic here in Texas, so I store all of my fragile ornaments in a closet inside the house to protect them.
How to pack ornaments in a regular storage container.
This method allows me to more easily store ornaments that aren’t round or are oversized that would never fit into those pre-divided sections. And without the extra cost of the specialty Christmas storage boxes!
Inside the open bins, I pack the ornaments in a couple of different ways:
In bubble wrap.
- Place a sheet of medium bubble wrap in the bottom of the box.
- Lay ornaments out on the bubble wrap with space between them.
- Lay a sheet of medium bubble wrap over the first layer of ornaments.
- Repeat with the next layer of ornaments and bubble wrap until the box is full.
- Lay a final sheet of bubble wrap on top.
For some of my more delicate ornaments, I also wrap them separately in a piece of small bubble wrap before placing them in the bin.
In ziplock bags.
For most of my smaller fabric, paper, and very small keepsake ornaments, I pack several of them together in Ziploc bags. If they’re breakable, I wrap them in tissue paper or small bubble wrap before they go in the bag. (I like to save the paper from Homegoods and Hobby Lobby that they wrap my breakable purchases in just for this purpose).
Christmas tree storage.
For years we kept our artificial Christmas tree in its original box, repeatedly repairing the box with duct tape and cinching the tree with straps as small and flat as possible to make it fit. Then my husband and I would just about kill ourselves hefting the box upstairs and back into the attic. One of the best storage changes we’ve made was to buy not just one, but two tree storage bags!
We started with this large tree storage bag with wheels. We really liked the bag better than the box but with a nine foot, very full tree, it was still a beast to get upstairs against gravity. So the next year we also added this smaller bag. We now divide the tree sections into the two different bags. Not only are they lighter to move, it makes fitting the tree in the bag so simple!
SH&H Tip: Always make sure to keep the instructions, warranties, stands, extension cords, and light timers in the bag with the tree.
Our six-foot tree came without a box or a bag, so I’ve stored it covered with this extra large plastic bag. Not nearly as much fluffing the next year is required with this method, but it does take more space in the attic. Our life-size Santa also takes his time off covered in one of these.
And my new-this-year King of Christmas 8-foot tree came with its own bag!
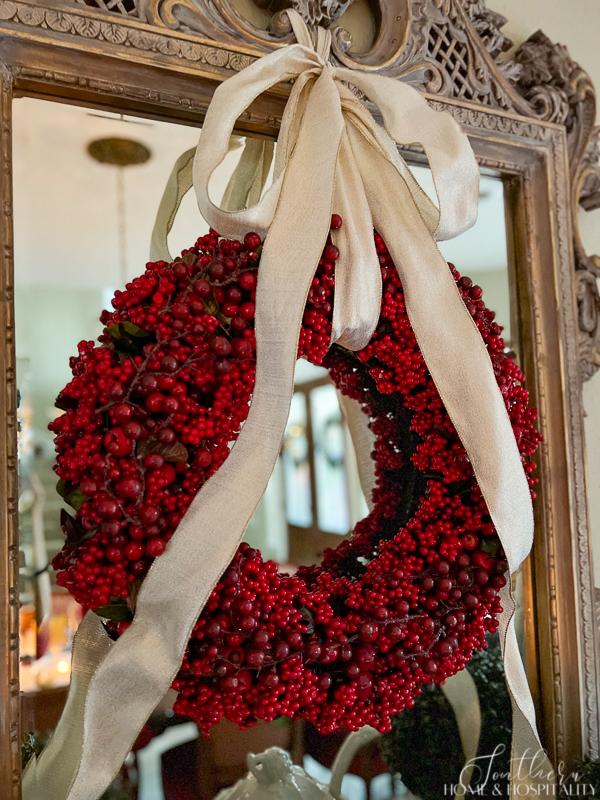
Wreath storage.
I don’t use specialty wreath boxes because like with the ornaments, I have too many to use them. But there are several other good ways to store them that take less room and are much cheaper.
- I’ve repurposed old wall coat hook racks and screwed them to boards in the attic to hang wreaths on.
- I’ve also stored some on old wreath hangers that I hooked over a board running through the attic.
- I’ve hung them on nails in the attic rafters.
- My wreaths seem to multiply and I have at least as many wreaths for the rest of the year as Christmas wreaths. My handy husband to the rescue! He took a closet rod and attached it to boards nailed to the attic rafters. Then we twisted cheap wreath hangers and hung them all in a row like clothes in a closet:
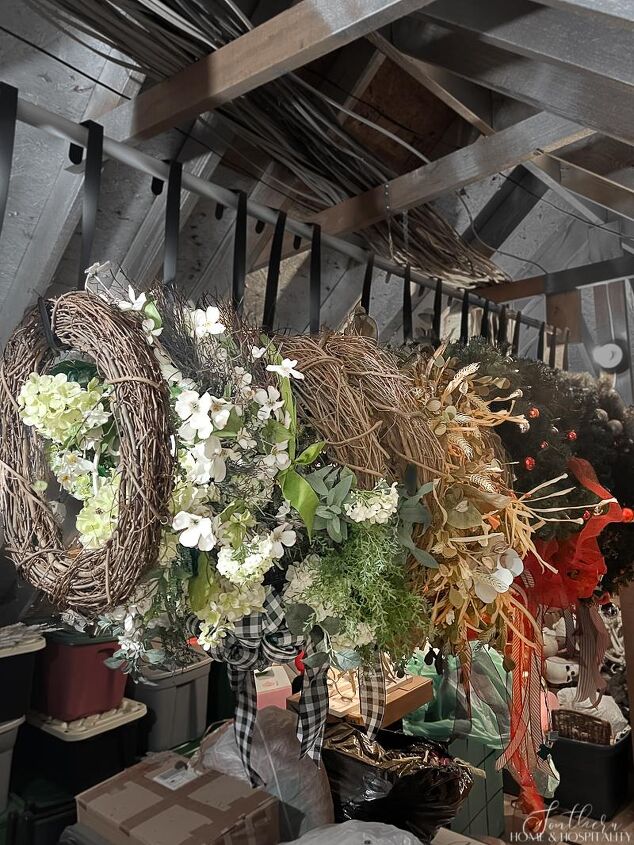
They take up so much less room now!
When hanging holiday wreaths on a closet rod, it’s not necessary to use wreath hangers. Simply attach a zip tie in a loop to the wreath and hang it over a clothes hanger. Then line your hangers of wreaths on the rod so that the wreaths hang sideways. Cover them with garbage bags to keep them dust free if you’d like.
Garland storage.
For my nicer garlands that I don’t want smashed, I store each garland in its own plastic tree storage box or these wheeled totes that make for easy moving by myself. They stack easily together under other boxes and the garlands stay fluffy and uncreased.
For the cheap wired garlands that are easily reshaped, I put them in heavy-duty lawn trash bags.
Ribbon and bow storage.
For my large tree topper bows, I twist their attached wire around a hanger and hook them on the side of wire shelves in the closet where I keep my ornaments. This keeps the loops nice and the ribbon unwrinkled.
For holiday ribbon, if I still have the cardboard rolls that it came on, I wind it back on them. If I don’t have them, I simply roll up the ribbon without it so that it won’t get creased and store it in a bin.
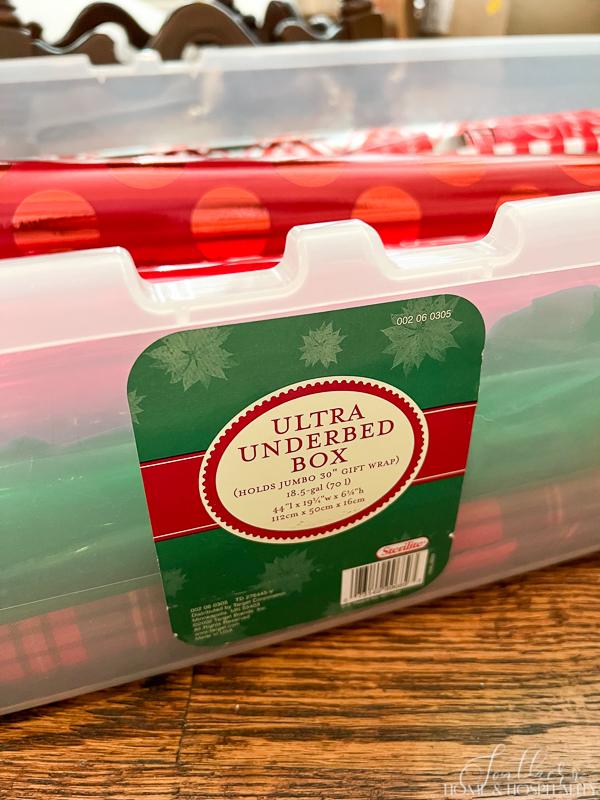
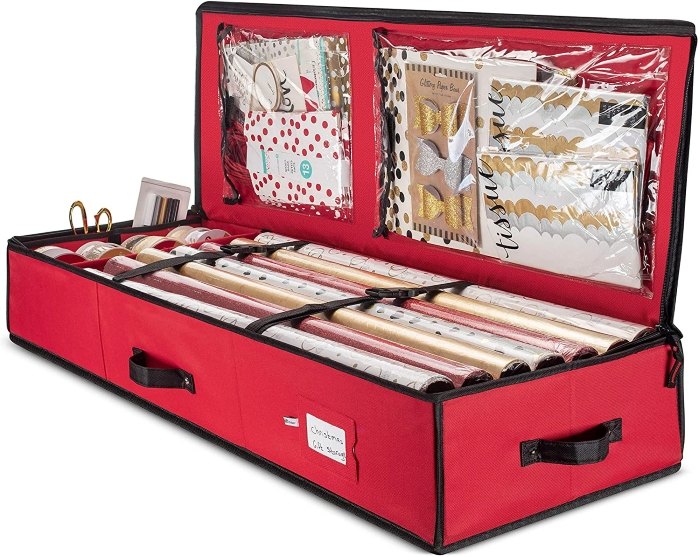
Wrapping paper storage.

Here are two of my favorite ways to store gift wrap and accessories:
- One is to put everything in a container that is made just for this purpose and is the perfect length for wrapping paper rolls like this freestanding box. Or I like to keep it under the bed and out of sight when I’m not using it so I use a plastic under bed storage box.
Or these soft side boxes have pockets for gift bags and all of the wrapping accessories too:
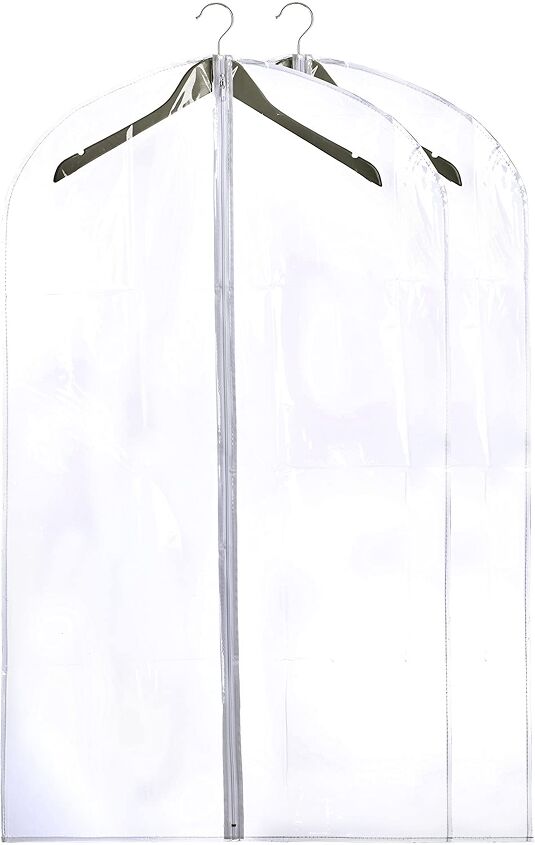
- Another great way to store wrapping paper is in one of these clear garment bags. This hack holds rolls so nicely, and you can hang any wrapping accessories in a bag from the hanger inside. Just pull it out of the closet whenever you need to wrap a gift and tuck it back in the closet when you’re done!
Or there are even hanging bags designed for storing gift wrap and supplies.
Organizing holiday decor.
The best way to organize and categorize Christmas decorations in each box for you depends on your decoration situation. I mostly categorize my holiday storage bins by room which works best for me.
But you may prefer to categorize by:
- color
- theme
- type of decorations
I have to make a confession – in the interest of getting everything to fit, I sometimes have to mix a few things from different rooms in a tote.
That can only mean it’s either time for an additional tote for next year or to get rid of some things!
Other holiday decor organizing tips.
- As you pack up, take stock of what you want to keep for next year and what you never take out of the bins anymore. Donate or repurpose whatever you no longer use.
- Use a combination of plastic totes and heavy duty trash bags. Totes are most protective and stack nicely for storage. But in some instances, bags are better because they take less room and can be fit into small storage spaces.
- Make sure you keep any precious items in a climate controlled area.
- Label each bin and bag! I use my label maker and put a description of what’s inside, like “living room decor”, “den tree ornaments”, or “outdoor icicle lights”. If you don’t have a label maker, simply write on a piece of masking or duct tape with a sharpie or even directly on the bins.
I hope some of my time-tested tips help you store your decor more efficiently and start off the next holiday season feeling organized and less stressed!
As always, I appreciate your visit, comments, and shares here on the blog! I’d love it if you also follow along with me on Pinterest, Instagram, and Facebook so you won’t miss any of my inspiration and ideas.
Don’t forget to sign up for updates to keep in touch…I have lots of fun and useful freebies you may be interested in in my subscriber-only library like my cheat sheets for where to place lighting, bathroom fixtures, artwork, and furniture!


Comments
Join the conversation
I label all my bins with chalk markers as to the year last used and the holiday. I also have plastic sleeves with 3 x 5 cards telling what is inside plus pictures of the contents. Bins are all numbered and color coded such as red and green for Christmas but black and orange for Halloween. Been doing this since day one. Maybe it's a teacher thing as I decorate each month. I keep track of over 60 years' and 3 generations worth of ornaments and seasonal decor I now have collected. Big job but I love it. The key is indeed pictures, pictures, pictures. They are all in folders on my computer and phone for easy reference and location.
Drape old sheets over the wreaths instead of plastic bags. Keeps the dust off and doesn’t contribute to plastic waste.