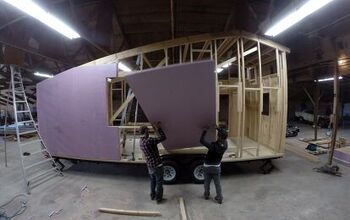
7 Skoolie Building Regrets - Things to Know Before a DIY Conversion

We are a family of three who learned everything we could about building a skoolie and turned a big school bus into a tiny house. We started it two and a half years ago, and we had no idea what we were in for back then.
We didn't know how to do any of the work, but we had a penchant for researching, problem-solving, and never giving up. That is the key to making a skoolie conversion work.
It took us two years to turn this into a house, and we are pleased with the results, but I have some regrets. I'm going to go over my seven skoolie bus conversion regrets.
1. Not having active ventilation
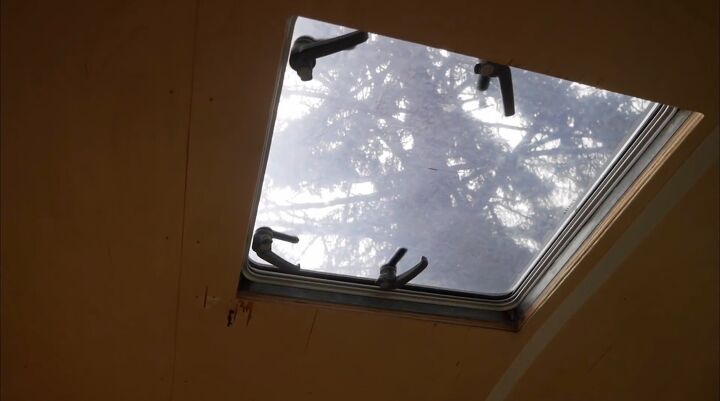
Here's regret number one. I regret not building an active ventilation system into this bus. I wanted to fit some skylight ventilation and roof access into one, which is why I splurged on a marine hatch. I didn't realize that this would not be adequate ventilation for us.
I should have built-in ventilation with Fan-Tastic Fans or Maxxair fans. I could still put one in, but it'd be much more complicated now that the build is over.
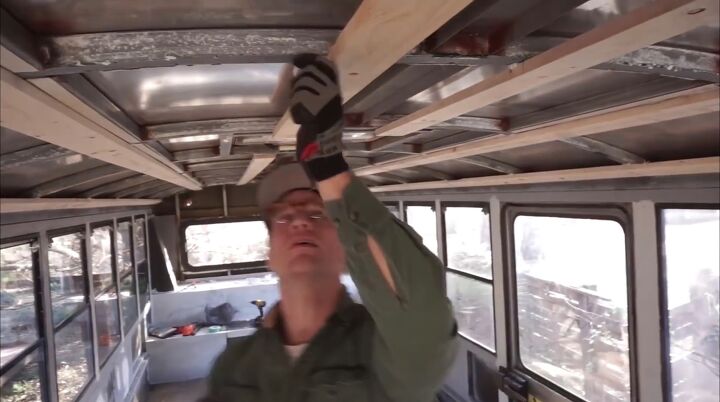
2. I should have used more furring strips
My second skoolie regret is trivial in some ways. Looking at my ceiling, you'd see I used six furring strips.
I remember at the time, I was looking at photos from professional skoolie builders, and they were using eleven furring strips across the ceiling. I didn't see why that would be necessary.
However, I would have had many more attachment points for attaching my ceiling, and I could have probably pulled off what I was attempting to do with the ceiling, where the seams would blend into the visual.

3. Pros and cons of spray foam
Regret number three is not a regret. It's a pro and cons list about spray foam. Spray foam is a two-part chemical reaction. When they're separate, they are toxic, disgusting, and put together with pressure.
If your spray foam doesn't mix right, it will be horrible for your build, and you can't take it out. Once it's there, you can't remove spray foam. It's a bit of a danger having a professional that you haven't vetted. It's even more of a danger, in my opinion, to do it yourself.
Let's talk about the pros and cons of spray foam. The first one is that it's the best R-value. Second, it creates structural rigidity and sound dampening in your skoolie.
However, while it is the best insulation, it's close to your living space. It's not like it's going in your ventilated attic. It's right by your body. You could have health problems, especially if you're sensitive to chemicals. Also, because the bus is all metal, it conducts temperature quickly.
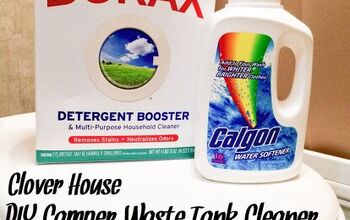
4. Not using a blackwater tank
At the time, a graywater tank was the no-brainer solution to holding graywater. The problem is it doesn't have significant fittings for draining it, so you need a rubber seal.
When I installed it, I was pressed for time, and I didn't trust that rubber seal, but I cut it into the top of the tank, which is now leaking. It smells gross, and it's spilling into my undercarriage.
As it stands, my graywater tank is inadequate. Blackwater tanks have dump valves built into them. They're at the very bottom of the tank, and you can quickly drain all the contents of the tank, unlike with my graywater tank.
You can't dump the whole contents. I have to slowly dump it out of a three-quarter-inch hose. If I could do it again, I would go with a 250-gallon blackwater tank, not in the undercarriage.
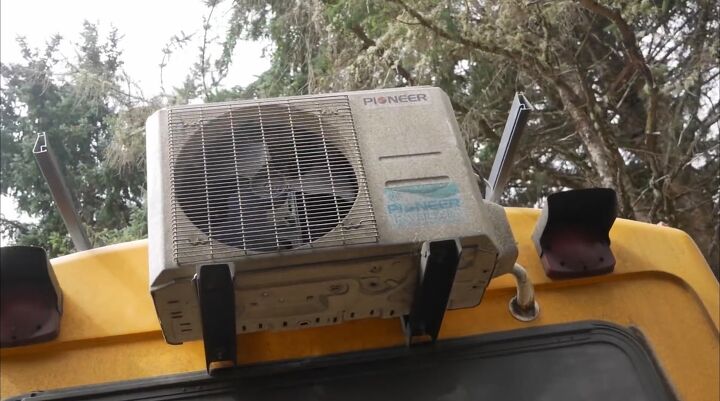
5. Mini-split location
This is skoolie regret number five. This is something that I also did to get us into the bus quickly, and that's that I mounted the mini split in the back. It was the easiest way to install it, but aesthetically, it's the one thing that looks off about this bus.
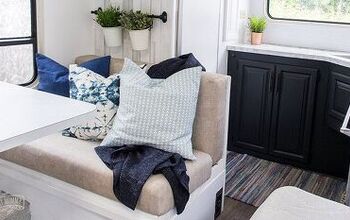
6. The layout
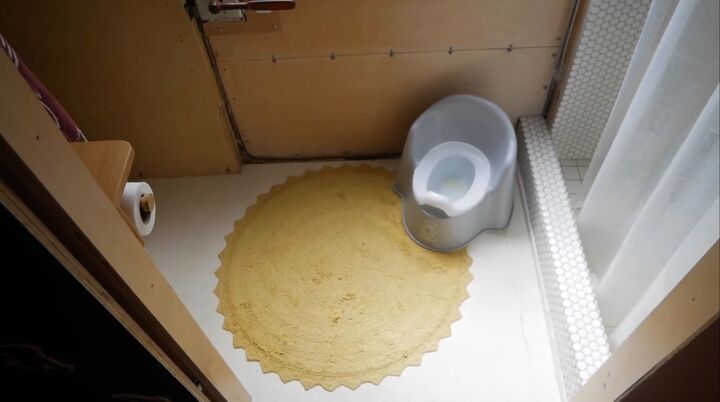
Regret number six is the layout. I want to preface this by saying that I think we designed one of the most functional, aesthetically-pleasing skoolies I've seen. However, there's something that I would do differently if I could, and that's to do with the bathroom.
Our shower across from our toilet has a big hallway. Right next to it, we have another big hallway. One of these hallways is redundant and doesn't need to exist. If I could do this again to save space, I would put the shower or the toilet next to each other, and I wouldn't have this wasted floor space.
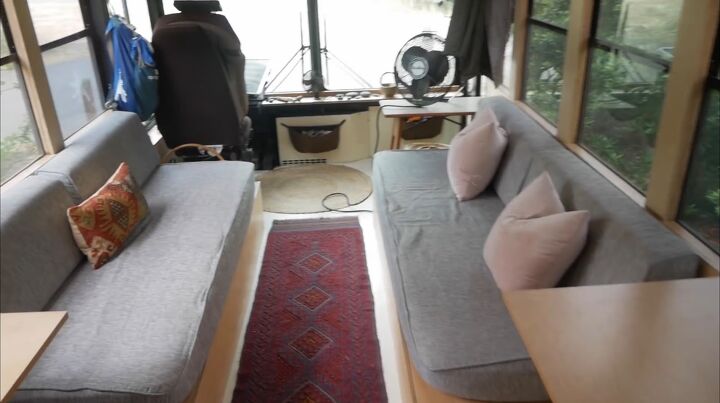
7. The bus is too long
Regret number seven is one that I want you to think about before buying your skoolie. If I had reoriented the bathroom a little bit, made it the way I just described, and maybe cut just a little more space from our social space and dinette, we would have had plenty of room.
I think that if I were to do it again, I know now we didn't need a 40-foot bus. It's a little bit too long. Driving this huge bus adds stress to my life that I think I could mitigate by having five to ten feet less bus behind me.
Don't settle for a 40-footer unless you have a large family and need the space for bunk beds. I would have more options for national parks you can enter because some don't allow 40ft buses; they don't have room. I would have less stress during some of the maneuverings around campgrounds.
Skoolie building regrets
We probably would have still fallen for this bus for our skoolie build. This platform has many pros, like great headroom, fantastic undercarriage storage, and a powerful engine. My regrets are some things you may want to consider when building a skoolie for yourself.
Let me know your thoughts in the comments below.


Comments
Join the conversation