Camper Bathroom Renovation

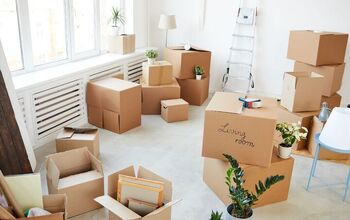
Our tiny camper bathroom had two doors. One that came in from the living room area and one that came in from the master bedroom. The door from the master bedroom was a complete joke! It was a sliding door that barely covered the door opening, it hung about 6 inches off the ground, and it never stayed latched, so there was absolutely no privacy on either end. This little bathroom is what started our entire camper renovation!
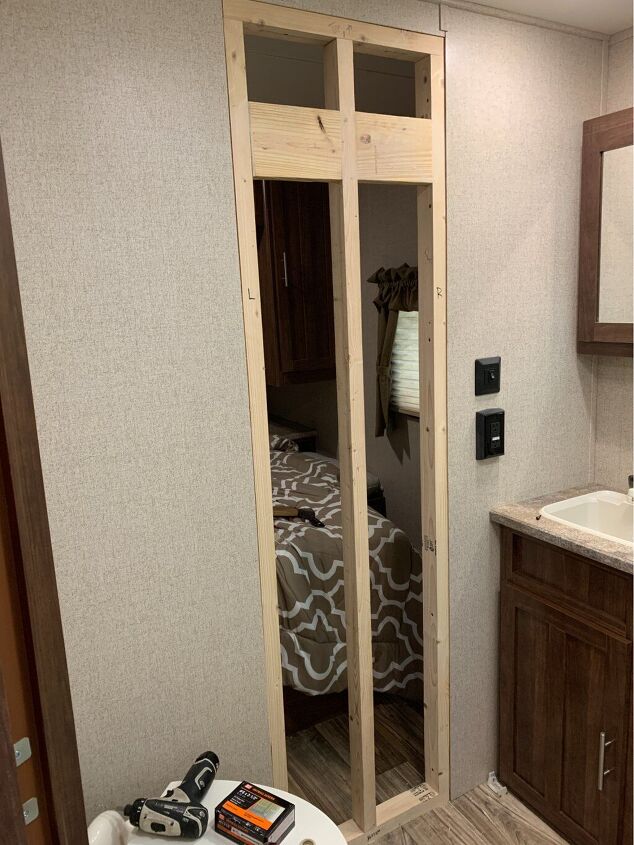
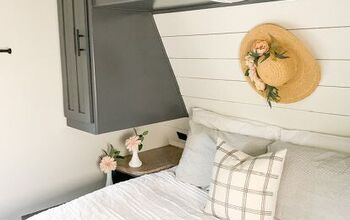
Our first step was to close in the doorway that led in from the master bedroom. It just didn't work and it made for absolutely NO privacy on either side. We framed in the doorway and closed it in. We made sure to add a piece of wood to the top for towel hooks later and to the bottom so we could add a toilet paper holder.
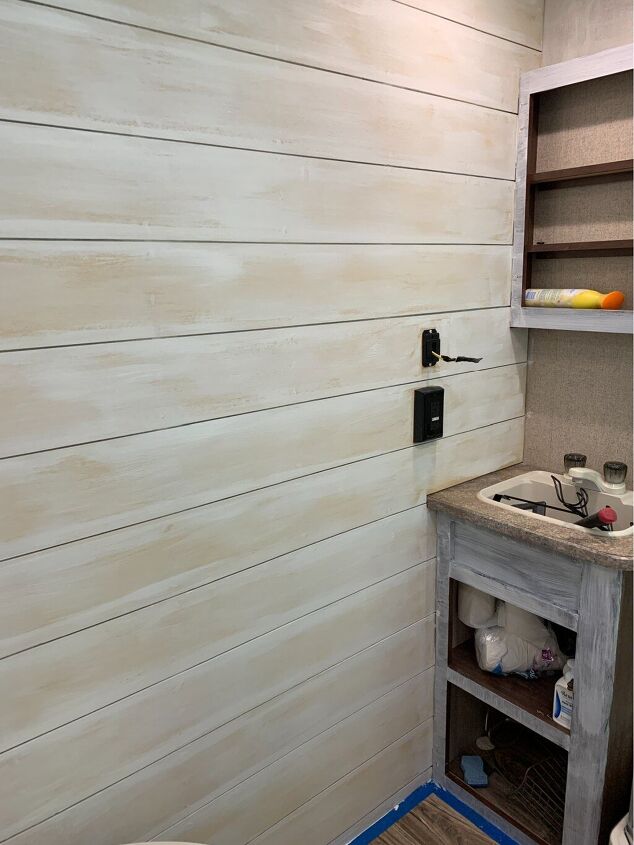
Once the door was closed in, we added shiplap to both sides of the wall. The shiplap used here was made from 3mm underlayment that ripped into 6 inch boards. It is important to pay attention to weight when working on a camper. We made sure to weigh things going in and coming out in order to not change the weight.
After it was up, we sanded and primed every surface that would get paint! (This is the most important step to painting a camper!)
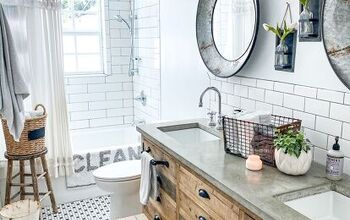
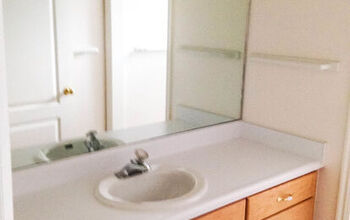
Once everything was sanded and primed, I painted! I used Sherwin Williams Alabaster for the shiplap and Peppercorn for the bathroom vanity and mirror.
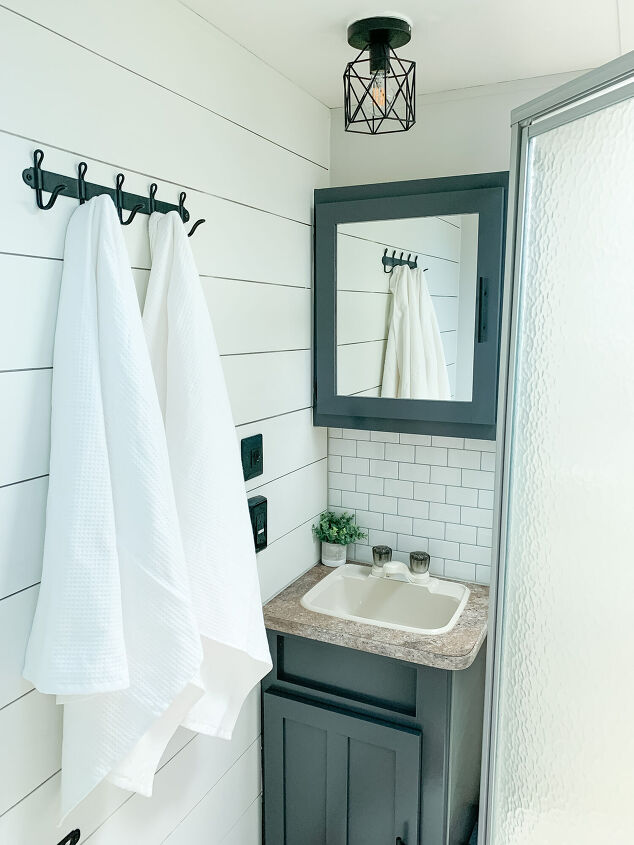
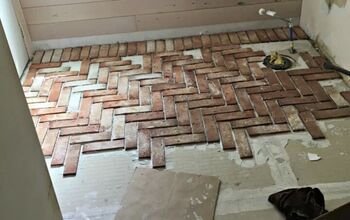
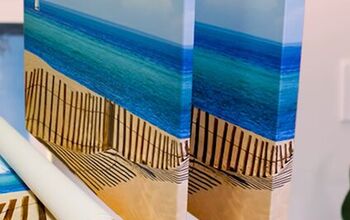
Since weight is important here, we found a peel and stick, faux, subway tile from Amazon. This has a rubber feel to it for easy cleaning, and it made a huge difference to this space!
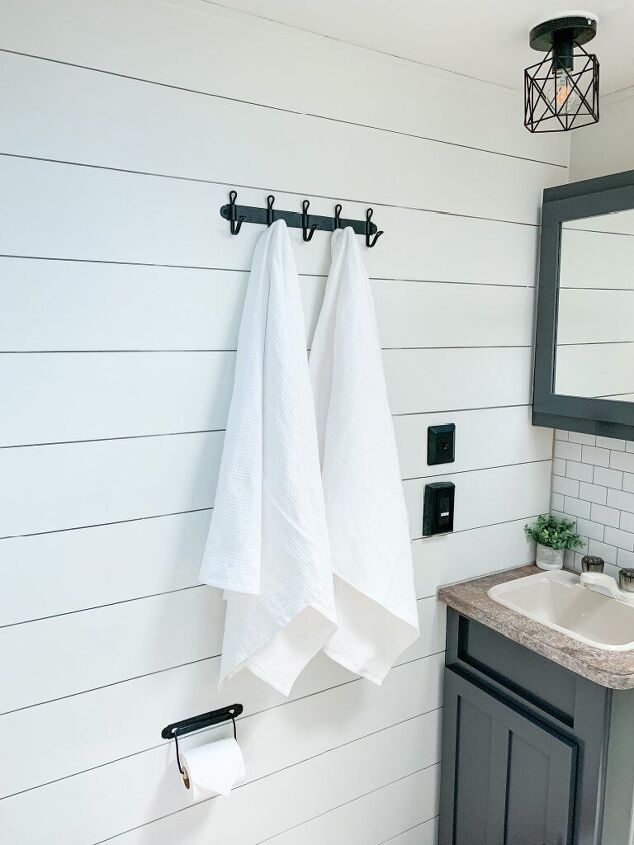
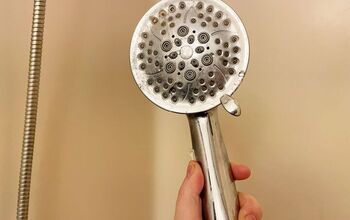
We also bought some lightweight light fixtures off of Amazon as well that really helped change up this space.
We added towel hooks and a toilet paper holder from IKEA.


Comments
Join the conversation
A fabulous redo! The materials are a great choice for a camper.
Wow wow wow! I just checked out your entire RV and let me say 1 word.....INSPIRATIONAL!!!! We will be getting an RV soon and can’t wait to go to town! The only thing I was wondering about was the backsplash being peel and stick? So how much weight would that actually add to use the real thing? Well either way, just beautiful, and paint is a key to change. Thanks for sharing!