How To Remodel a Camper Bunkhouse

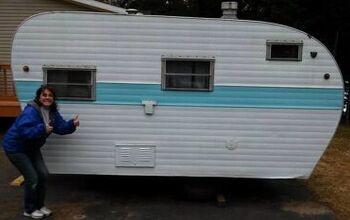
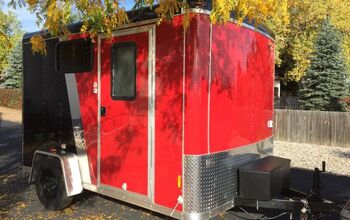
This summer we spent time remodeling our 2017 travel trailer. There was nothing wrong with our trailer, we just hated how dark the interior was and we wanted a more farmhouse feel to the inside. We are always amazed at how something as simple as paint alone can transform a space! Check out how we remodeled our kids' bunkhouse!
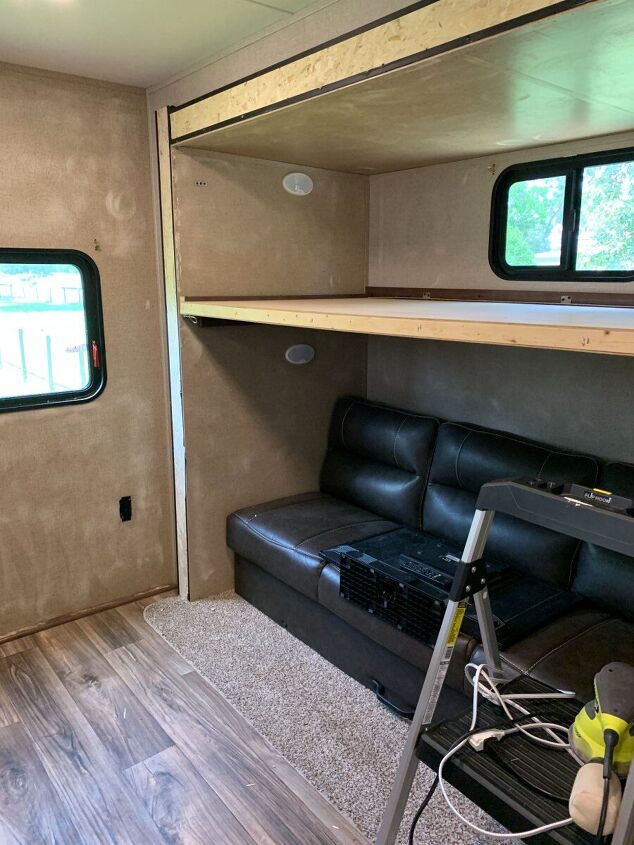
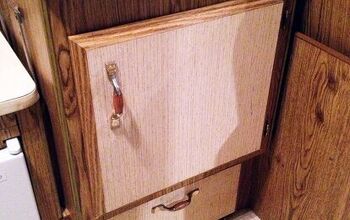
The first step in remodeling a camper is to get the surfaces ready for paint. Prepping each surface is probably the most important step out of this whole process! To begin, sand every surface that is going to get paint!
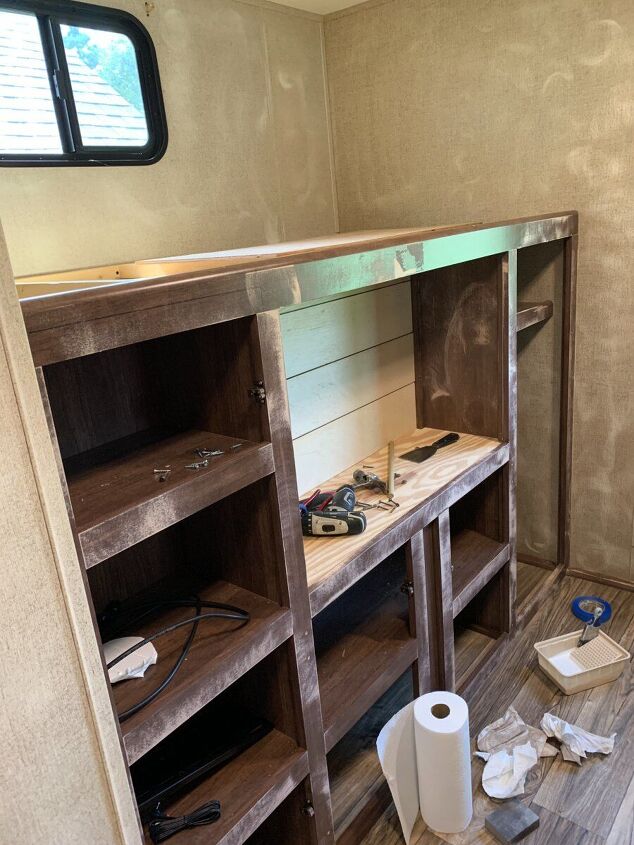
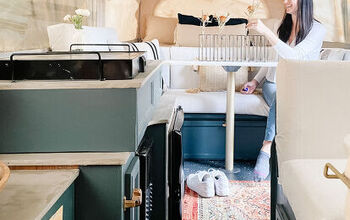
We added shiplap to the little space where the TV goes in the entertainment area. It is important to think about weight when you are remodeling, so we used 3mm underlayment for shiplap here. For this space, we were able to use a nail gun to nail the shiplap to the back, but in some places, we had to use construction adhesive as well as the nail gun.
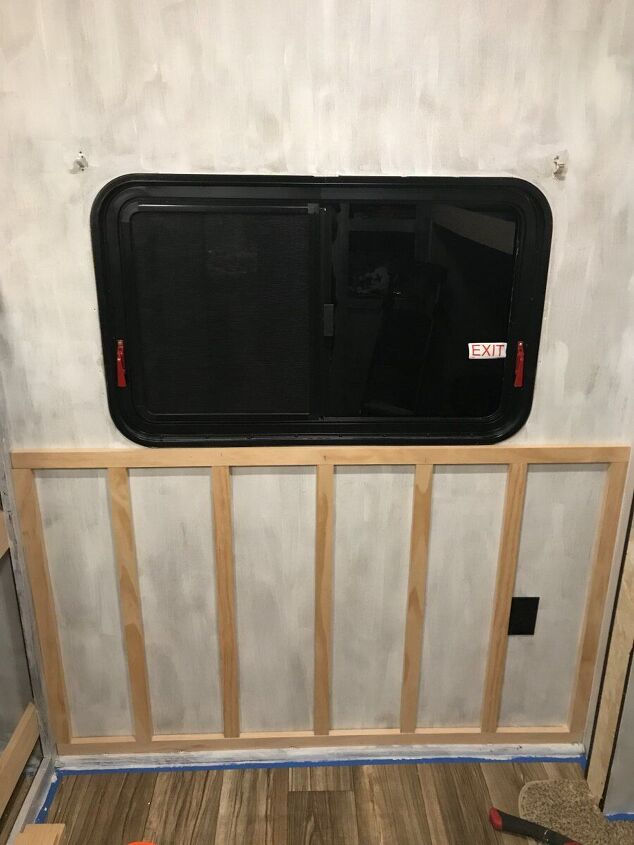
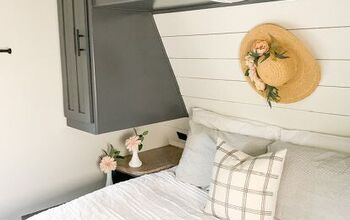
After sanding down all of the surfaces, be sure to prime every area that will get painted. We also added a fun, and easy feature wall here by using 1x2s and making a board and batten wall.
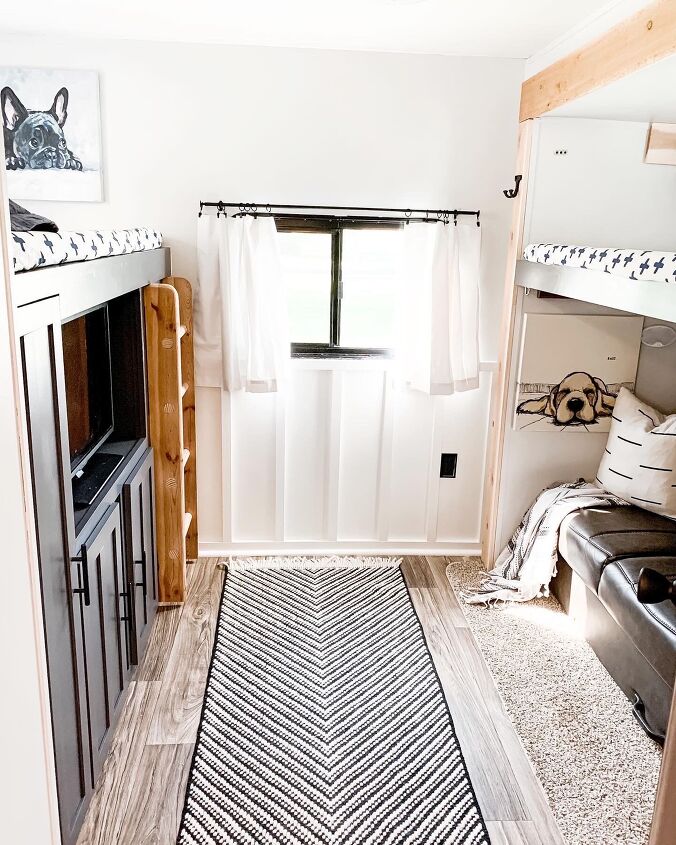
Once everything is sanded and primed, you can start painting! We painted the walls with Sherwin Williams Repose Grey and the entertainment center with Sherwin Williams Peppercorn.


Comments
Join the conversation
Being an innate klutz, I’d probably hit my head every time I got up off the couch! It’s beautiful though, looks amazing.
Absolutely beautiful kids area & adult. I can see everyone getting great use out of it. Great job! Tks for sharing.