Bathroom Repairs to Try Yourself Before You Call a Plumber

Whenever something stops working as it should in the bathroom, the first inclination we get is to call a plumber and start calculating how much those repairs will cost us in our heads. Unless you are doing a massive bathroom renovation, most of the repairs and replacements in the bathroom do not necessarily warrant calling in a professional repair man. With some knowledge and the right tools, you can DIY most of these bathroom repairs and save money. Here are some common bathroom repairs you can do yourself to save money before calling a plumber.
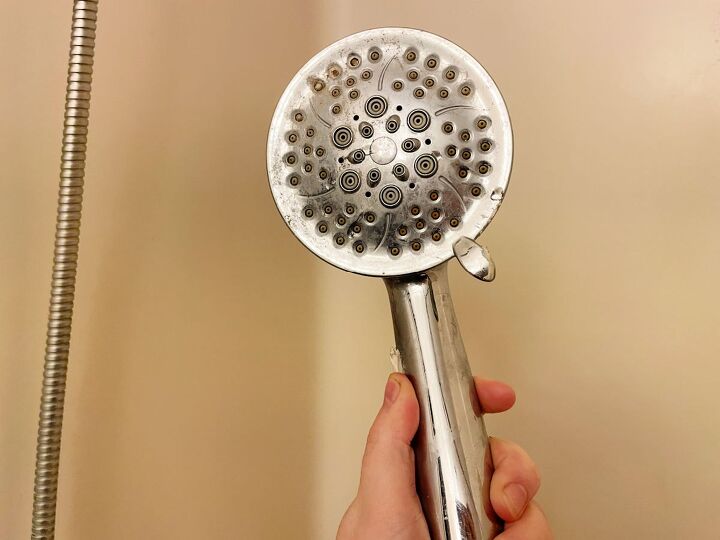
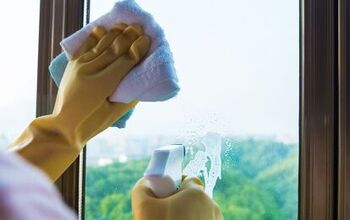
Cleaning/Unclogging shower head
If your shower is not spraying as forcefully as it used to, your showerhead might be clogged. Hard water deposits accumulate over time and block the waterways.
Rather than replacing it, try this fix first;
- Add vinegar to a plastic paper bag and tie this bag over the shower head
- Allow the head to soak inside this solution for a couple of hours
- Remove the plastic bag and clean the showerhead by turning it into full force
- Repeat this process until the waterways are clear
Replace broken shower tiles
Tiles can be beautiful masterpieces in the bathroom. They are water-resistant and come in all shapes, sizes, and colors. When one tile breaks, you do not need to bring down the entire wall.
Here are simple steps on how to replace a bathroom shower tile without damaging all the others around it;
• Work from the center out
• Use a ceramic tile bit to drill a hole in the center of the tile. Make sure the surface is dry. Put a masking tape at the center to prevent the drill from slipping.
• Rake out the grout from the around the edges
• Use a chisel to remove the broken tile
• Clean the debris after removing the tile
• Follow instructions on the package to apply the correct amount of adhesive on the back of the surface. Use tile spacers to make sure the tile is in the correct position. Wipe away excess adhesive using a wet sponge
• Remove the tile spacers and add grout to the joints generously. Smoothen the surface using a finger and wipe the tile’s surface using a wet sponge.
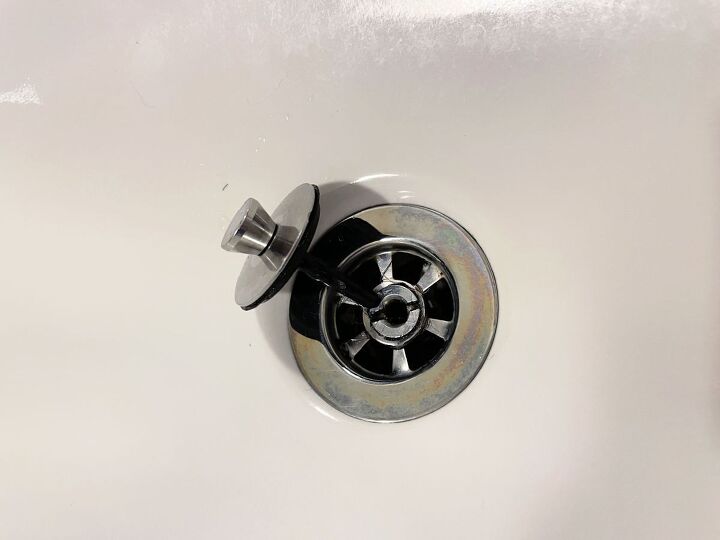
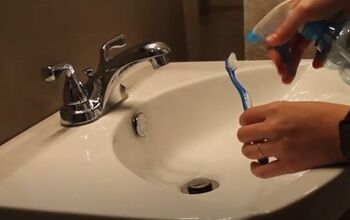
Unclogging the drain
Bathroom drains clog because hair and other products (soap scum, grease, and dental floss) find their way down the drain pipe.
Unclogging a bathroom sink is easy. All you need are the right tools, some plumbing knowledge, and do not be afraid of getting dirty.
Here are steps to follow when unclogging a bathroom drain;
Pour hot water inside the drain
The hot water should melt anything inside the drain pipe
Add vinegar and baking soda
Vinegar and baking soda are useful cleaning agents around the house. The chemical reaction between the two breaks down any material inside the drain.
Use a plunger
Place the plunger on top of the sink drain and push down firmly. Repeat the process several times. The suction action of the plunger will take care of any loose debris inside the drain pipe.
Use a snake auger
A snake auger is a metal spiral tool you push inside the drain pipe to unclog debris that have resisted other measures above.
Remove the P-trap
When all fails, remove the p-trap and clean all the debris you see inside. The p-trap is the curved section of your pipe underneath the sink.
Painting the bathroom walls
Painting the walls is a great approach when having a bathroom makeover. Here’s how to paint your bathroom walls like a pro;
Prep your space
Wipe off the dust and remove any dirt on the walls. Use bleach cleaner to scrub off all the grime and soapy scum from your walls. Leave the walls to dry.
Tape off and cover all areas you are not painting – bathtub, floor, and vanity.
Prime the walls
Use a primer that has mildew-resistant properties.
After the primer is dry, apply thick coats of the paint of choice on the walls if you are repainting to cover all traces of the previous undercoat.
Use a brush to paint around all the edges the roller painter could not reach.
You can use a sanding pole to get rid of bumps after painting. Buy paint with anti-microbial properties that is easy to clean using soap and water.
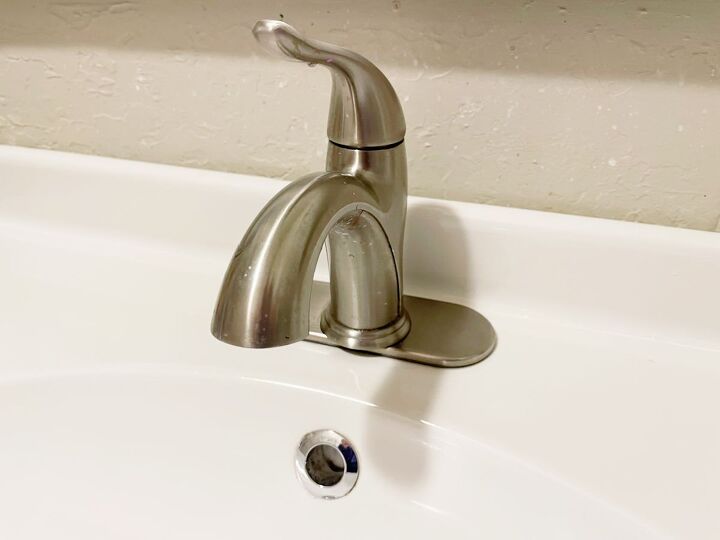
Repairing/Replacing the faucet
Repairing or replacing the faucet should take you several minutes. Ensure you clean all surfaces to remove gunk and replace worn-out parts. Here’s the process of replacing the bathroom faucet;
- Shut off the water – Turn off the water using the shutoff valve underneath the sink. If you do not have a shutoff valve cut off the water outside.
- Turn the faucets on to release any pressure in the waterways
- Disconnect the supply lines and unscrew the mounting nuts from the bottom of the sink where the faucet meets the countertop. Use a wrench to unscrew these lines.
- Disconnect the lift rod from the drain plug and take the old faucet out
- Clean any gunk that has accumulated on the faucet using a household cleaner
- Press the new faucet onto the counter and tighten the mount nuts
- Reattach the supply lines and tighten them with the adjustable wrench. Do not forget to attach the lift rod to the supply line
- Turn the valve on and check for leakages.
Replace Bathroom Vanity and Sink
Replacing a bathroom vanity and sink may seem complex because it requires absolute concentration and accuracy.
However, you can DIY and get the repair done in a few hours. Here’s the process;
- Find the wall studs behind the vanity’s location and mark the centers.
- Place the cabinet into position and confirm everything is level using a level finder.
- Secure to the wall using screws along the wall stud
- If the countertop does not come with a sink install the sink before placing the countertop on the vanity
- Place the countertop in such a way that it overhangs evenly around the vanity
- Connect the plumbing (faucet, sink drain, and branch drain)
- Add a backsplash
- Seal all joints using silicone caulk, especially where the countertop meets the wall
Replace/install a bathroom exhaust fan
A bathroom fan helps control the humidity and moisture content in places that never seem to get dry. Too much humidity in the bathroom leads to a buildup of mold on the curtains, towels, and other fabric you have in the bathroom. Odor also builds up fast.


Comments
Join the conversation
Is there an easy way to remove hard water toilet stains that form a ring?
Pumice block is great, but, make sure the block stay wet when removing the ring. Otherwise you will scratch porcelain or whatever it is made from.