The Best Ways To Easily Fix Your Leaking Toilet Tank

Leaks are a common problem in the average home because of the age of the plumbing, but there are ways to fix a leak on your toilet tank.
This article provides the readers with solutions for all 3 of the most common types of toilet leaks. Learn how to fix a leaking toilet tank in just a few minutes.
This guide will explain the three most common causes and the solution you should use.
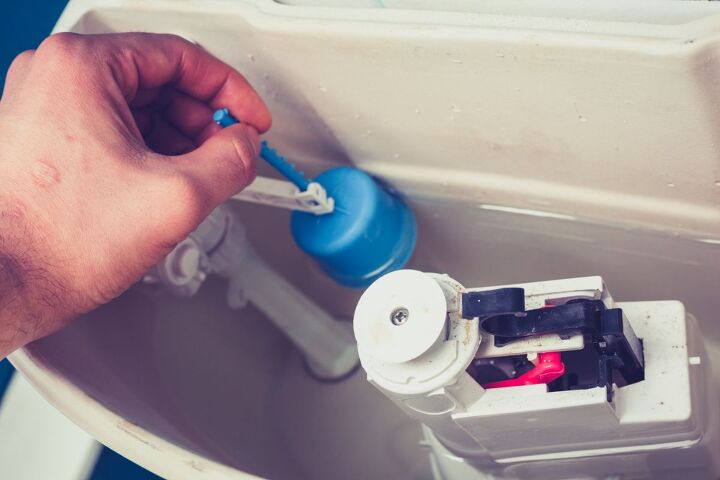
A leaking toilet tank is a common problem in a house. The most likely cause of a toilet tank leak is a damaged flapper valve. However, there are many other causes as well.
A toilet tank can become a breeding ground for bacteria if left unchecked.
This guide will show you how to fix a toilet tank that is leaking, so you won’t have to spend your weekend on the phone with your plumber.
How Can You Know You Have A Leak?
One of the most important parts of fixing your leak is finding out exactly where the leak even is.
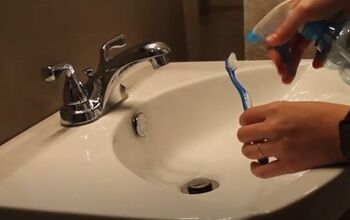
There are several different ways you are able to find out and the most popular tends to be using the coloring in the tank.
Then you can pop a paper towel under the different areas it could leak from and you’ll see the paper towel change color when the leak drops onto it.
When you have found out where the leaks are coming from, you can turn the water off so you can start the process of fixing the issue.
You can then continue to flush the toilet and then dry out the tank so there is no water moving through.
Equipment
- Sponge
- Gloves (optional)
- Coloring
- Light
- Screwdriver
- Bolts and gaskets
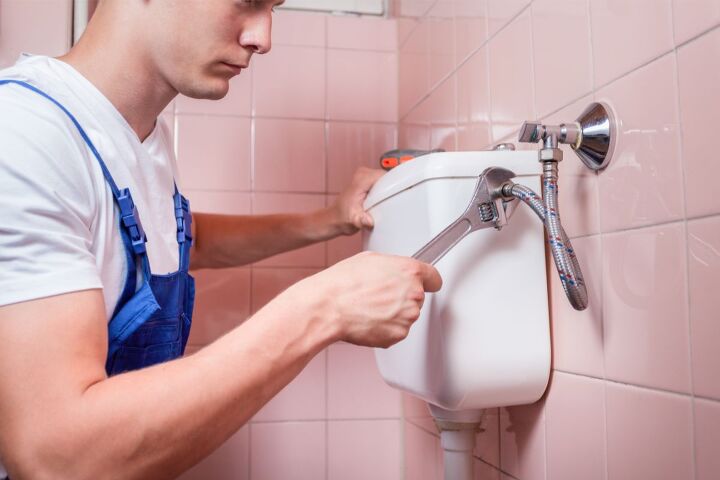
Problem & Solution 1: Supply Lock Nut Is Leaking
The locknut is one of the most important pieces for your proper water flow. This is because it connects your tank to the water supply allowing the water to move through the tank.
If you find that this is the issue, you will need to think about replacing the fill valve which will be explained in the solution below.
Solution – replacing the fill valve
This process could take up to about an hour and is quite simple to carry out if you are replacing the less modern fill valve with a more modern version.
You need to make sure that you are buying the correct part that will work in your toilet before buying to make sure you do not waste any money.
- Firstly, you need to turn off the water supply valve under the tank. You then need to make sure you have flushed the toilet after, then widen the tank with the dry sponge.
- You then will need to get your wrench out to take off the slip nut under the tank.
- Then you are able to take off the fill valve with the wrench after.
- It will benefit you more to buy a new float cup fill valve from your local store because it is more modern and works much better because of the new materials and structure.
- When you have your new part you need to read the instructions you receive with this piece to make sure you are pouting it back on correctly. It should be these instructions in reverse but just make sure to read to be sure.
Problem & Solution 2: Flush Valve Outlet Leak
If you find out that you have a leak in the flush valve outlet, you will need to actually take the tank off fully so you can mend the issue.
The issue will be right at the bottom of the tank which is why you will need to take it off so you have full access to the problem.
This is somewhere you don’t want to be leaking because it is in charge of the water flow from the tank to the bowl.
Here are some instructions on how to fix this leak and you will be looking for the largest nut underneath the tank first!
Solution
- You need to start by removing the tank completely by unscrewing the top slip nut and also the other two bolts which keep the tank in place.
- Once you are able to lift the tank off, you need to place it upside down. You need to look for the spud washer because this is what you will be replacing.
- Once you find the spud washer, you can take this poart to your local store where they can find the right replacement for your toilet.
- To put the pieces back together, you need your new spud washer over the tailpiece flush valve when placing the tank back on.
- You need to make sure all of the nuts and bolts are slotting back into place properly before screwing them back on.
- Make sure everything is secure and tightened enough for no more leaks and it should be completed.
Problems & Solution 3: Tank Bolts
This is one of the easiest problems to solve in comparison to some of the other issues that have already been mentioned.
There are two reasons for why there might be a leak in his case and the first one is a corroded nut and the second is a worn out gasket.
You need to be unscrewing these parts which are either corroded or not in great shape and taking them off.
When you have taken the gasket off, you need to take this to the store to find a new one that is right for your toilet.
After you have replaced these parts, it should stop all of the leaking and it should work like normal.
You must keep an eye on the individual parts in your toilet because overtime they can get damaged.
This means that they will need to be replaced at some point and you shouldn’t always wait until a big leak happens because you need to be checking them over the years.
Other Reasons For Leaks
There is another way your tank can start leaking and that is down to the top of your tank. It is called the anode rod at the top of the water heater.
Not everyone will know this but this particular element of the toilet tank is known to corrode and will over time which is why it needs to be replaced.
It should tell you on the product you buy form the store that the usual amount it will need to be replaced is every three years.
You need to keep checking on these types of issues because if they corrode too much you could have far worse problems on your hands.
Therefore, it is always a good idea to keep a good eye on the condition of your toilet and the corrosion levels of the anode rod.
Conclusion
Overall, you need to make sure that when you find the problem, you are getting it sorted sooner rather than later.
Your toilet is something you use on a daily basis and is actually quite important to be in working order.
Therefore, any types of small problems can usually be sorted out quite quickly without having to call in a plumber.
However, if you do leave any issues for too long such as the anode rod, you might need to call someone in if the corrosion has become too bad and there are huge leaking issues as a result.
Hopefully this guide has helped you understand both the problems and the solutions to any sort of tank leaks and issues.
Most of them are very simple to do yourself only needing a wrench and screwdriver.
The other equipment you will already have in your home is ideal as you wont need to keep going out to get more equipment.
There are different reasons for leaks here which should help you to determine what your problem is and how you are able to find out which one is affecting your toilet tank. Fix that leak!
Frequently Asked Questions
Why Is My Toilet Leaking From The Bottom Of The Tank?
The water drains to the bottom of the tank – This happens when the gasket that seals the flush valve into the tank is deteriorated and worn.
Recommended Solution: Change flush valve. If a leak occurs at a flush valve gasket in a new installation, the lock nut securing the flush valve to the underside may be leaking.
How Do I Temporarily Fix My Leaking Toilet?
If water is leaking from beneath the toilet, you might be able to stop it by simply tightening the closet bolts that secure the toilet to the floor.
Use a putty knife or slotted screwdriver to pry off the caps that are covering the bolts. Then use a wrench to alternately tighten each bolt, a little at a time.


Comments
Join the conversation