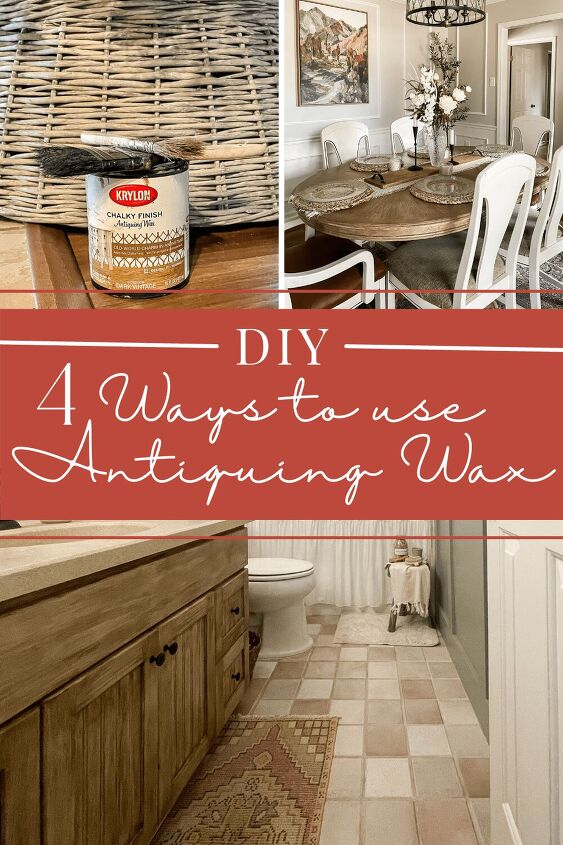
5 Creative Ways to Use Antiquing Wax in Your Home
A detailed list showing you my favorite ways to add a new product to your DIY arsenal! Complete with project pictures and direct supply links for your convenience, learn 5 ways to use Antiquing Wax.
I always see amazing furniture hacks where someone has turned a dated orange or dark piece of furniture into a raw, weathered, reclaimed beauty. And I used to wonder, how?? Antiquing wax has been the easiest and most authentic solution I have found. I have used it on a variety of projects, and perfected my technique so I can expect a reliable outcome every time.
Here are my 5 favorite ways to use Antiquing wax to update second hand finds. From wood to woven wicker, this product is a versatile choice.
Don’t have time to read the whole article now? Save it on Pinterest for safe keeping later!
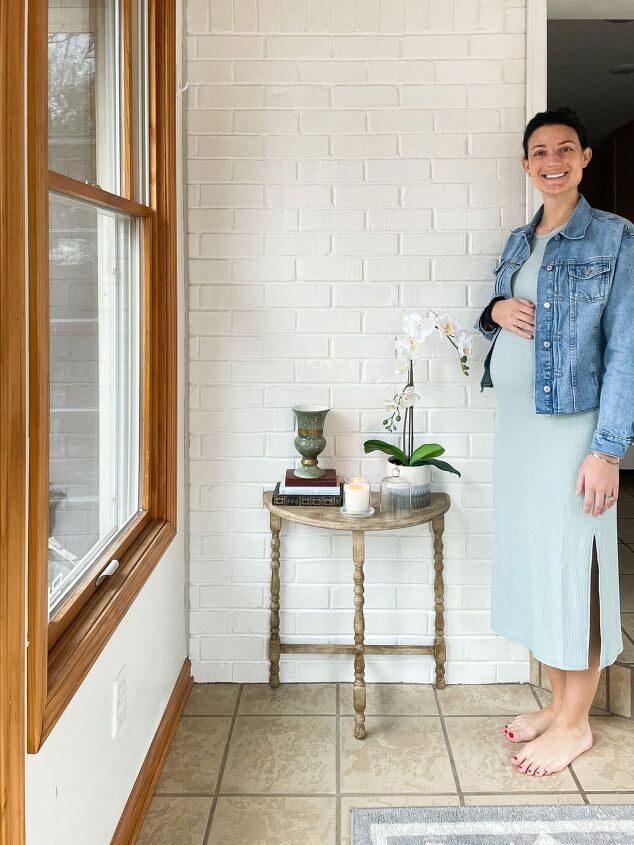
1. Antique Side Table
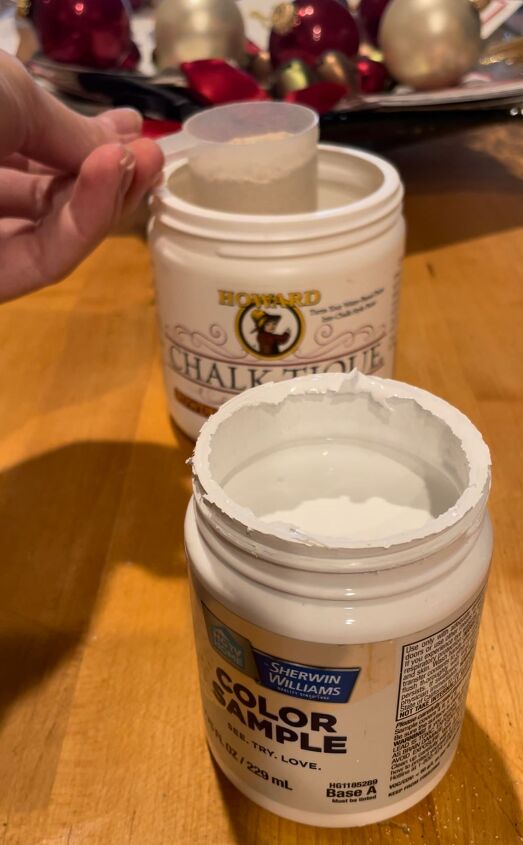
I inherited this little half moon table from my grandfather, and wanted it to go in our sunroom. The dark wood clashed with the light and airy feel, so I decided to update it with chalk paint and antiquing wax!
I mixed my chalk paint additive into a sample of latex paint I already had (in the color Alabaster by Sherwin Williams), and painted two coats.
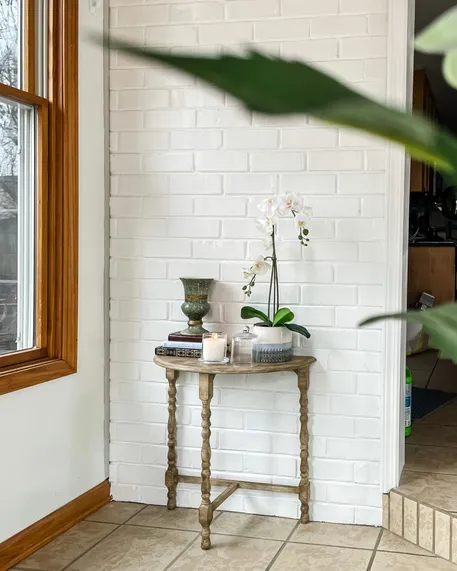
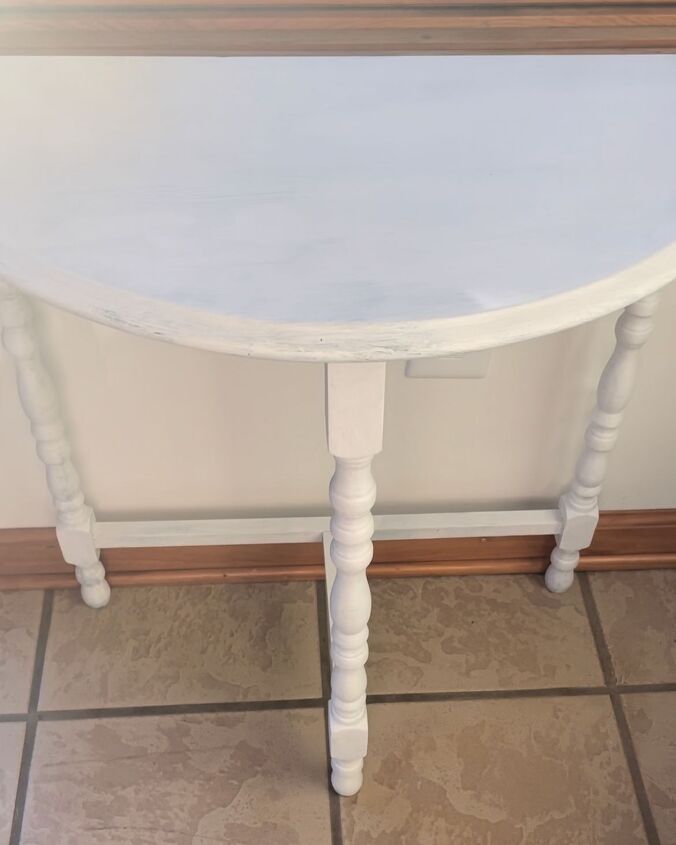
Once dry, I applied the Antiquing wax with an inexpensive chip brush. A little goes a long way! The product is easy to work with as long as you apply in small sections at a time. Work it into the piece, achieving a faux wood grain texture that can be as light or saturated as you like.
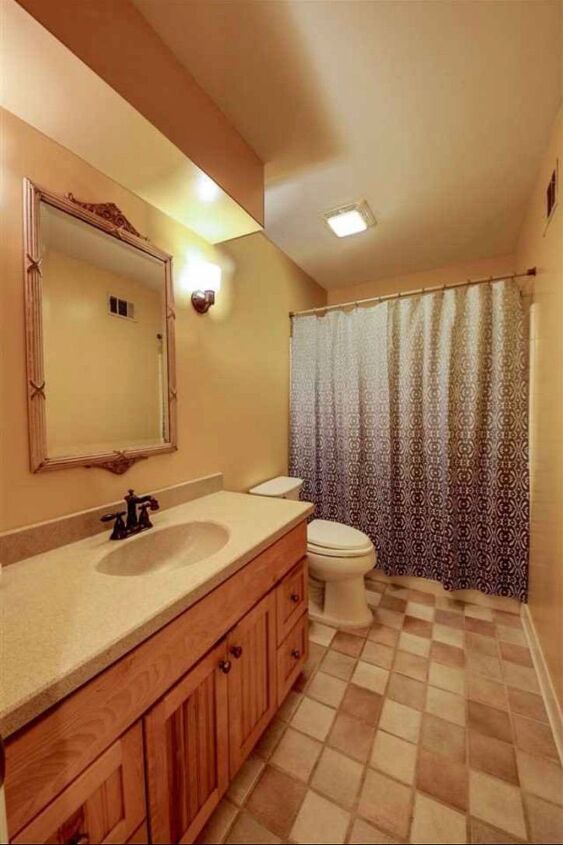
2. Bathroom vanity
My first time to use antiquing wax was on our guest bathroom vanity. I desperately needed to tone down the orange wood to help the vanity blend with the floors. There were a lot of crazy colors going on in this bathroom! For a full history and project list to see how these before and after photos were achieved, you can read about it here.
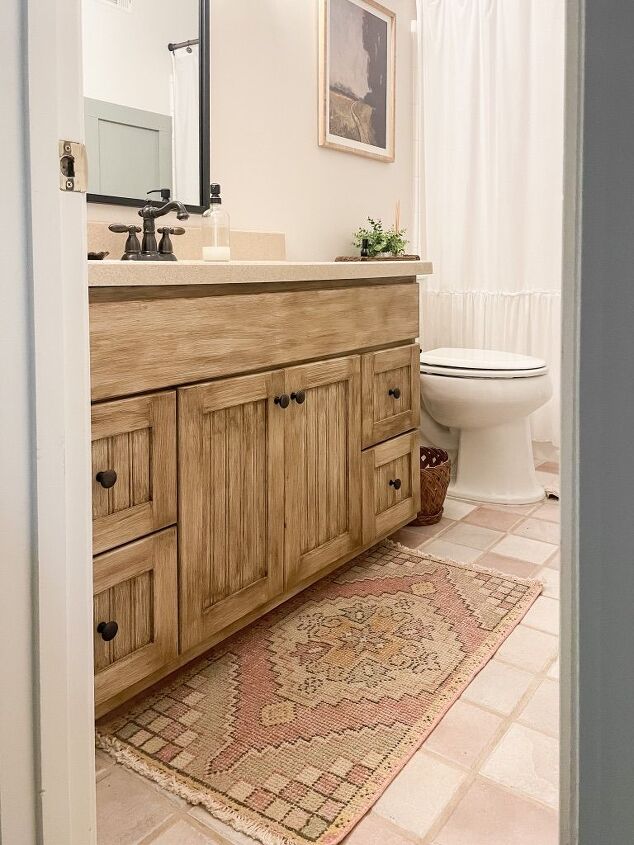
I used chalk paint + Antiquing Wax just like I did the half moon table above to achieve a warm weathered look without having to sand strip or stain. I was extremely pleased with my results, especially being the first time I attempted using this product! The faux wood grain look is easy to achieve with the wax as well.
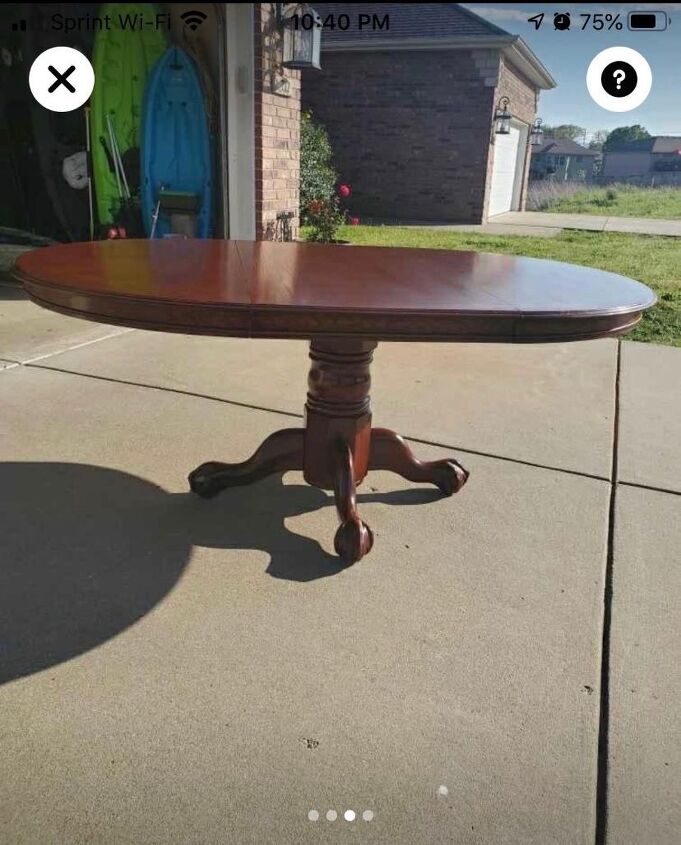
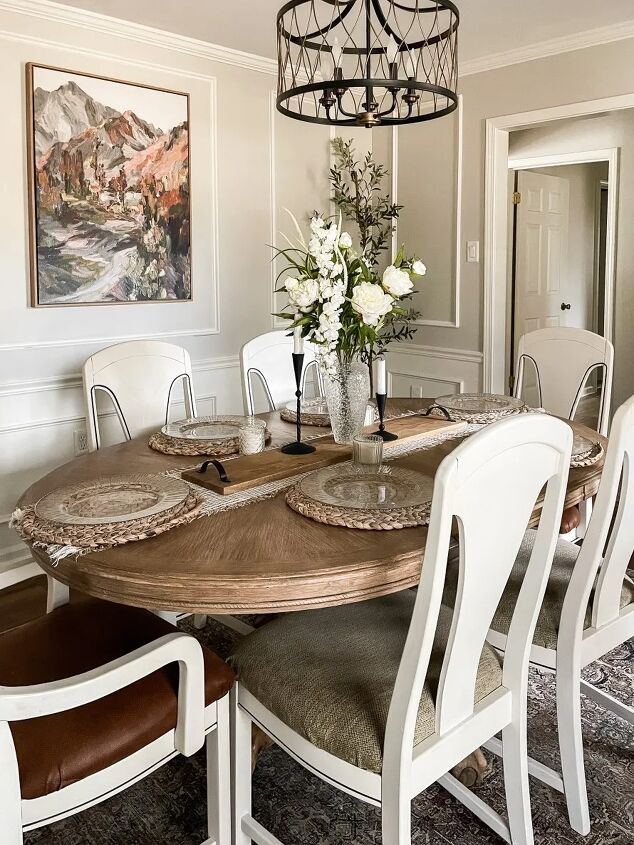
3. Dining room table
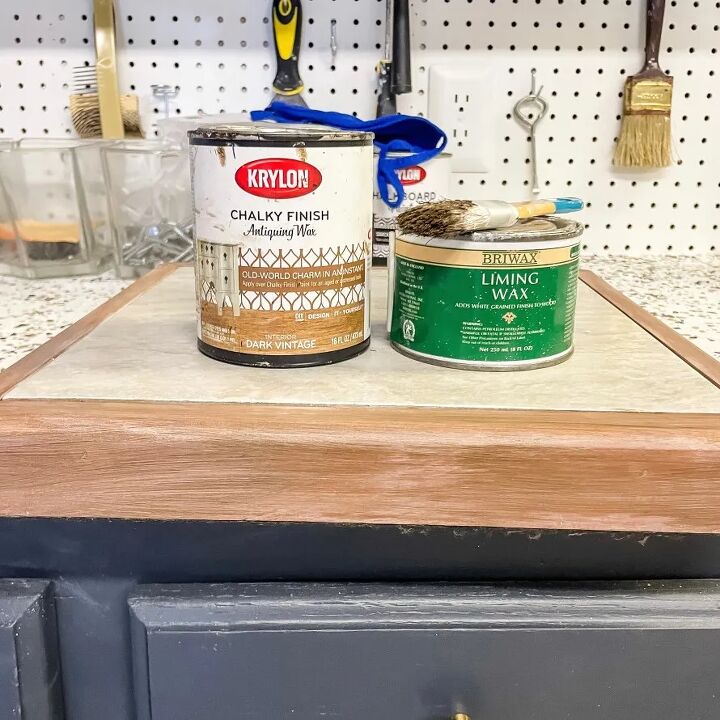
I found a solid wood table for a great price on Facebook Marketplace. Although it was not orange toned, it was dark and needed a facelift. I used liming wax and antiquing wax in combination for the first time, and loved the weathered wood finish I was able to achieve with these products.
To read more about how the dining room table went from the before and after you see below, you can find all the details here.
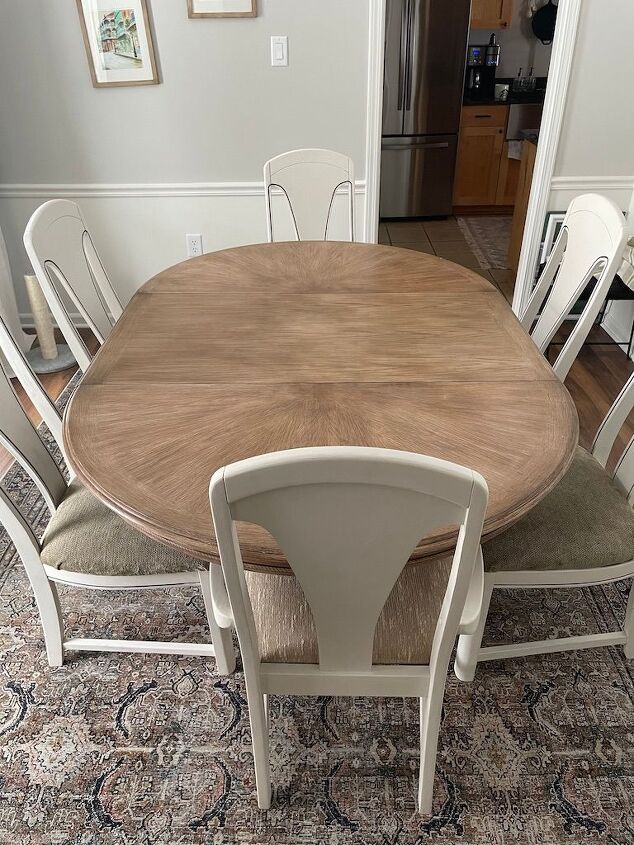
My favorite way to apply Antiquing wax is with an inexpensive chip brush. I am able to achieve a more authentic wood grain look with lots of texture. I love the lightened wood tones, and always get compliments on this table in our formal dining space. It’s so fun to style seasonally, and create tablescapes to share meals with family and friends.
4. De-orange dated wood
After my success with the dining room table, I felt I had finally perfected the art of toning down dated wood tones. With only 2 products (including Antiquing wax!), I did it again- no chemicals required.
I found a ceramic wood framed riser from my favorite local thrift store for $5. I thought it was the perfect size to add height to my newly painted vintage lamp.
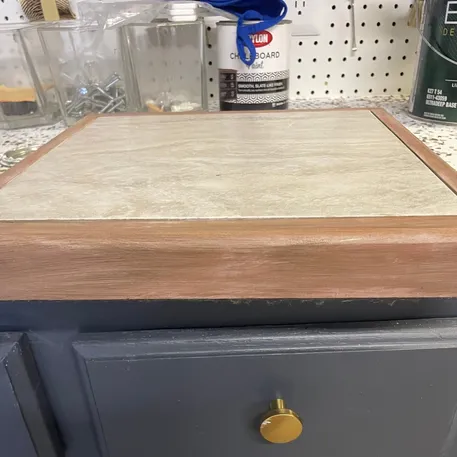
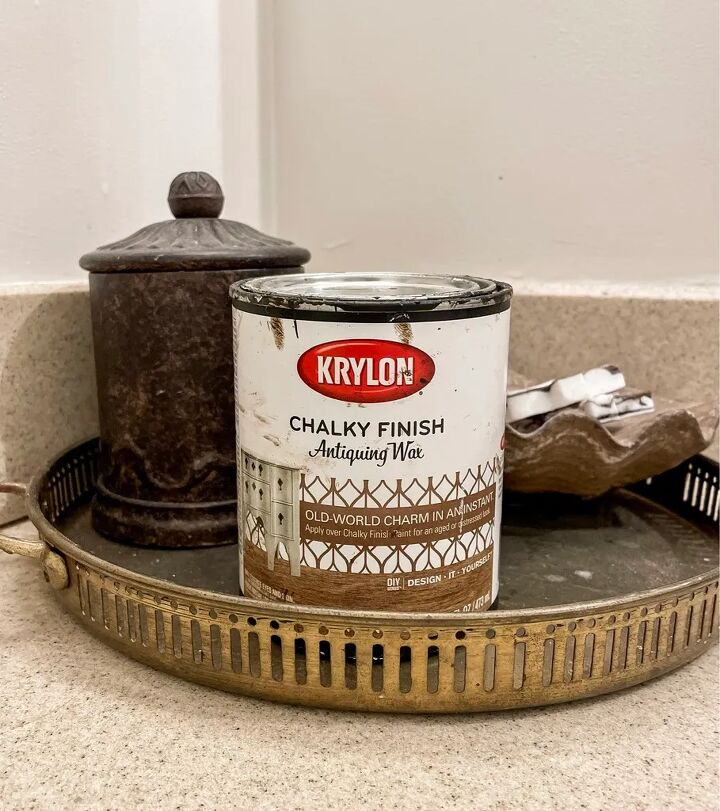
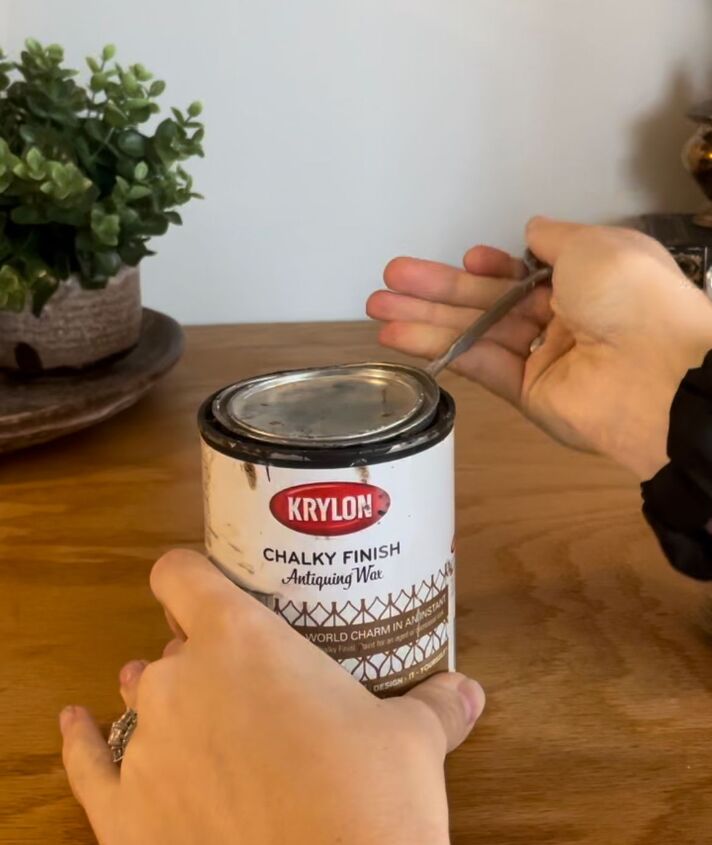
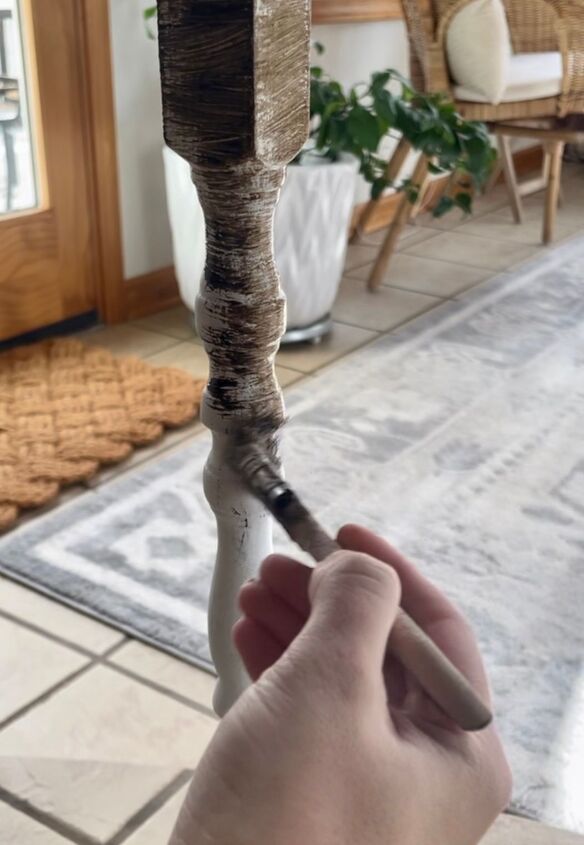
For this project- similarly to the dining room table- I applied a layer of liming wax first, then Antiquing wax. This is the only brand and shade I have used in wax, and I will never search for another. I love the Krylon Dark Vintage Antiquing Wax. It is such a warm color, and can be applied to mimic variances in real wood grain.
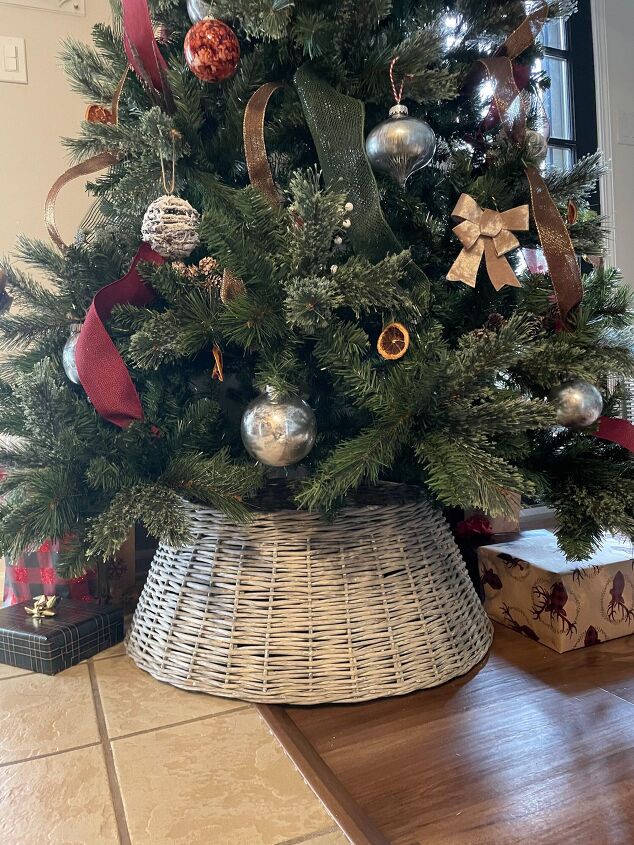
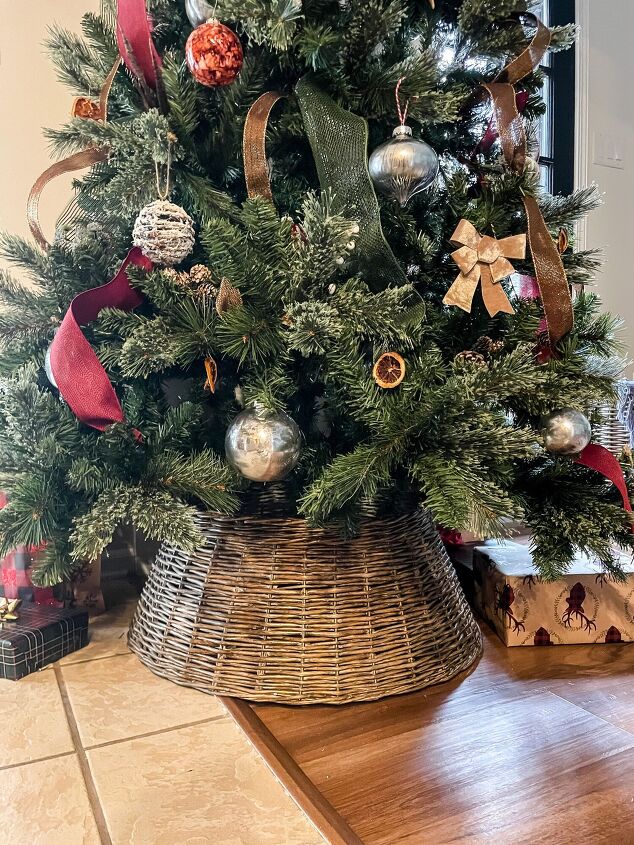
5. Christmas tree skirt basket
I had previously used Antiquing Wax on wooden surfaces with so much success, I thought why not try it on a woven texture. My Christmas tree skirt basket was gray, and a little cold. I wanted to warm it up and help blend in with the wood tones throughout the kitchen and living room.
I got out my trusty chip brush and started applying Antiquing Wax straight to the clean, woven surface. Remember- a little goes a long way. Apply it with your brush sparingly, then feather it out. You can control how much or how little you add. It does dry quickly! So work in small areas at a time. I would apply a few blots onto one area, then work it in until I was happy with the finish before moving on.
Please let me know if you have any questions, but Antiquing Wax can be applied to so many surfaces to create a warm and weathered finish WITHOUT the use of any harsh chemicals, stripper, or stain (all of which can be a pain to work with). I know the amount of options for wood products can be overwhelming, but Antiquing Wax has proven itself time and time again.


Comments
Join the conversation
I loved the bathroom!!!