How to Make a Strawberry Tower Planter in 4 Simple Steps

We're going to make the most budget-friendly strawberry tower using planters I got from Dollar Tree. They're only $1.25 for each planter. We're going to plant a whole bunch of strawberries.
In my previous tutorials, I showed you how to grow food with Dollar Tree supplies and how to make a stackable planter. Now, let's talk about how to make a strawberry tower planter.
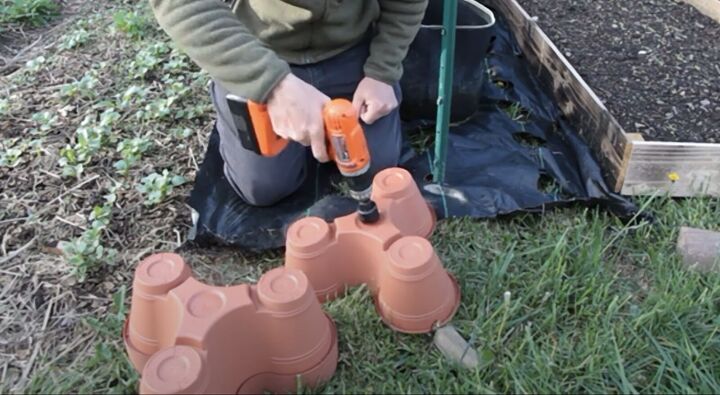
1. Drill holes
I'm going to be using a one-and-a-half-inch hole saw, and I'm going to be cutting a hole in the bottom of all these so they could fit right on top of this t-post.
The t-post is going to give this a lot of stability because these are very thin, and if we just stack these without anything holding it up in the middle, they would likely blow over in the slightest windstorm.
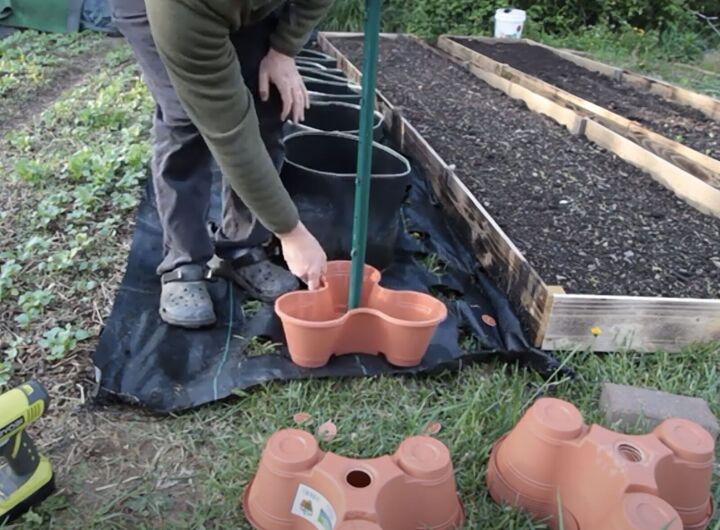
2. Place planters on the post
I think I prefer to use rebar over the t-post because this t-post has some little lips and stuff, more things that the plastic could get caught up on. I already had these in the ground here as a fence line, so I'm going to use what I have already instead of trying to dig this up.
The planters are not super deep, but they're deep enough to plant a lot of things, especially strawberries and herbs, and things like that. So you're going to want to push out these holes on the bottom.
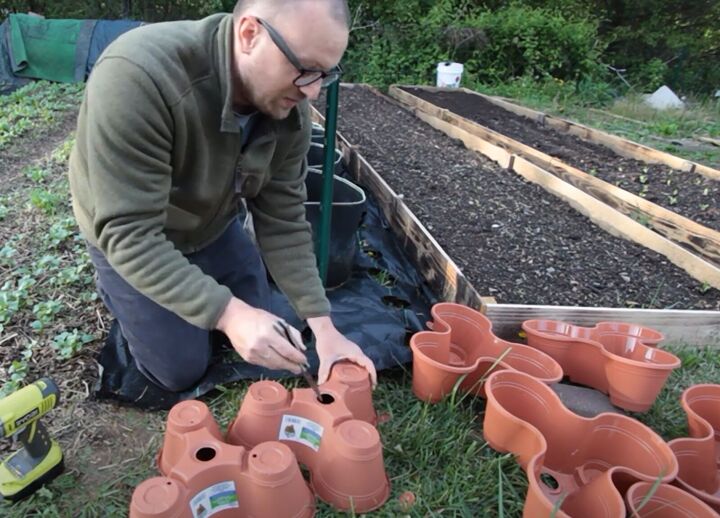
I might not make every hole because what I've learned about these planters is because they're so shallow, they need to be watered very frequently. I'm just going to use a pocket knife for the drainage holes.
Like I said, I'm going to put the hole saw in the middle so this could sit on top of that t-post. The key I learned with the hole saw is that instead of going to the right, make sure you set it to turn to the left so it doesn't tear this plastic as much when you go that way.
I have a nice clean hole.
We're going to do that to every single one here. I'm hoping I'll be able to do twelve high because I think that's how many I grabbed.
That fits perfectly, so our next step is going to be filling these up with soil and then planting strawberries. One last thing I forgot to do is poke out these drain holes.
I poked a little too hard. I'm just going to make one hole per each because these tend to dry out very quickly, so I'm not going to give it more of a reason to dry out. I'm just going to poke one hole in each with this knife, and that's it. So hopefully, it'll do better at holding on to moisture.
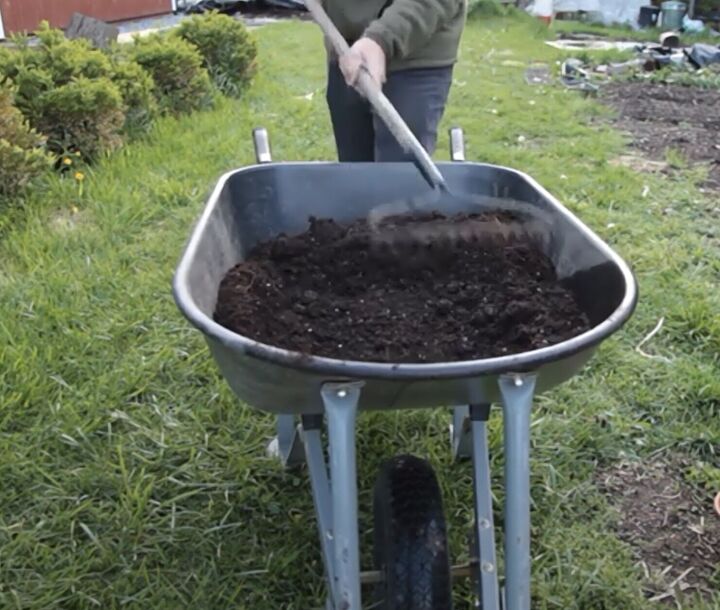
3. Mix peat moss and compost
In the wheelbarrow, I've mixed some peat moss and compost, which I'm going to use to fill up these containers. I'm just going to mix really well because the compost is on the bottom, and the peat moss is on top, and get out any bad stuff you don't want in there, like rocks or pieces of plastic.
Peat moss is really good at holding on to moisture, so that's why I'm adding this to the soil.
There's also a bit of perlite in here. Perlite is good for drainage and stuff like that. So this is a nice-looking mix. Now I'm going to fill up these containers. Our first layer filled in pretty well. I'm just going to keep filling them in as I fill them up, and we'll see how many towers we could stack on top of each other here.

4. Fill with strawberry plants
So now that I have this pot here, I could just wait until I have all the pots filled up, but I'm going to put in these strawberries. They're all bare-root strawberries. I got two different kinds.
I got All-Star strawberries, which is a June-bearing strawberry, and I also got 20 of the Mara de Bois strawberry, which is an ever-bearing variety that will produce strawberries all throughout the growing season.
I had never had that kind of strawberry before, so I am excited to have them, but they just went through a long shipping process for a couple of days. I want to get these in the ground, and I want them to grow as soon as possible.
So I'm going to plant my All-Star strawberries here, and I have 30 of them. Some of these look really good. I want strawberries as soon as I possibly can because we love strawberries.
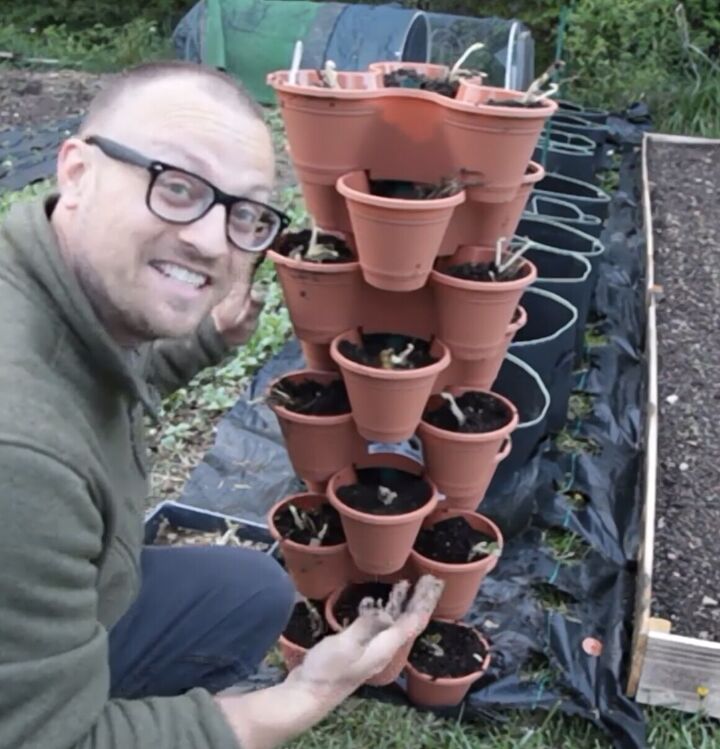
The completed strawberry tower
That was a very easy, simple strawberry tower that only cost $11 or $12, maybe, something like that. Plus, the cost of the strawberries, so for around $40, you have 27 strawberry plantings in here. This is going to produce so much.
Now, this could be a lot cheaper in future years if you were to save the runners from these strawberries after you purchase them the first time; the strawberries produce so many runners. And you can root those runners and then create endless amounts of strawberry towers for years to come.
I think today; this is the only tower I'm going to put up because I'm losing daylight, but I'm going to put up a second strawberry tower over there with the other ever-bearing variety of strawberries, the Mara de Bois strawberries.
How to make a strawberry tower
I wanted to show you how simple and affordable it is to plant strawberries in a strawberry tower. This is a really easy way to use the Dollar Tree planters, do some gardening on a budget, and grow many strawberries.
Have you used a strawberry tower to grow strawberries? Share your experience and tips in the comments below.


Comments
Join the conversation
Would love to see pictures with them producing strawberries.