How To: DIY Painted Terrazzo Floors on a Budget in 48 Hours

A 1999 Pop-up camper gets a modern flooring update in 4 steps & 48 hours. Learn how to DIY painted terrazzo floors on a budget!
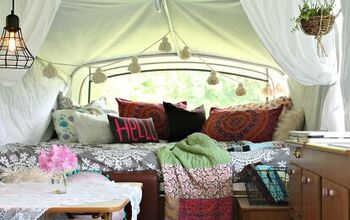
This pop up camper remodel has stretched my DIY brain and skills to the limit. I pride myself in being a beginner, while humbly learning as I go and being mindful to enjoy the process. However, this project has made me feel like I was in way over my head more than once.
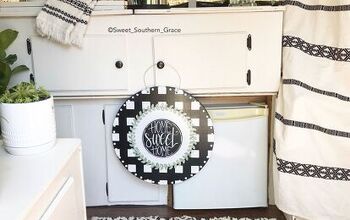
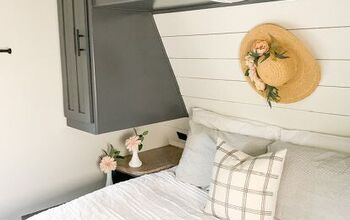
So far, I have completed the following projects:
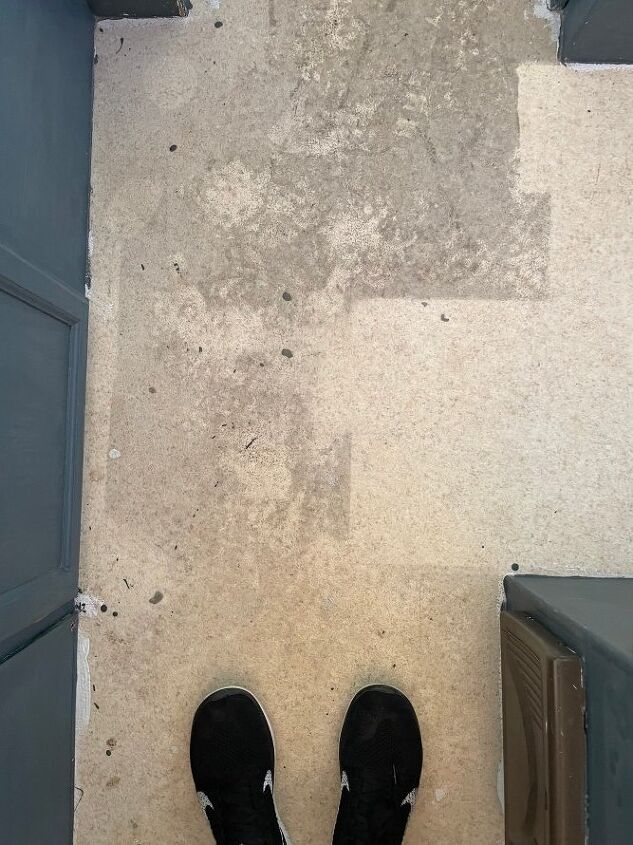
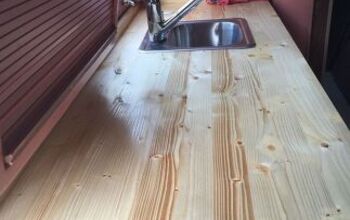
Those first two projects were messy, so I chose to complete them first. In order to save time and minimize prep work, I did not worry about getting the floor dirty. I knew it was going to get a refresh, and now it was time.
For the full project post, and direct links to all supplies used, go to Emily Rone Home!
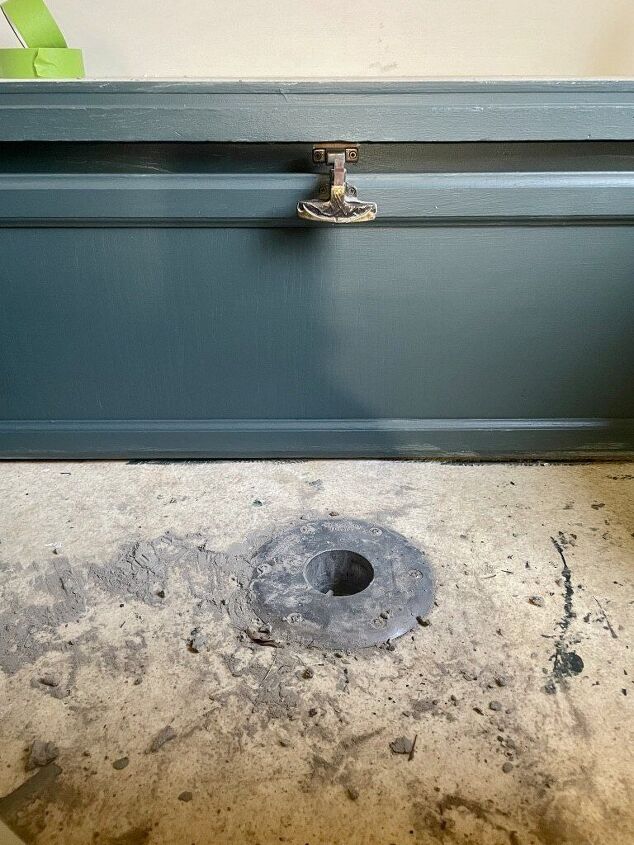
STEP 1: Prep the floors
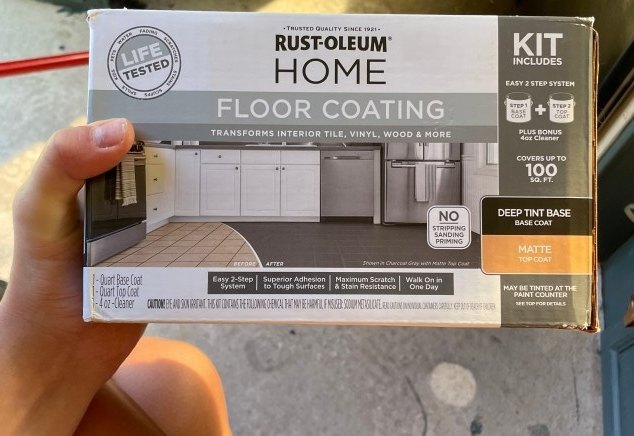
At home, I had a 2 part Rust-Oleum floor kit I had brought for the guest bath, but had yet to use. Although not the color I would has chosen for the camper, in an effort to save time and money I decided to use it.
I swept the camper floors first to remove dust and debris, then used the cleaning solution provided in the Rust-oleum kit to clean the floors. I squirted a healthy amount of solution directly onto the floors, then used an old rag to scruband prepare a clean surface for paint.

STEP 2: Paint
Once the floors were clean, I painted my first coat of “base paint”. This product comes tinted in either a light or dark base, then colored to the shade of your choosing if you purchase in store. However, I had ordered mine online months ago, and it came already colored in the shade I chose. Mine is the color “charcoal”. Not ideal- dark floors AND dark cabinets (as I had already painted those), but oh well.
In an effort to save time and avoid mishaps similar to the RV fiasco, I decided not to tape anything off and just edge by hand using my favorite Wooster brush. As I was edging, I decided it would be just as fast to brush on the entire floor instead of rolling it due to the previously mentioned nooks and crannies. Since I was covering a light colored floor with dark paint, I would need a second coat.
Tip- be mindful not to paint yourself in! I started at the far end of the camper, and worked towards the door to avoid getting stuck in a corner surrounded by wet paint.
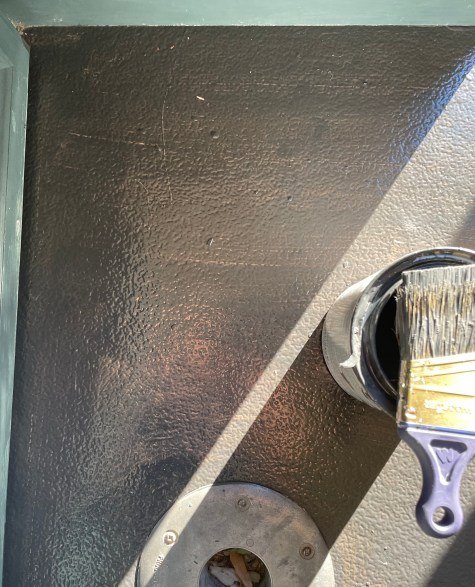
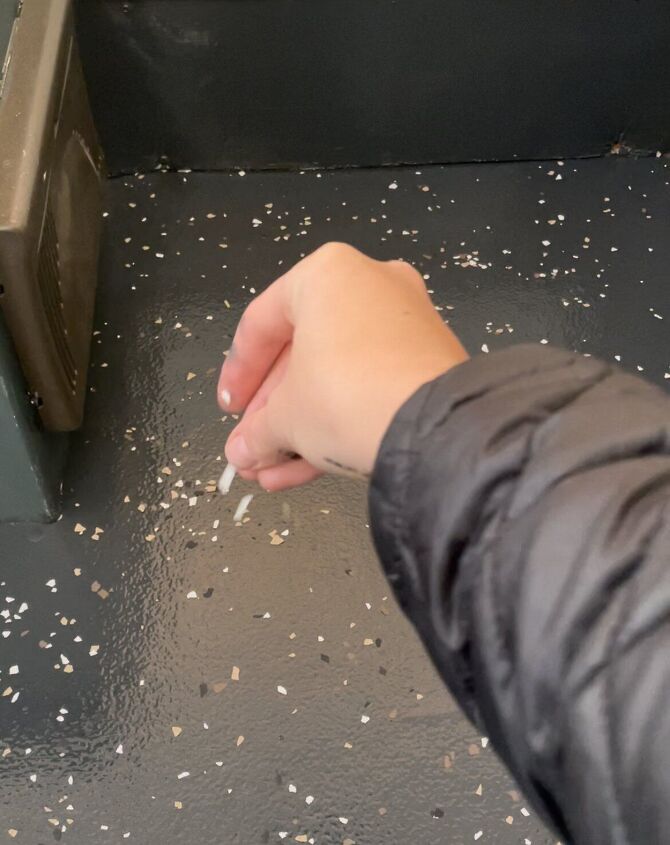
STEP 3: Second coat and Terrazzo Chips
After six hours, the directions say you can paint a second coat. Coat #2 went on with the same paintbrush, and I was able to achieve opaque coverage. I painted the second coat in smaller sections so that I could sprinkle on the terrazzo chips while the paint was still wet. Scooping up a handful of chips, I randomly dispersed them throughout the floor area I had just painted. I repeated this process until the whole floor was completed.
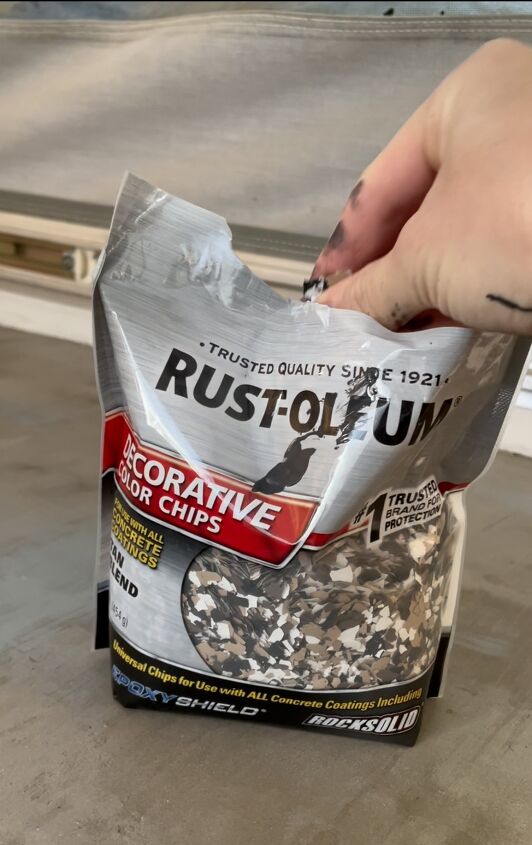
The Rust-Oleum paint chips come in 3 color options: black, gray and brown. If you want different colors, check out Lizzy’s tutorial to see how she created custom paint chips in colors of her choosing!
STEP 4: Seal
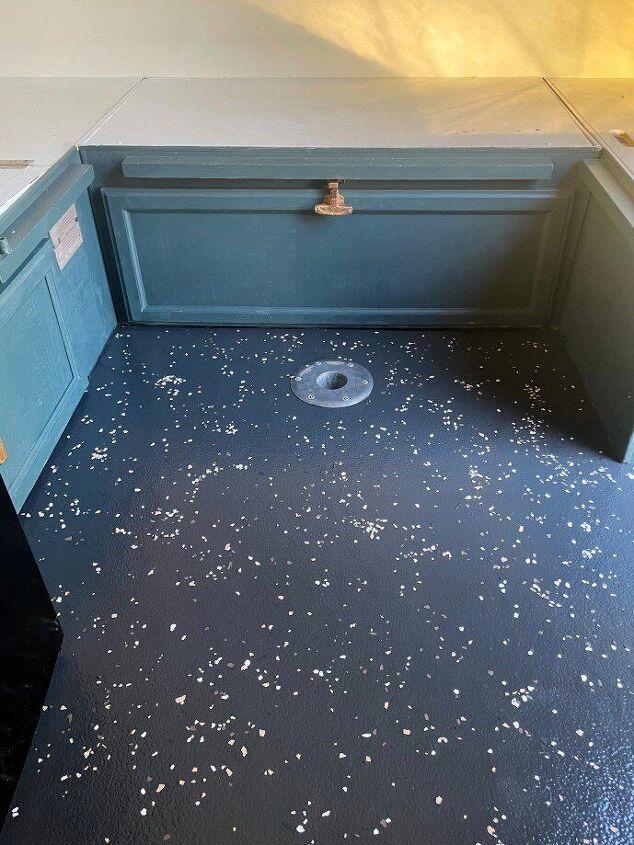
The 2 part Rust-Oleum kit provides a top coat, which I applied 6 hours after my second coat of paint. I used the same paint brush, and hoped the top coat would resemble an epoxy and seal the terrazzo chips. In 24 hours, it was dried enough for foot traffic so I went back to take a look.
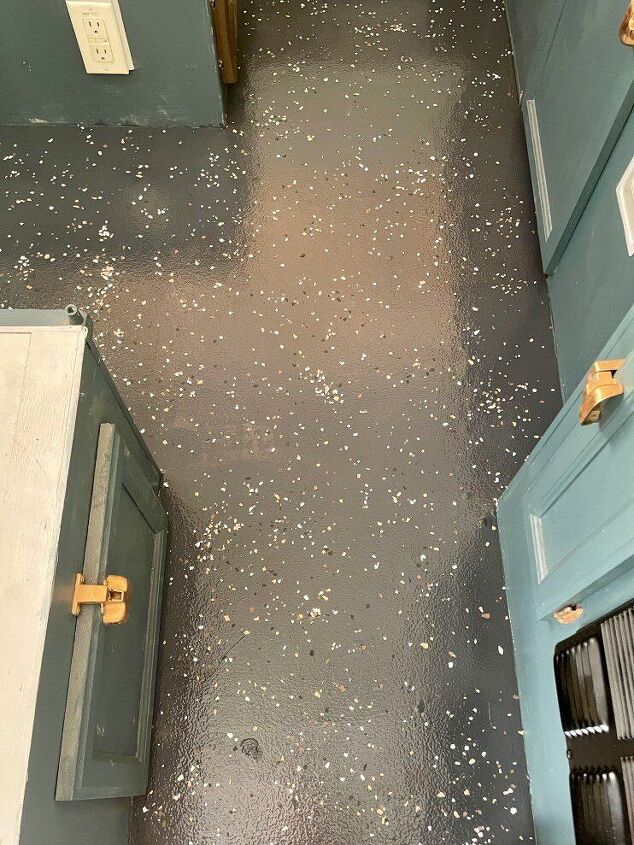
It worked! Over time, I do expect some of the chips to come up. The top coat was pretty thin, so although it helped adhere the chips to the floor, it’s not thick enough to completely cover them like an epoxy product would. My recommendation if you try this project and have more time than me would be to apply epoxy at the end for maximum durability. Overall, I was still pleased with this cheap and easy solution.
Not too bad for Plan C, right? This turned into such a fun DIY project, and I’m happy with the results. Dont forget to Pin for future access, and follow along with the rest of the camper drama, I mean FUN on Instagram!

Tags: camper, DIY, floors, paint, pop up, terrazzo
Resources for this project:
See all materials


Comments
Join the conversation
In an RV?! That's great!! Very neat, durable and a great look!! Very smart of you!!
Did you apply this product to your sub-floor, linoleum, Vinyl, laminate, ?