Freezer Organization Ideas To Save You Money
Are you tired of finding old expired food in your deep freezer? Stop wasting food with this must have freezer organization. Having an organized freezer will eliminate the stress of throwing expired food out. In this post we share ideas and tips to create zero wasted space, which will allow you to keep inventory of your food. Complete with DIY printable labels and inexpensive bins, you’ll be well on your way to organizing your freezer and eliminating waste.
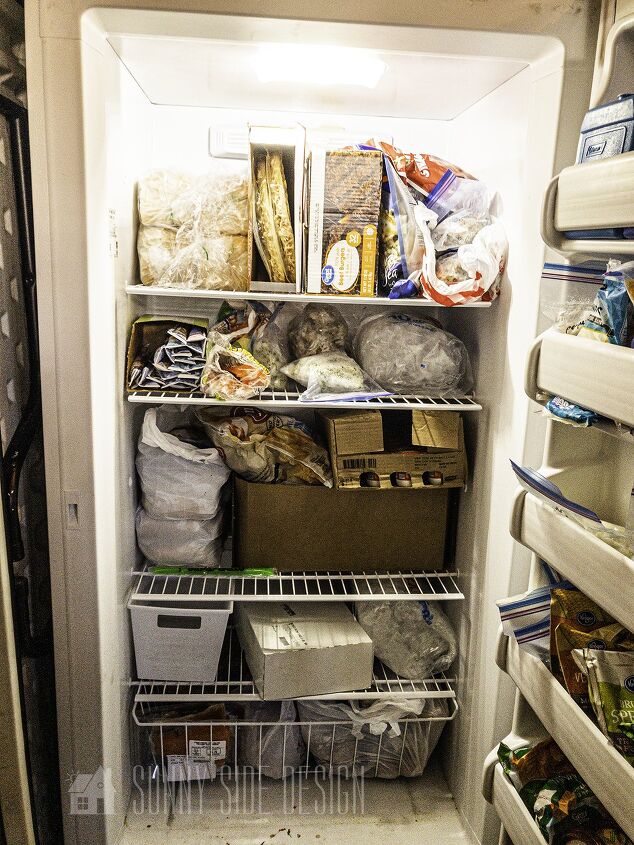
Here’s a look at our freezer before. I didn’t think it was in complete disarray. I knew where things were, it functioned, yet it was screaming for more organization!
Freezer Organization: Step 1
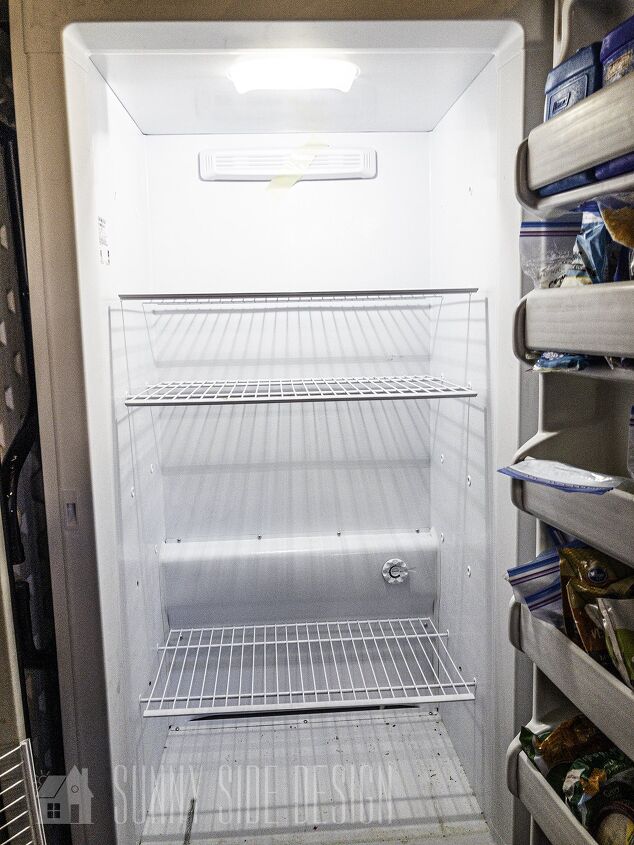
The very first step to an organized freezer is to empty everything out.

With everything pulled out it is easy to wipe it down and clean out any crumbs or spills.
Freezer Organization: Step 2
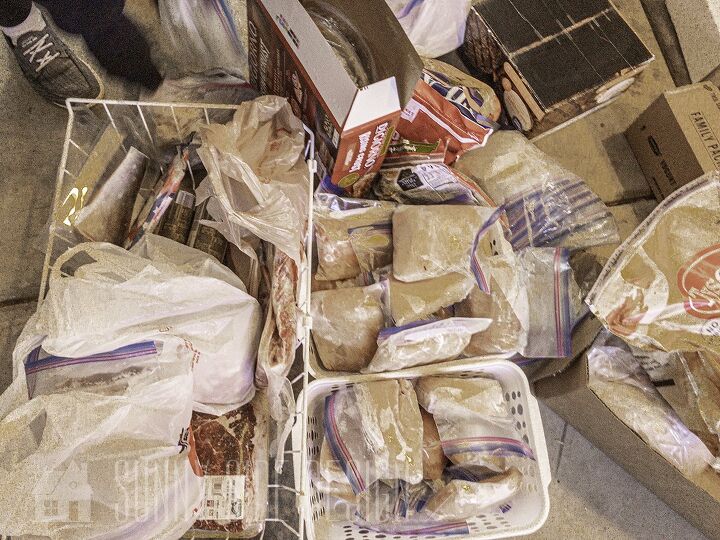
Begin by taking inventory of everything that was in the freezer.
Sort and group like items together, then you can see how much space you’ll need for specific items.
This will give you an idea how many bins you’ll need to store your food.
It’s a good idea to take measurements of your freezer shelves before heading to the store. This way you’ll know how many bins will fit side by side, and you’ll be able to make the best use of your space.
Freezer Organization: Step 3
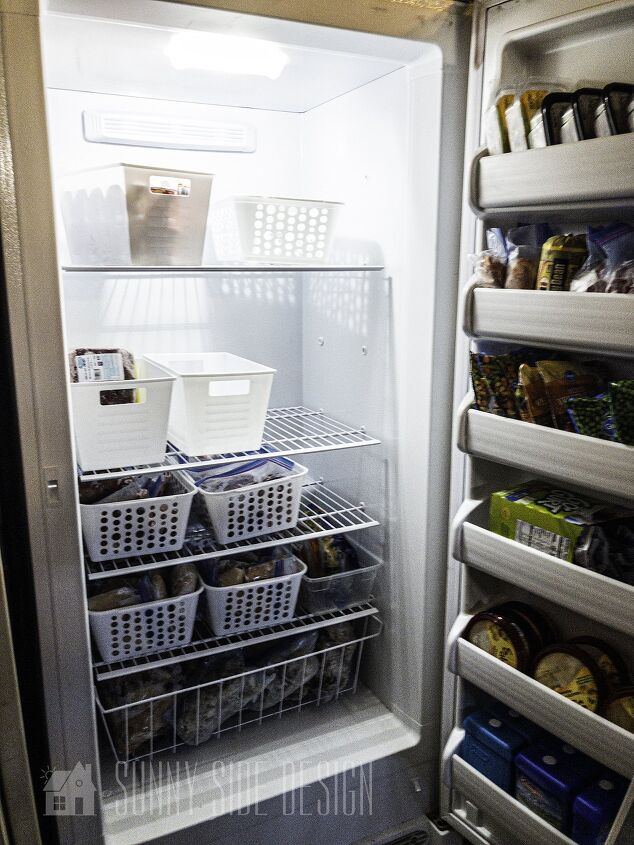
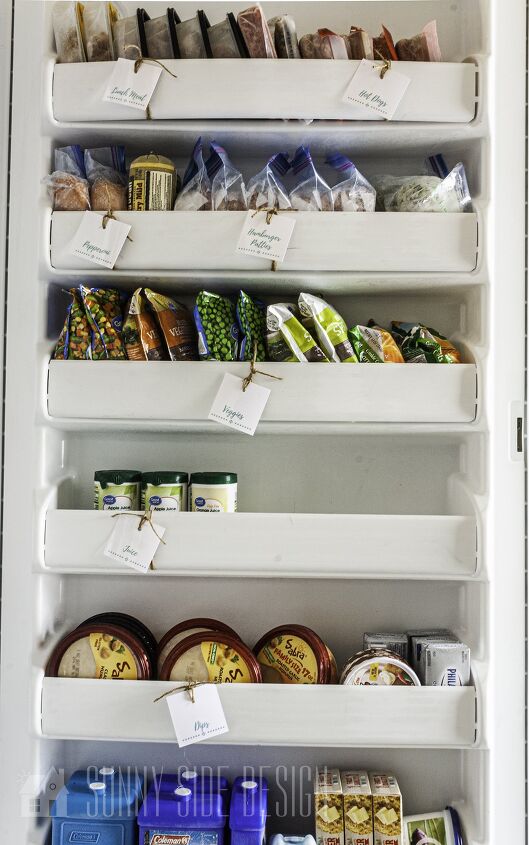
Place like items in the bins and begin to put them back into the freezer.
I began on the bottom and worked my way up.
(This will help create zero wasted space in your freezer. More about this below.)
Placing the meat on the bottom portion of the freezer gives me peace of mind that if any juices drip it won’t contaminate any other foods.
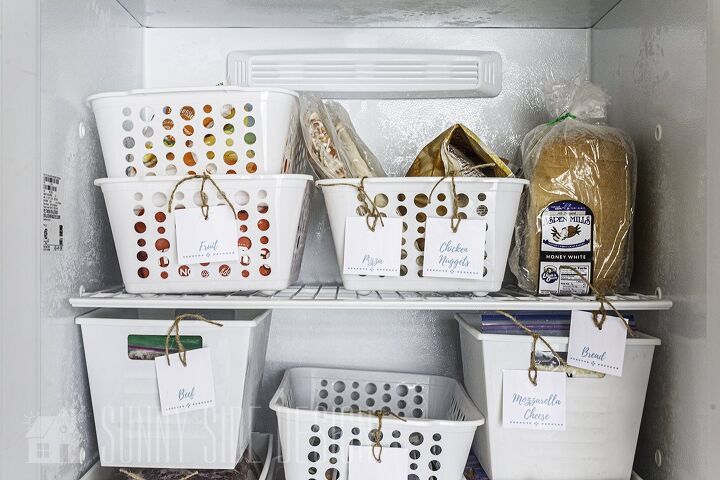
Place items you use frequently at the top. If those items are at eye level it gives you quick access to see how much you have left, and it’s easy to grab and go.
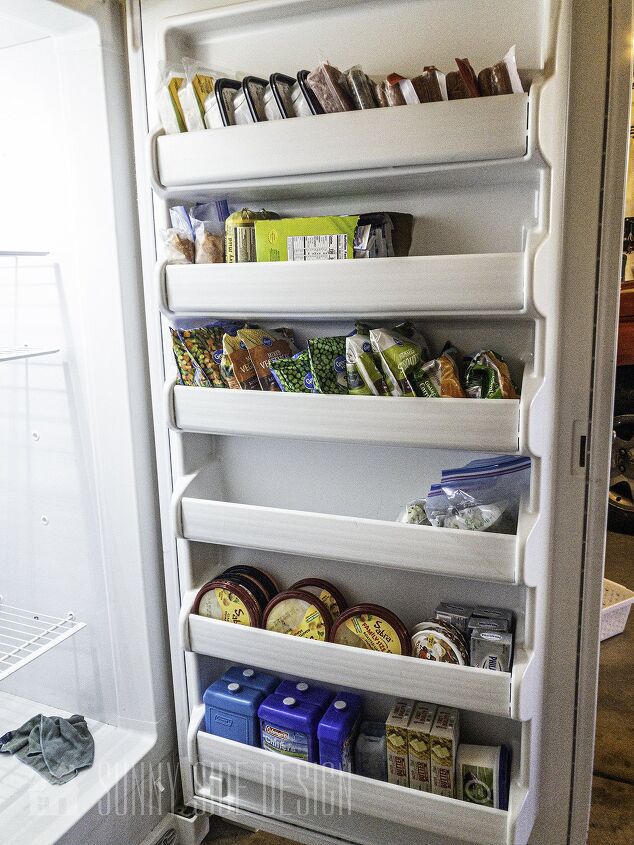
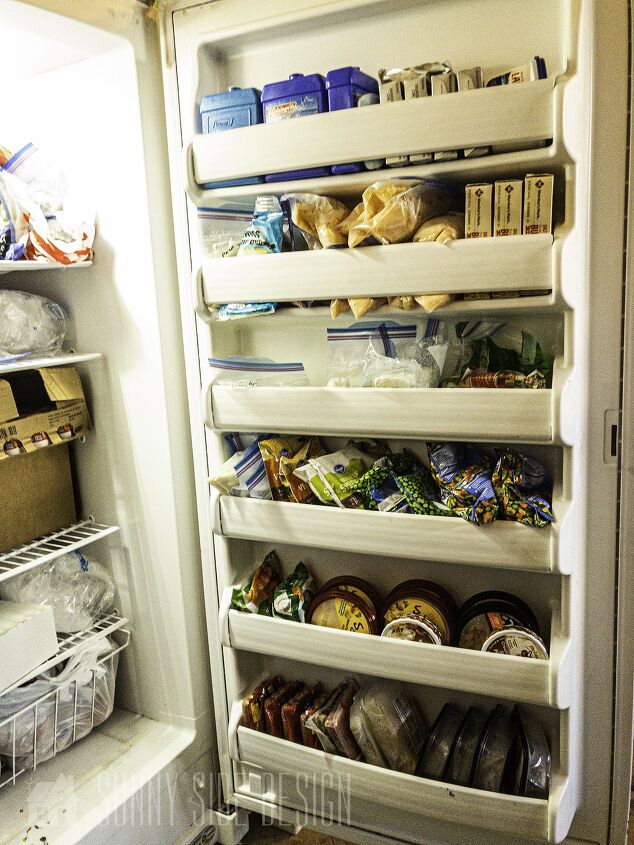
The same steps were used for the door storage.
Not a lot changed here, just a little rearranging.
I moved items we don’t use very frequently down to the lower shelves, and more frequently used foods to the top.
Freezer Organization: Step 4
You know the 3 most important things about buying real estate right? Location, location, location.
The same applies for getting and staying organized! Label, label, label!
The most important step to creating and maintaining organization in any area of your home is to LABEL.
Have you ever been in the middle of preparing a meal and ask for someone to grab you something from the freezer?
When they return they say “it’s not there” or “we’re out of that”.
Then you ultimately end up going out to get it yourself?
Can you relate?
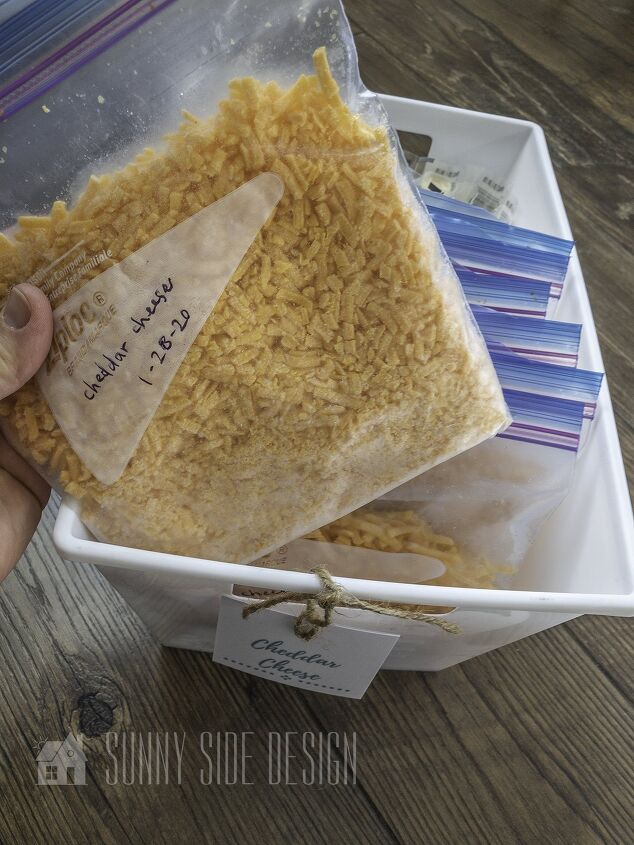
Well, with everything labeled this little problem will be alleviated. Now when you ask someone to grab a package of cheddar cheese for instance, they can easily see the label and find the product.
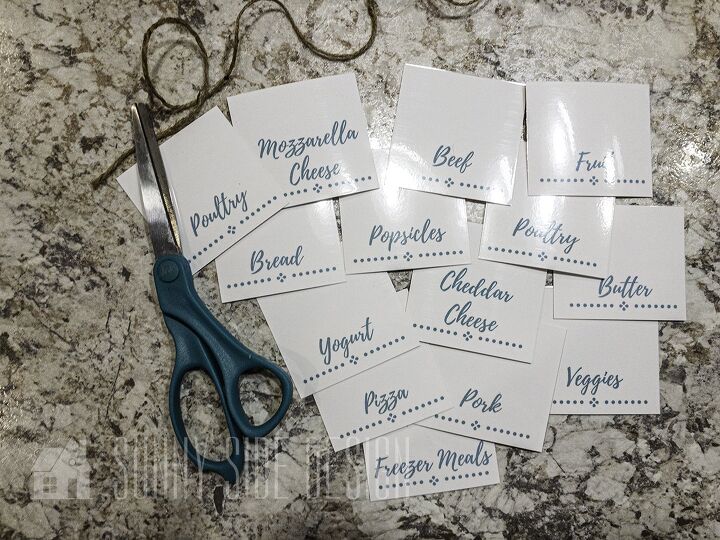
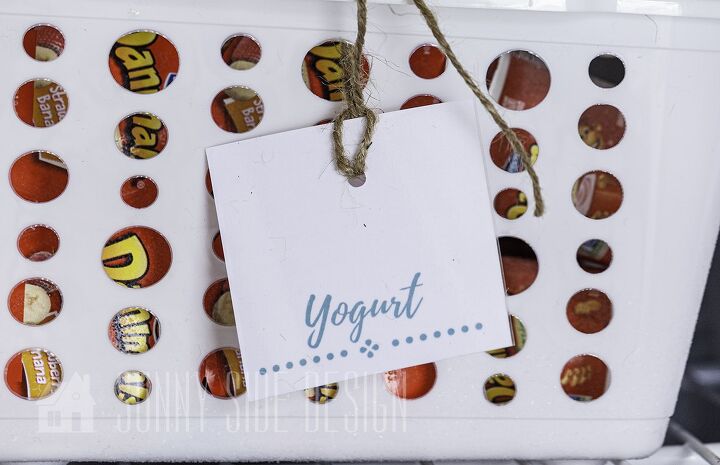
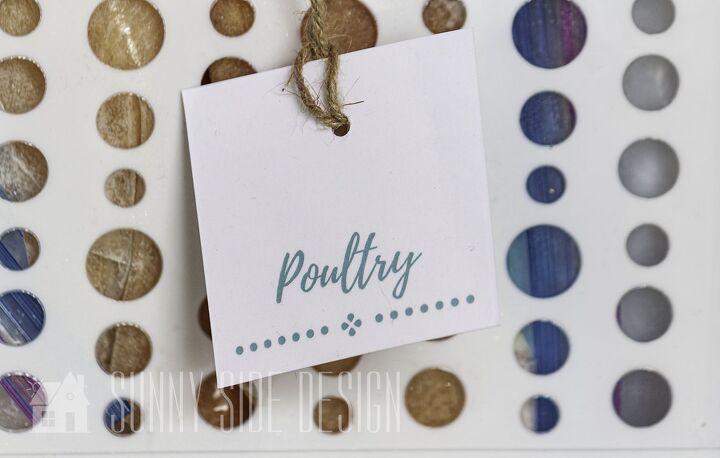
We’ve created some FREE LABELS for you to print out!
I had mine printed on cardstock and laminated to ensure they would hold up well in the freezer. This also provided added protection from food that is taken in and out frequently.
Freezer Organization: Step 5

If labeling is the #1 MUST DO to create great organization, the #2 MUST DO is to use bins!
Shelves are an obvious must have for freezer organization. However, bins and containers are equally important!
Used together they’re like a Power Couple!
(You know it’s funny because in our storage room, I had bins without shelves, and I thought it was semi organized. Here in the freezer I had the shelves, but lacked the containers and I thought I was semi organized.)
TRUST ME…you need both to be fully organized! (Here in the freezer and the storage room.)
It’s crazy how much more space you will gain when you use small bins and containers!
Sometimes all it takes is a little rearranging.
Here in the door storage, we freed up nearly one whole shelf by moving things around!
Arranging the food we use more frequently at the top, and items we use less often toward the bottom.

Oh it’s SO nice to have everything labeled!
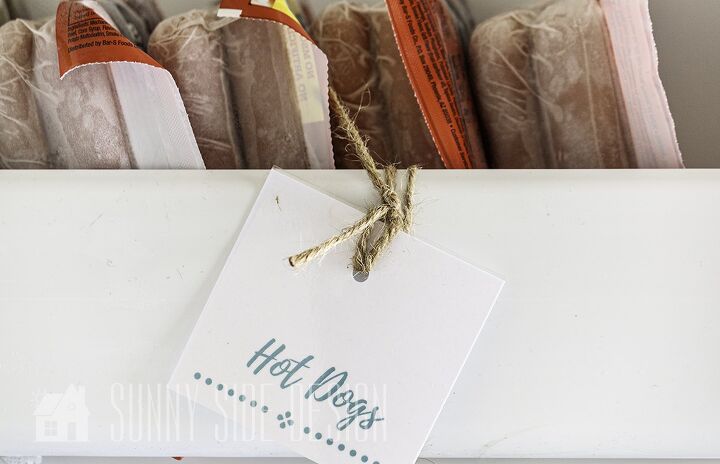
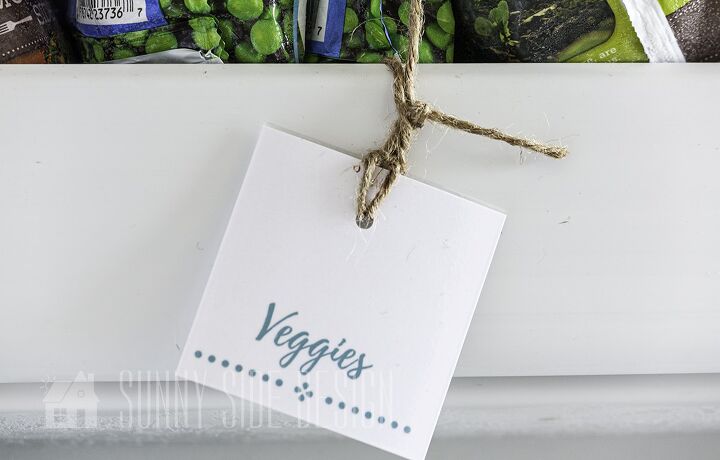
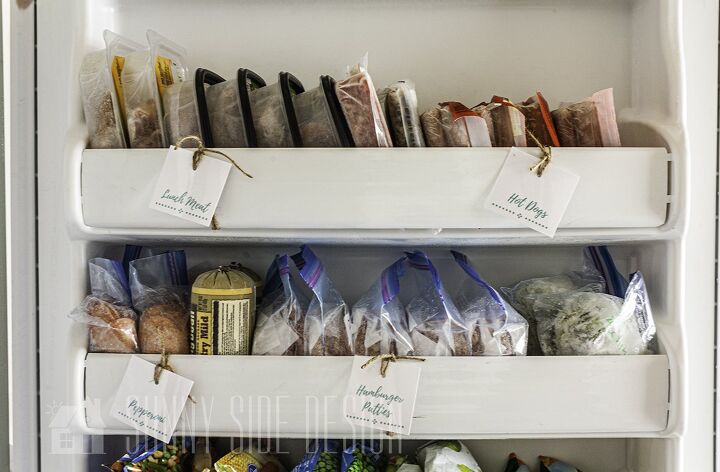
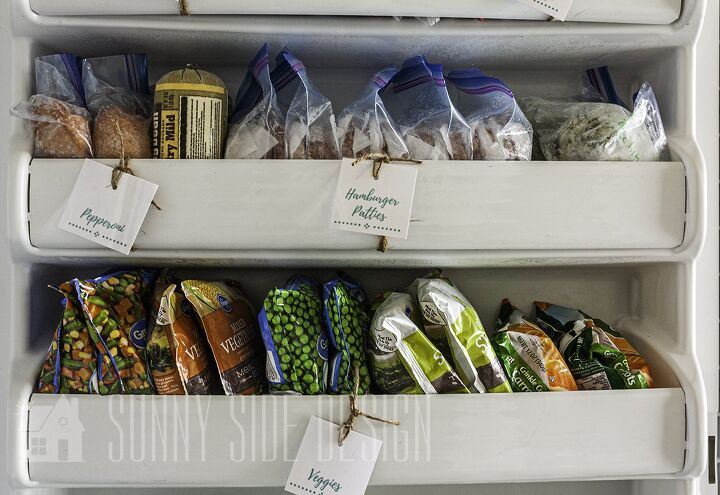
I used jute to tie the labels to our shelf fronts. I wrapped the jute around each shelf front twice, before knotting it to prevent the labels from slipping down.
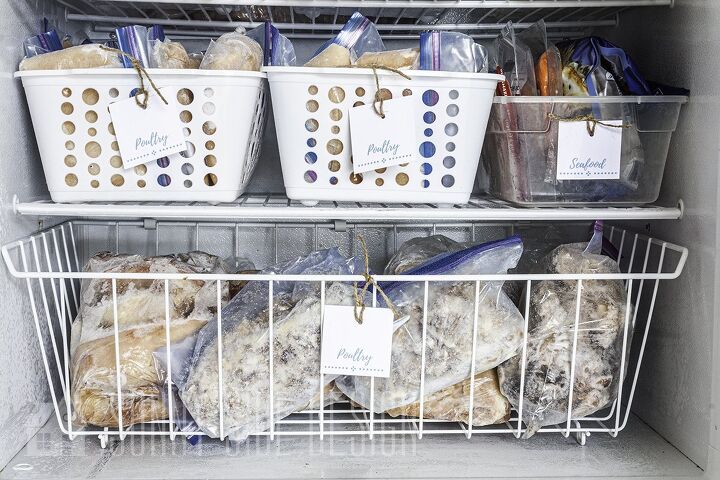
The remainder of the labels were tied onto each bin of food. In some spots, like the bottom drawer I tied the label to the drawer itself.
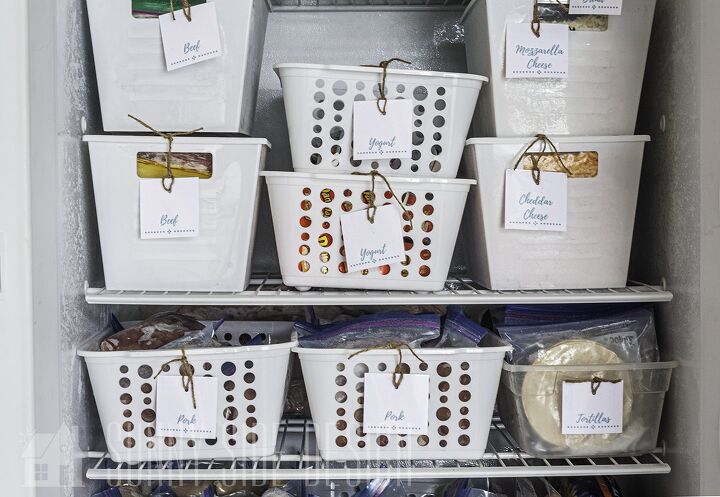
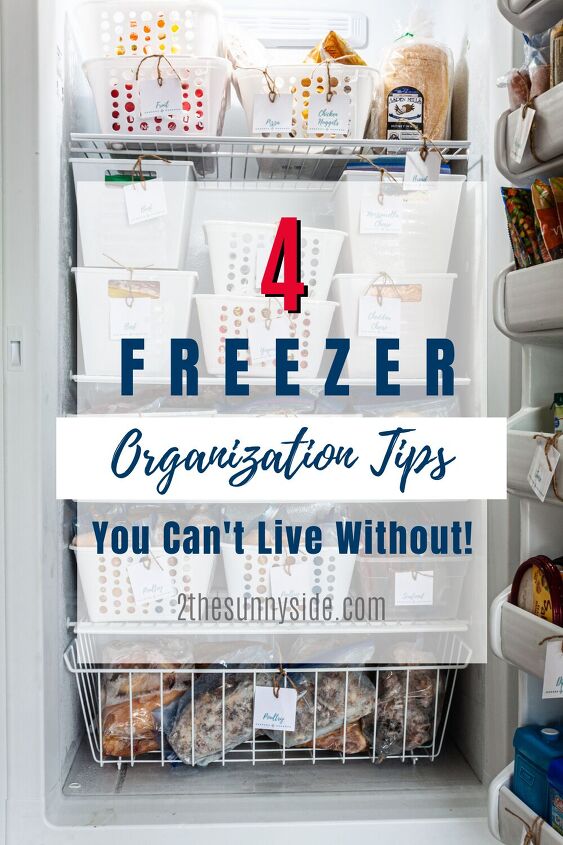
Not only does it look neat and tidy with white bins, but it really does help you maximize storage space!
Using bins that fit the dimension of your freezer is important to create zero wasted space.
I was able to fit 3 bins per shelf side by side.
By starting to load the freezer from the bottom up, you are able to adjust the shelve height as needed.
To get the most out of our freezer storage, we installed the shelves right above each row of bins.
(We used all the shelves that came with our freezer, but in organizing it I realized I could even use 2 more shelves to fully maximize this space!)
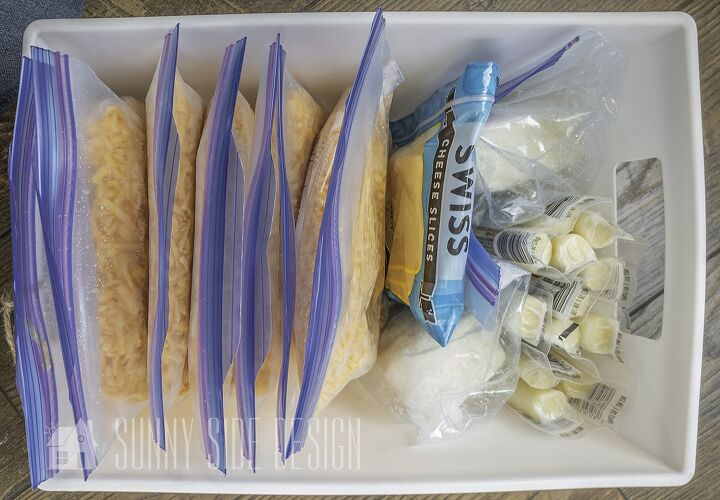
- Store food in bins or small containers. Not only does this help keep like items grouped together, but it helps to stack and sort food, which often even creates more storage space.
- Label everything! Label each bin so you know where each food item is kept. Also label your food. By dating your food you can easily see which items are older and need to be eaten first.
- Rotate your food. Labeling your food is just the first step to avoid throwing out expired food. When loading new items into your freezer, always put the newest food in the back of the container. This will keep the older items in the front, then you’ll use those items first.
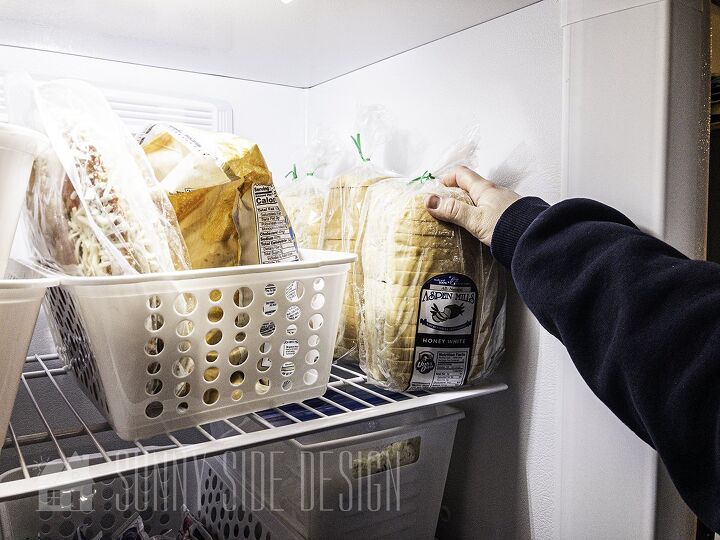
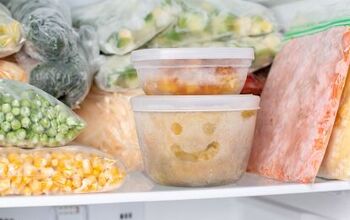
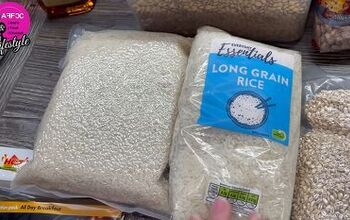
- Flatten your food when possible. This may sound silly, but if you buy meats in bulk, lets say ground beef for example, you’d likely divvy your large purchase into 1lb. packages. After filling your Ziploc bags, flatten the food to fill the entire space of the bag, squeezing out as much air as possible while sealing it shut. Now you’ll be able to neatly stack them into a bin and it will create zero wasted space.
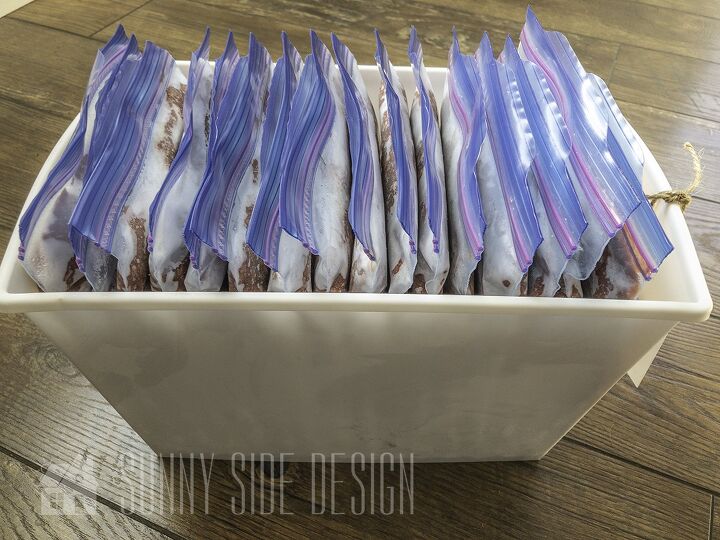
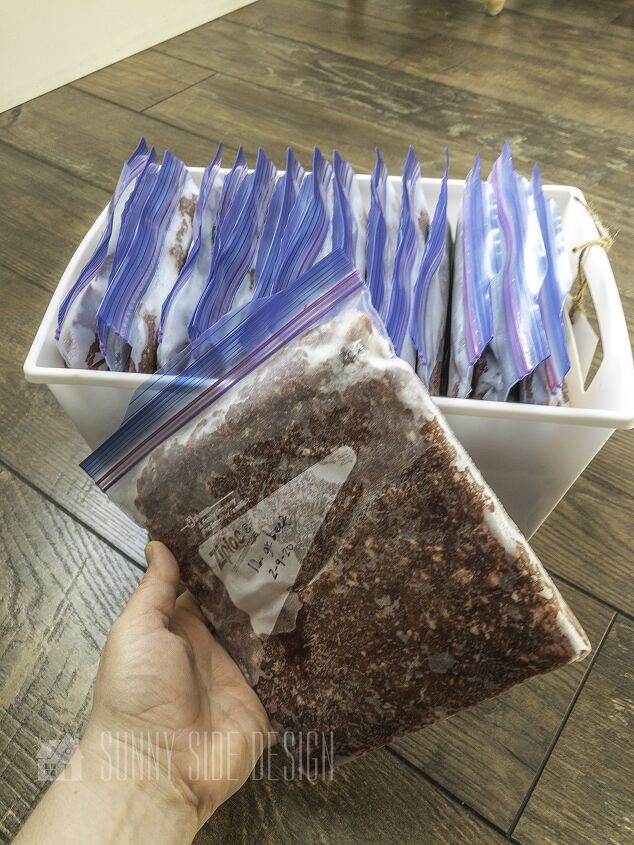
Here’s a look at how much space you gain by freezing your food flat!
(Not to mention, it defrosts quicker 😉 when you’re getting dinner ready.)
So how do you keep it organized you ask?
Just like any other area of organization, it won’t just stay organized by itself.
Here are a couple of helpful tips to keep your deep freezer organized:
- Take the time to put food where it belongs, even if you’re in a hurry. It won’t take too much longer to put it in the correct spot.
- Set aside a little time at least 1x/month (or when you’re preparing your grocery list) to quickly take stock of your food inventory. This will allow you to quickly wipe up any crumbs or spills, as well as make sure your older food is in the front of each bin, so you’re properly rotating food.
- Over time if you find that some items aren’t being put away correctly, you may need to take a little time to rearrange a few things. Maybe your family gravitates to putting some things in a particular spot, you may need to make that the new spot and move your label.
Are you looking for more ideas to keep your home organized?
Then take a look at these ideas!
30 Affordable Pantry Organization Ideas & Storage Ideas You Need to See
Organize Your Fridge in 5 Simple Steps
15 Amazing Organizing Ideas for Your Kitchen
Thanks for spending some time with us today! We hope you found some useful organization tips you’re excited to try!
Please PIN for later and share with your friends.
And as always here at Sunny Side Design
WE HOPE TO BRING YOUR HOME TO THE SUNNY SIDE OF THE STREET!

Be sure to follow us on Pinterest for more organization ideas, and tons of DIY projects for your home!
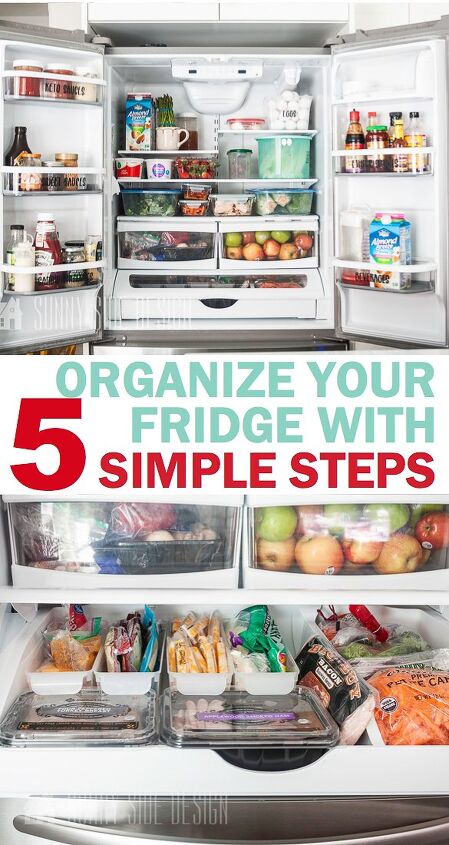
Why not tackle the fridge organization while you’re at it? See how you can create a completely organized fridge in 5 simple steps!
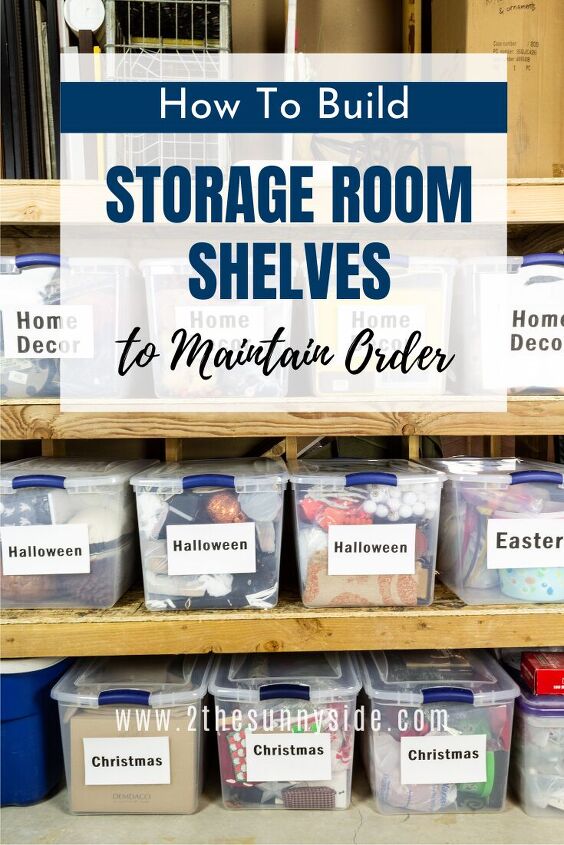
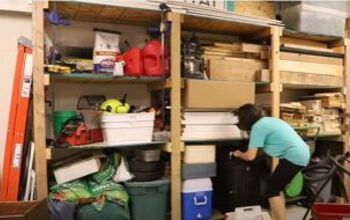
Is your storage room in need of some order? In this post you’ll learn the #1 most important thing you NEED to create and maintain order in your storage room!
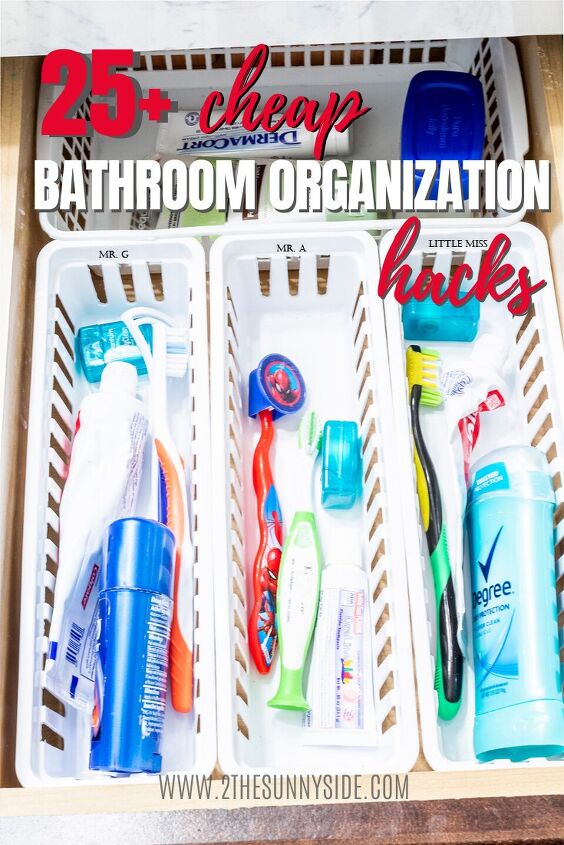
By now you’re on a roll getting your home in order! Check out these 25+ Cheap Organization Ideas for the Bathroom!


Comments
Join the conversation
Great ideas . I have been hesitant to add bin as I have fixed shelves in my freezer, but am going to try it and see. i agree that flattening out the packages and taking all the air out helps no matter how you organize your space.
getting your meats wrapped and packaged FOR FREEZER is a service most people don’t take full advantage of! Get to KNOW your meat dept staff !
vegetables that are about to be overripe or discounted can be cooked, prepared in a casserole, then frozen in meal sized portions. Many recipes freeze well. Hint: if you see something frozen in a commercial package, you can do it too!
Finally, a full freezer stays cooler with less ice buildup requiring defrosting…use gallon milk jugs to fill excess space…it will extend the food safe time if you lose power. Check seals monthly for evidence of mold or moisture. Keep doors closed…locks keep curious kiddos OUT, and doors tightly closed. Velcro strap keeps a door from being unintentionally partially closed. It forces mindfulness in securing to door, instead of bumping shut with a foot.