How to Install Starlink Internet for RVs in a Few Simple Steps

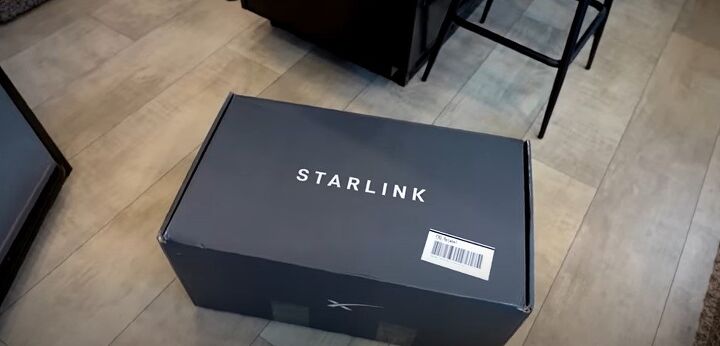
Do you need high-speed internet for your RV? I’ll show you how to install Starlink Internet, a high-speed internet perfect for RVs. So, I’m looking forward to seeing if Starlink lives up to all the hype. Let’s get started, unbox, and test this!
Starlink installation on the roof
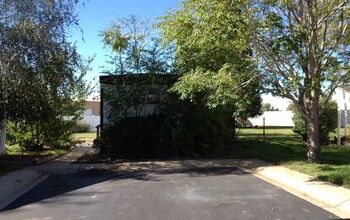
We are going to test this in a spot that has a large tree near us, a few lower palm trees around here, and the sky is not completely wide open.
I could set it up on the ground like a lot of people do. It would be easier. But I want to do the Starlink installation on the roof of the RV to keep it safe and it will have more open sky to connect.
Now we are going to mount it where we get the best internet. It may not be a permanent mount, but we’ll just need to try it out.
We are at an RV park in Florida. It’s a bit out of the metro area and away from other internet and cellular sources so we’re hoping Starlink does the trick.
Set up the base
I’m going to use the base that came in the box and secure it up against the ladder on the roof. Then I can lock the device into the base.
Secure the base with a clamp
I used a simple U-shaped clamp to secure the base to the ladder so winds and storms do not move the device. I’ve heard that other people have used zip ties to secure the device. There are Starlink Facebook groups that you could consider joining to get ideas on how to mount the device.
Why Starlink RV version is best
Make sure you get the specific Starlink product for RVs even though it may be a little more expensive and a little slower connection, but it is guaranteed to connect to a Starlink-active area. The map will show you where there’s an active area.
It was a little pricey but I think it was worth it. It cost $692.11 to get it shipped to the campsite and $135 per month for service.
Peak hour warnings
Starlink gives you updates and warnings. For example, it will tell me that I should expect slower speeds since it’s an RV connection. It also gives me a warning if the network is operating slower and congested at peak times. If you are a part-time camper, you also have the ability to pause the connection, as well, so you don’t have to pay the monthly payment when you don’t need it.
Trees can be a problem
We don’t rely on just one internet source. We have three layers of backup sources because some services don’t work at certain sites. Sometimes services like AT&T, Sprint, Verizon, or whatever service you use may not be available where you are.
The biggest single issue with internet connectivity, and with Starlink, is trees. Campsites have lots of trees. So where we can’t use Starlink, we have to go back to a cellular solution like AT&T.
The solution: when you reserve a campsite, request a site with little to no trees, or, if you can’t do that in advance, check out the available spots when you get there. Just remember you may not have the shade you want if you opt for a treeless spot.
Connect the cable
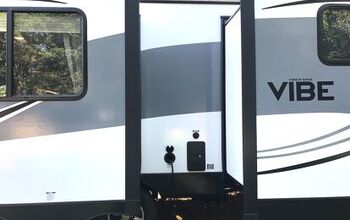
Take the other end of the cable and push it in through an open window. There should be a little notch in your window frame to set the cord and still allows you to shut the window.
Set up the router
The angled plug goes into the router. It appears to be waterproof for outdoor use, too. There’s a gasket that goes over the plug. The router is nice and tall, slim, and doesn’t take up too much space.
Set up the Starlink app
Now we set up the Starliink app. You have to enter the network name and the wifi password.
Satellite connection
The app will say the satellites are connecting and that may take a few minutes. Meanwhile, the device is on the roof rotating to try to find the satellite connection.
Speed test on the app
When the app says “set up complete,” you can check the speed test. It may not be super fast but I’ll take it.
How to install Starlink internet for RVs
You can get some amazing Starlink internet even in forests and out in the desert like some of our friends get. If you have Starlink, how does it work for you? How did you handle your Starlink installation? Let us know in the comments below!









Comments
Join the conversation