4 Easy DIY Christmas Wood Crafts You Can Make With 2x4s

If you have been looking for some simple DIY Christmas decor, today is your lucky day. I want to tell you about some DIY Christmas wood crafts that are easy to make and will look great in your home for Christmas.
For all of these, we are going to use different-sized 2x4s, which you can get at Home Depot or at a hardware store. Let’s get started!
1. DIY "Days until Christmas" sign
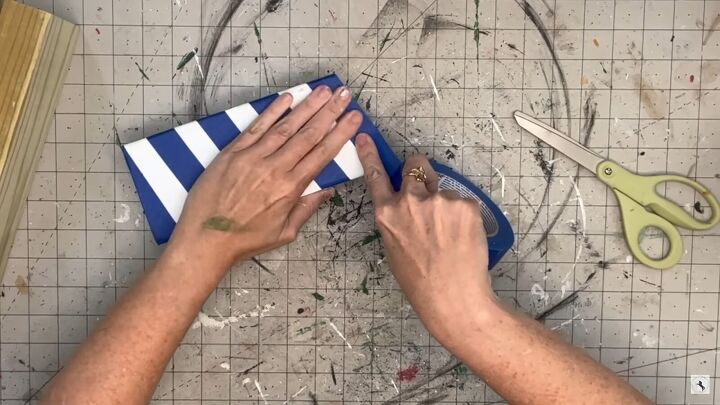
You will need three 2x4s for this one. Start by painting the first 2x4 with white chalk paint. Then take painter’s tape and wrap it around the 2x4 at an angle to get a candy cane stripe look. You do not have to paint the back, so don’t worry about fully wrapping it.
Afterward, paint it with Imperial Red by FolkArt acrylic paint (I get it at Hobby Lobby). It is the perfect Christmas red, and it is matte.
I am also using a synthetic brush, also a FolkArt, from Walmart, as anything else will leave texture on the wood.
Take the painter's tape off.
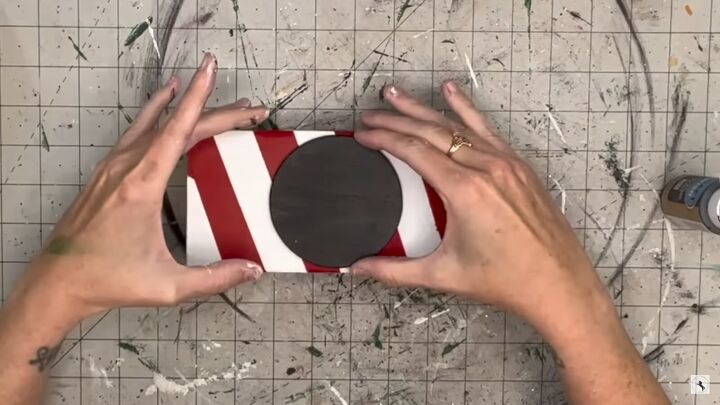
Now take a wood disk and paint it with chalkboard paint from Dollar Tree. Do two coats: the first coat absorbs into the wood, and the second coat goes on top.
Let it cool down before applying that second coat. Finally, hot glue the disk to the middle of your striped 2x4.
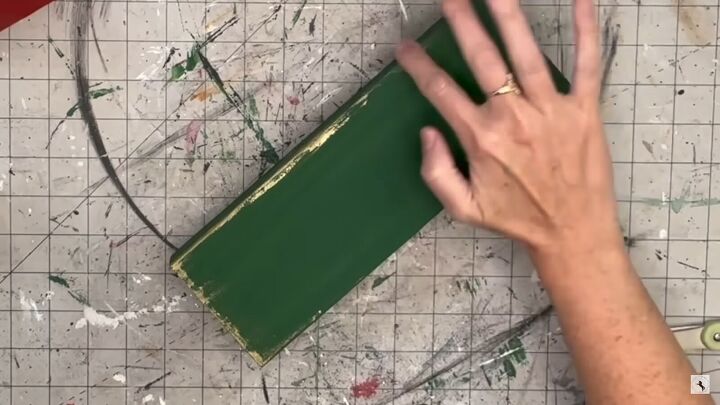
The second 2x4 we will paint with Antique Green on all sides. Then apply gold wax all over the edges. I am dragging it around those edges, bringing it in at the sides, and then I do put some on the top as well.
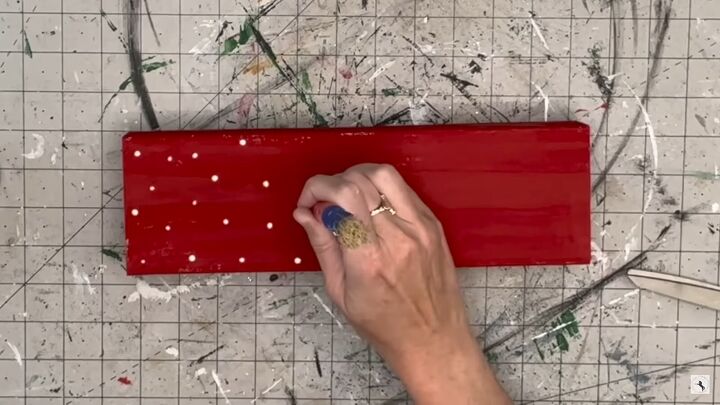
For our biggest 2x4, cover the entire thing with our Imperial Red. Then do very small polka dots, using the end of a paintbrush. I could have used a dauber or something like that, but I wanted the dots to be very subtle, so the text that we put on here is what stands out the most.
The color options in this DIY are obviously your choice.
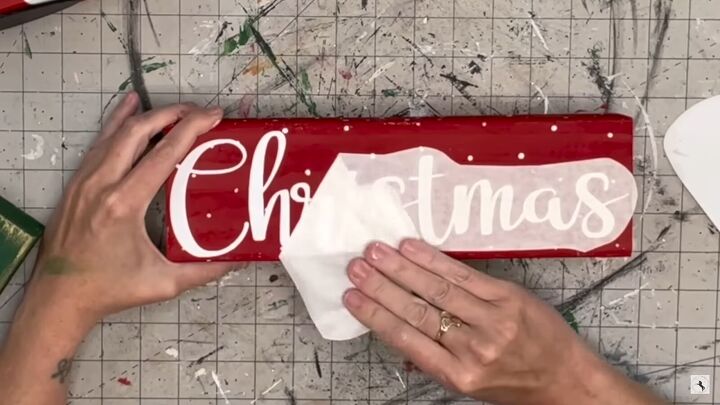
Now I am taking the words that I cut with my Cricut: “Christmas” for the big board and “days until” for the green one.
And then we need to season that little chalkboard: take a piece of chalk and just rub it over, and then wipe it off with a paper towel. This way your chalkboard does not stain.
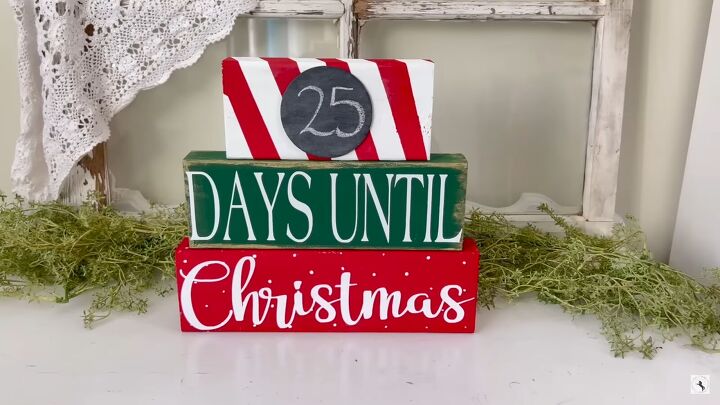
And this is the precious result!
2. Snow & snowman
For this 2x4 project, you are going to need four 2x4s of varying sizes.
Place your shorter one to the side, and then paint the three remaining black, or any other color of your choosing. I think blue would be great for this project, too.
While it dries, take the shortest 2x4 and paint it white. We are going to turn it into a snowman.
Then take a scarf to make a beanie, I got mine at Dollar Tree. Roll up the front so that we don't see the little raw edge, and hot glue it around your piece of wood on both sides.

Next, take a piece of twine and double knot this up top. You can stick cotton balls or a paper towel inside to make the beanie look more full, but if the fabric is thick enough, it will not be an issue.
Now with a sponge brush or dobbers, paint dots to create eyes and a mouth. Finally, paint a triangle for the nose.
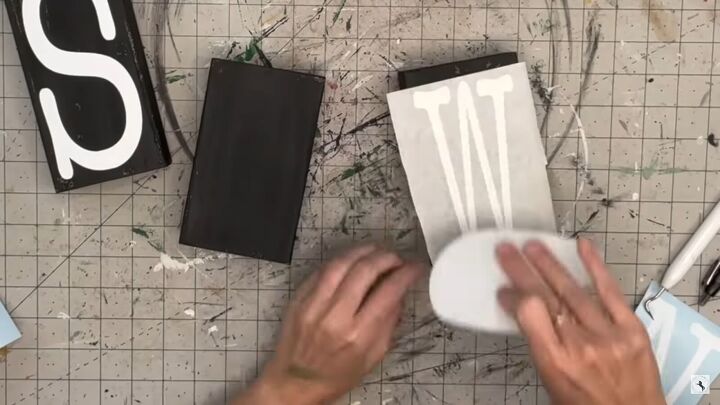
Cut out your letters and stick them onto the three black 2x4s using transfer tape, and you are done.
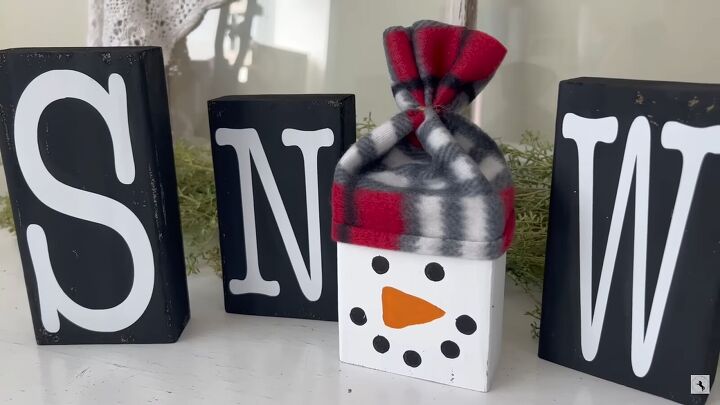
Here is what I got at the end! I love it, and you can play with the color scheme, as well. I suggest using blue blocks and a matching scarf for the beanie.
3. DIY wooden Christmas signs
For this one, you will need three pieces of wood in the same size. Technically, you could use any other number or make just one, but this is what I chose to make. Paint all of them in white.
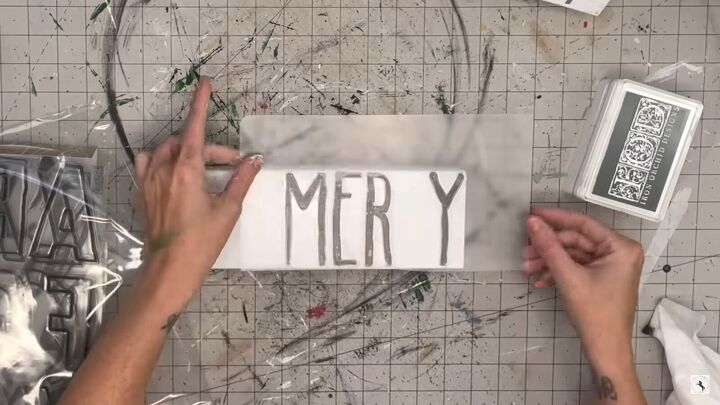
Grab IOD stamps (I like the farmhouse fonts) and place them onto the wood. Then get a cutting mat, stick it on to there, and flip that on around.
Put IOD ink on the letters, flip it around very carefully, and rub your finger all over those stamps, to get an even distribution of that ink.
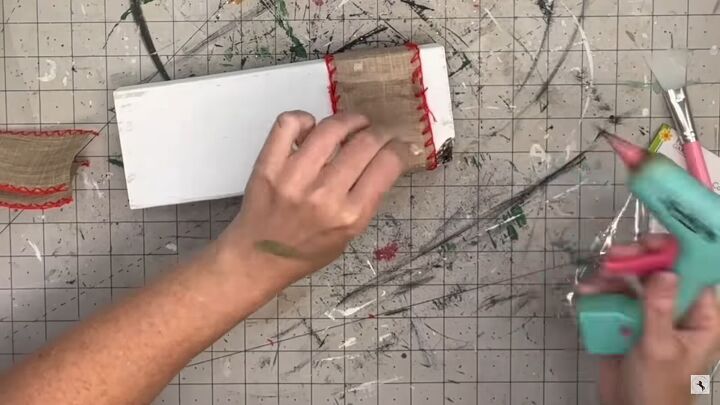
Get a ribbon, wrap it around the 2x4 and glue it to the back. Then get a mini pine stick from Dollar Tree and hot glue it to the ribbon, and hot glue a cotton snowflake on top.
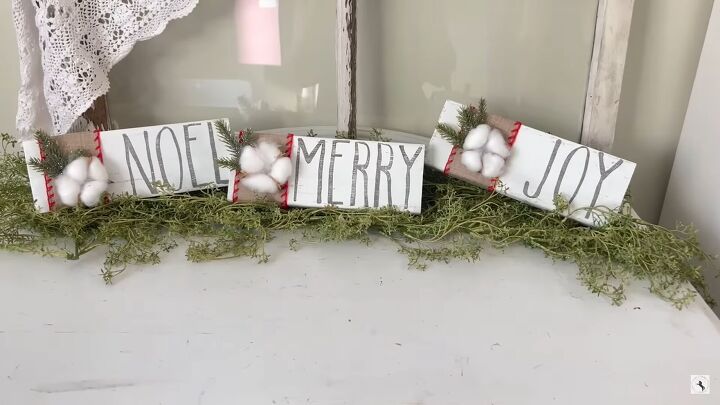
Here are all three blocks together, and I really love the festive look.
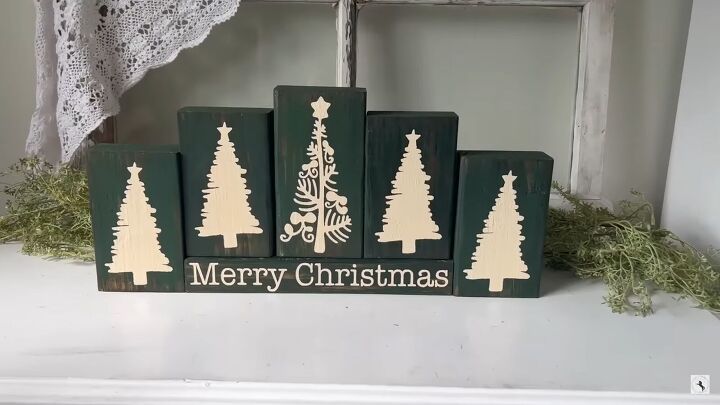
4. DIY Christmas tree sign
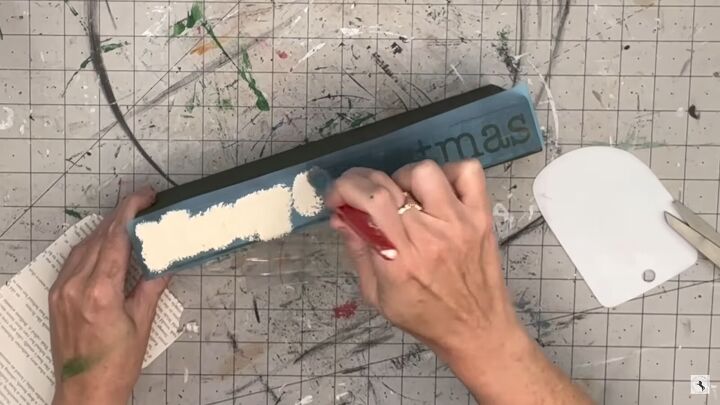
For the last project, you need six 2x4s. Paint them with Antique Green by FolkArt, and then apply Dark and Decrepit by DIY on top and wipe it off right away, so that it does not look streaky.
Then, get your text on the side of one of the 2x4s (I am using “Merry Christmas”). I recommend using Oramask 813 stencil vinyl, and stipple on the Cashew by Waverley, which is a great color for a vintage look.
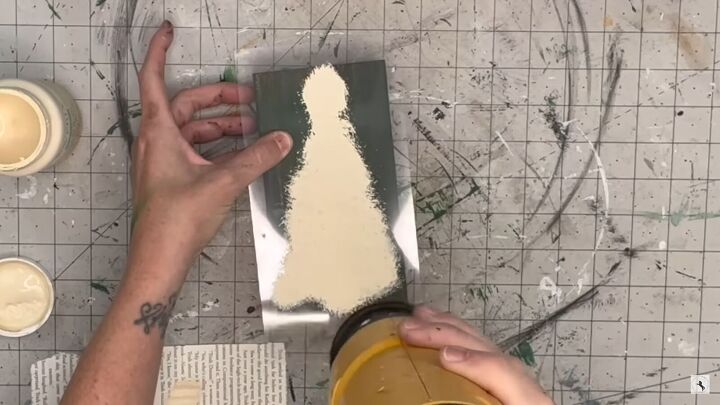
On the other five 2x4s, am going to make different Christmas trees using the same technique on the flat parts. After I finished, I cleared all of these with clear matte by Rust-Oleum, because they are just going to be indoor decor pieces. You could customize these with names also.
That is it! I hope you loved these DIY wooden Christmas ornaments and will make some of them at home.
DIY Christmas wood crafts
Do you have any other ideas for 2x4s we might have laying around? Share them in the comments! Have fun making your own DIY wood Christmas decorations, and Merry Christmas!


Comments
Join the conversation