3 Easy DIY Valentine's Gifts That Only Take 5 Minutes to Make

Today I'm going to show you some fantastic DIY Valentine decorations. There is one problem with all Valentine's decor, and that is it rarely matches the design you have in your house.
So today, I thought, what if we could make some quick, easy, fun Valentine's Day crafts that you can keep for yourself for decor or give to somebody else?
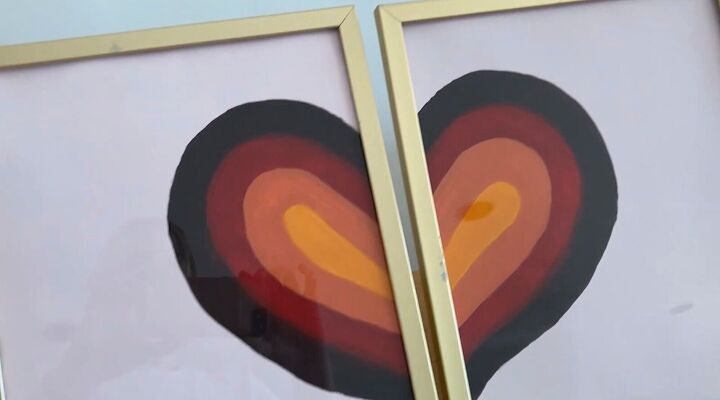
1. Best friend framed art
I love the idea of best friend necklaces from back in the day. For an adult gift, I thought, what if we make a piece of art meant to be separated and given to two different people?
For this project, I am using things around the house. I have two dollar store frames. I also have two manila file folders. Since these are 8 x 10 frames, I'm using a piece of paper that would fit that.
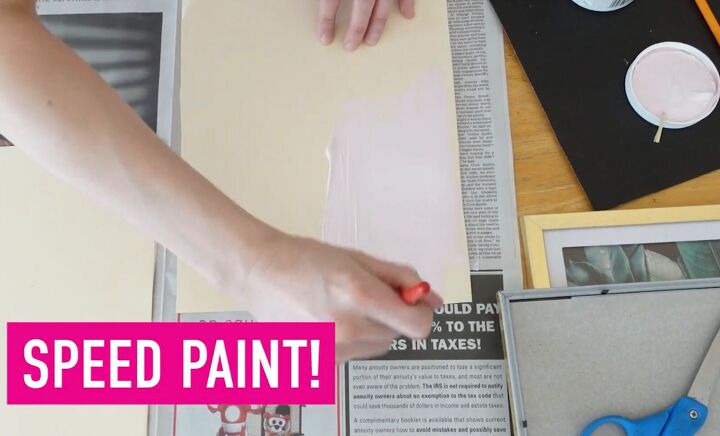
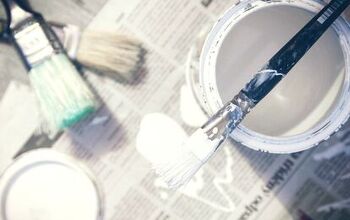
Now we are going to paint the folders our base color.
I'm going to do a light pink.
Our paper is dried, so I'm taking one of the leftover pieces of the manila envelope and folding it in half.
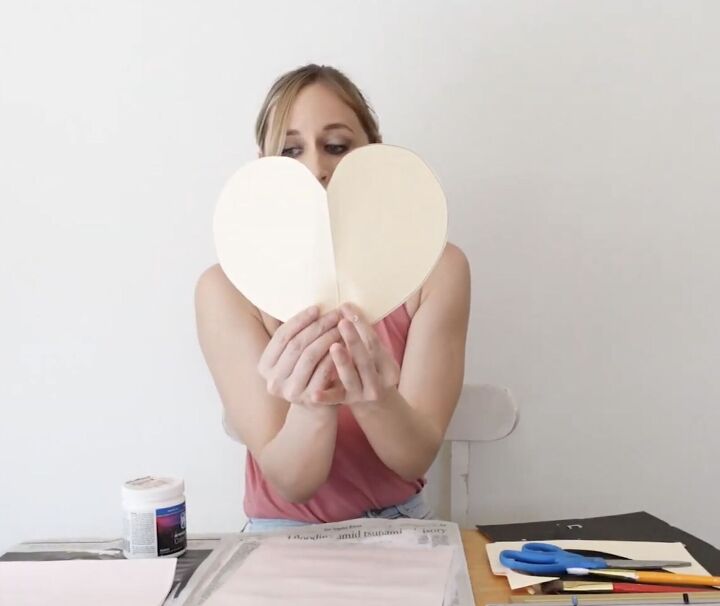
Draw half a heart on one side and cut the heart through the folded paper.
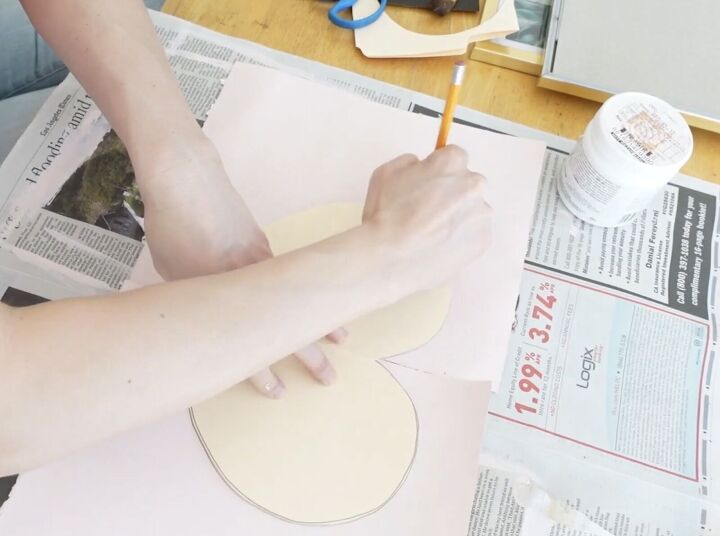
Then I'm tracing each heart half where I want it to go.
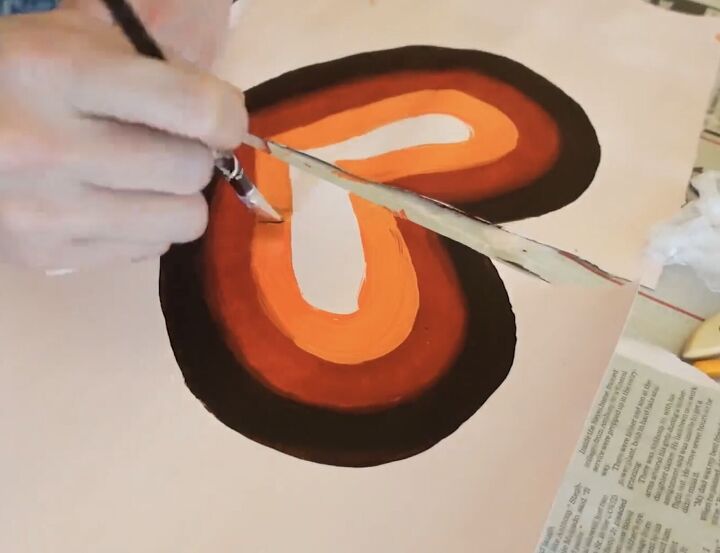
I'm not just going to paint a heart, I'm going to do kind of a 70s groovy striping pattern.
I'm just going to clean up the pink, and then I will mail one of these to my best friend, Beyonce.
2. Trinket dish
Next up, you're going to get some air dry clay. This craft is so simple and easy. We're going to make a little trinket dish, but we're going to Valentine's Day it up by making a little heart in the trinket dish. What are we going to use to make that heart-shaped design?
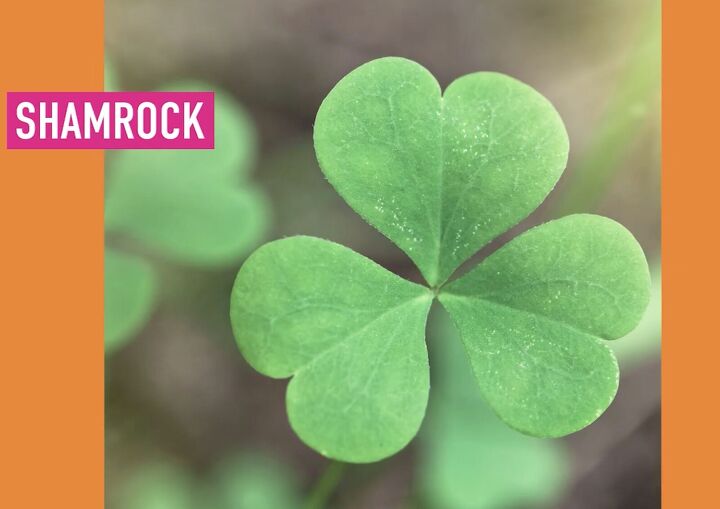
Mother nature's gifts. Leaves.
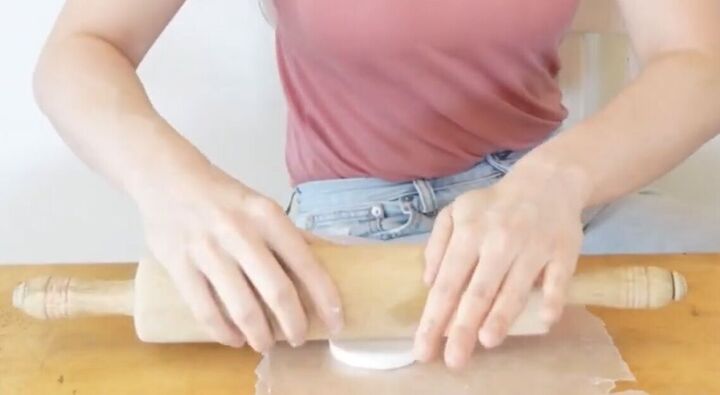
So you're just going to get your clay, have maybe a little water nearby, and you're going to roll it flat on wax paper.
This will help you keep a nice flat bottom. Roll it out to the thickness you desire.
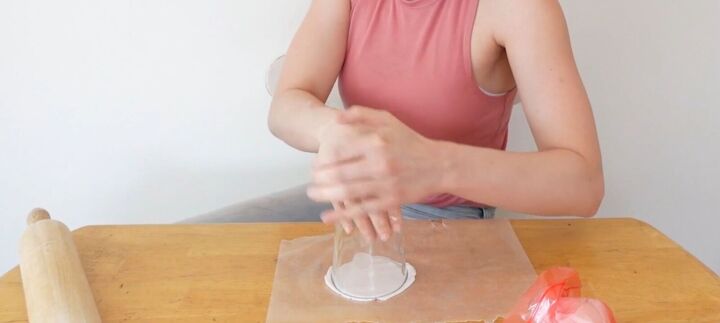
Take a glass and press the rim through the clay.
If you want, you can use a little box-cutting knife to clean up around the edge.
I got a second clean piece of wax paper, and you want to ensure that there are no wrinkles in the wax paper because you're going to lay it over it and roll the rolling pin over it.
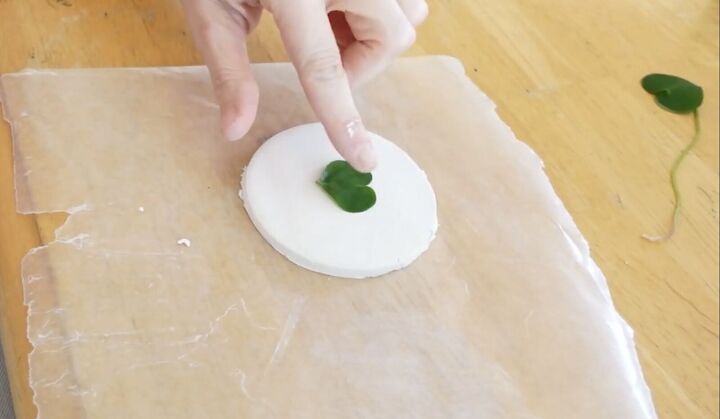
I am taking the biggest heart from this clover, and the veins are on the back side of it, then I'm going to position that right in the middle here.
We're going to put some wax paper over that. Again, no wrinkles. You want this to be a really good print. Again, remember to put the backside down.
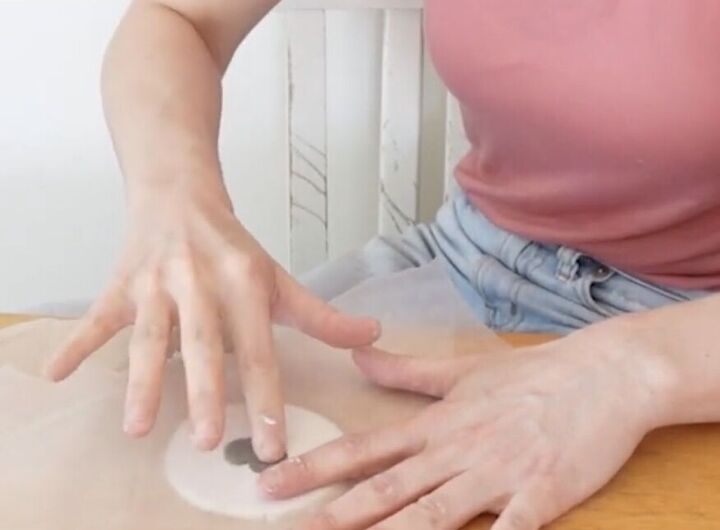
I'm going to manually press in as deep as possible without going too deep into the clay.
You don't want to poke through it. I want to ensure that there's a nice print in there already.
So now I'm just manually shaping it up to bring it into that little dish bowl shape.
We're going to let this cutie dry and come back to it.
It's a new day, and the air-dry clay has completely dried. I am taking sandpaper, and I'm just going to do a quick little sand to take down this rough edge.
I realized I wanted to make sure that this little heart stood out. I also realized the cutest, daintiest, most elegant solution would be to gold foil it. It's just this little milky glue, and you want to paint it right into the heart.
This usually wants you to wait a few minutes until it's dry and tacky.
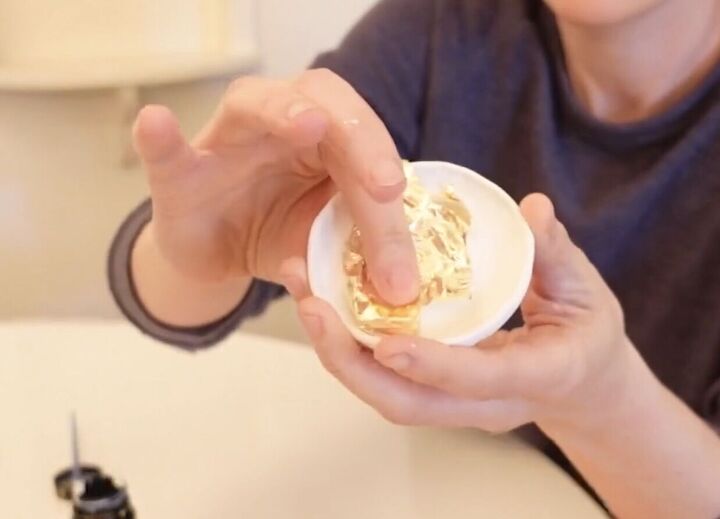
You take your gold leaf, and you press it all in.
I'm going to try to get in those veins to show. You can take a makeup brush, a big fluffy brush, or a pen.
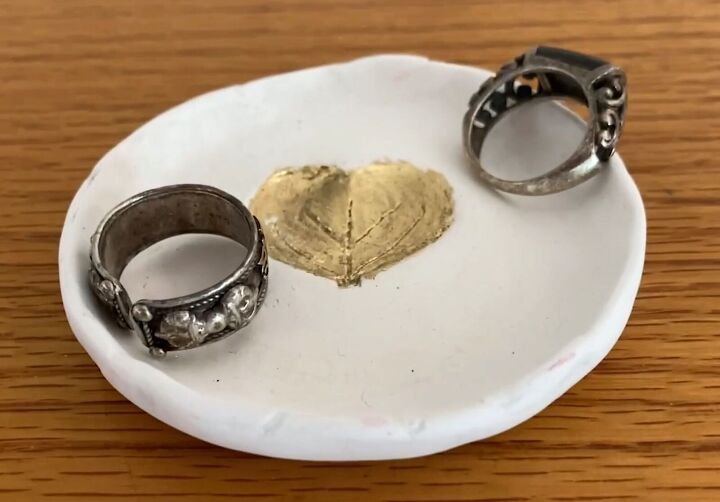
You simply brush all the gold leaf off, and then you're going to go back over it with a sealer for the finishing touch.
3. Rose candle holder
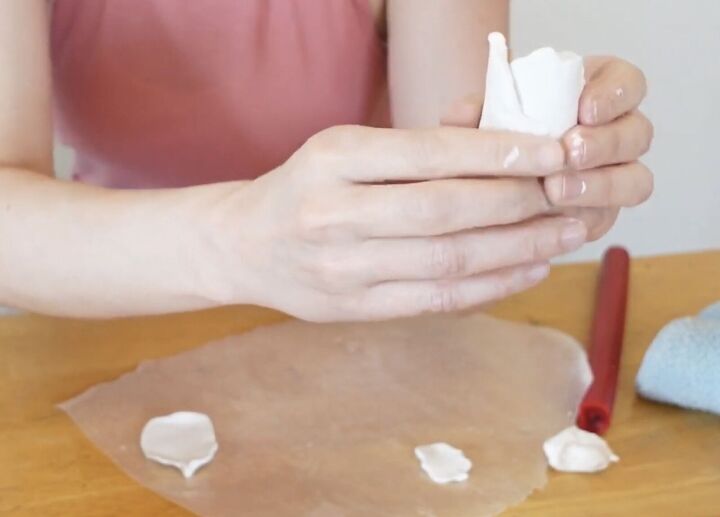
We continue our air dry clay theme by making a tiny rose candle holder.
You're going to start with your ball of clay.
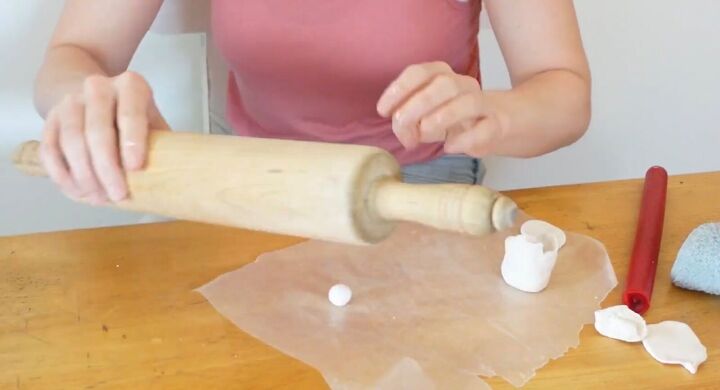
You're just going to roll it out kind of flat.
Just make a little tiny circle. You want it to be thin, but not too thin, where this will break or not hold it.
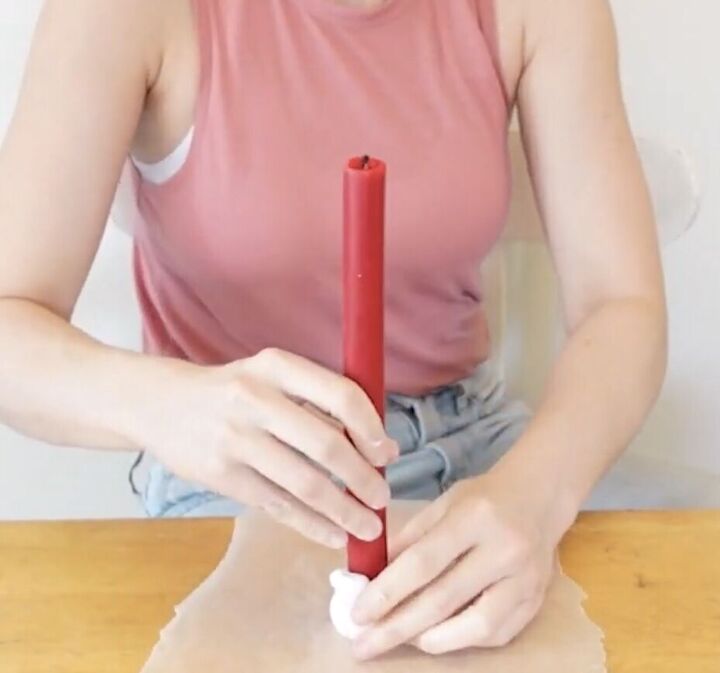
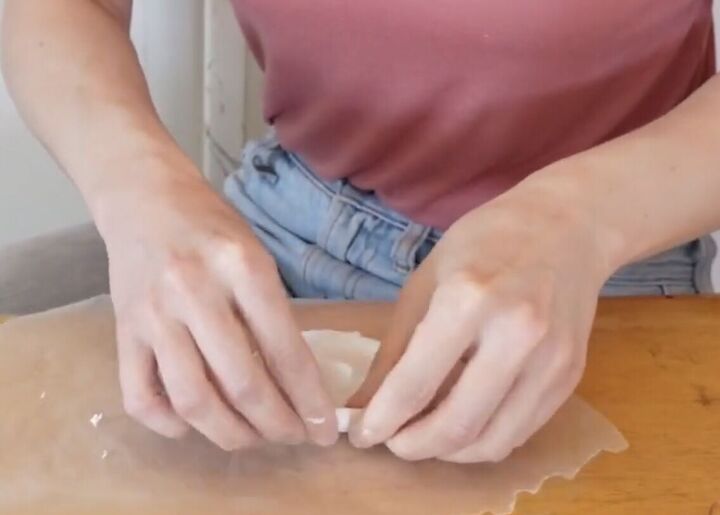
You’re going to start by placing your taper and curling it up around the edges of it.
You want to make sure that it's nice, firm, and flat so it will stand on its own. When you do that, you naturally end up with a petal shape. I'm also curling this one in. Curling it in makes it look like a bud that has been opening, which is cool.
You're going to be doing a lot of smoothing as you go. Keep that water handy.
You'll roll a ball out to the length of whatever you want it to be.
You're just going to pinch the top a little to give it that little point.
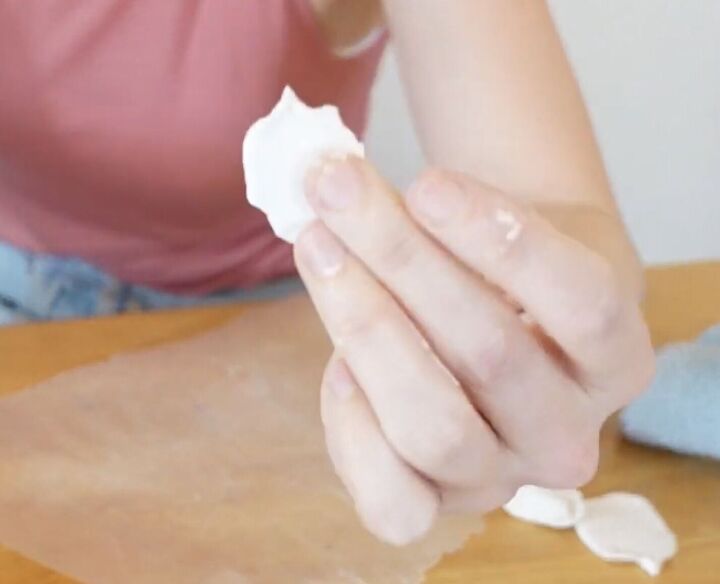
You can manually press the petal in and then get that ruffled edge of a rose. You can keep building petals of different sizes.
Just start layering them all around, and they should go staggered.
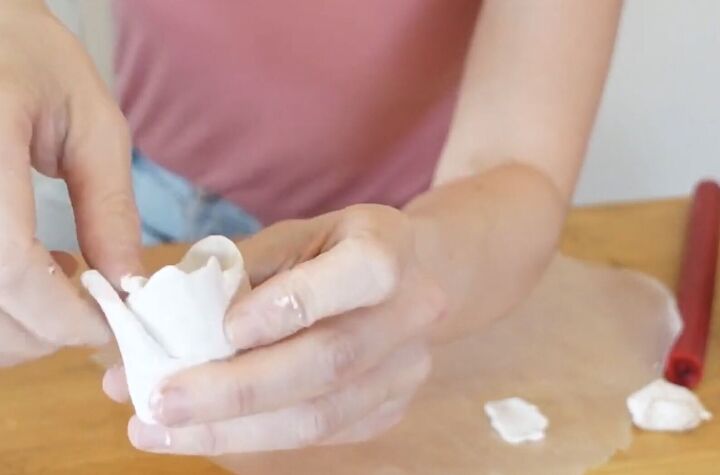
I'm just blending the seams, like pushing the clay into the other. Then you can manipulate how far out you want it to be bent.
I added two more petals, which is where we're at now. We're getting pretty close. I don't think I'm going to do many more. I'm going to leave it as it is.
We're going to let it dry, and we're going to come back to it.

It is time to paint this.
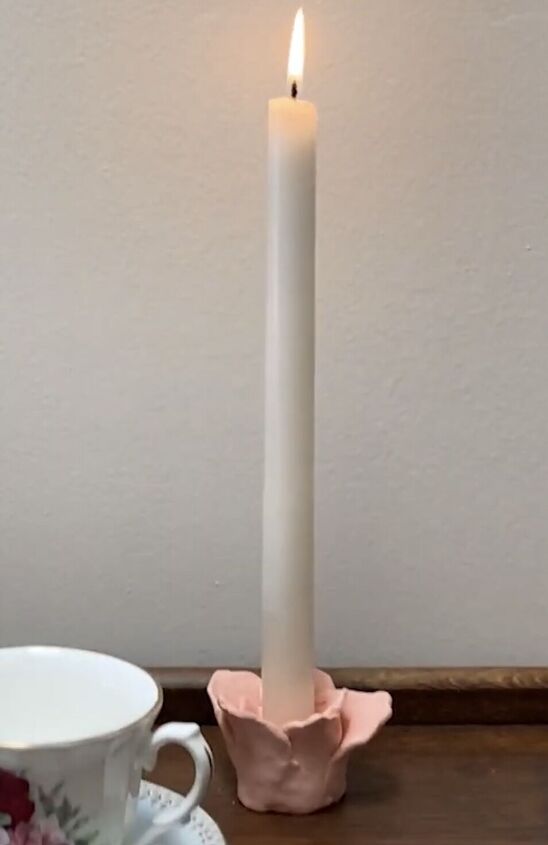
I realized the perfect color for this is a peach. A beautiful peach rose for the perfect Valentine's Day decor or gift.
DIY Valentine's gifts
How do you celebrate Valentine's Day? Do you do a low-key holiday or go all out with chocolates, roses, and a romantic dinner? Share your experiences in the comments below.


Comments
Join the conversation
Hi, I liked the 2nd craft! You didn't mention taking OUT the green leaf in the clay. How is this done without leaving marks? If you've pushed it in for an impression, it seems like it would be difficult to remove.💚💚thank you