Everything You Need to Know About Seed Starting for Beginners

If you are serious about being self-sufficient on your homestead, seed saving is one of the most important things to do.
Today, I want to explain the basics of seed starting for beginners, so you can start doing it, too. Let’s dive into my seed starting tips for beginners!
Seed starting, or seed saving, is saving your own seeds for future years so that you can keep producing food year after year after year.
Growing it yourself is how you know it is the best food with the best seeds, it is already adapted to your environment and your microclimate.
I try to save as many seeds as I can. Today I want to mainly talk about tomatoes, which are a great example, because you can do the same with so many other vegetables.
For tomatoes, you can use two different ways. One is the most natural way: you have the seeds fall to the ground where they were growing and let these tomatoes break down.
In the spring, when the temperature conditions are right, they sprout on the soil, and you have a lot of super healthy seed starts for tomatoes.
The more common way is fermenting the seeds in water. You need to pick a very ripe, soft and healthy tomato, a good size and without a blossom end rot, because you want good genetics.
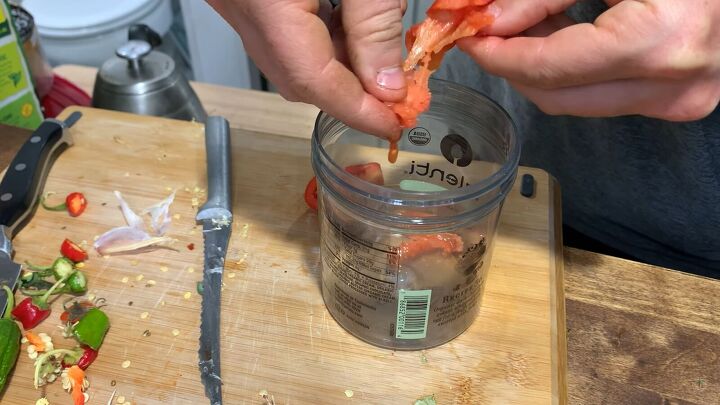
Next, you need to cut off the top and cut the tomato in half. With your finger take the seeds and the juices out of it and into a cup.
Roma tomatoes, like mine, do not have a lot of seeds, but they have enough, and they are very meaty, which makes them great for canning and sauces. The more juice, meat and liquid you get inside, the better of a ferment you will get.
Once it is all in a cup, cover it with filtered water and let it sit for a couple of days. The water will help the gel coating on the seeds that could prevent them from sprouting to break down and break off of the seeds.
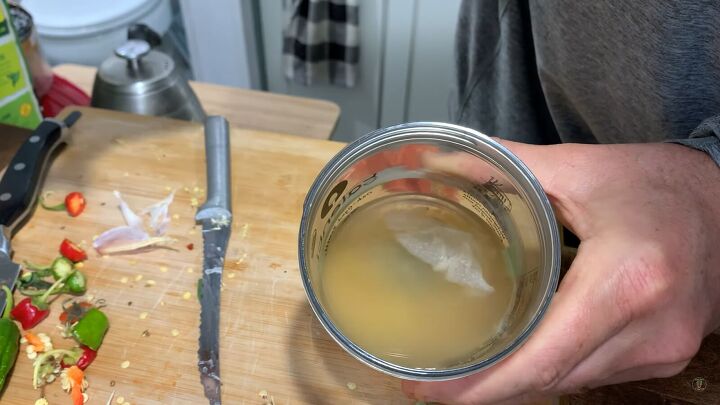
In a few days, you should see a film on top of the water, and perhaps even some mold. That is an indicator that it is time to take these seeds out and strain them.

This way, you get rid of the liquids, and are left with the seeds.
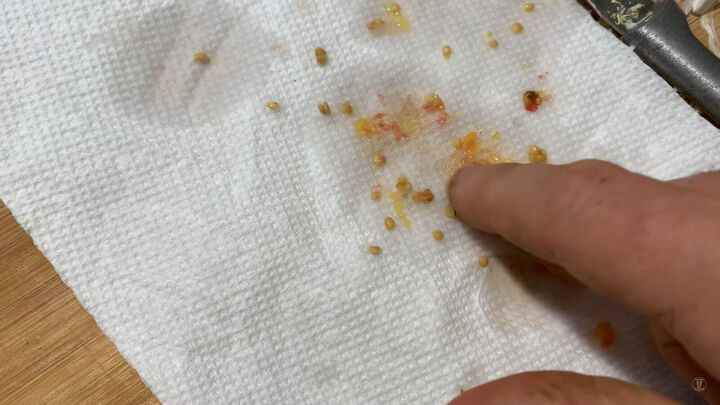
Rinse them off with some water to clear off the liquidy stuff, let them dry on a paper towel for a few days, and then store them in a bag for next year.
Make sure you write down exactly which seeds those are so you do not get them mixed up.
This fermenting method can be applied to so many other kinds of vegetables with juicy interior, such as cucumbers, squash, zucchini and others.
This is a very simple way to save seeds which are for sure perfect for your microclimate, growing even better plants every year.

As a final tip, I want to tell you how to save pepper seeds. Peppers are really easy. I have shishito peppers, which you want to pick when they are green, but if you want to save seeds, the perfect stage is overly ripe bright red peppers, which are hollow and wrinkly.
You would not want to eat those, but they are great to save seeds from. Just cut off the top, cut or rip them open, pour the seeds out, dry them a little bit, and then store them. It is that easy. One tiny pepper will give you lots of seeds, so you only need to buy once and save the seeds year after year.
I believe it is really fun and empowering to save your own seeds, because you are securing your own food source for the future. It is incredible that anyone could do it so easily at home.
Seed starting for beginners
I hope that my beginner’s guide to seed starting has been useful for you.
Have you ever tried saving seeds? Which is your favorite food to do it with? Which method do you use? Leave a comment below and let me know!


Comments
Join the conversation