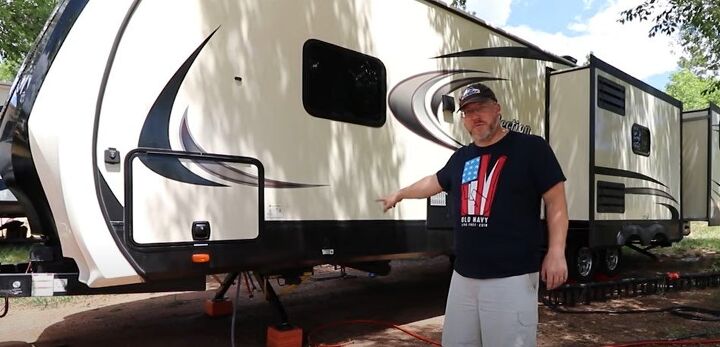
8 RV Campsite Setup Ideas to Help You Avoid Common Setup Mistakes

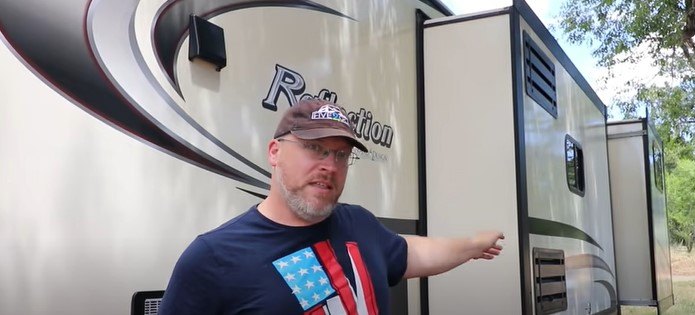
Today, we’re going to cover a bunch of common RV setup mistakes that we've seen during our 18 months on the road staying at 150+ campgrounds and ways we've learned to avoid them.
Learn about everything from how to look over a new campsite to safe ways to level and secure your RV. We also go over a lot of the equipment we use for hooking up to campground water, sewer, and electric hookups and more smart RV campsite setup ideas.
Let's get started.
1. Make sure there’s enough room
When you pull into a site and before you unhook, make sure there’s enough room for your slides to come out. Make sure the neighbors aren’t too close, there are no hills right next to you, and the trees are not on top of you. Know how long your slides are when they come out. A lot of slides come out around 3 feet.
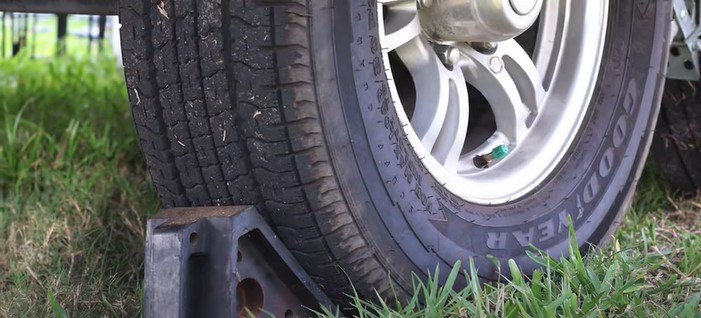
2. Level and chock your wheels
Level side to side once you’ve established it’s the right spot. As soon as you are level side to side, put on wheel chocks. We have Andersen levelers. We love to use big, chunky wheel chocks so the trailer won’t move.
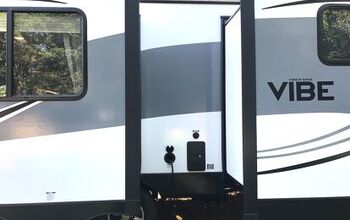
3. Electric hookup
When you pull into your site, you’ll have sewer, electricity, and water, and you want to make sure you’re close up to your hookups so you can use them.
We have a 50-amp rig and our hookup is near the middle of the rig. I only have a 150-amp cable that’s about 30 feet and it’s been plenty long for everywhere we’ve been so far. Do this before you unhook the rig so you can move a bit if you have to.
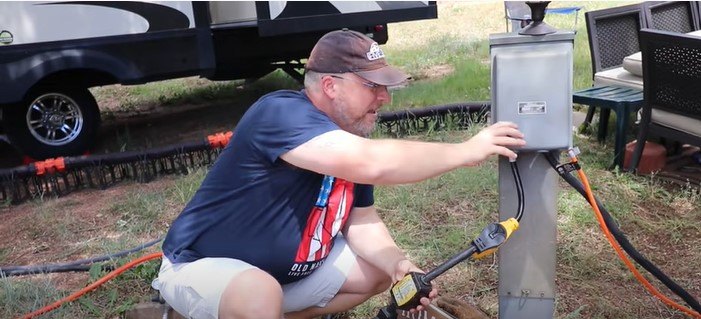
4. Surge protector
On the other end of the electricity, I have a surge protector. Here is a shared power pole. We have the 30-amp plug and our neighbor has the 50-amp plug. We put on our dogbone to convert our 50 to a 30 amp to plug into the post. This is a surge guard. I never hook up anywhere without this in place.
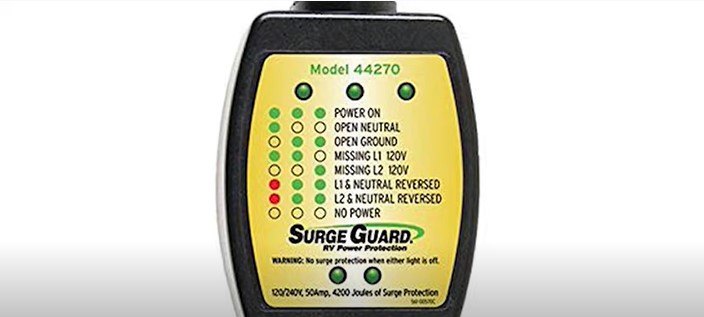
The surge protector has little lights on it so when you hook up you know you’re safe. We’ve encountered a few campgrounds where they had neutrals reversed. It’s not the end of the world and it won’t destroy anything, but I’d rather see green lights all over my surge protector.
In addition to letting me know the power is good, it protects us from spikes, especially during storms or if you’re on an older section of a site’s grid. The surge protector keeps the power nice and steady and keeps sensitive electronics from getting fried.
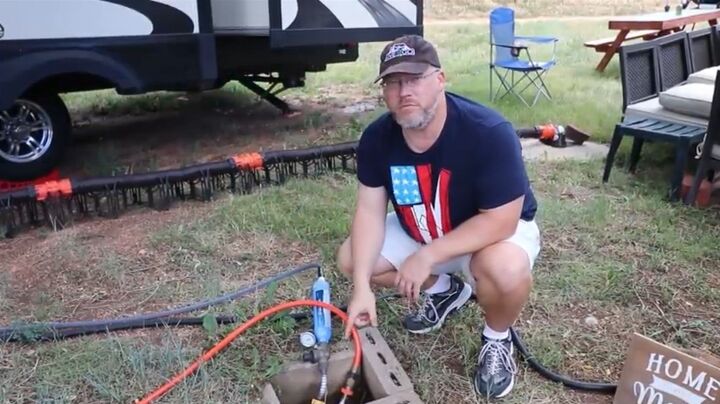
5. Water
Most water hookups are on posts, but this one is low and buried since the ground here freezes. I always have three things coming off a campground water spigot: a splitter, a pressure regulator, and a water filter.
Some campgrounds have really high water pressure and you don’t want anything above 50 to maybe 60 psi going into your rig because those pipes can’t survive more. Campgrounds don’t always have the cleanest water which is why you need water filters.
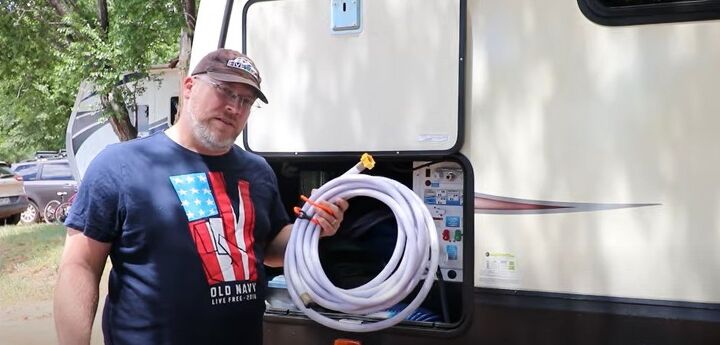
I have a variety of water hoses that reach 135 feet. My primary hose is a Zero-G one since it’s flexible and easy to put away. I have a few other drinking hoses. I have a bright orange hose that’s dedicated to the sewer flush.
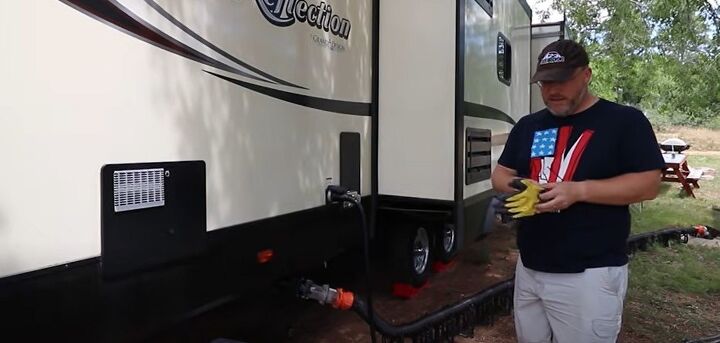
6. Sewer
I’ve experienced some spillage a couple of times in 18 months, otherwise, the hookup is easy. But always wear heavy-duty water-resistant work gloves and hand sanitizer.
Here I used all three of my hoses that are each between 10- and 15-feet sections. I have a clear adapter hooked up to make sure things are coming out correctly.
Also, have something set up to keep your hose off the ground and help to create a slope from the rig to the sewer hookup. Always wash your hands with hot soapy water after touching sewer hookups and hoses, even if there’s no spillage.
7. Stabilizer legs
We have scissor-style power legs that have a little switch on them. They are not load-bearing legs so never put the weight of your rig on them.
We do two things when setting the stabilizer legs up. We set it up so the legs do not go more than 45 degrees for a stronger angle and this keeps the rig from shaking. We put the leveling pads under the legs and run the legs down to have good, tight contact with them. This is so the rig is not lifting up. If you don’t have tight contact, the legs, and your RV frame, could become damaged.
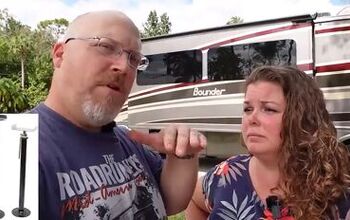
8. Establishing a routine
If you want to be successful at RV camping, figure out a routine. We have our routine so we know what we’re doing every time we come into a site.
Here’s our routine: we level side to side, hook up power, get up off the truck, and level front to back. Then, we do the X chocks, stabilizing legs, and the slides go out. My partner does the inside setup while I stay outside and do the water and sewer setup.
RV campsite setup ideas
If you need a checklist for your setup (and your breakdown), make a checklist until the routine is ingrained in your memory. The more you do this, the more you will remember this routine. Let us know in the comments below about your RV outdoor setup and hookup routine.


Comments
Join the conversation
Use a socket and cordless drill to raise and lower the stabilizer arms.
150 Amp cable? I have a 50 amp cable 30 feet long.