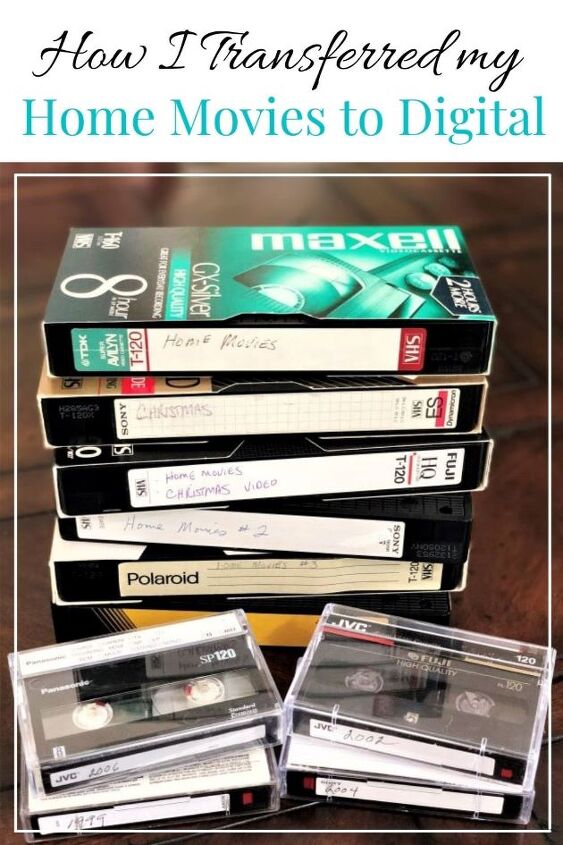
How to Transfer Your Home Movies to Digital Yourself
Inside: How I DIY digitized all of my old home videos from VHS and camcorder tapes and edited them myself. I saved a ton of money and can share them easily with friends and family from my organized movie vault! ⟹
My largest accomplishment during the lockdown of 2020 (other than starting this blog) was to take 35 YEARS of old home movies and digitize them, edit them, and organize them all in one place myself!
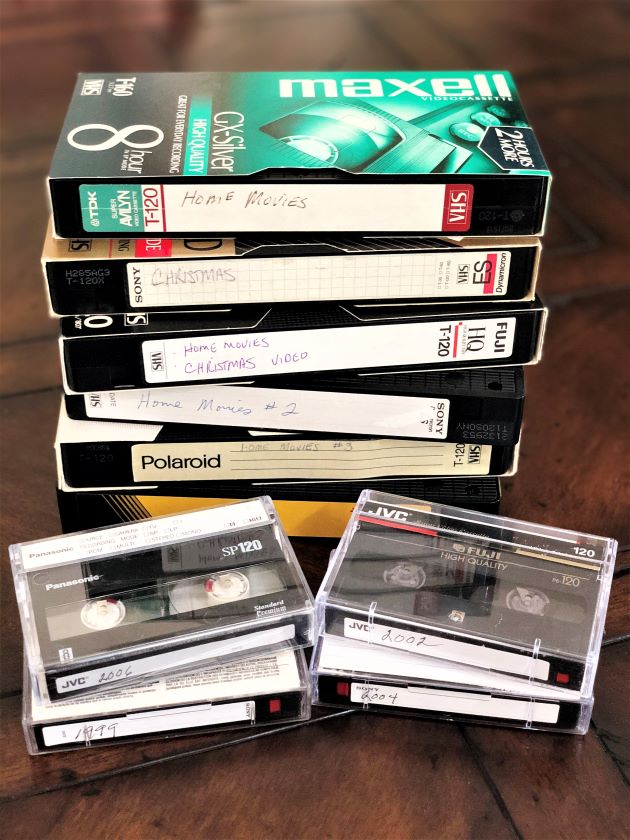
This had been on my to-do list forever. I wanted to organize and preserve all of our precious memories that were spread out all over degrading quality VHS tapes, mini camcorder tapes, various SD cards, and even iPhone videos that were in files scattered all over the place. The sheer amount of videos, formats, and places they were stored was overwhelming, not to mention how much it would cost to transfer thirty-five years worth of videos with a service.
This post contains Amazon and other affiliate links for your convenience. As an Amazon Associate I earn from qualifying purchases. If you purchase something through any link, I may receive a small commission, at no extra charge to you. I only recommend products that I love or would purchase for myself. See my full disclosure here.
If I was ever going to actually have time to do it, this pandemic was it!! Plus my tech guy (AKA my hubby) was working from home and helped me set it up and troubleshoot when I had problems.
It was not that difficult once I got going, but just know it will take a lot of time. Hopefully you don’t have quite as many to digitize and edit as I did!
What you’ll need.
This will not be a techie tutorial, but I will talk about the overall process I personally used to help you get started and give you an idea of what is involved. It is only a recount of how I got it done, but technology is not my forte.
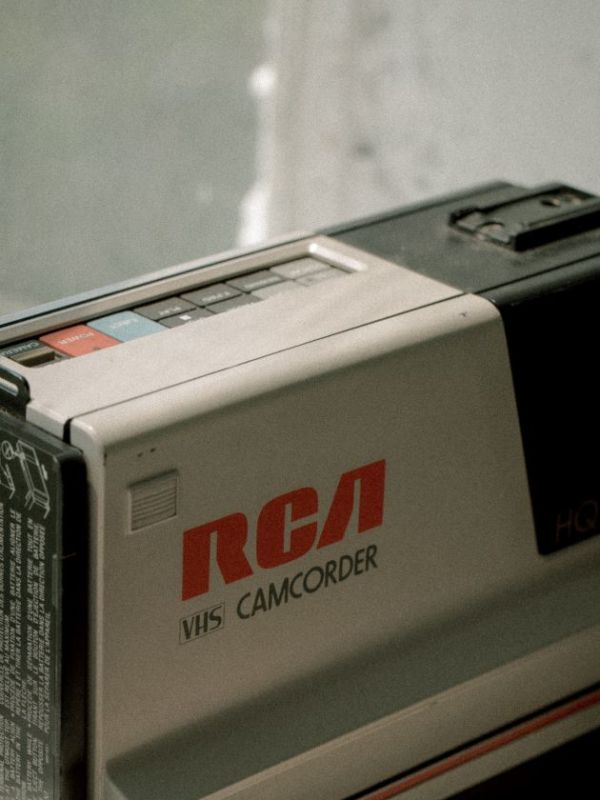
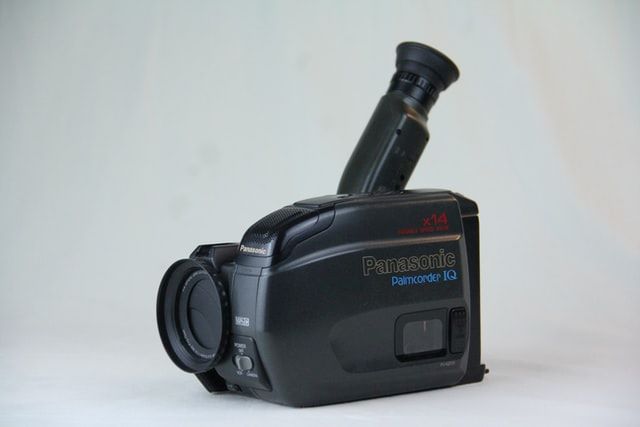
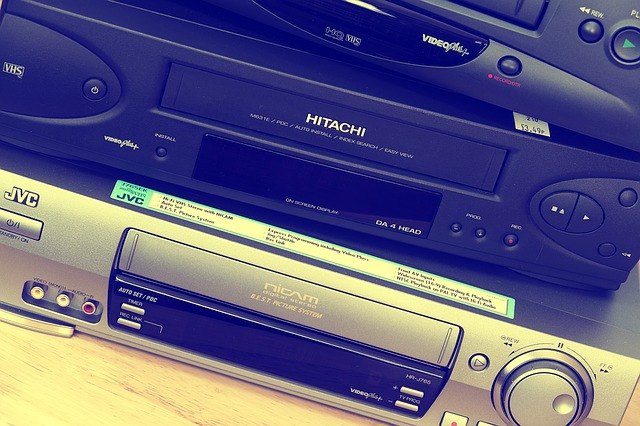
- You’ll need the equipment to play each format of video that you want to transfer. You’ll need a VCR for VHS tapes, and a mini camcorder to play those mini tapes. If you got rid of them long ago, you may be able to score working ones for a low price at a thrift store or borrow one from a friend.
- You’ll also need a Video Capture Adapter, which are not expensive. I bought this specific one from Amazon:
Deekec USB 2.0 Video Capture Adapter (2020 Version) for Windows, MAC, Linux
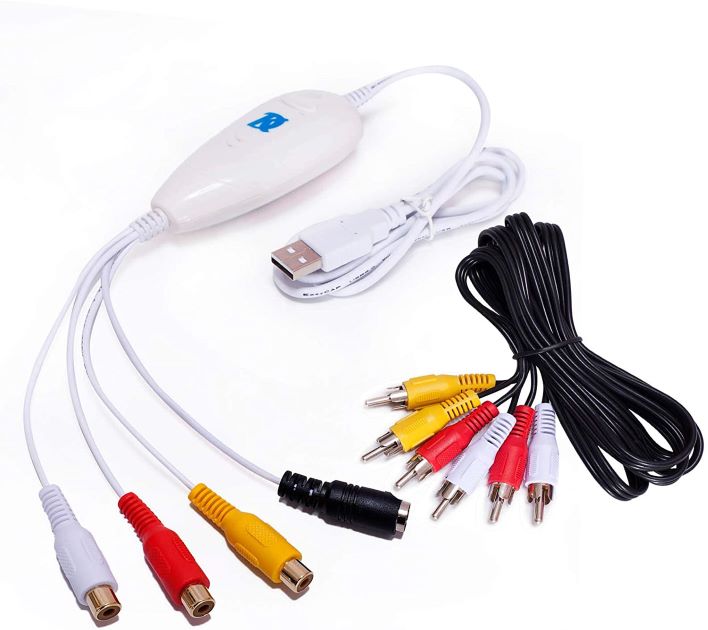
Update…looks like this particular one is not in stock right now. So here is another option: Diamond VC500 USB 2.0 One Touch VHS to DVD Video Capture Device
Next, you’ll need a PC or Mac with a DVD drive to install the drivers and recording software. If you don’t have a DVD drive, make sure your software has a download option.
Optional: If you have a large amount of footage to convert like I did, you should use a hard drive devoted to this because it will fill up the storage on your computer! You can either use an external hard drive or I used an old computer that my husband prepped for me that I could devote just to this project.
- You’ll also need to choose which recording software and which video editing software you’d like to use…more about that below.
How to set it up.
- First, install the software driver and application that came with the capture device following the prompts. Mine came with Honestech VHS to DVD 5.0 SE but also worked with a program called OBS Studio. I decided to use OBS Studio which you can download free from the internet. (Find it HERE.) The instructions that came with my capture device walked me through the steps for both Honestech and OBS.
- Next, install the video recording program of your choice. If you choose to use OBS, there are lots of videos on YouTube that walk you through the process of video capture with OBS, and here is a link to one: https://www.youtube.com/watch?v=Jtrx9gdkAs0
I highly recommend watching this as he walks you through each step and in more detail than I am including here!!
- Plug the video capture device into the computer and the other end with the three colored plugs into the corresponding colored holes in the VCR or camera.
- Turn the VCR or camera on and you should be able to see the blue screen on your monitor.
- You’ll need to set up the video by clicking add (+) in the “source” section and choose your video capture device. Then make your screen larger by clicking “transform” and “fit to screen”.
- Next set up the audio by clicking (+) again, then “audio input capture” and select the same device.
- Click on the “gear” button by the volume to select “monitor and output” to be able to hear the audio while it records.
- In “settings”, select “video” to set your screen resolution to match your monitor.
- Also in “settings”, select “output” and set up your recording path to the folder you would like the movies to record to. The best file formats to store video in are: .MPG, .MOV or .MP4. I used .MP4 for all of mine.
- Make sure you click the mute button beside the mic/aux section so you will not record any sounds from your room while you are recording!
Play the movie.
- Plug the tape into the machine and press play. (Fingers crossed it still works!!) Queue the tape to the part you want to start recording at and press pause on the video player.
- Check to make sure that both the audio and video were coming through when you played in the last step.
- Press record on the video player and in the program and let the tape play in real time. Anything you see or do while the tape is playing (poor quality, less than full screen, pausing, rewinding, or forwarding) will be recorded in your digital version.
- When you reach the end, press stop in the program and on the player. Name your clip file and save it to the folder you have selected.
For some reason occasionally my videos played with lines in them or with really poor quality and I had to re-record them. Since I had the dedicated computer set up on my dining table, I went about doing other tasks and would walk through and check on them frequently. Because I was going to edit out what I didn’t want later, I just let all of the tapes play from beginning to end. I also had to check on it to see if it had finished because the program will continue recording nothing until you stop it, which takes up more storage space.
Editing.

My next step after digitizing the videos was to edit out all of the footage I didn’t want and to separate each event into its own movie which I labeled with a name and date.
I was also able to combine videos together into one home movie. For example, I put multiple dances in a dance recital together or if had recorded lots of different clips at the same event I put them together as one movie. One of my favorite videos to watch ended up being a random compilation of funny videos that didn’t belong anywhere else so I just put them all together.
This part was much more laborious than the first since I could do other things while it was recording. Now I sat in that chair and edited until my eyes crossed…but again, just because I had so many and I was on a mission!
There are many free video editing software programs on the internet and you may already have one such as iMovie, Windows Movie Maker, or Blender, but I chose to pay for one that looked easy enough for a newbie like me to use to crop and splice the videos, add opening labels, and adjust the audio level. I went with Wondershare Filmora 9, which does offer a free version, but the free version watermarks your videos. Paying for the software was still cheaper than having a service do it, plus I am the only one that would actually be able to separate and label everything with names and dates.
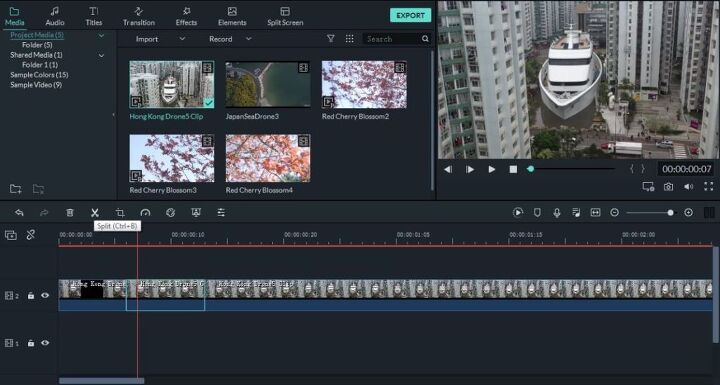
Since there is so much video editing software out there, I won’t go through the exact steps I went through on my videos because they will be different depending on what program you use. But here is a still shot of the animated title page from one of my home movies from Filmora 9:

It kind of flips in with an animation and I faded each scene in and out. When audio was too low I was able to adjust that to make it better. It was easy to clip out and paste together footage because it has a banner of the frames that I could see. There are so many things this program could do that I didn’t use, but it had the basics that I was looking for.
I didn’t stop with my VHS and camcorder home movies. Here is where I brought in all of the rest of the movies we had recorded on SD cards and phones. They also got the same editing treatment and will all be stored in the same place!
Storage and sharing.
You’ll have to decide where you want to digitally keep all of your home movies. You can keep them on your computer, on a USB, or an external hard drive. You can upload them to one of your storage based service accounts like iCloud, Google Drive, or Dropbox. I chose to keep my “movie vault” in my Microsoft OneDrive account.
You can also share all of your newly edited digitized videos with family and friends! You can upload private links to public video sites like YouTube or Vimeo. Again, YouTube has videos to help walk you through this.
I shared mine through email with a link straight from OneDrive. And it is so cool to be able to pull up a video on my phone or computer at any time and my family members can do the same!
After reading all of this you may feel intimidated, but if I was able to figure it out you probably can too. I just used the few features of the programs to get my job done and the rest is still a mystery to me!
As the “curator” of our family’s memories, I felt such a sense of accomplishment when it was done. I ended up with 184 home movies! Whew!!
During these early months of hunkering down at home during 2020, I also finally finished my youngest child’s scrapbooks through graduation (I was four years behind on that and she graduated three years ago) and got our photo albums up to date!! It just felt so good to check those things off of my to-do list that I never seemed to devote time to.
What did you get done in 2020 because you were forced to stay at home?
It’s a great day to organize something!
As always, I appreciate your visit, comments, and shares here on the blog! I’d love it if you also follow along with me on Pinterest, Instagram, and Facebook so you won’t miss any of my inspiration and ideas.
Don’t forget to sign up for updates to keep in touch…I have lots of fun and useful freebies you may be interested in in my subscriber-only library like my cheat sheets for where to place lighting, bathroom fixtures, artwork, and furniture!


Comments
Join the conversation
Thank you for this. I have a ton of VCR tapes and have put off doing the transfers. You have inspired me, new programs, whereas I started gathering equipment long ago that must be terribly out of date by now. I have to do it as no one else will.
I really need to do this too! Don’t have a techy husband so will try to figure out myself. You are an inspiration !!