6 Simple Ideas for an Organized Pantry With Wire Shelving

You’ll love these simple and practical ideas to get an organized pantry! Reduce food waste in your home by keeping everything visible.
Raise your hand if you love an organized pantry!
Now, raise your hand if you need to organize your pantry!
Just two weeks ago I would’ve been waving both my hands in the air.
And jumping up and down.
Maybe sending out some SOS smoke signals.
Because my pantry had become a big mess over the past few months.

You see, I started organizing my pantry two years ago.
I definitely made some improvements.
There were no bins.
Everything was just shoved in.
When I cleaned it out a few years ago, I ended up having to throw away so much food. It had gotten lost in the back corners and was so expired.
Have you had that happen too?
I mean, there were some jars of jelly that had expired five years earlier.
I’ll let that sink in.
Five.
Years.
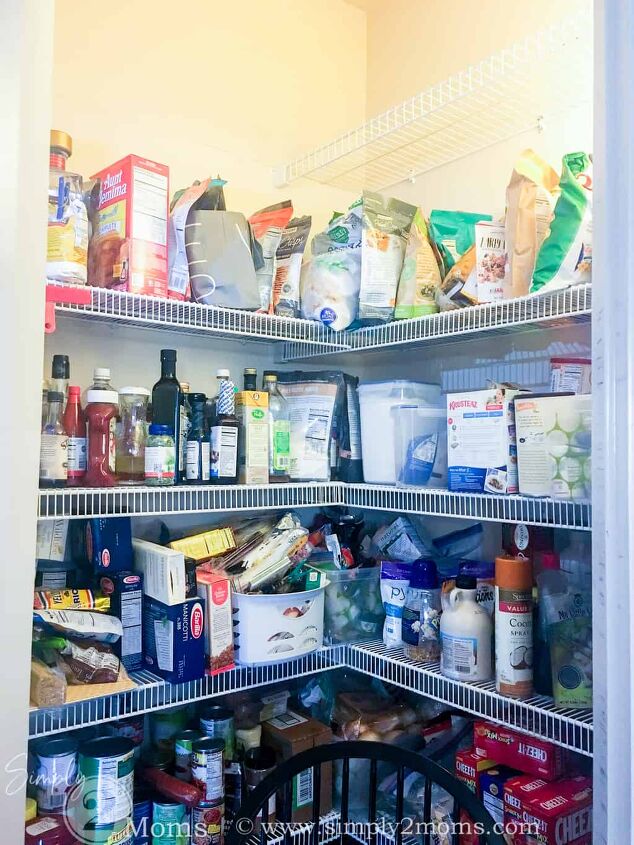
If you scroll back up to the before picture, you can see the start of the new, high shelf we installed.
And everything else was just crammed in where I could fit it.
I really wanted an organized pantry from the beginning!
I mean, I had 3 large tubs to help.
But three wasn’t enough. There was no organization to them.
So my first attempt at getting organized definitely improved things.
But it still needed a good purge, and it helped me see I needed a few more solutions to have a truly organized pantry.
But before we talk organizing, let’s talk lights.
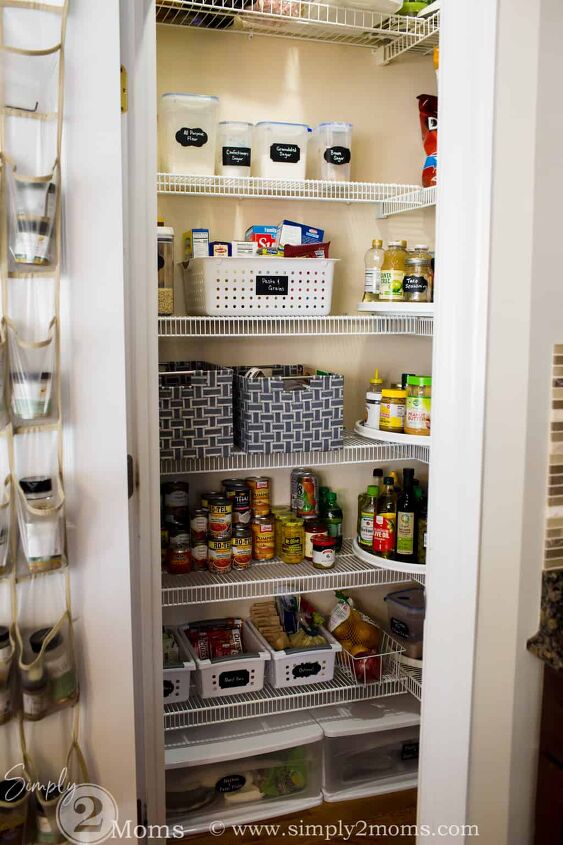
Do you see how dark my pantry was? I’ll wait while you scroll back up to take a look.
Go all the way to the very first picture.
The only reason the second picture was bright is my husband was installing the top shelf when I snapped the picture and had one of those portable construction lights in there.
I know this is a total first world problem. But as long as we’ve lived in this house, this has been a pet peeve of mine.
I wish we’d had it wired for an overhead light, but I never thought about it when we were building this house. I was just so excited to have a walk-in pantry!
We’ve tried a variety of tap lights but they’re never bright enough and the kids always forgot to turn them off.
So the batteries were generally dead.
Let me introduce you to my solution!
This post contains some affiliate links which means we may earn a small commission at no extra cost to you. You can read our full disclosure policy here.
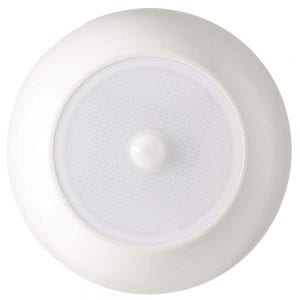
This is Mr. Beams MB990 UltraBright Wireless Battery Powered Motion Sensing Indoor/Outdoor LED Ceiling Light.
It is amazing!
Look how bright it makes my pantry!
Of course, now you can see the mess better.
But still.
I love it so much!
If you have somewhere in your home that needs an overhead light too, you can get one here.
Take a look at what a difference that one change made!
And now that we can see, let’s get down to the nitty-gritty with my tips for an organized pantry.
How to Get an Organized Pantry
1. Pull everything out
This is the worst part. But it’s got to be done. And while you’re at it, go ahead and throw away anything that’s expired.
2. Sort
Now that everything is out of the pantry, sort it into categories.
If you want to organize your pantry, it helps to put like items together. Here are some categories to get you started:
- Canned goods
- Spices and seasonings
- Convenience foods
- Dry foods (grains, pasta, dry beans, rice)
- Breakfast food
- Condiments
- Baking ingredients
- Beverages (drink mixes, bottles of juice, tea bags, etc.)
- Snacks (crackers, chips, nuts)
3. Think about how YOUR Family consumes food
My family of 5 eats at home 6 nights a week. The kids pack lunches and snacks to take to school. My husband and I both work from home so we generally eat lunch at home. Breakfast is also eaten at home.
I’m a meal planner, but I also like to keep certain staples in the pantry.
We buy some items in bulk from our local warehouse stores and also from Amazon Subscribe & Save, so at the start of the month, our pantry is more full.
I have one daughter who is gluten intolerant so we need special ingredients for her.
I follow the Trim Healthy Mama lifestyle so have some special ingredients that I use for baking. We have “regular” baking ingredients too.
4. Plan How You Can Maximize Space
We installed a high shelf that’s out of reach without a stepstool. I use this shelf to store appliances and other kitchen items (like my turkey roasting pan) that I can’t get rid of but don’t use regularly. That leaves more space on the other shelves for food.
Because we purchase many items in bulk, I decided I wanted to move the individually packaged items into baskets. This allows me to throw away excess packaging (since so many packages are filled with lots of air!).
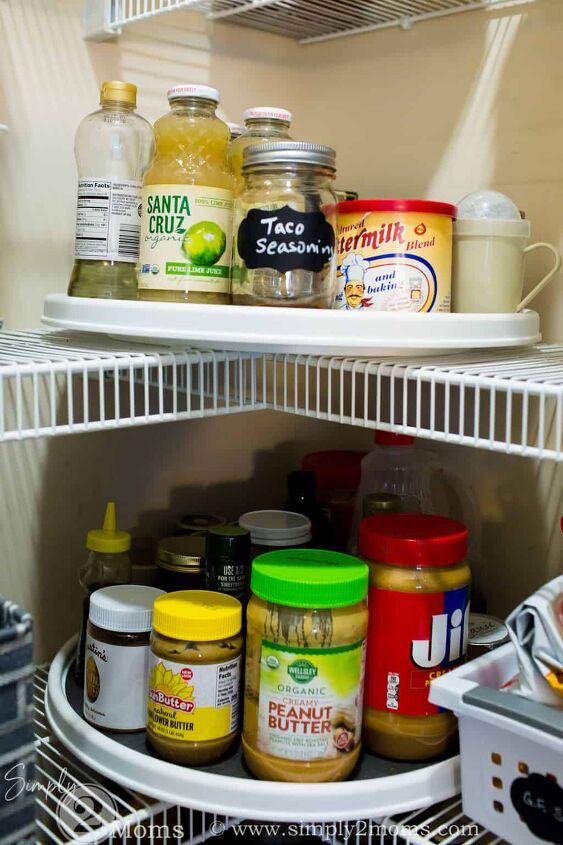
I also chose to use large turntables for the corners. Now items don’t get lost in the back. I use these 18-inch Lazy Susan turntables.
5. Decide on Containers
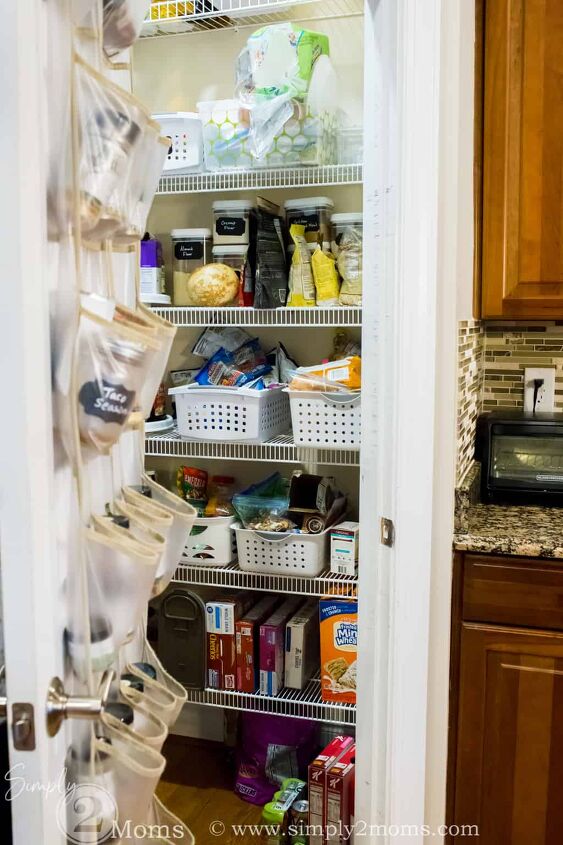
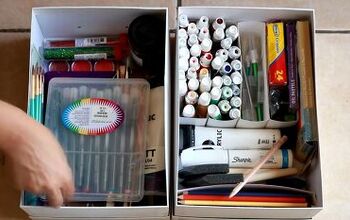
This is the fun part! You get to choose what types of containers would work best for your needs. I opted for a variety of inexpensive plastic and woven baskets, clear canisters, and an over-the-door shoe bag.
6. Return Everything to the Pantry in its new Place
As you put everything back in your pantry, try to group like items together. It’ll be easier to find what you need and you’ll be more likely to put things back in the right place!
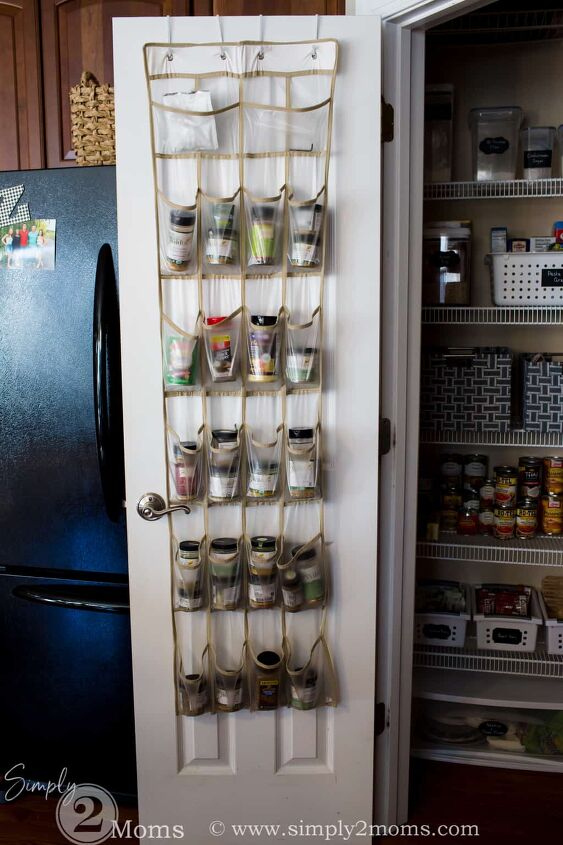
I put all my large seasoning blends and packets in this over the door clear pocket shoe bag.
This is one of my favorite life hacks to store all sorts of things in my home! Craft supplies, cleaning products, toiletries, mittens/gloves all get stored this way in different closets.
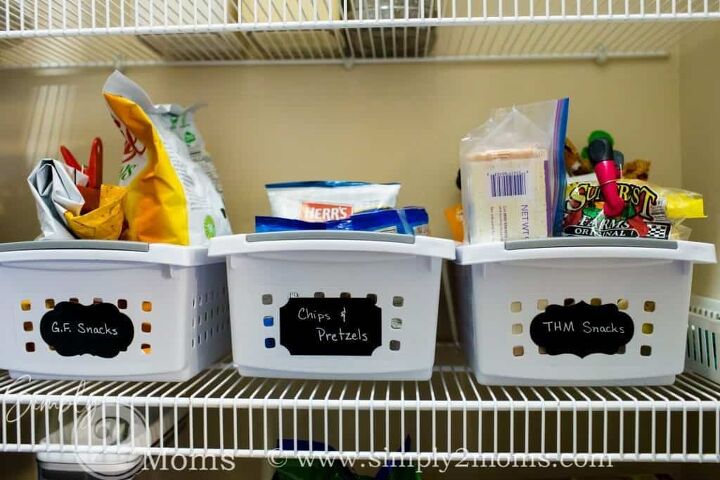
I like these simple plastic buckets to hold similar items.
Not only does it look neater to have all the bags contained, but it also helps reduce the chance that small bags get lost.
Since we have some different dietary needs in my family, this lets each person easily find things they can eat! You can find similar baskets here.
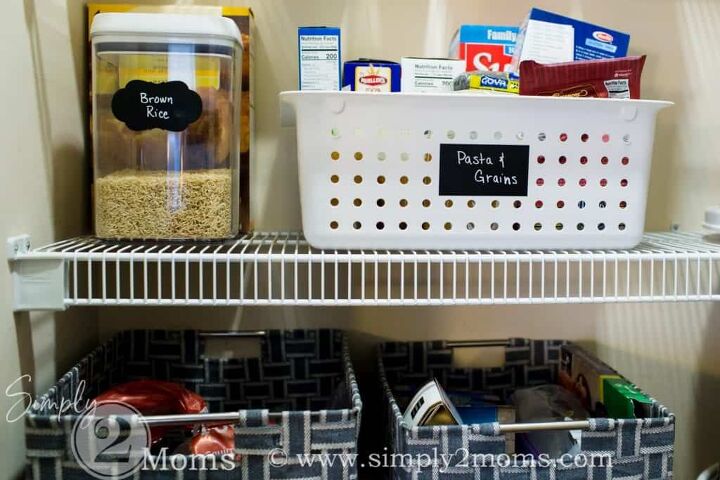
I use larger versions of those baskets for categories that have more to store. You can find the larger baskets here. And for variety, I also used some of these larger woven baskets. You can purchase similar woven baskets here.
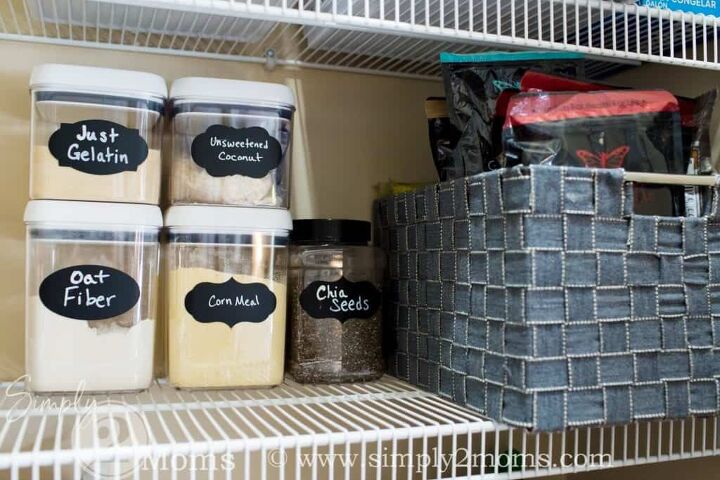
I decided to store ingredients like flour, sugar, sweeteners, etc. in canisters. I love these from Better Homes and Gardens and also this 7-piece set.
The canisters allow me to stack them, see what’s inside, and avoid spills if bags aren’t properly closed (hello, kids!).
I buy some things in bulk to reduce shipping costs. Any unopened products that won’t fit into a canister go in another woven basket.
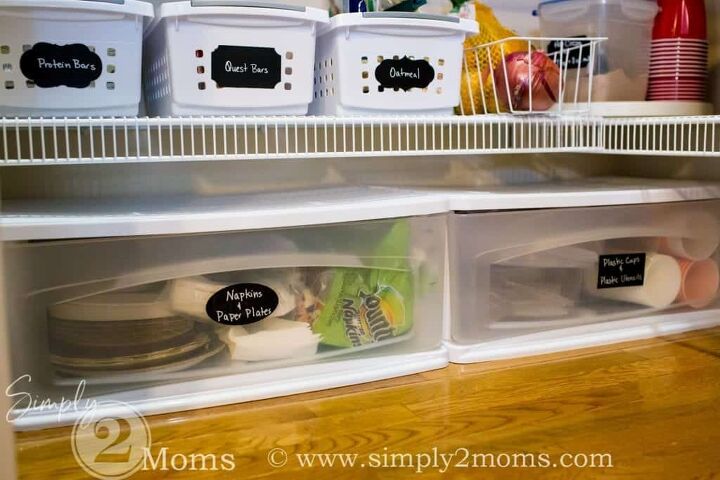
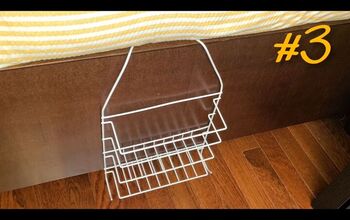
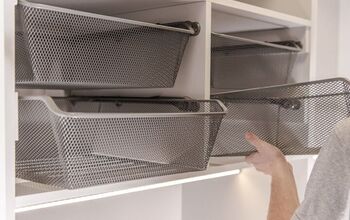
I love these stackable drawers for the area under my shelves. The drawers offer a little extra protection from the crumbs that invariably get on the floor!
These reusable chalkboard labels also help everyone to find everything easily.
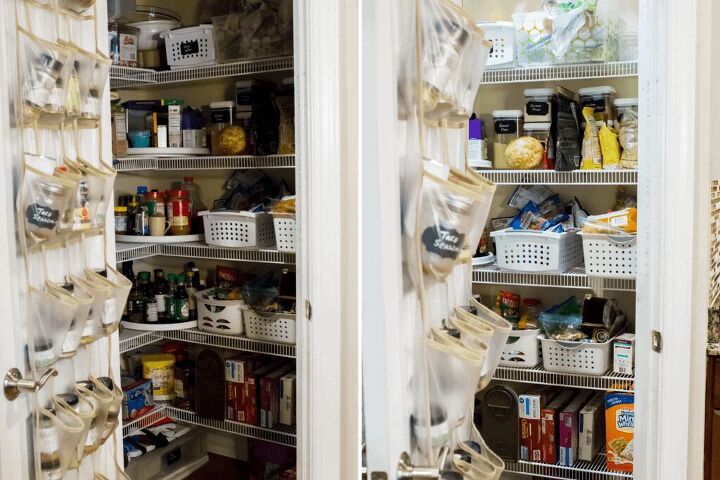
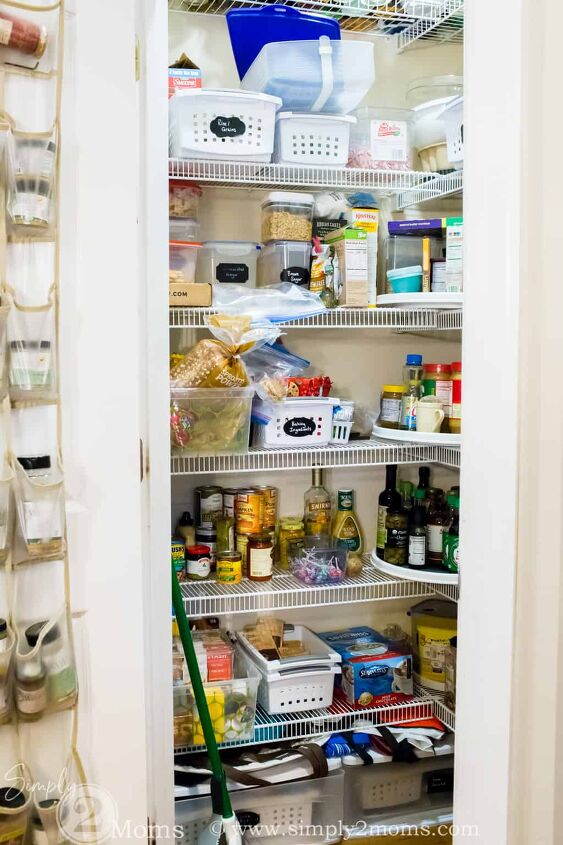
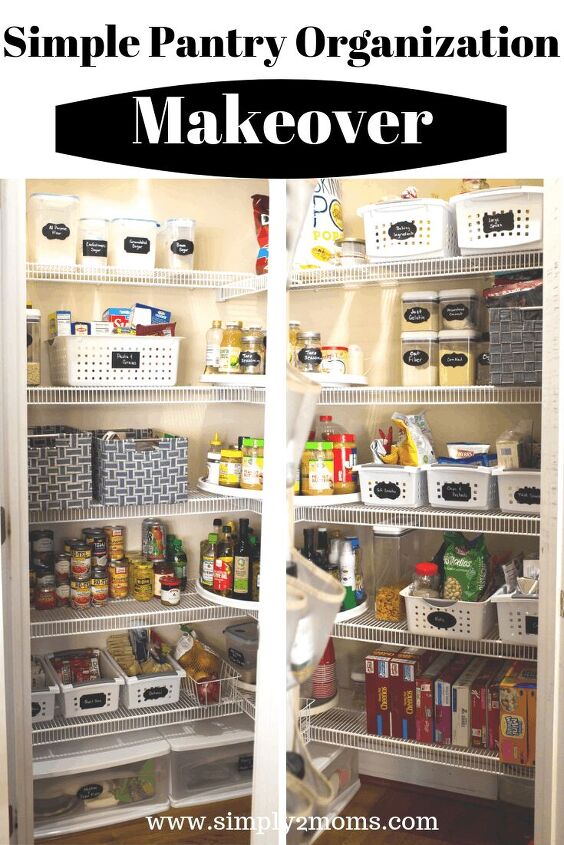
Before and After
Everyone loves a good before and after, so here are your comparisons!
First Before 2017:
Second Before Pictures 2019:
Right side:
Left Side:
And the big reveal:
Right side
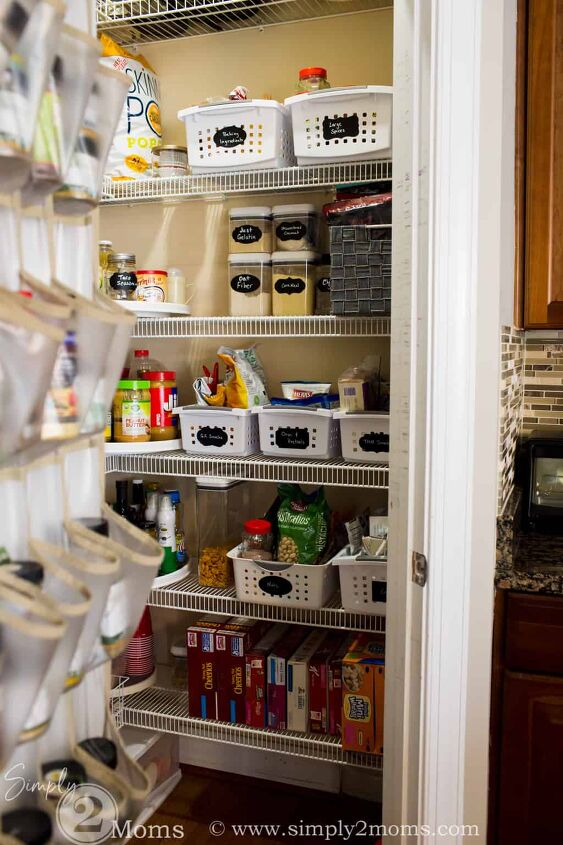
Left Side
I hope these simple tips will help you organize your pantry too.

Pin it to Remember it:


Comments
Join the conversation
I love using the over-the-door shoe pockets. I have one on the back of my pantry door for water bottles/travel coffee cups. I've used one in the office for small office supplies, in the bedroom for travel supplies. I'm thinking of putting one in the linen closet for extra toiletries - shampoo and lotion bottles fit fine and a pocket of extra toothbrushes and toothpastes will be useful.
Do you do house calls. 🙄🤔 I mean Australia isn’t that far away 🙄🫣🙋