RV Makeover: Kitchen & Living Room

What started out as just a quick little bathroom fix in our RV, turned into a complete remodel of our entire camper! Here is the last part of our RV makeover! To see the entire camper, be sure to see my feed or visit my blog.
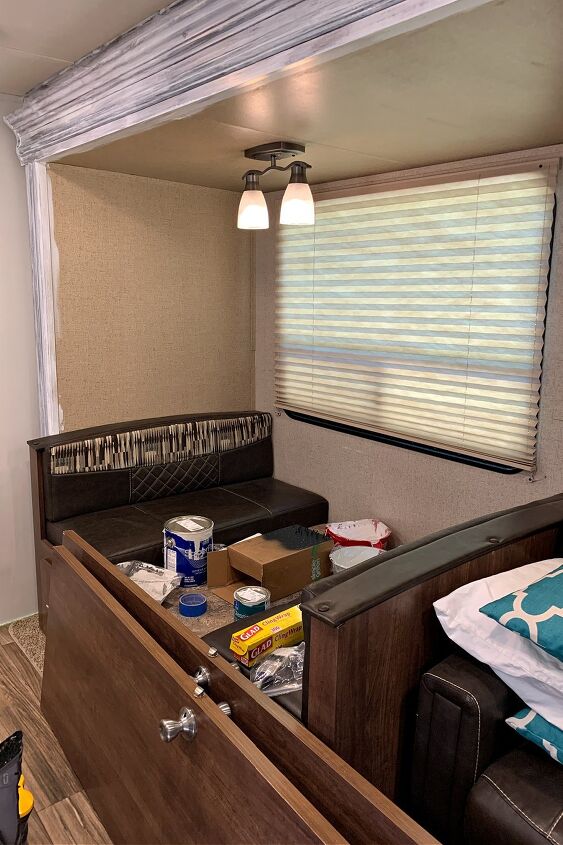
The first step in renovating our camper was to remove everything we didn't want. For us, that meant removing the dinette booths, the window valances and blinds, and removing an overhead cabinet above the sofa.
The next step in our renovation was to sand and prime EVERYTHING that was going to get painted. So the walls, cabinets, island, and trim all got painted!
We wanted our camper to have some character, so we added shiplap in the dining room/living room slide using 5mm underlayment that we had ripped into 6 inch wide slats.
We also added cedar planks to the ceiling to make it look like faux beams were in the ceiling.
In the kitchen, we added faux subway tile! Since you have to be mindful of the weight of the camper, it was important to us to weigh things going in and coming out. In order to keep the weight down, we installed these neat faux subway tile sheets that adhere right to the wall!
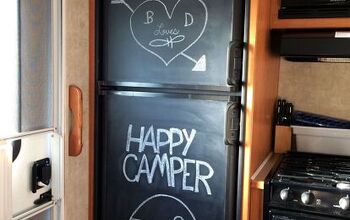
We painted almost every surface, but the floor, in the camper. We used Sherwin Williams Alabaster for the shiplap, Peppercorn on the doors, and Repose Grey lightened 50% on the walls.
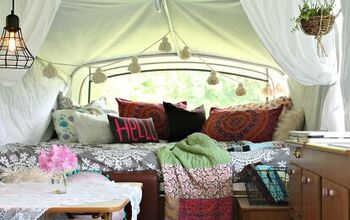
Finally we added some decor to make it feel more like home! What do you think of our camper now? To see more pictures of the camper and to see the other spaces we renovated, be sure to check out the blog! https://clairelynnhome.com/rv-makeover-living-room-kitchen/
Suggested materials:
- Paint (Sherwin Williams)
- Orbital Sander (Home Depot)
- 5mm Underlayment (Home Depot)











Comments
Join the conversation
What a beautiful job you did. Feels very light bright and homey. I’ve often thought of doing this by just getting an older trailer and remodeling it the same style as you have done.
I would like to see what you did with the dinette booth and the sofa.