Easy and Budget-Friendly Bedroom Makeover Ideas

If you love a good before and after bedroom makeover, this is a bedroom transformation that you don't want to miss.
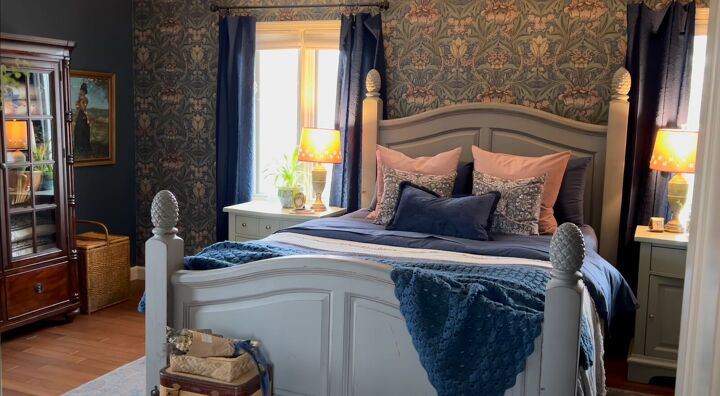
I began redecorating my son's old room in a classic vintage design using William Morris wallpaper as my inspiration.
The new items purchased were wallpaper, bedding, curtains, and one gallon of paint. Everything else was repurposed from other rooms in my house, curb salvaged, or purchased at a thrift store.
1. Furniture placement
The first thing that I wanted to do was try moving the queen-sized bed to be placed between the two large windows. This is a much more aesthetically pleasing arrangement.
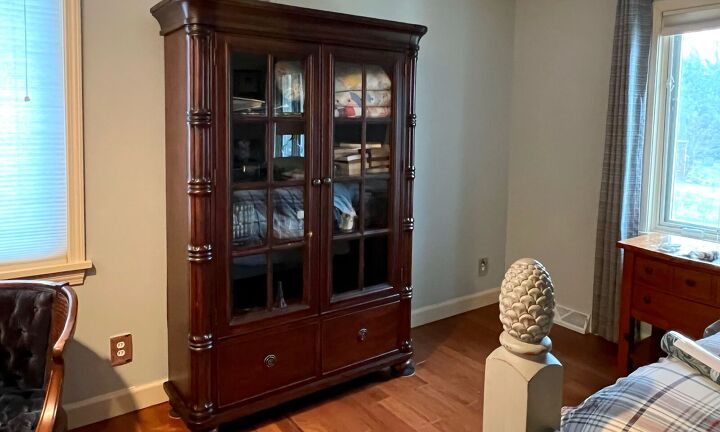
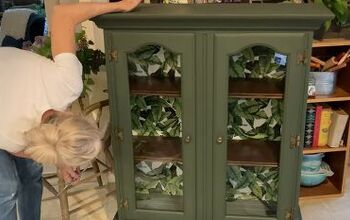
I next wanted to trade out the armoire with a much prettier one from the spare bedroom and bring up the large rug from the dining room.
2. Painting
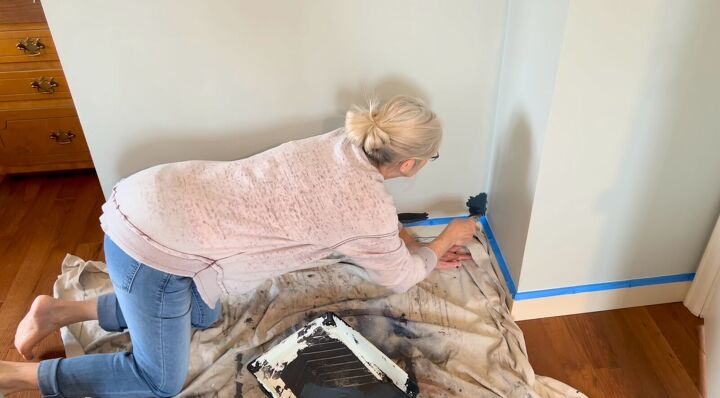
Then, I was ready to start painting, but first, I needed to wipe down the walls, and all the woodwork and I taped off the top of the baseboards.
I chose a deep grayish-blue paint. I used a brush to paint along the baseboard and around any obstructions in the wall, and then I rolled the paint on the lower half of the wall.
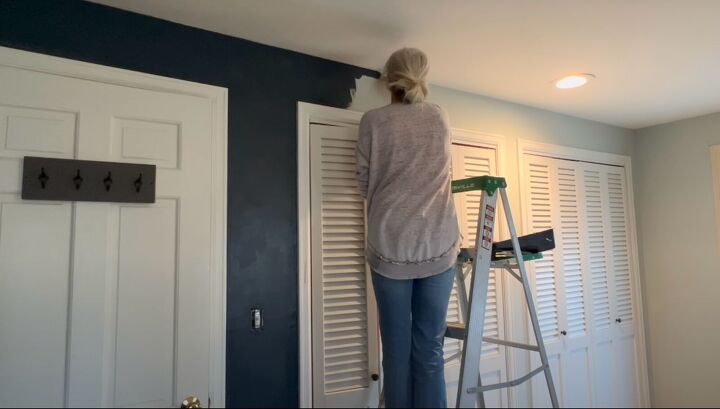
Next, I got out my ladder and painted along the ceiling line, then rolled on the upper half of the wall.
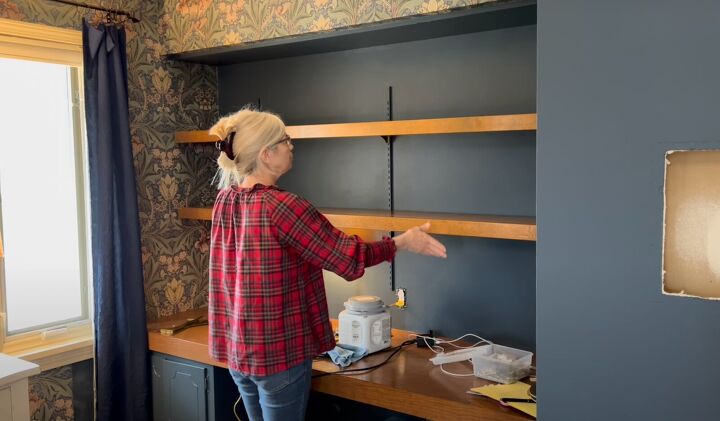
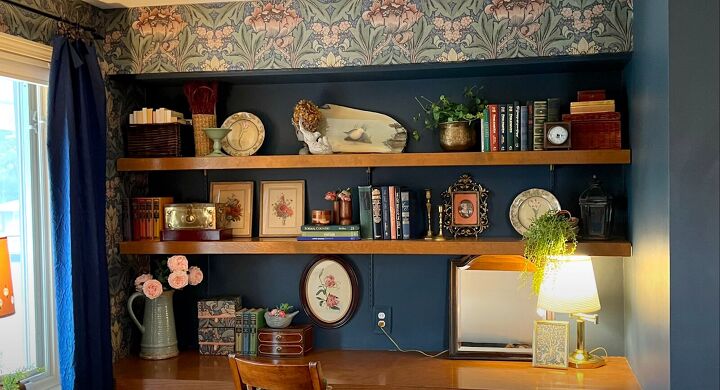
I used a small roller to get into narrow spaces. I painted over the metal shelf brackets in the nook and the large air vent to make them less noticeable on the wall.
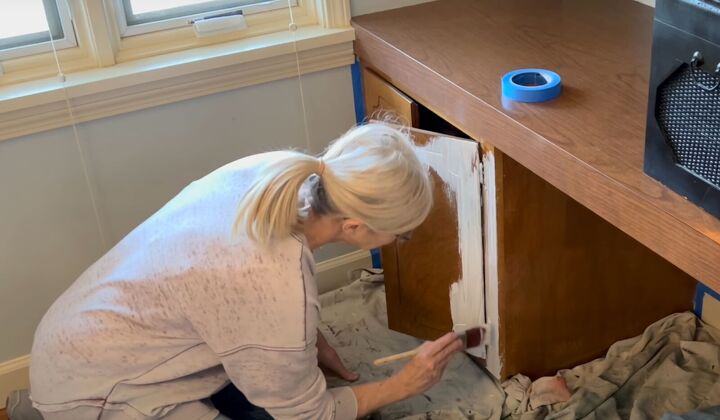
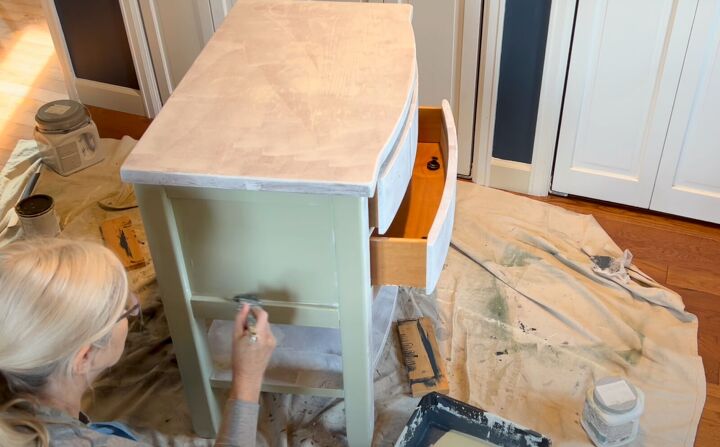
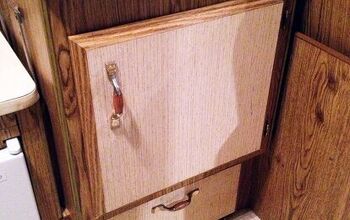
3. Desk update
I decided to paint the cabinet and drawers, not the laminate countertop or solid wood shelves. I cleaned the cabinet and drawers well with liquid sandpaper and then brushed on a shellac primer.
You must apply a separate primer for the best adhesion and long-term durability, even using a paint-plus primer.
Once the primer was dry, I applied acrylic enamel paint, the same color as my wall paint.
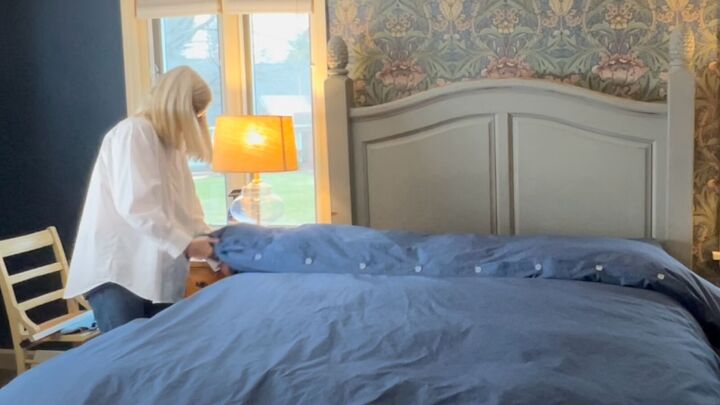
4. Bedding
I needed to create a cozy, relaxing environment. I went with this gorgeous deep blue flat, fitted sheets, pillowcases, and a duvet.
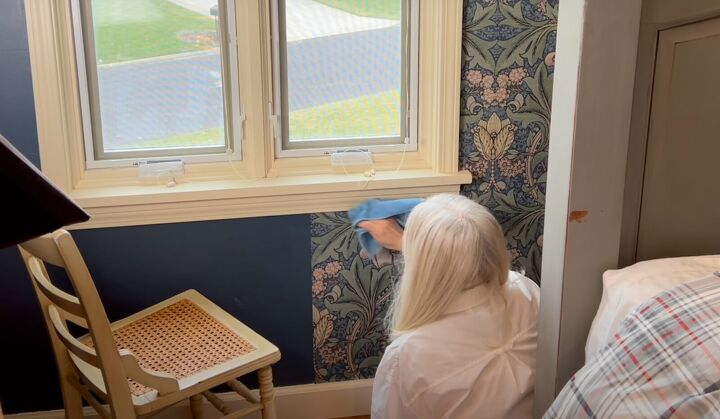
5. Wallpaper
It took me a while to choose a wallpaper pattern, but ultimately, I went with a blue and salmon acanthus pattern.
I shifted the bed a few inches to the left to create more space between the desk and the bed, the door, and the foot of the bed.
Therefore, I'm lining up my first piece of wallpaper with the center of the headboard rather than the center mark between the two windows.
I used Easy Hang Spray for my peel-and-stick wallpaper because it allows you to readjust the wallpaper during the hanging process and creates a much stronger adhesion between the paper and the wall.
When applying peel-and-stick wallpaper, you want to pull off the backing about 12 inches at a time because you do not want the paper to get stuck to itself.
It may wrinkle or tear when you pull it apart. Take your time and go over the wallpaper multiple times with a plastic scraper to remove wrinkles and air bubbles. This also ensures that the paper is securely adhered to the wall.
I wallpapered over the plastic anchors for the drapery hardware, so it only took me a few minutes to reattach the brackets.
I picked up some inexpensive curtains from Walmart. They were the perfect shade of blue and had a subtle floral pattern that I liked. I attached curtain rings along the top edge to add a bit of length and make the curtains look more elegant.
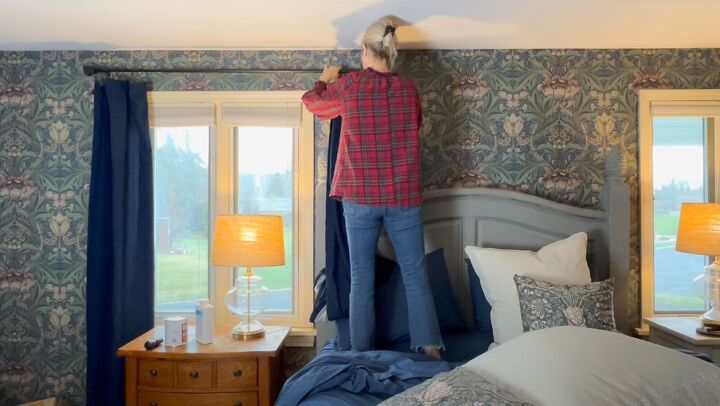
I attached the left bracket farther from the window for the small side window to create the illusion of a slightly larger window.
6. Finishing work
First, I need to return the shelves to the alcove, but since I will no longer be displaying a hundred trophies, I think I'll return two of the three shelves. This will allow space for my lamp on the desk.
I also needed to return the hardware to the desk drawers and doors. I decided to refresh what I already had using a little gold Rub and Buff to make the hardware look more like solid brass.
The outlet covers were shiny silver, so I spray painted them with Zinsser Primer and then brushed on two light coats of blue wall paint.
I also applied a small piece of wallpaper in the center inset area for the light switch cover and cut a hole for the switch.
7. Nightstands
I recently picked up three nightstands that were being thrown away from the curb. One was wobbly, but I soon discovered that one of the furniture glides was missing, so once I attached a new one to that leg, it was just fine.
However, I still had to address the significantly damaged wood, and since the wood had a strong orange hue, I decided to paint it. I first applied a shellac primer, and once the primer was dry, I applied a green acrylic enamel paint that I already had on hand.
I painted the other nightstand to match. With the new furniture arrangement, there was space for a chair, and I thrifted this fabulous vintage velvet chair for less than $7. This room needs several lamps.
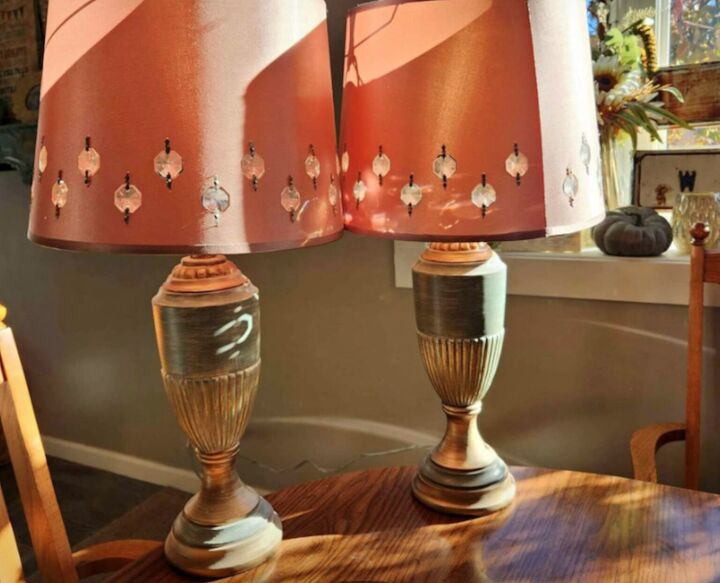
I had glass ones, but then I found this pair of green and gold lamps for just $10, and I love the lampshades. Look at those darling little inset crystals.
For the desk, I thrifted a swivel arm brass lamp, and when I have time, I plan on making a pleated fabric lampshade to coordinate with the wallpaper. I have a few thrifted pieces of art for the walls that I think are perfect for this room.
8. Decorating with thrift store finds
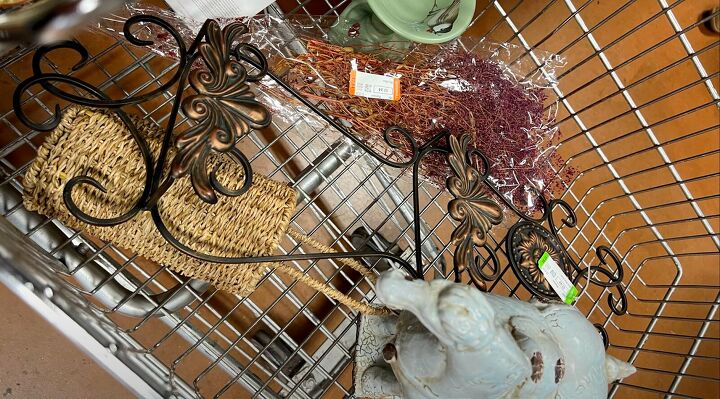
The decor that I hoped to use in the bedroom came from Goodwill.
This bird plaque caught my eye, and a heavy brass box was a deal for less than $5.
I liked the toile pattern on the rim of the plates and thought they would be a bit unexpected to display in a bedroom.
I thought a green dish would look nice next to the plates. I picked up some dried baby's breath. The mauve color would pick up on the pink flowers in the wallpaper.
I found three small wood jars that I grouped and filled with dried flowers. I also thrifted a travel alarm clock to place on the nightstand. I paid 50 cents for a book on Impressionist art, and I cut out one of the pictures to place in a small thrifted brass frame.
I also thrifted a 5x7 brass frame, and for that one, I printed out an image of William Morris' Tree of Life tapestry.

This ceramic horse was only $4, and I thought it would add some interest to the armoire.
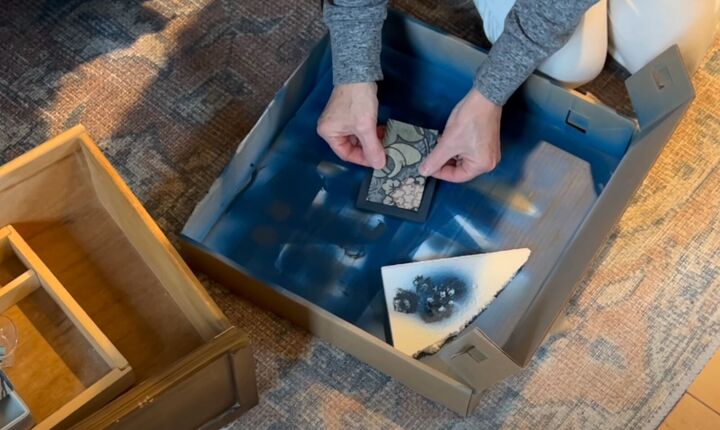
For the top of the armoire, I filled a $3 wicker basket with some hydrangeas I dried this past fall. I covered boxes in some of the leftover wallpaper.
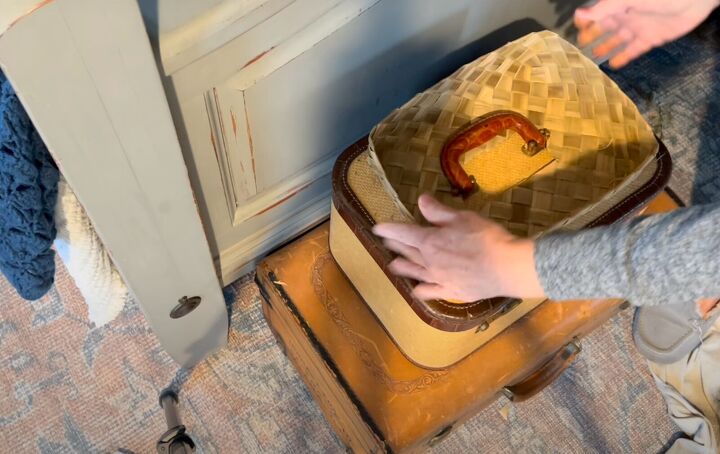
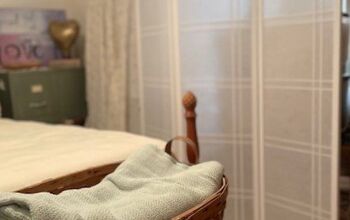
Because I didn't have room for a bench, I placed a couple of vintage suitcases at the foot of the bed on the left side, away from the door.
I cut a hole in a cheap woven basket so that it would fit over the suitcase handle. I topped it with another basket and added a few decor items.
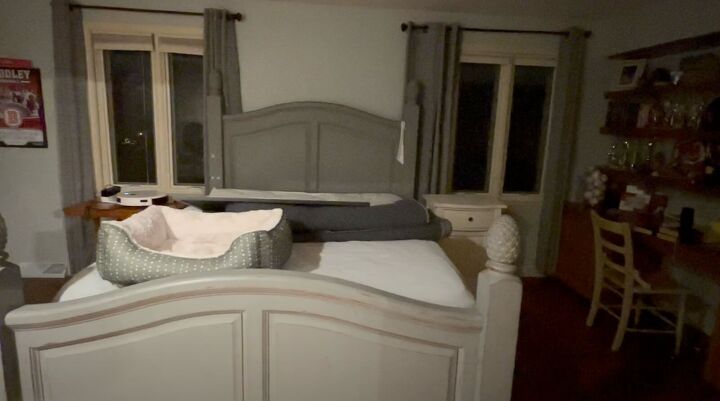
This is the before.
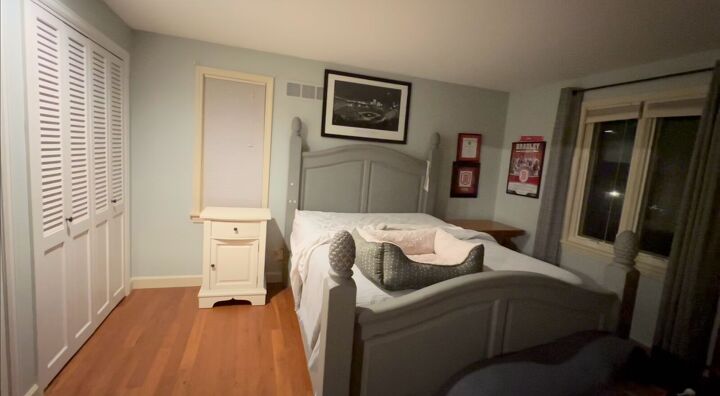
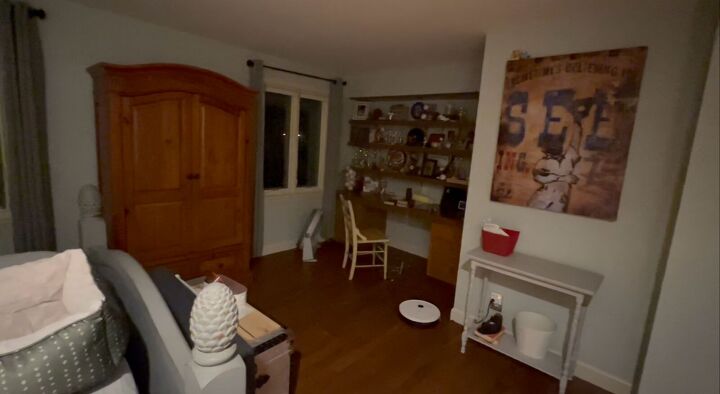
Here is the after.
Bedroom makeover
I hope this bedroom makeover gave you inspiration for your project. What ideas do you have to share? Let me know in the comments below.
Next, learn 12 Easy Kitchen Update Ideas You Can Do on a Budget.


Comments
Join the conversation