3 DIY Basket Makeover Ideas You Can Do Easily on a Budget

If your baskets are basic and boring, you’ll love these DIY basket ideas. Decorative baskets can be very expensive. But when you DIY woven baskets with makeover magic, you can turn your plain baskets into works of art.
These DIY storage baskets look like they cost a lot more money thanks to a little bit of creativity. You can also use these same techniques to make DIY baskets for wall decor. Let me show you how with three makeover projects.
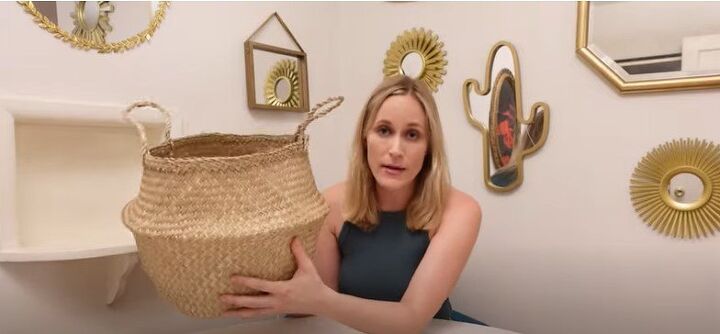
DIY basket with painted triangles
This is an Ikea basket that costs $12.99. It’s a great storage basket for toys. You can fill it up or flip the top down to become a bowl basket. I’m going to give her a pop of pattern using paint.
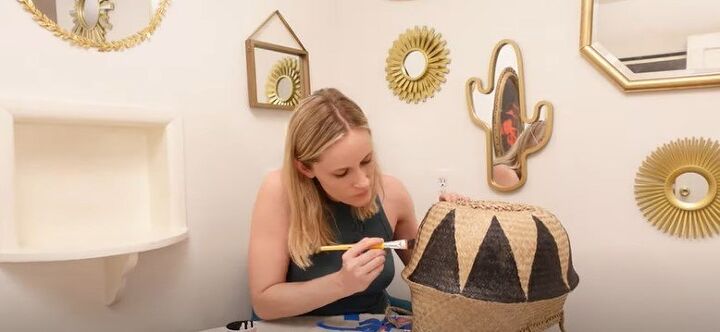
1. Paint triangles on the bottom
I’m painting black triangles on the bottom portion of the basket. Do two coats of black paint on all the triangles.
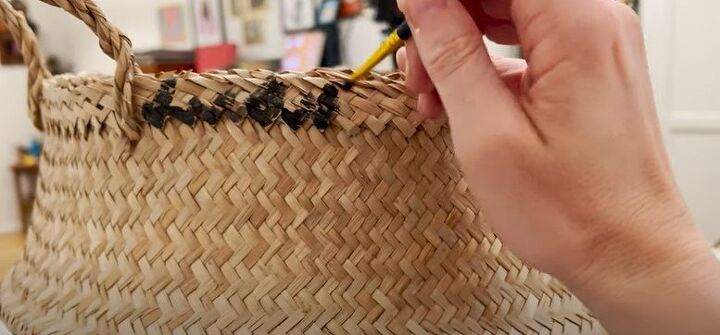
2. Paint the rim
I painted the top rim of the basket black using two coats. I’m using a smaller brush on the top rim.

3. Paint triangles on top
I’m painting black triangles on the top rim, as well. Remember to do two coats.
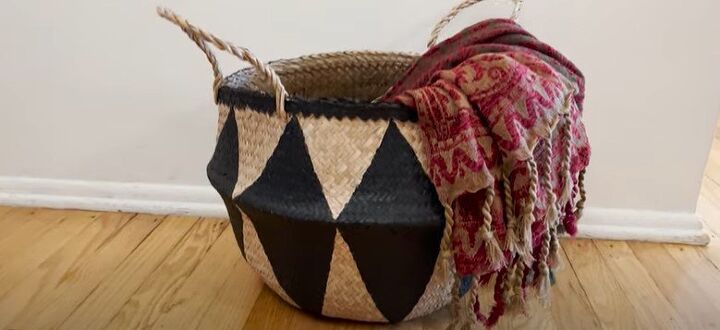
Here's the finished basket! See how the black detailing really makes the basket look more high-end?
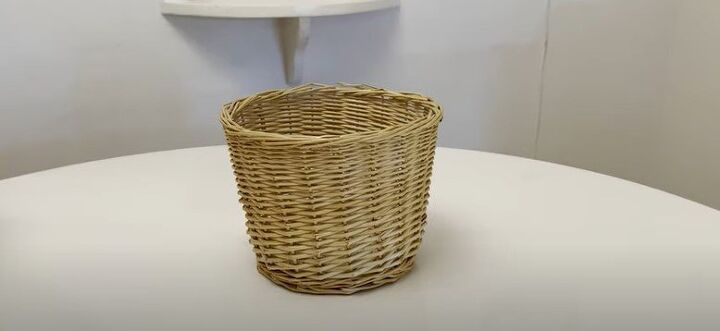
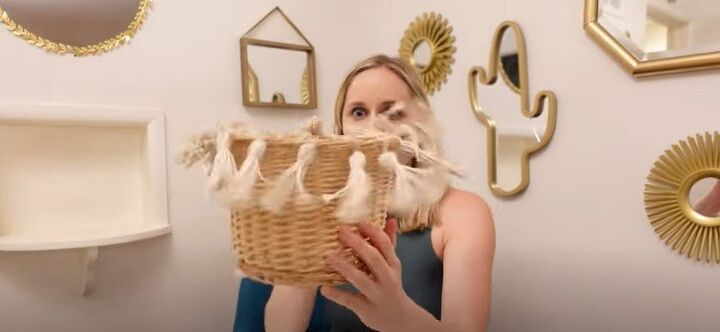
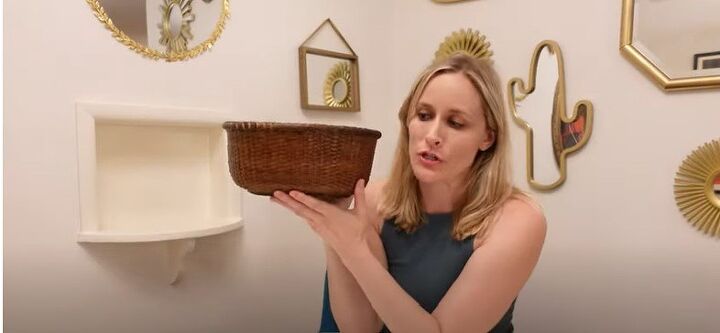
2. DIY basket with tassels
Here’s a very simple, basic basket. To jazz her up, I’m going to add texture. Tassels can totally transform a basket. Here are some examples:
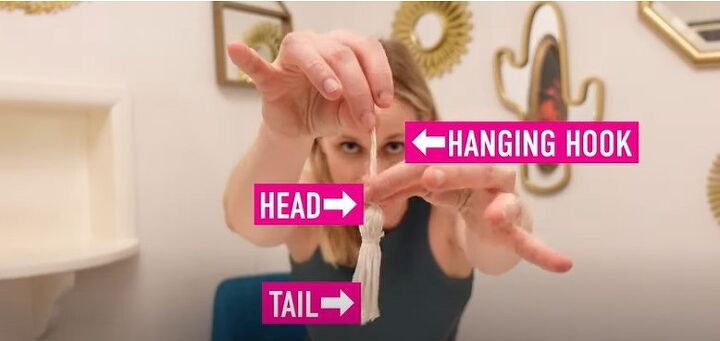
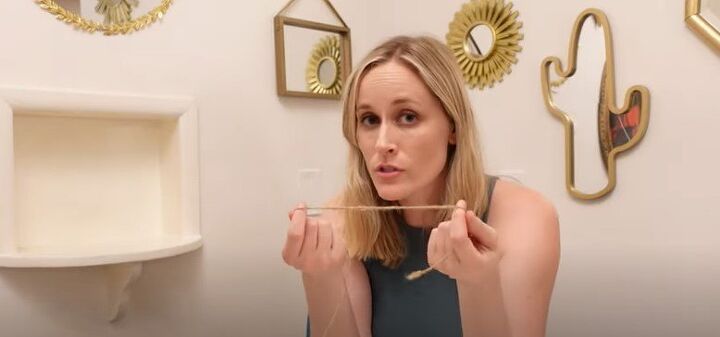
1. How to make tassels
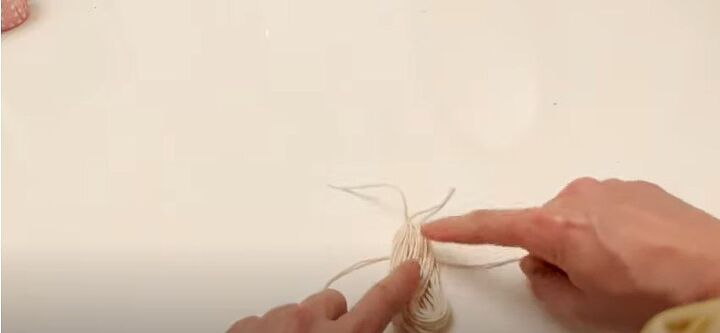
Let’s look at the anatomy of a tassel. We have a head, a tail, and a hanging hook.
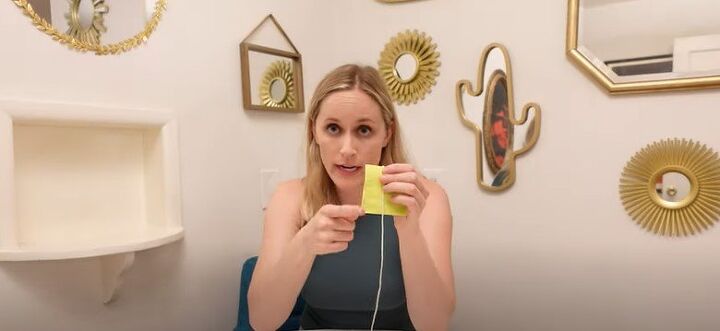
2. Determine your length
Decide how long you want your tassel to be. I want my tassel to be the length of this piece of paper. You want to choose something sturdy so you can wrap your tassel around it. Decide how long and thick you want it.
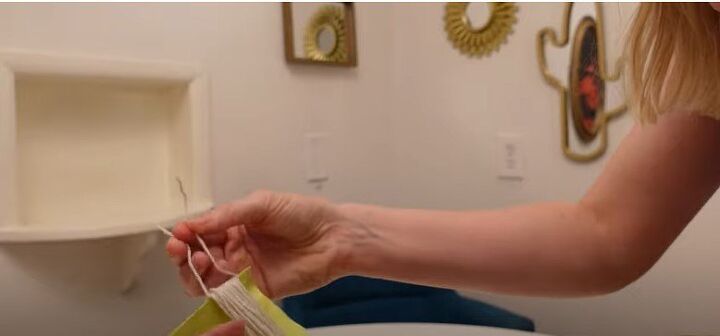
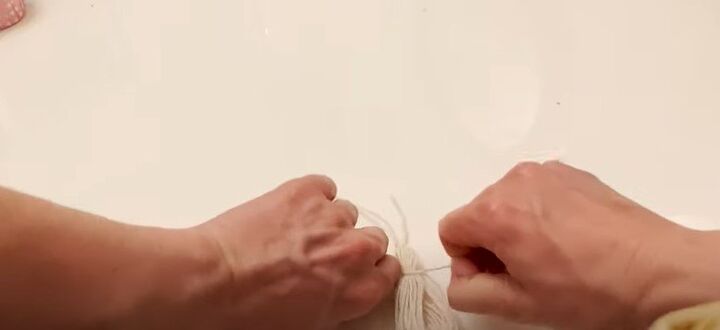
3. Wrap the yarn
Start wrapping the string around your template. You’ll see how thick it will become. I want mine to be 20 wraps long. I trimmed the string after wrapping it 20 times around my sticky note paper.
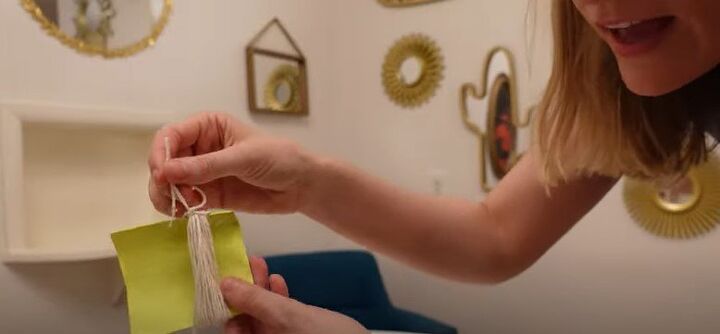
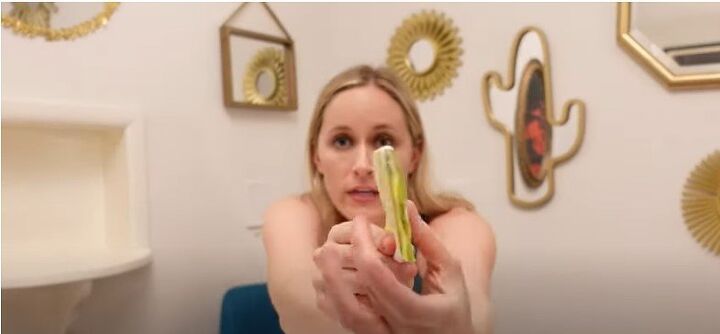
4. Loop the yarn
I then kept the wrapped yarn together by looping a piece of yarn under the wrapped portion, then I tied it on the top with a double knot.
5. Slide the tassel off
Once I tied the string, I was able to slide the tassel off of the piece of paper. I then had a tied loop.
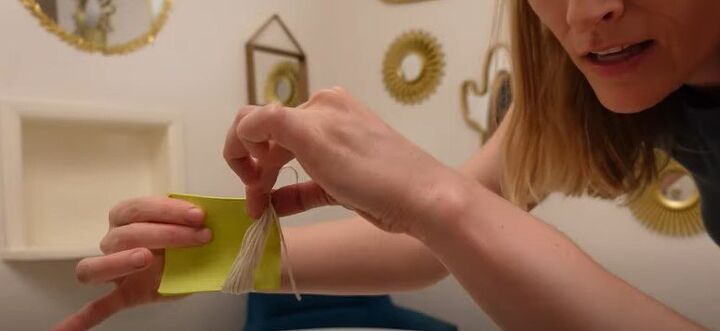
6. Tie the head
I then tied up the head of the tassel using another small piece of yarn. I tied it where I wanted the head of the tassel to be.
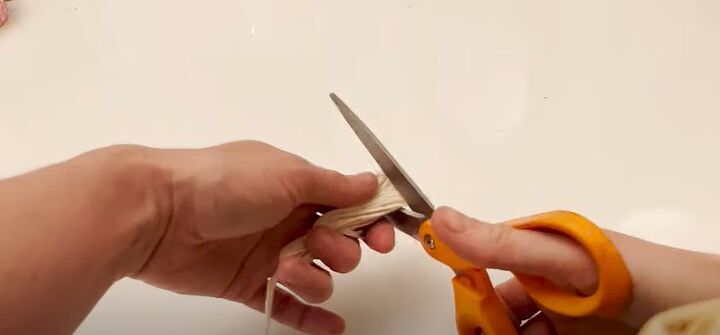
7. Cut the loop
I cut the loop at the end (the tail) of the tassel (opposite of the head). I trimmed off a bit to make it look neat and even to make a cute and sweet tassel. Trim any excess to make the tassels smooth. I made 16 adorable tassels like this for my basket.
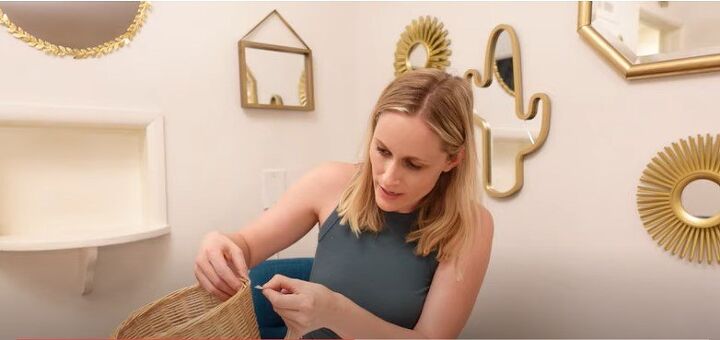
8. Add tassels to the basket
If you have a basket with a loose weave, you can easily string the yarn through the weave and tie it on with a double knot on the inside of the basket.
As a pro tip, I wrapped the ends of the tassels in tape so they don’t fray as much, which allows me to pass the yarn through the basket weave.
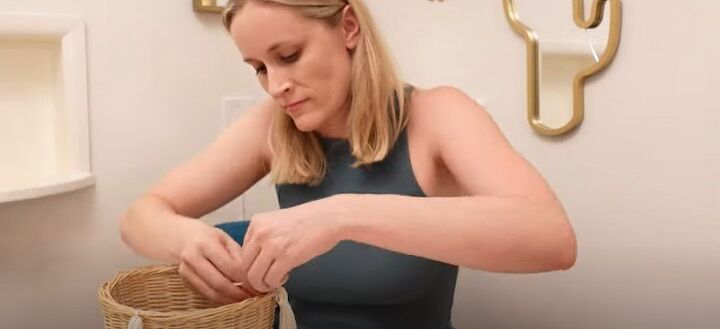
9. Tie on tassels
Tie tassels on all the way around the rim. Tassels are great ways to hide flaws in baskets, such as a broken handle or any place the woven part has come loose.
10. Adjust and trim
Once all the tassels are tied on, flip and fluff them on the basket, then adjust them and trim them to make them all neat.
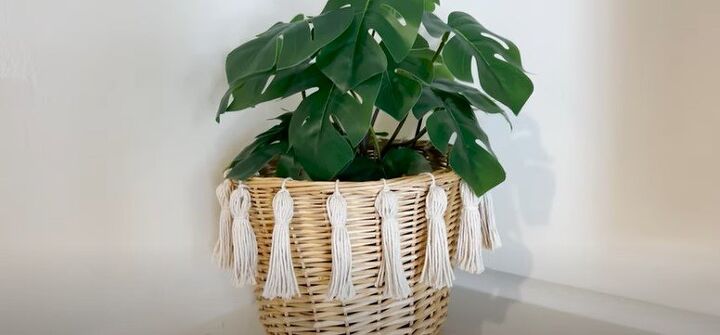
This tassel basket is very boho chic.
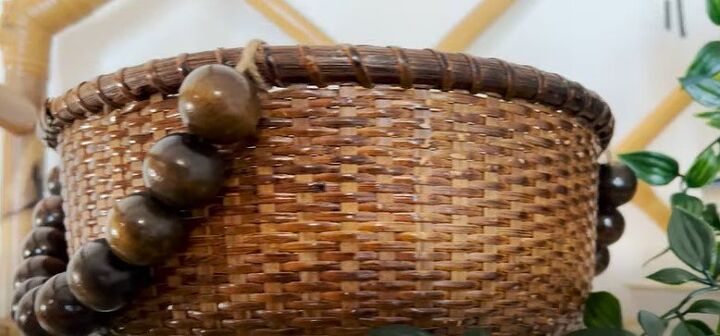
DIY basket with beads
I’m going to glam up this simple basket with beads. It’s a great, simple, easy way to add flair and texture. I found this necklace at a thrift store to repurpose. It was part of a caveman Halloween costume and it has the perfect big wooden beads for this basket.
1. Restring the beads
I restrung the beads on some natural twine because I didn’t like the necklace’s original white string. Tape the end of the twine so the beads can easily pass through.
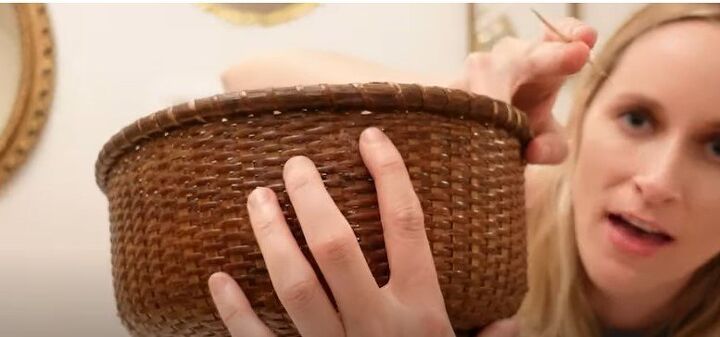
2. Holes for beaded handles
I decided to create little beaded handles. The weave of my basket is tight so I grabbed a toothpick and used it to make the hole in the weave under the rim a tiny bit bigger.
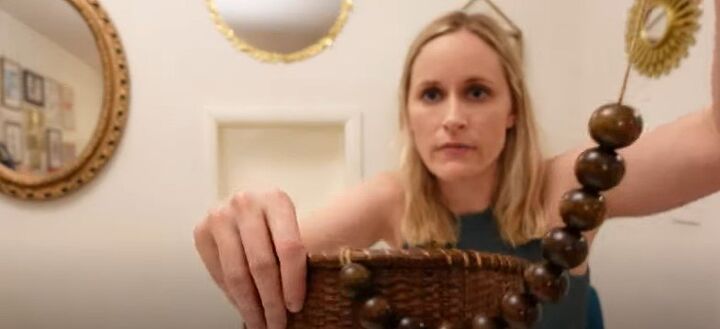
3. Attach handles
I pulled the twine through to the inside and knotted it. I let the beads drape over the side and then pulled the twine through where I wanted the other end of the handle to be. I used a tape measure to measure the distance so I could make the other handle the exact same distance.
Now for the reveal!
DIY basket makeovers
I hope you like these absolutely adorable baskets. They are super easy, super cheap, and a perfect upcycle project. Have you turned a boring basket into a work of art for a few cents? Share your tips below!


Comments
Join the conversation