10 DIY Fall Decor Projects That Cost Me Absolutely Nothing

If you're like me and don't like to spend a lot of money on seasonal decor, you're in the right spot. Today I want to show you some DIY fall decorations I made that cost me absolutely nothing because I only used things I already had around the house. Here are my DIY fall decor ideas.
DIY fall decor
- 1. Turn old fake flowers into a lovely decoration
- 2. Create a modern-looking candle with a wooden bowl
- 3. Give your old candles a hand-dipped look
- 4. Make metal leaves out of empty soda cans
- 5. Turn house-shaped blocks into small vases
- 6. Create a pumpkin patch decoration with a rusted bread pan
- 7. Decorate rusted tin cans
- 8. Embellish a pillow with some writing
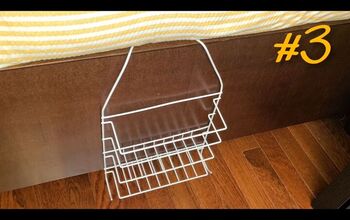
- 9. Make a large metal sign out a metal shelf
- 10. Decorate a black metal tray
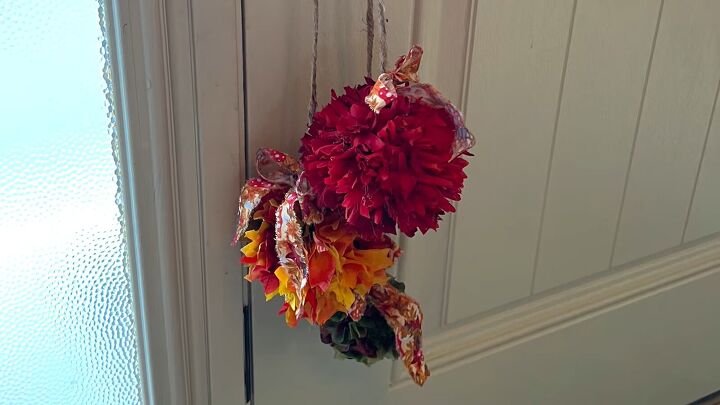
1. Turn old fake flowers into a lovely decoration
I took the flowers apart, wrapped the fabric from each flower around the end of a pencil, and hot glued it to some woven balls from potpourri. I repeated this process until the ball was completely covered in flowers, and then trimmed the ends with scissors.
I made a second ball out of the leaves and the third out of a sack of autumn leaves. I glued the end of a piece of twine into the center of each of the three balls, and then tied the three pieces of twine together. Finally, I made a rustic bow for each ball out of some fabric.
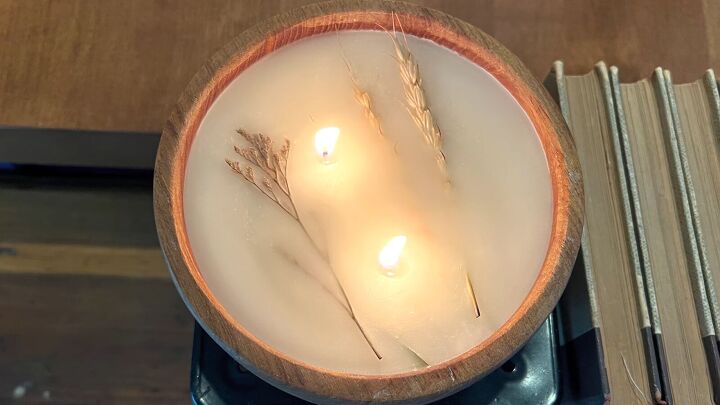
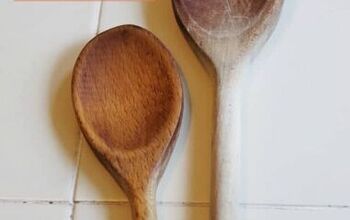
2. Create a modern-looking candle with a wooden bowl
To begin, I cleaned up the outside of the bowl with a little lemon oil, which conditions the wood and helps to hide nicks and scratches. I set two old candles in my oven at 200 F in an oven-safe bowl.
I tied a couple of pieces of the wick to a straw and laid it across the top of the bowl, added some fragrance oil to the melted wax, and poured it into the bowl, leaving a little space at the top of the bowl.
Once the wax had hardened, I added some dried florals to the top and poured a little more wax over the top of those. At the end, I smoothed the imperfections out with a heat gun.
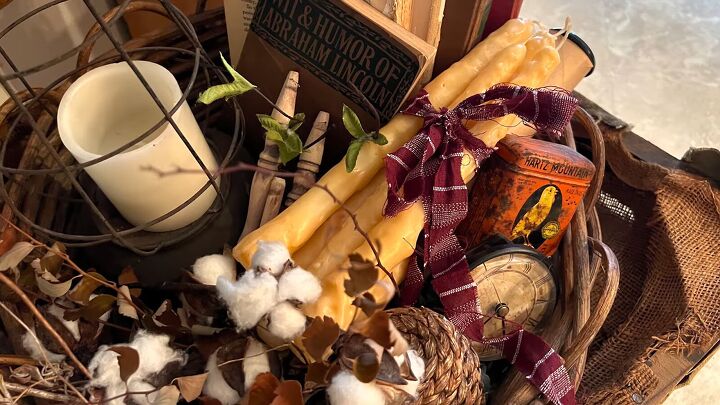
3. Give your old candles a hand-dipped look
I added a little bit of crayon to melted wax for coloring, then spooned the wax over my existing candle. The wax will get thick and chunky as it cools off, so you may want to return the pan to the oven for a while, unless you like really rustic-looking candles. Once done, I put the dish in the freezer for 30 minutes, and the wax popped right off after.
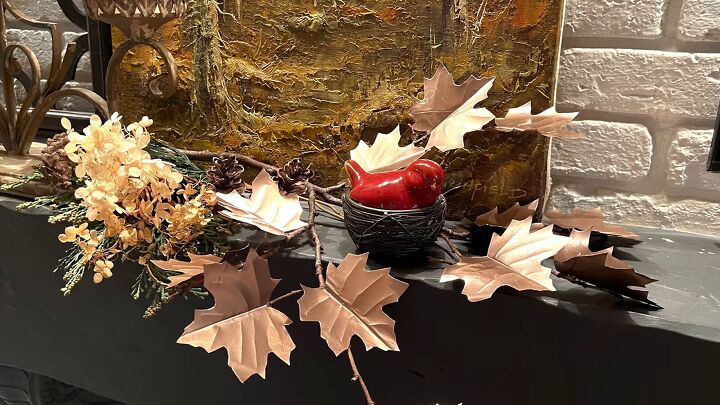
4. Make metal leaves out of empty soda cans
I used a can opener to remove the top tab section of the can, wearing gloves, cut down the side of the can, and cut off both the bottom and the top rim. I was left with a rectangle of metal, which I ran along the side of my work table to straighten out.
I taped a fake leaf to my sheet of metal and then cut around it. To create veins in the leaves, I folded them in half and then used a small screwdriver to emboss other veins on the back of the leaf. I spray-painted both sides of the metal leaves with some gold metallic spray paint. Finally, I glued the leaves to a real branch.
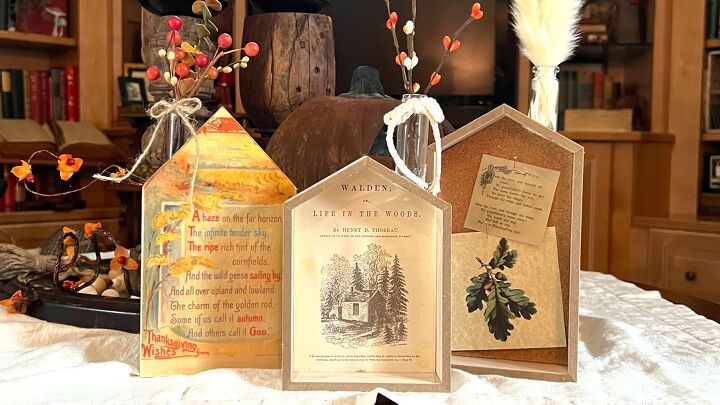
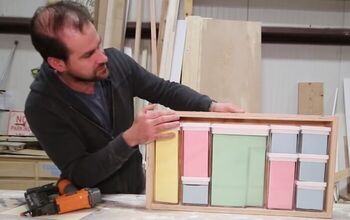
5. Turn house-shaped blocks into small vases
I drilled a small hole straight down into the roof and enlarged it using a spade drill bit. I covered the inside of the frame with some corkboard and tacked some autumn images inside. I printed out another autumn image and decoupaged it to the back of the house.
Then I applied some hot glue in the hole in the roof and inserted a small glass jar from Dollar Tree, which I filled with small florals to look like smoke coming out the chimney.
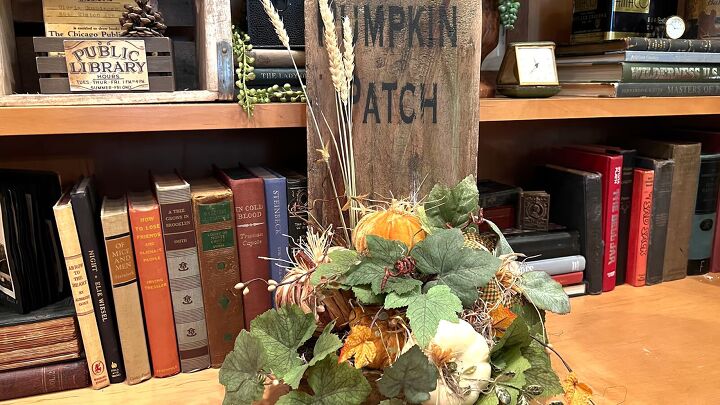
6. Create a pumpkin patch decoration with a rusted bread pan
To create rust on a bread pan, I set it in a disposable container and covered it with toilet bowl cleaner. A couple of times a day, I would rinse it off in water and then reapply the toilet bowl cleaner.
I just reused the cleaner that was already in my disposable container. It took a couple of days for it to become rusty. I sprayed it with a clear top coat before using it.
I decided to attach the rusty bread pan to a scrap piece of wood. I made a vinyl stencil on my Cricut, applied some black chalk paint using a sponge dauber, and let the paint dry for about 20 minutes. Then I peeled off the vinyl, drilled two small holes in the bread pan, and attached it to the bottom of the board using two small screws.
Once the paint was dry, I sanded over it for a distressed look and applied a top coat of clear wax.
I added a used piece of Styrofoam inside the bread pan, stuck skewer sticks to the bottom of some pumpkins, and installed those into the Styrofoam. I added a few tall stems to fill in the space between the words and the bread pan. Then I filled in around the pumpkins with leaves and Spanish moss.
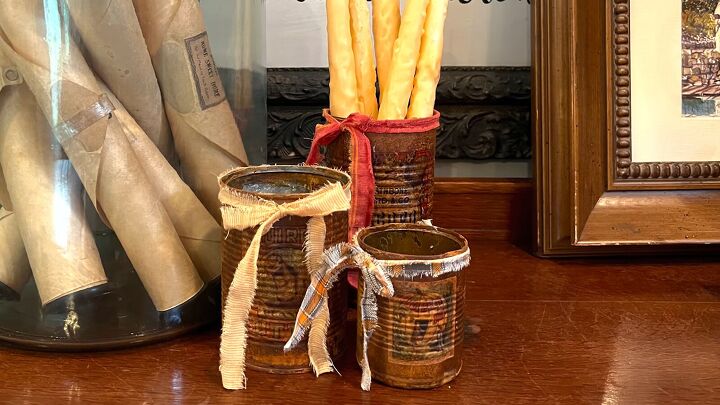
7. Decorate rusted tin cans
I made some tin cans rusty using the method described above and sprayed on a clear top coat. To make labels for the cans, I taped a piece of regular tissue paper to a piece of cardstock, printed out autumn-themed vintage labels, cut them out, and applied them to the side of the cans with Mod Podge.
The labels became just subtly apparent on the sides of the cans, appearing as if they had faded over time or been rusted over. As a finishing touch, I ripped some strips of fabric to create a bow that I tied around the top of each can.
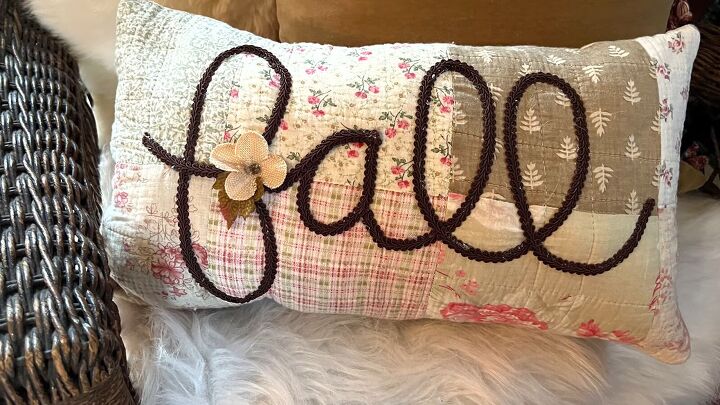
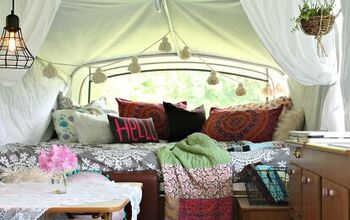
8. Embellish a pillow with some writing
I folded an old bedspread in half and wrote the word “fall” across the front of the fabric with a Sharpie. Next, I hot-glued a roll of trim along the lines of the letters. Use good quality hot glue sticks like Gorilla Glue, and that trim will not come loose from the fabric.
As I was sewing, I made sure that the word “fall” stayed centered on the front of my pillow. I didn't really like how my F looked, so I glued a little flower on to conceal it.
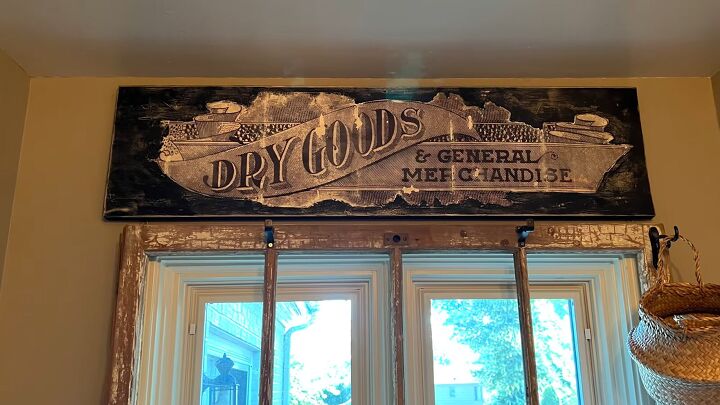
9. Make a large metal sign out of a metal shelf
First, I painted the shelf black and brushed on some white chalk paint. I wanted to create an extra-large image transfer, so I used the Print to Size app to reverse the image and print it out page by page, carefully moving the image over to fill up the page.
I cut off the margins and decoupaged the images on my metal shelf, leaving it to dry overnight. The next day, I moistened the paper and rubbed the top layer of paper off with my fingers.
Finally, I painted the background black to add some contrast. When the black paint was dry, I distressed it with some sandpaper, and then I sprayed the entire sign with a clear top coat.
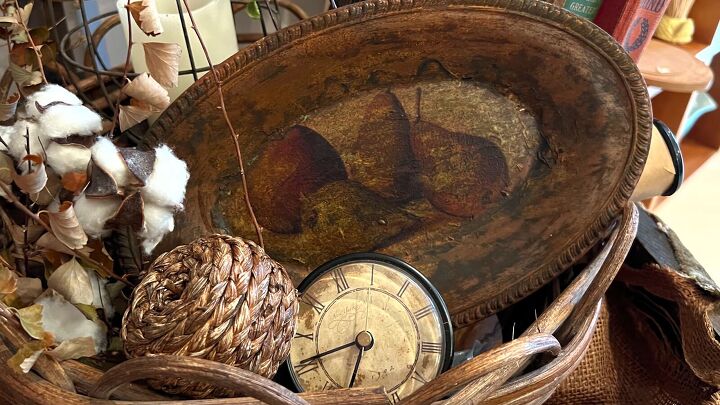
10. Decorate a black metal tray
I gave my tray two coats of rusty orange primer, let it dry, applied two separate coats of the iron Modern Masters Rust Effect paint, and let it dry, too.
I then applied a vintage image of pears I had printed out using Mod Podge and carefully tore off the extra paper around the edges. Then I sprayed the tray twice with the rust activator. Be sure to seal your tray if you're going to use it for food.
DIY fall decor
I hope that this DIY fall decorating ideas have inspired you to also get creative and give your stuff a new life. Share your best DIY decorations in the comments!


Comments
Join the conversation