6 Cute and Easy DIY Fall Home Decor Ideas

Today's fall DIY crafts felt more like science experiments than your typical craft project. I used some new materials and tried techniques for the very first time.
Some of them were a little messy, but they were all a lot of fun, and I honestly didn't know how they would turn out. I hope you'll let me know which DIY fall home decor ideas of mine you think were a success and which ones were a flop.

1. Aged terracotta lamp
For my first DIY fall decor experiment, I wanted to see if I could make a cheap ceramic lamp look like aged terracotta.
So, I spray painted the ceramic portion of a thrift store lamp with a couple of coats of rustic orange spray paint that I had on hand.
Then, I mixed up equal parts garden lime and water in a disposable container. I stirred it up until the granules were mostly dissolved, and then I brushed it on the lamp like paint.
I applied three separate coats, letting the lime mixture dry completely between each coat. When the lime was completely dry, I lightly sanded it with a very fine 220-grit sandpaper.
I went back over a few spots with some more lime where I felt I had sanded off too much. When these spots were dry, I went over the entire lamp dabbing on white wax to seal the lime and to give it a whiter appearance.
2. Cardboard lantern
To make a cardboard metal lantern, I sliced off a 5-inch piece of cardboard from a concrete form tube using a jigsaw.
Then, I smoothed out the cut edge using my orbital sander. Next, I turned a cardboard box with a lid upside down and adhered it to the cardboard ring using wood glue. Then, I attached the small lid to the top of the cardboard ring.
After that, I attached a metal biscuit cutter to the top of the cardboard box lid using super glue and hot glue.
I decided to cover the entire cardboard lantern with brown craft paper by applying Mod Podge. Then, I made a 50/50 mixture of ivory chalk paint and baking soda. I painted all over the lantern, let it dry, and then applied a second coat.
Next, I lightly dry-brushed some gray paint over the lantern. I also had a metal candle base that I decided to use, so I drilled a hole in the base of the lantern, applied some hot glue, and then inserted that candle base.

3. Revived candles
For the next fall DIY decor experiment, I'm going to revive old candles by covering them with a piece of napkin.
Separate the plies of your napkin until you have the top printed layer. Cut this piece to fit around the candle of your choice. Turn your iron to a medium-low heat setting. Then roll your napkin-covered candle over the soleplate of your iron.
Be careful not to let your fingers or the candle itself come in direct contact with the iron's soleplate. Trim off any extra napkin at the top and bottom of the candle and then run that edge over the soleplate to seal the edges.
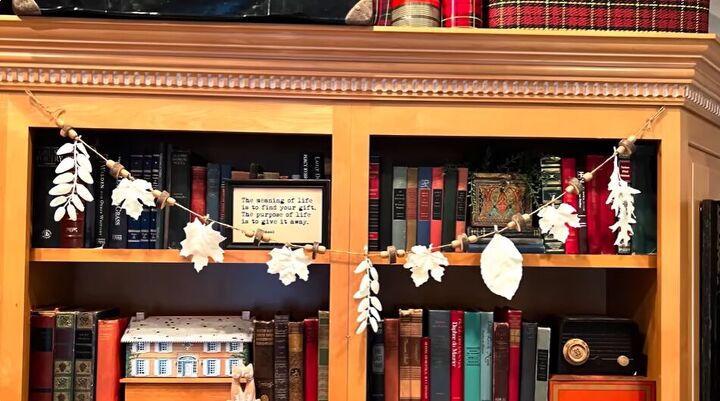
4. Plaster leaves
For the next experiment, I wanted to see if I could make plaster leaves. I mixed water and Plaster of Paris in a disposable bowl. I collected some fake leaves from my floral stash and began dipping them into the plaster mixture and laying them on an old cardboard box to dry.
Then, I grabbed the leftover paint baking soda mixture and began brushing that over the leaves and filling in any cracks or spots where you could see the fake leaf through the plaster.
When the plaster was dry, I tied the leaves to a long piece of twine, making sure to space the leaves out evenly. I'm calling this experiment a failure because even though it turned out pretty cute, the plaster cracks and falls off of the leaves far too easily.
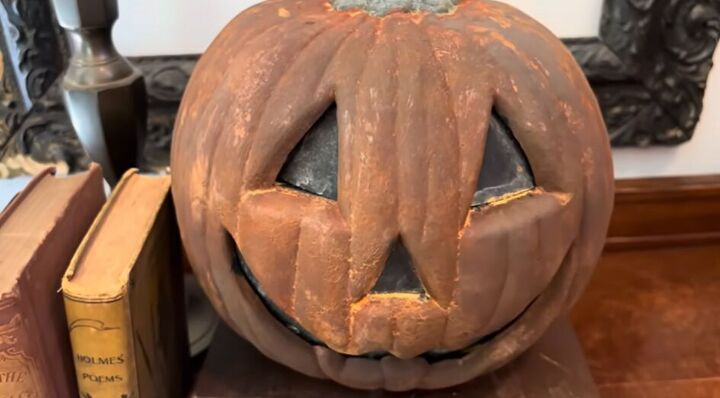
5. Vintage pumpkin
In this experiment, I wanted to see if I could make a cheap thrift store plastic pumpkin look like a pricey vintage pumpkin.
My pumpkin had screw holes in it, which I filled with some caulk. When the caulk was dry, I lightly sanded it smooth. Then, I painted the pumpkin with two coats of primer from the Rust Finish Metal Effects Kit. I painted over the facial features and the stem with some regular black chalk paint.
Once the orange primer was dry, I applied two coats of iron paint over the primer. When the second coat of the iron paint was dry, I sprayed the pumpkin with the rust activator.
I let it dry for about five minutes, and then I sprayed it a second time. The paint will continue to rust for the next few days.
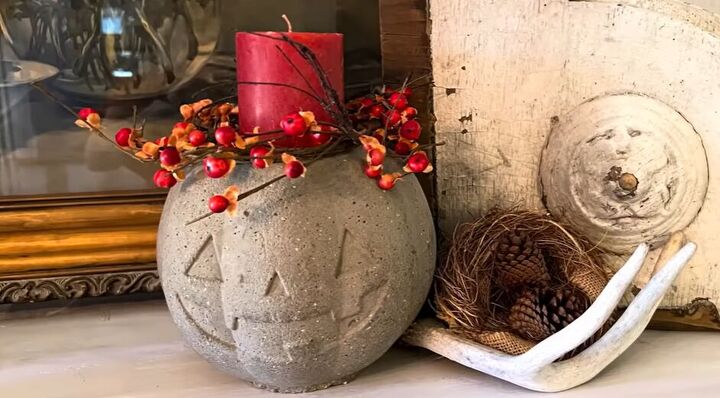
6. Concrete pumpkin
To make a concrete pumpkin, I cut the handles off of a plastic pumpkin pail and covered the holes with a couple of pieces of duct tape.
Then, I used a strainer to remove some of the rocks from a bag of Kwikset Concrete. I added water to the concrete mix and began stirring it. I sprayed the inside with a good amount of non-stick spray, and then I poured in my concrete mix.
To remove the plastic pumpkin from the concrete, I made sure I ran my utility knife only along the ridges and around the base of the pumpkin so that any marks that I made would not be noticeable in the concrete.
The plastic easily popped off the concrete. I used an old rag to wipe down the concrete pumpkin and a little sandpaper to sand out the knife marks.
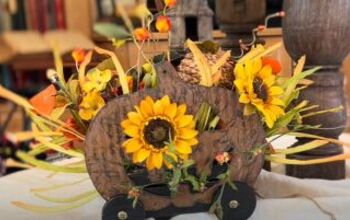
DIY fall crafts
I hope I've inspired you to conduct some of your own DIY fall decorations projects this week.
Let me know which of my DIY fall home decor ideas listed above is your favorite in the comments section below.


Comments
Join the conversation