DIY Thrift Flip Challenges: 8 Unique Thrift Flip Project Ideas

Get ready for the ultimate DIY thrift flip showdown! I will upcycle and repurpose common thrift store items from Goodwill so you can see all the possibilities. Let’s learn how to do DIY thrift flip decor for your own home.
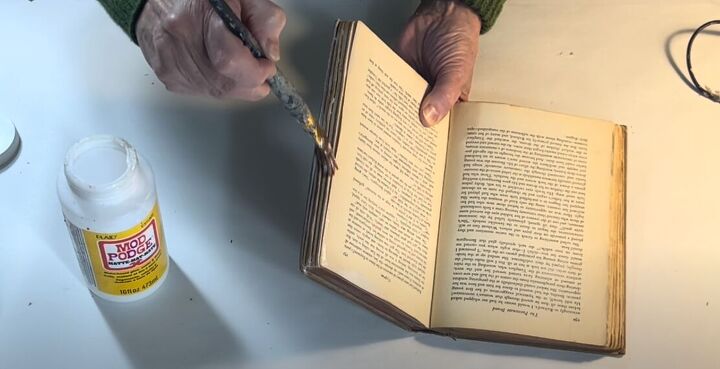
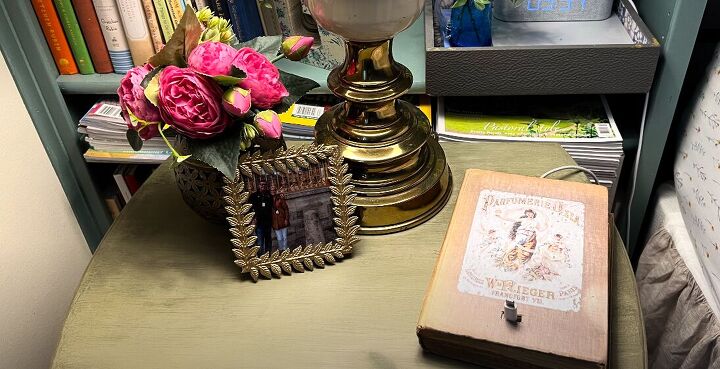
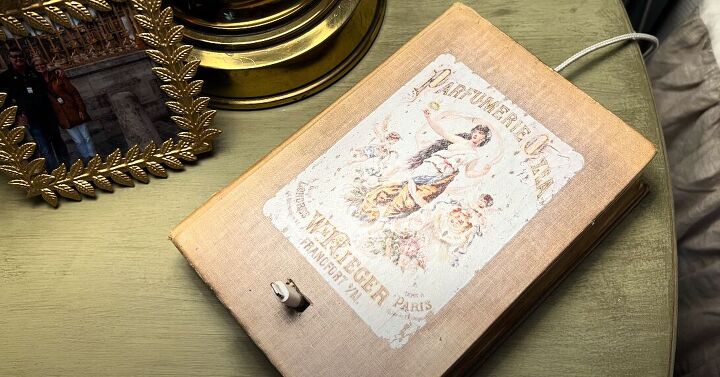
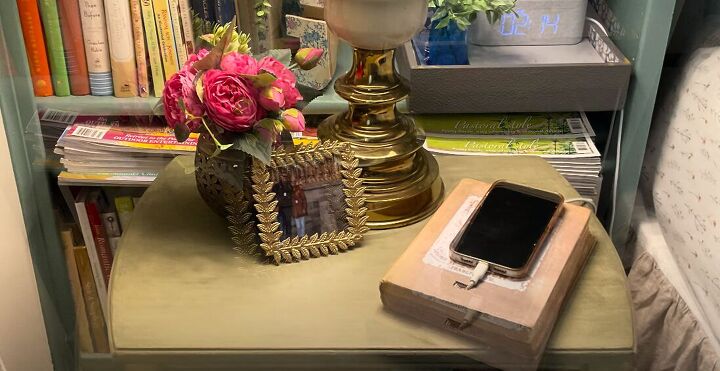
Challenge 1: Book
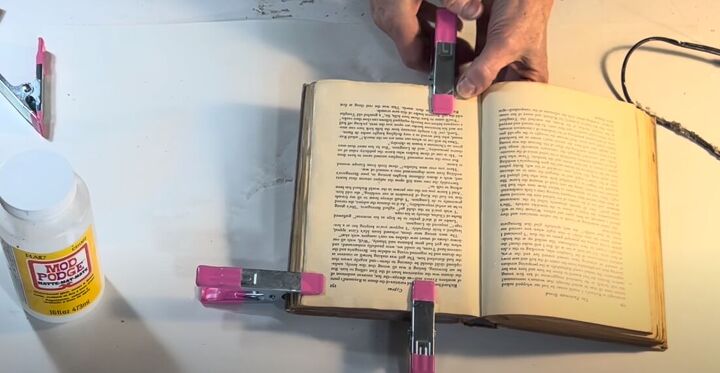
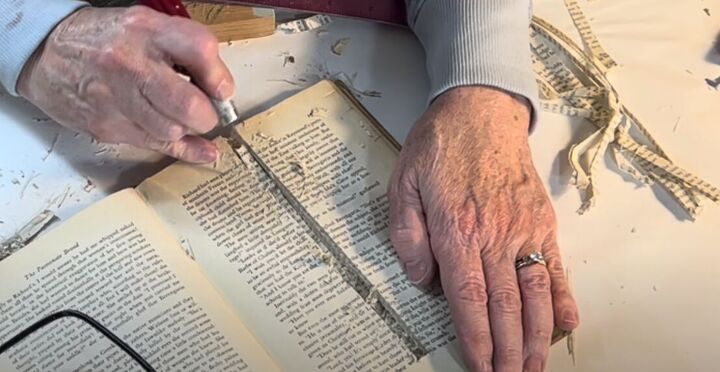
I opened the book to the middle and brushed two coats of Mod Podge over the page edges on the back half of the book. I clamped those pages to dry.
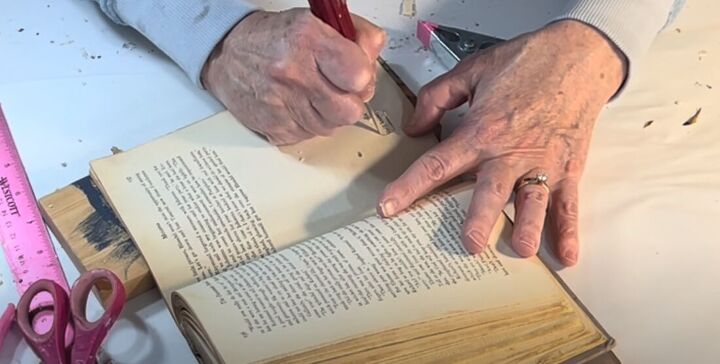
I then made a small square at the bottom of the top half of the book’s pages using an X-Acto knife, cutting through a few pages at a time.
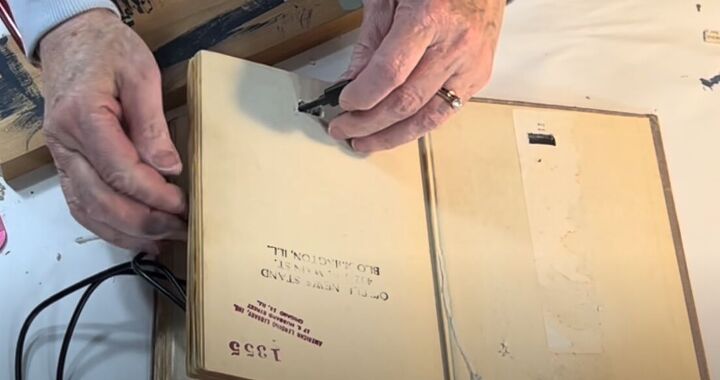
I threaded a phone charger through the cut-outs.
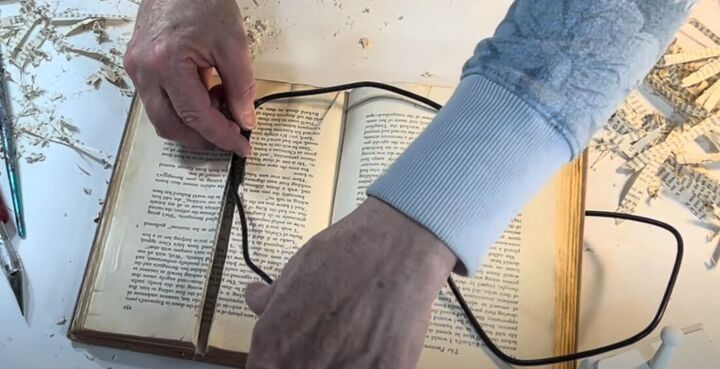
Then cut out a channel in the pages for the cord.
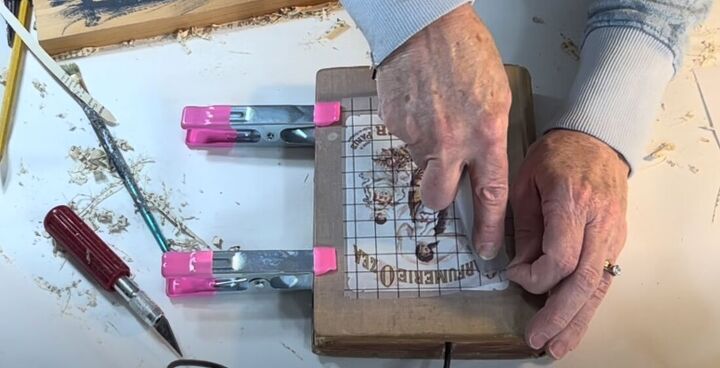
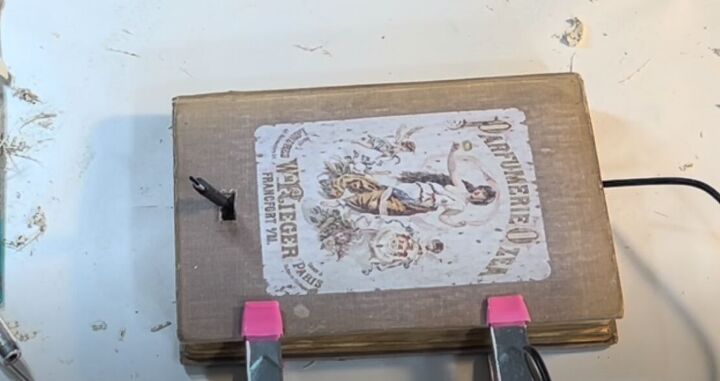
I chose a plain book so I added an IOD rub-on transfer. I distressed the transfer with sandpaper to match the distressed look of the old book.
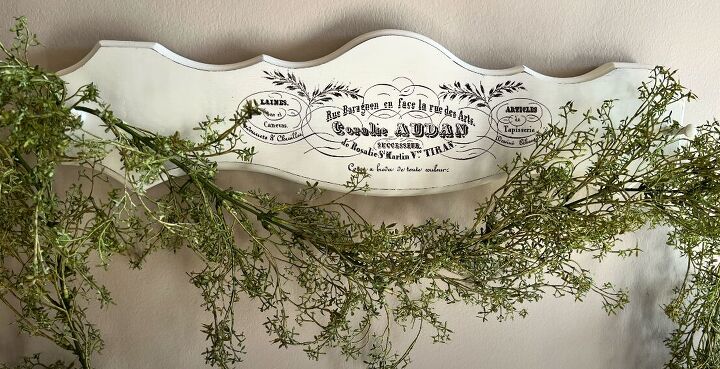
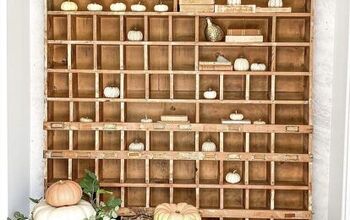
Challenge 2: Wood item
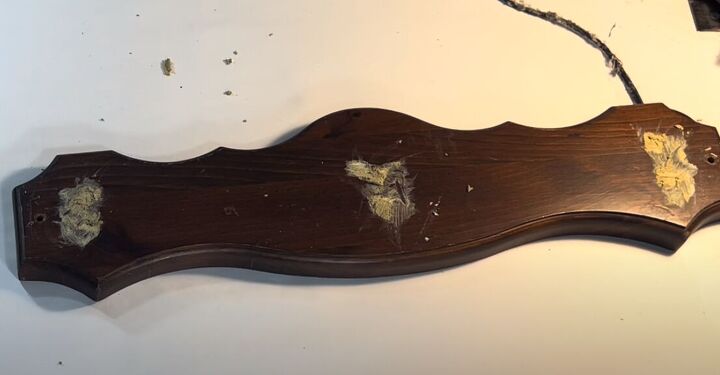
This large wood plaque was probably once a rack. I filled the holes with wood filler, then sanded it smooth.
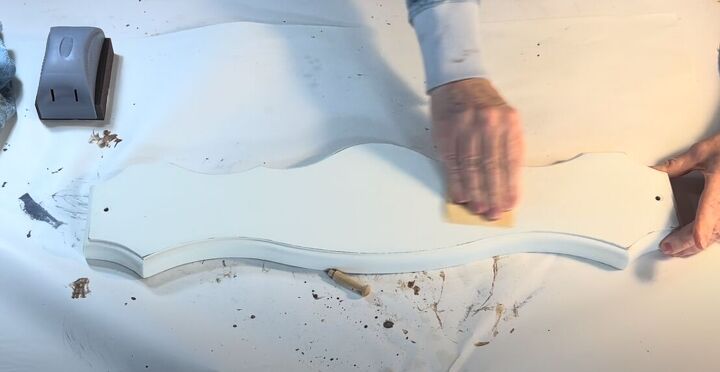
I painted it with two coats of creamy white chalk paint and lightly distressed it with sandpaper.

I drilled two holes at the far ends of the plaque and I inserted small wood pegs in each using a dab of wood glue. Then I painted the pegs to match the plaque.
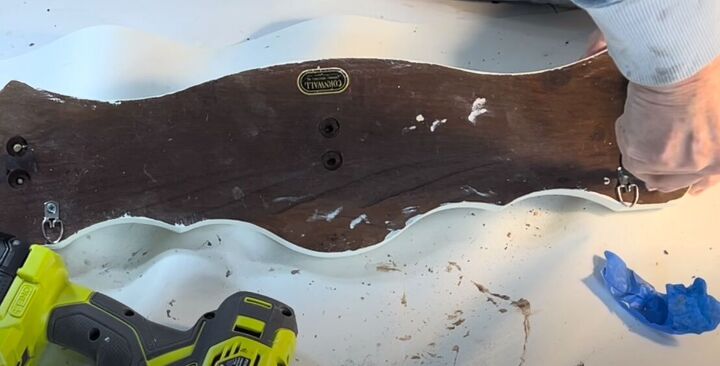
I added two D rings onto the back side of the plaque.
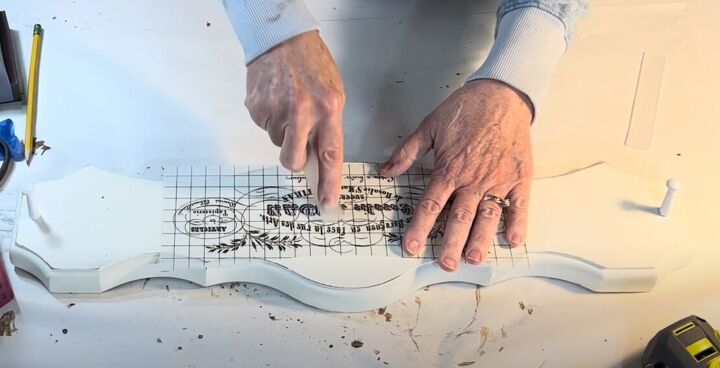
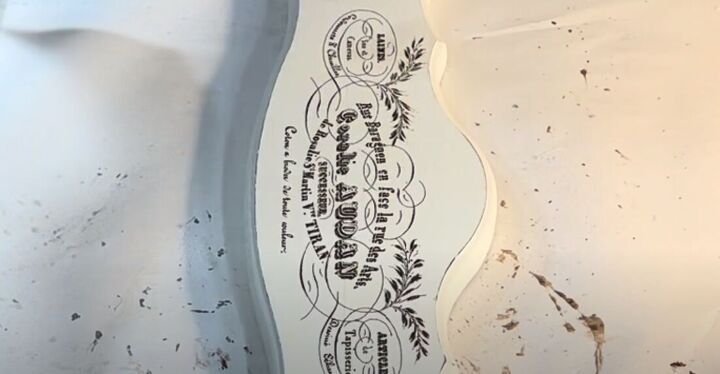
For interest, I added an IOD rub-on transfer in the center.
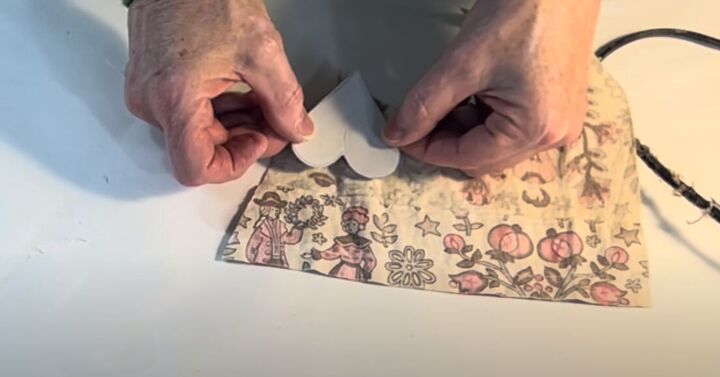
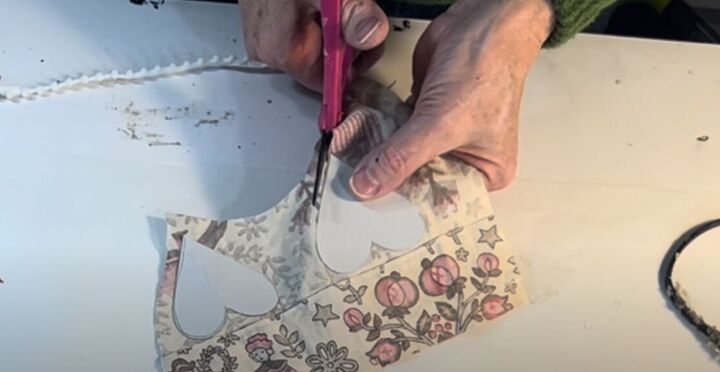
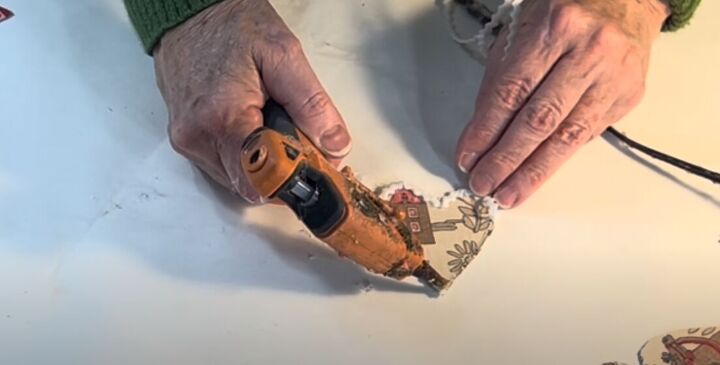
I cut out five hearts from cardstock and adhered them with spray adhesive to the back side of the scrap fabric for a Valentine’s Day garland. I hot-glued bric-a-brac around the edges.
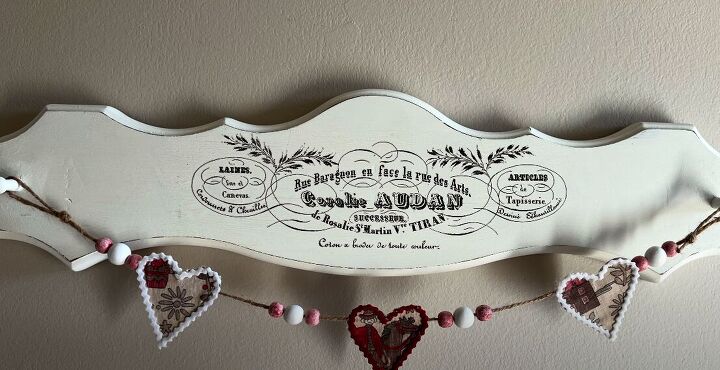
I hot-glued the hearts to jute twine, adding a few beads in between. I use this for greenery, too.
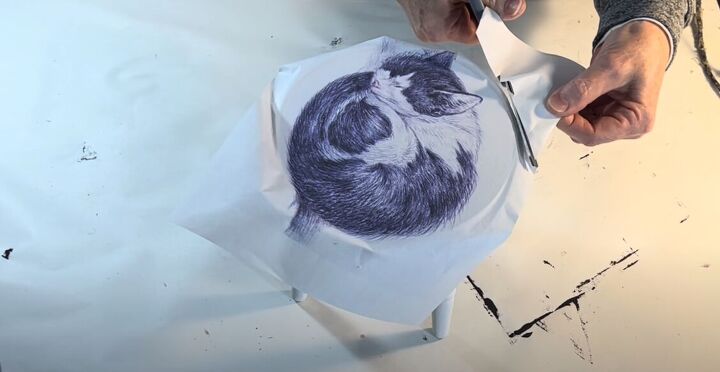
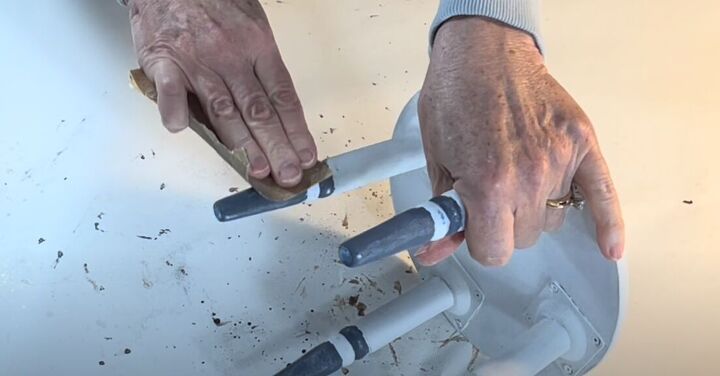
Challenge 3: Christmas stool
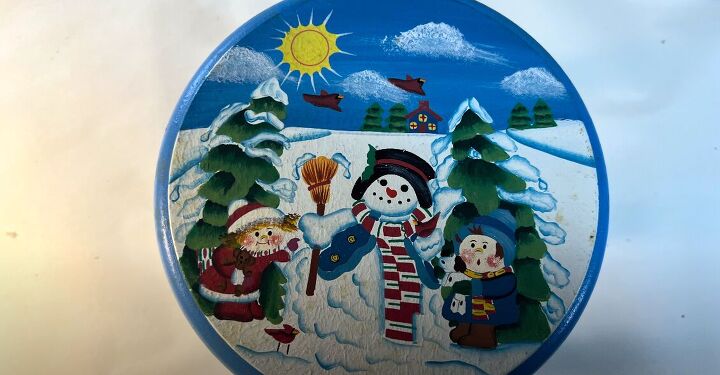
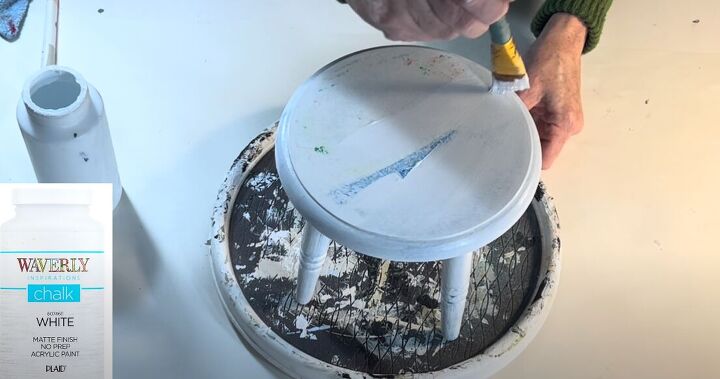
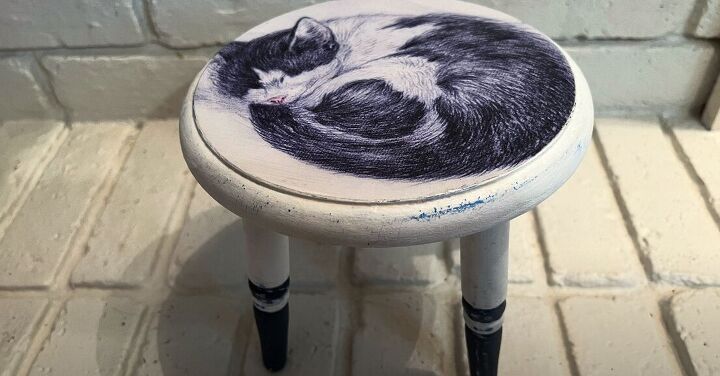
I sanded off the design, painted it with two coats of white chalk paint, and printed out a sleeping cat image.
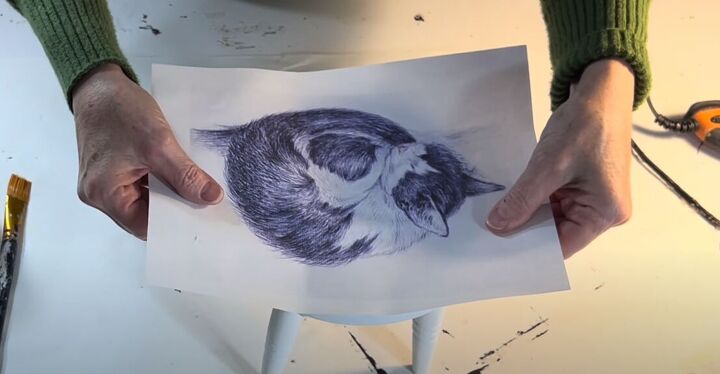
I brushed Mod Podge onto the seat and paper, lined the image up, and pressed it into place using my hands and a soft cloth to smooth out any wrinkles.
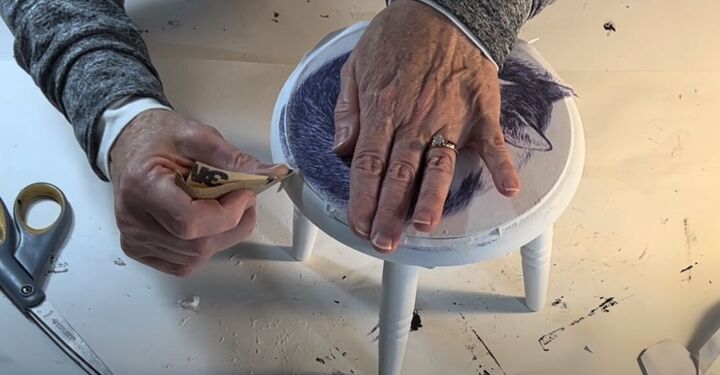
I trimmed the excess paper, let it dry for a few hours, then sandpapered around the edge of the stool to remove excess paper.
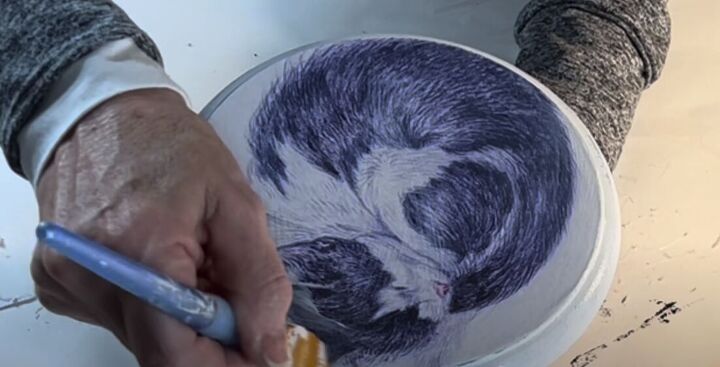
I added a coat of Mod Podge to seal and protect the seat and the image.
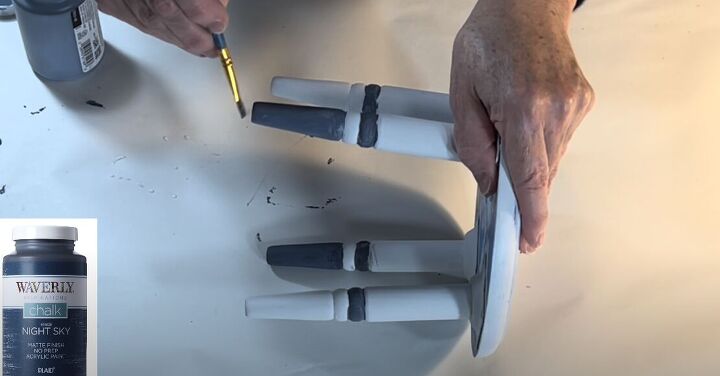
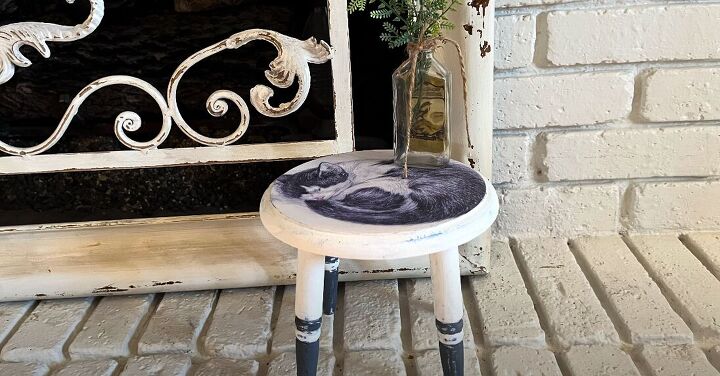
To coordinate colors, I painted the bottom half of the legs with a dark bluish-gray chalk paint called Night Sky.
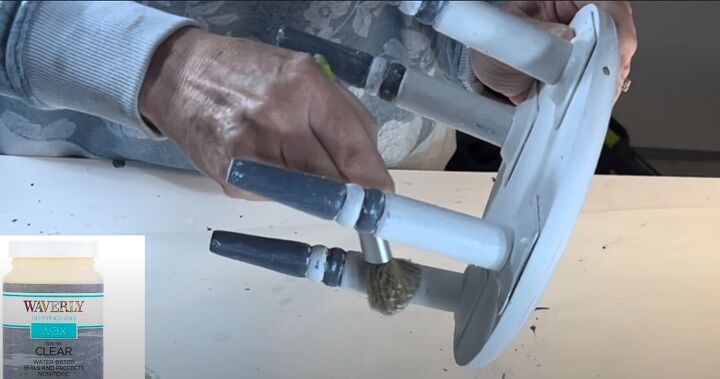
I lightly distressed the legs, then brushed on a coat of clear wax over the entire stool wiping away the excess with a soft cloth.
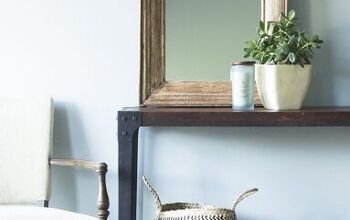
Challenge 4: Wood frame
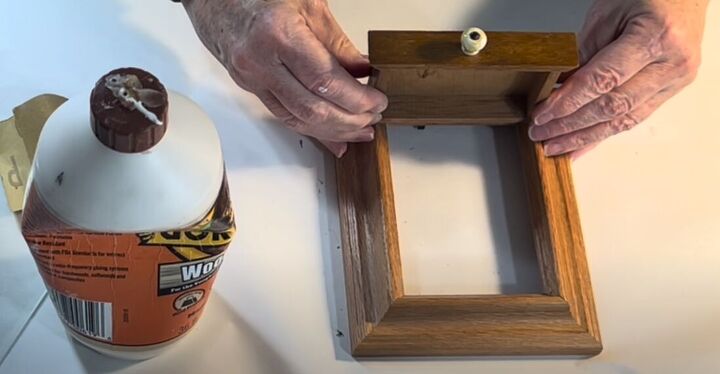
I glued a small random drawer to a plain oak frame.
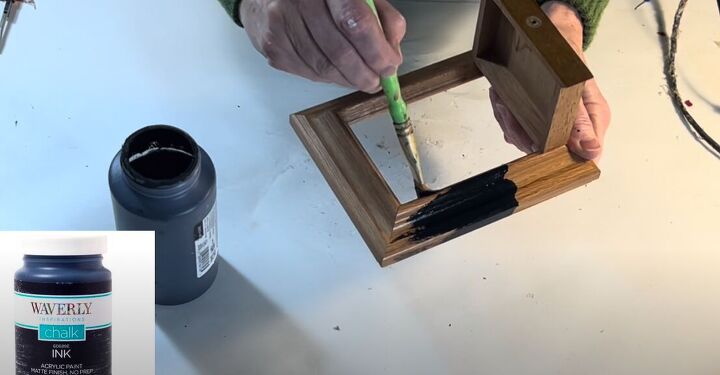
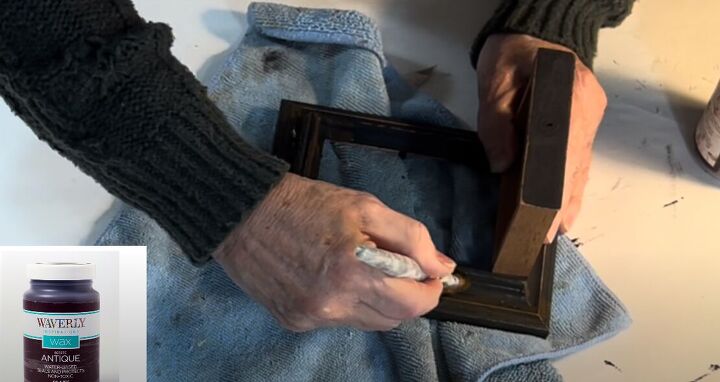
I painted the frame with black chalk paint, lightly distressed the piece with sandpaper when the paint dried, and brushed on antiquing wax to seal the paint and add dimension.
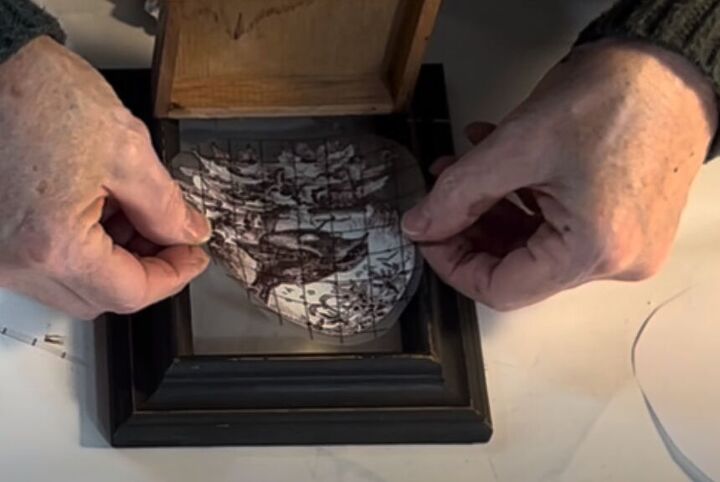
I added a vintage black-and-white bird rub-on transfer.

I glued on a tiny wicker basket and filled it with Spanish moss, two bird’s eggs, and a sprig of greenery.

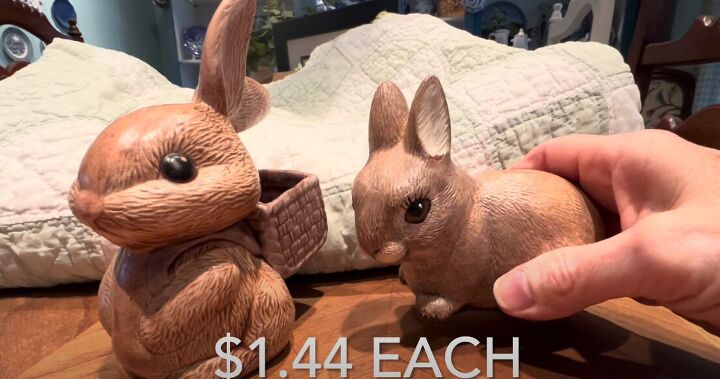
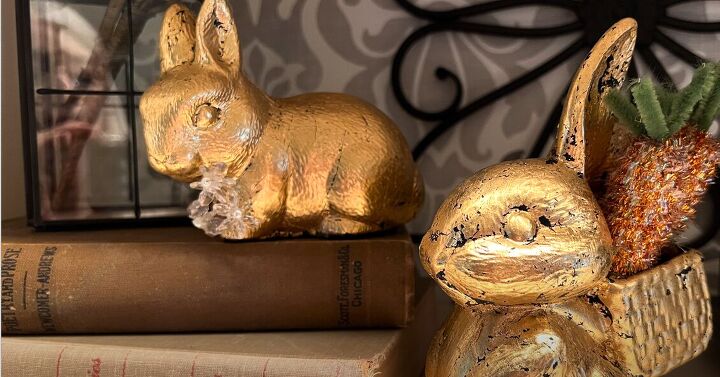
Challenge 5: Figurines
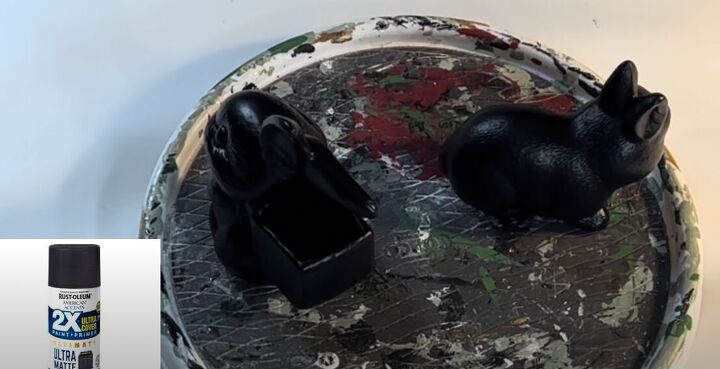
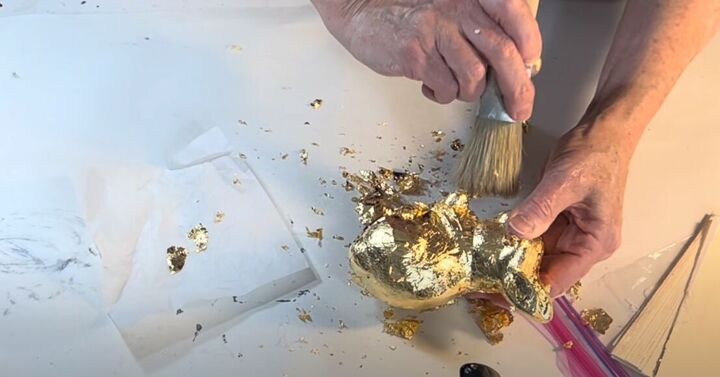
I spray-painted two rabbits black, then brushed on gold leaf adhesive. After 30 minutes, I placed gold leaf sheets on the rabbits using a soft brush.

I added watered-down antiquing wax to tone down the brassy gold leaf.
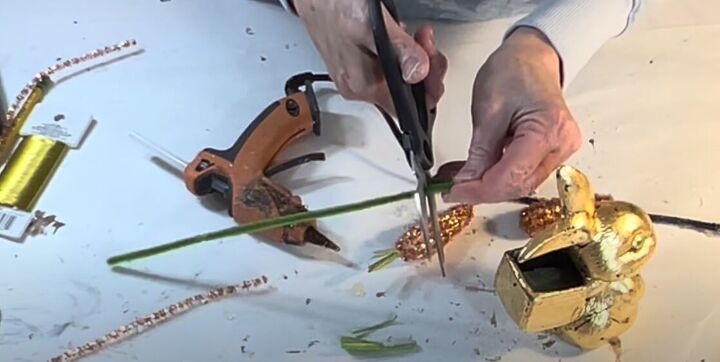
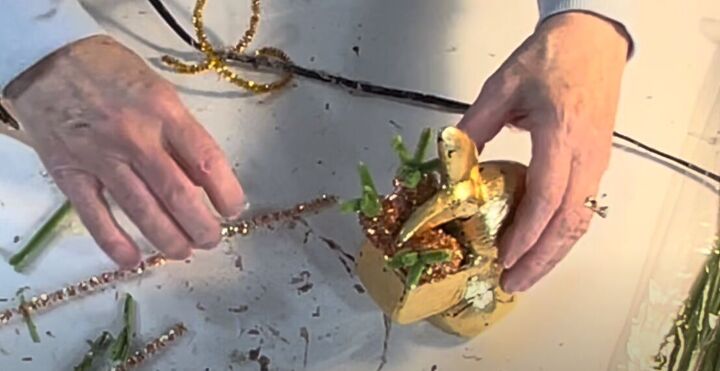
I jazzed up faux carrots with sparkly pipe cleaners to add to one of the rabbit’s baskets.

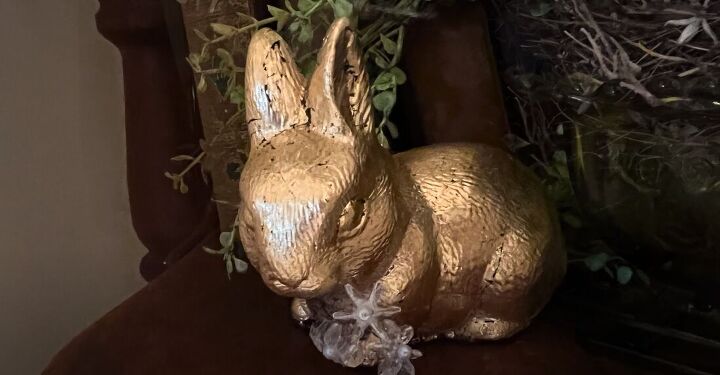
To jazz up the second rabbit, I strung a bead and pearl onto gold florist wire and twisted it into a flower, making three of these. I inserted the flowers into a drilled hole in the rabbit’s foot with a drop of clear Gorilla glue.
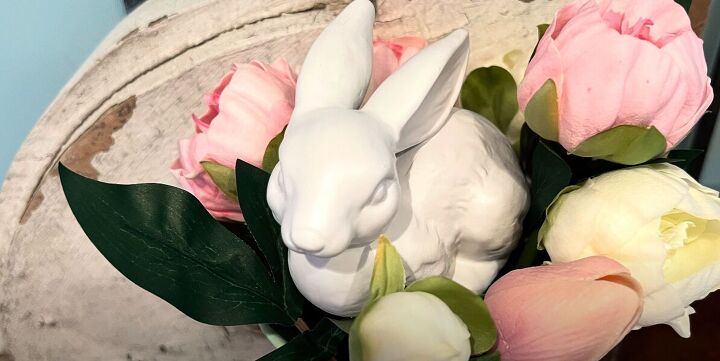
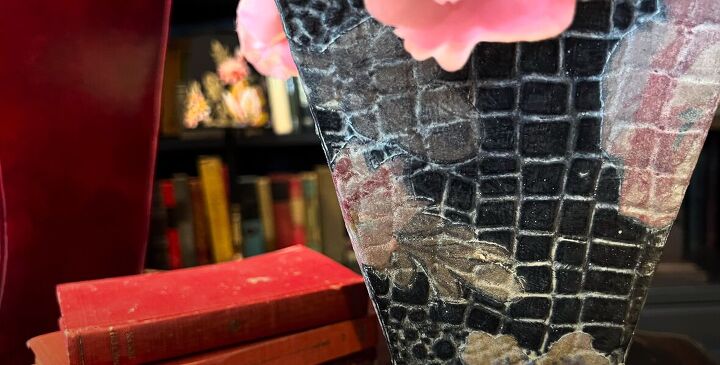
Challenge 6: Vase
I thrifted a vase and rabbit for a few dollars.
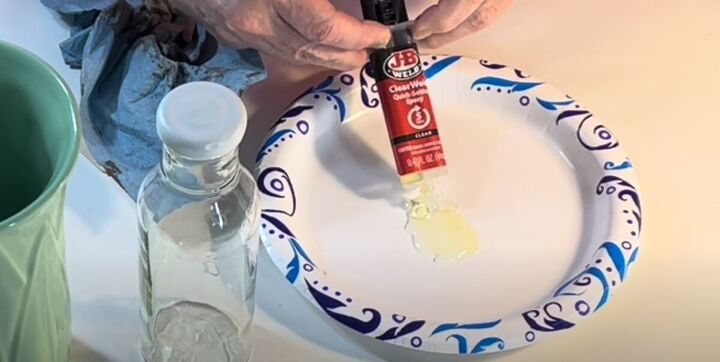
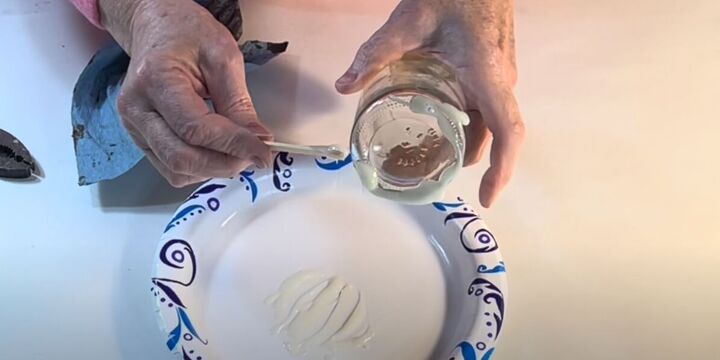
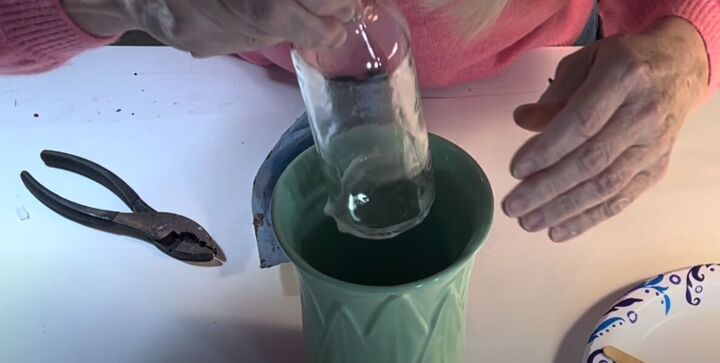
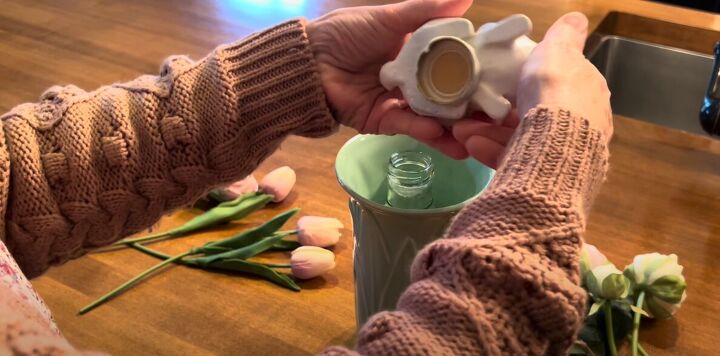
I found an empty jar that was about the same height as the vase. I spray-painted the lid white. Then I applied an epoxy glue to the bottom of the jar and inserted it into the center of the vase.
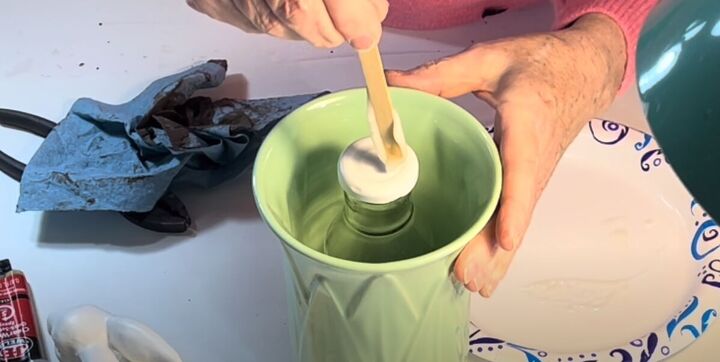
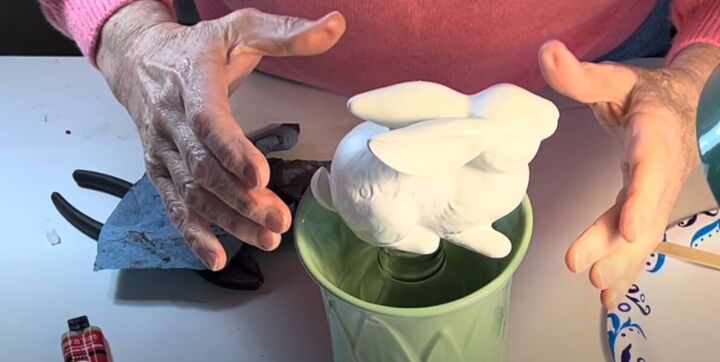
Then, I applied epoxy to the jar lid and centered the ceramic rabbit that I spray-painted white on top.
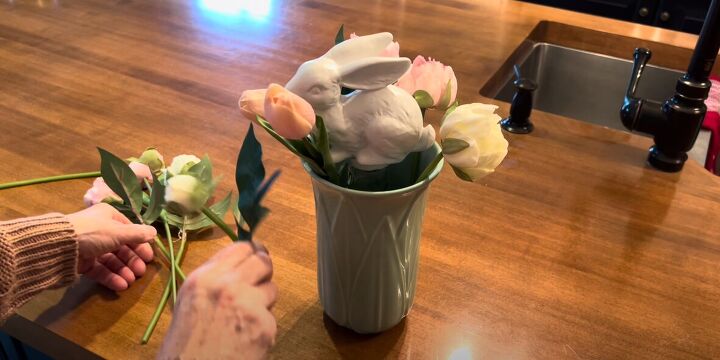
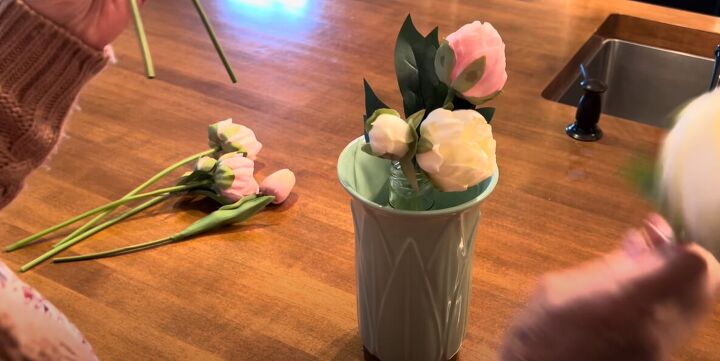
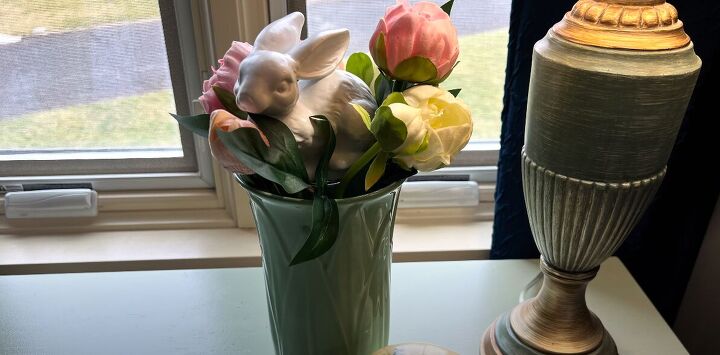
Once the epoxy dries, you can add real or faux flowers. You can also unscrew the lid to remove the rabbit and use the vase by itself.
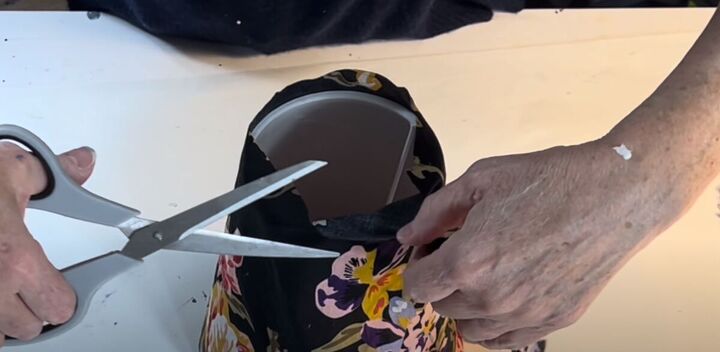
Challenge 7: Item of clothing

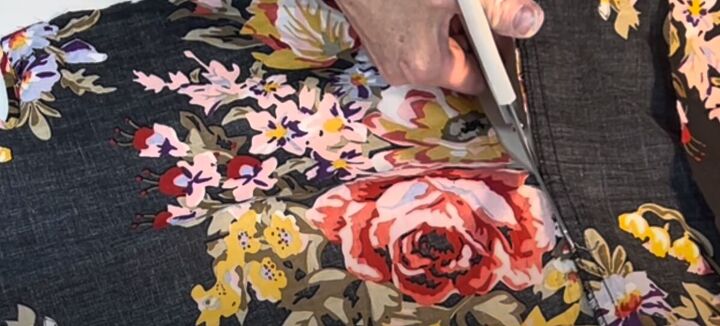
This is an old shirt of mine that I saved after it shrunk because I loved the floral fabric. I cut off the neckline and sleeves and cut along the side seams to open up the fabric.
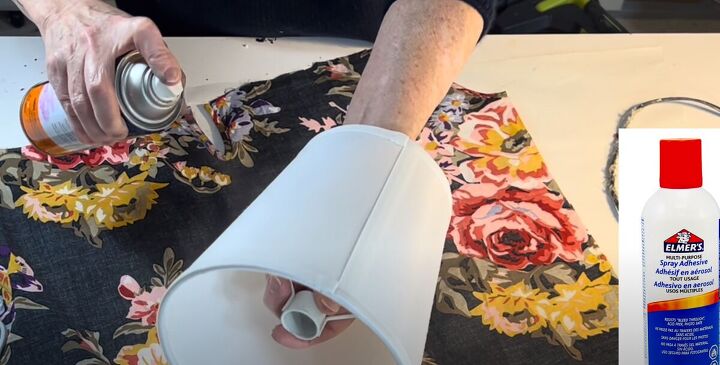
I recovered this small lampshade with this fabric using a strong adhesive.
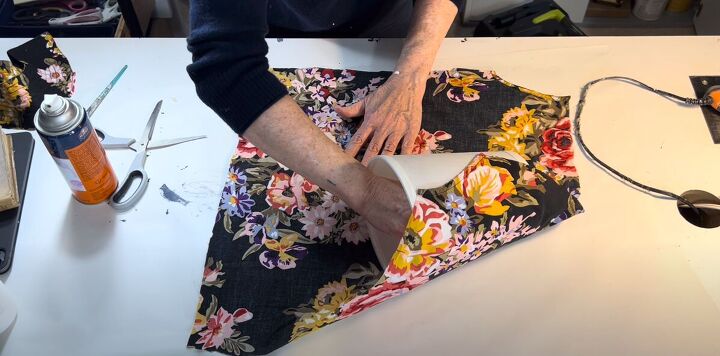
I worked quickly to roll the shade over the fabric, pulling it taut, then trimmed away most of the excess fabric along the top and bottom of the shade.
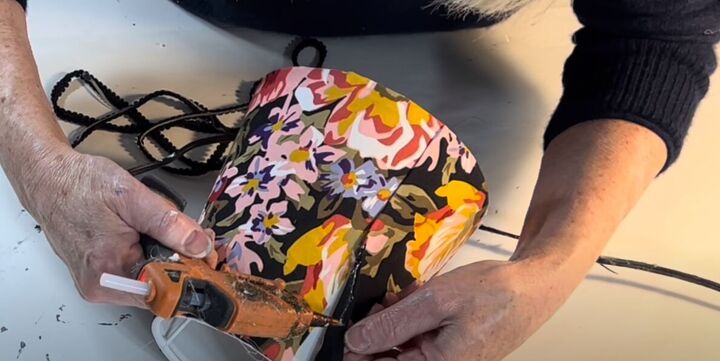
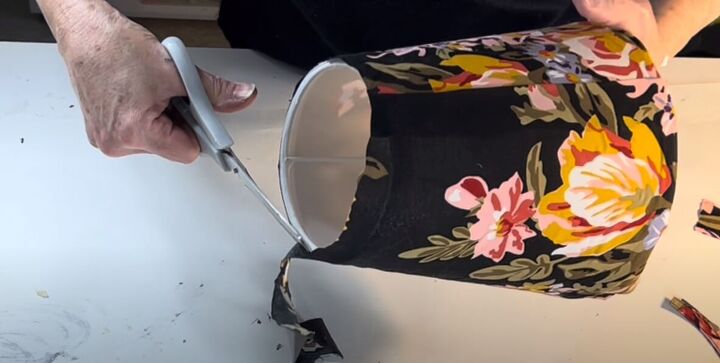
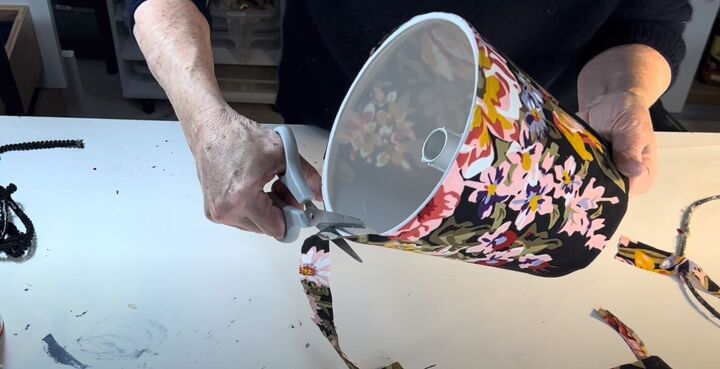
I hot glued the seam of the fabric to hold better, then trimmed the fabric away again on the top and bottom.
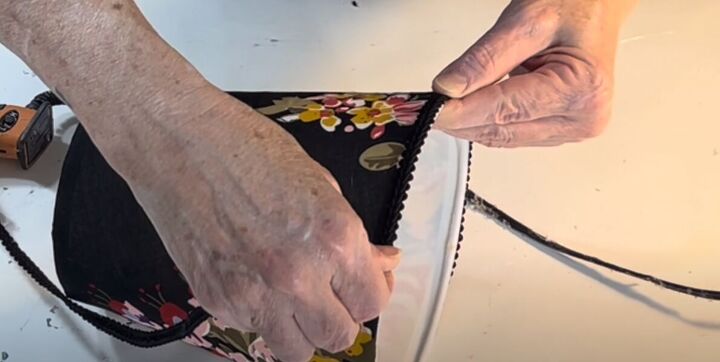
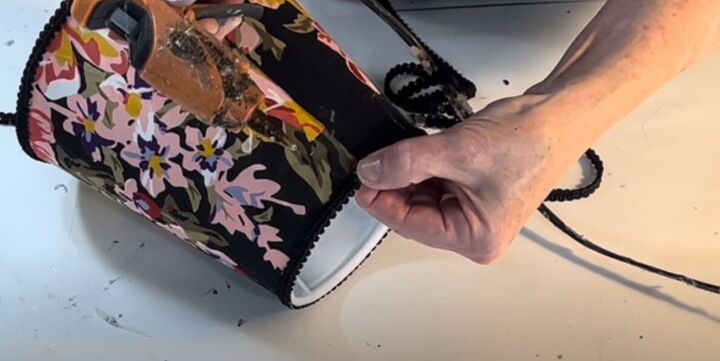
To finish the edges, I hot-glued black trim around the top and bottom of the shade.
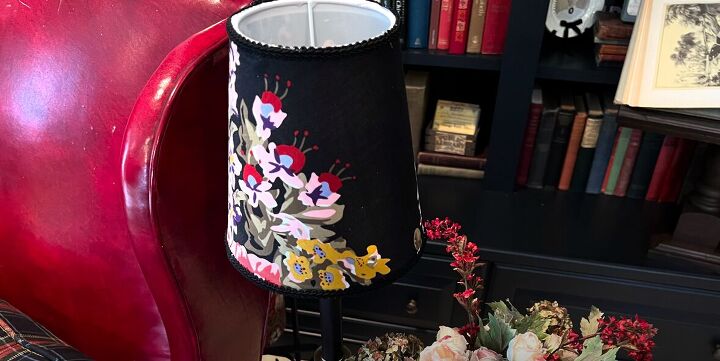
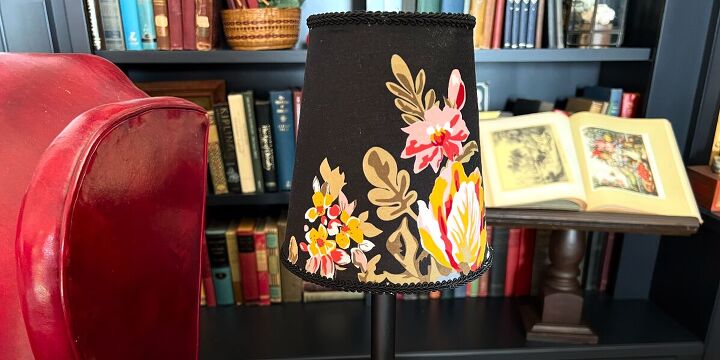
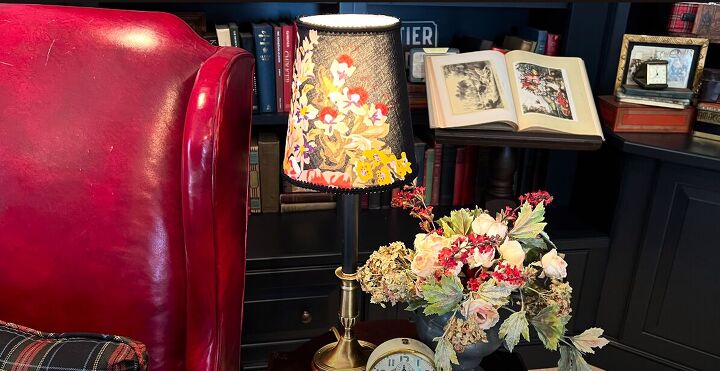
I found the perfect thrifted lamp for this pretty shade.
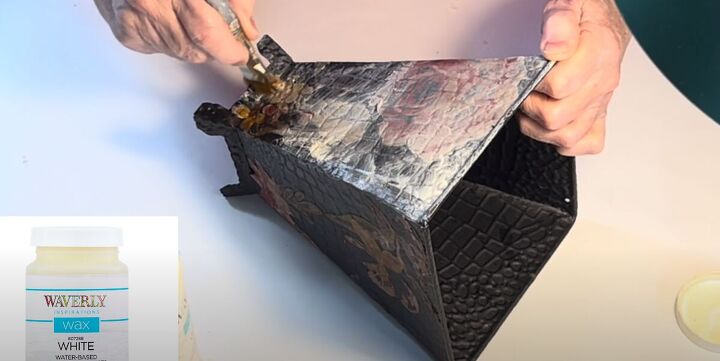
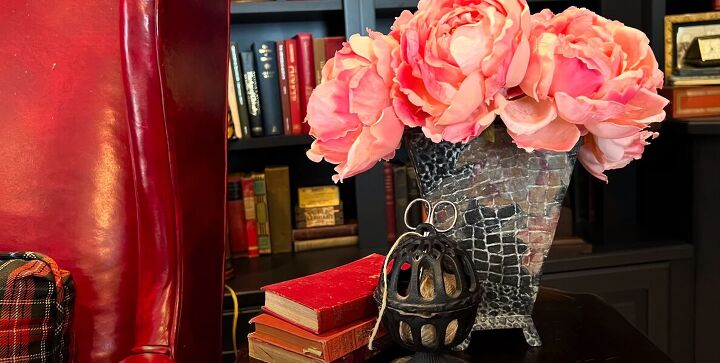
Challenge 8: Another vase
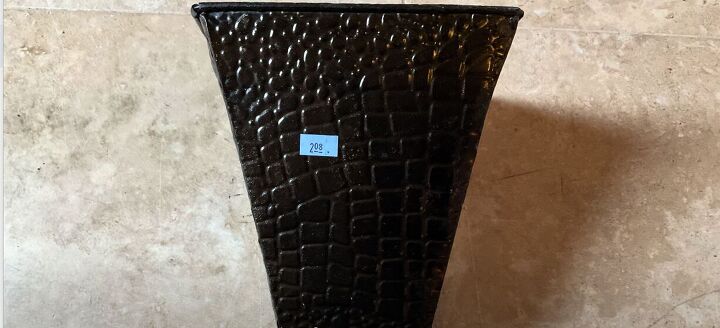

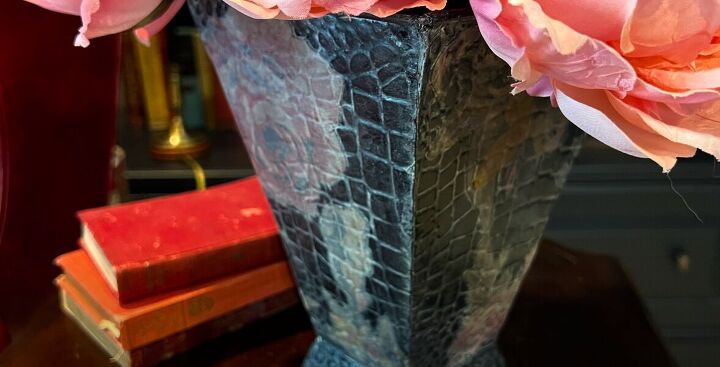
I decided to dress up a metal vase using several cut-out flowers from the shirt.
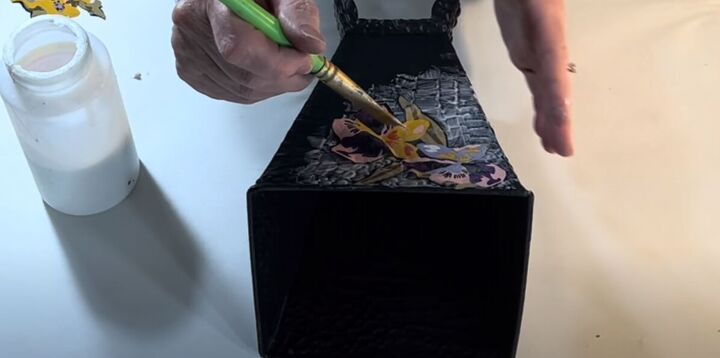
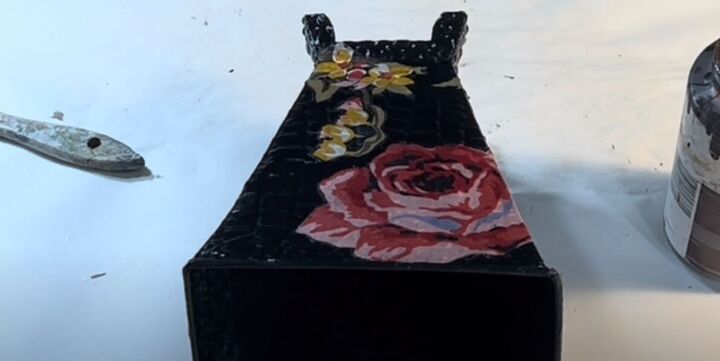
I adhered the flowers with Mod Podge, then added a top coat of Mod Podge.
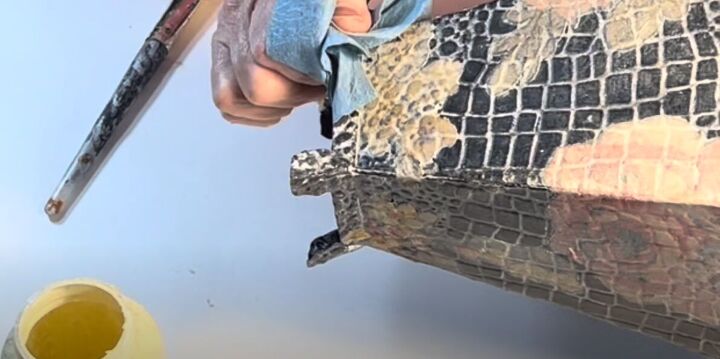
I brushed on white antiquing wax, wiping away the excess.
DIY thrift flip projects
I hope you were inspired by these DIY thrift flips. See what you can do with a simple thrift? Let me know your favorite piece in the comment section.
Next, check out my post on Flipping 5 Pieces of Furniture With Only Paint & Dollar Tree Supplies.


Comments
Join the conversation