Flipping 5 Pieces of Furniture With Only Paint & Dollar Tree Supplies

My garage is full of junk, so it is time to go flipping furniture again!
If you would like to learn how to flip furniture but are scared of starting, here are some simple projects for you to try.
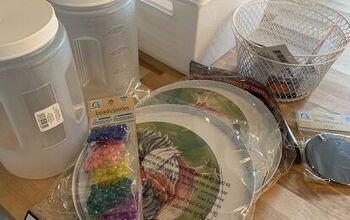
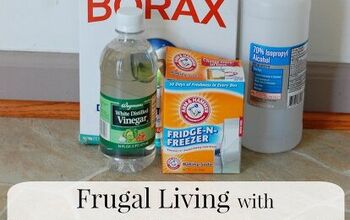
I am giving five of these curb finds a makeover using nothing but paint and Dollar Tree supplies. Let's get started!
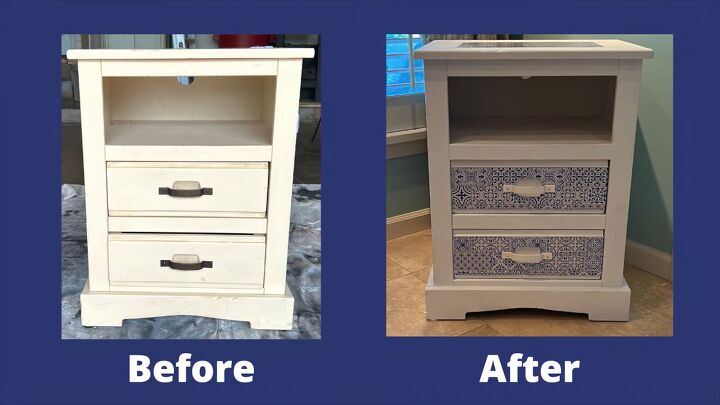
1: Nightstand
To embellish this old wood nightstand, I decided to apply some white and blue peel and stick tiles. Before that could happen, to remove the Velcro stuck to the side, I saturated it with Goo Gone, let it sit for thirty minutes, and then began prying it loose with a putty knife, and finally used pliers to pull it off.
Once all of the Velcro was removed, I cleaned the cabinet with liquid sandpaper, chalk painted it in white, and then applied some removable peel and stick tiles from Dollar Tree, starting from the top.
Be careful when pulling the tile away from the packaging because a couple of times it wanted to take the sticky backing of the tile with it.
Once it was applied, I cut straight edges using a metal ruler and a utility knife. I used the scraps to cover both the top and the front of the two drawers. I then coated the handles with white primer and reattached them.
As a final step, I applied a coat of clear wax over the painted areas to seal and protect the chalk paint.
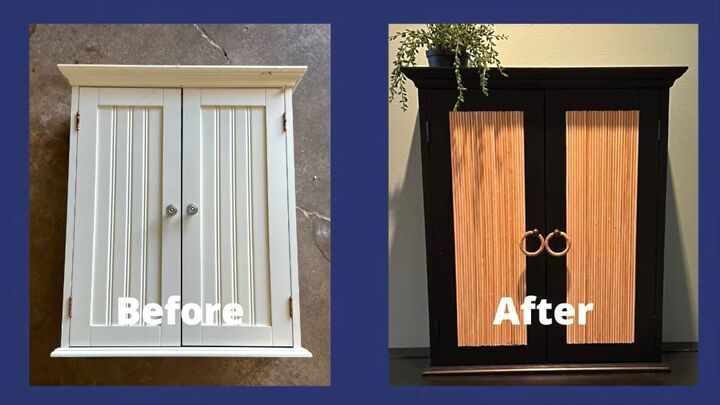
2. Wall cabinet
This wall cabinet was in great condition, but the style did not fit my needs. I removed the doors and gave both the doors and the cabinet a couple coats of satin black spray paint. I flipped the doors around to have the outsides flat instead of beaded, and applied bamboo skewers with wood glue.
Once the inside panel was completely covered with bamboo skewers I held them in place with painter's tape and weighed them down with a pile of books and let the wood glue dry for an hour.
Then I covered the inside back of the cabinet with the peel and stick wallpaper from Dollar Tree, cutting the excess on the edges off with a utility knife.
Finally, I reattached the doors to the hinges and installed new handles.
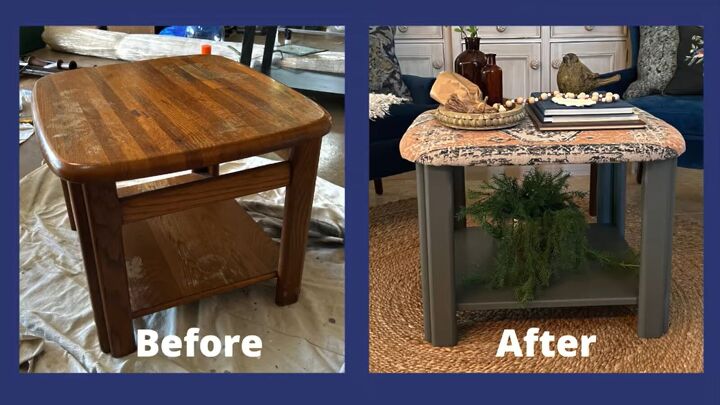
3. End table
For this next project, I turned an old oak end table into a cute ottoman. After a good cleaning with liquid sandpaper, I removed the crossbars by sawing them in half and knocking out the halves with a mallet. Then I used my jigsaw to cut off any wood shards sticking out, and sanded it smooth with my orbital sander.
At first, I painted the legs and the lower shelf with a light gray chalk paint, but it turned lighter than I wanted, so I gave it a second coat of dark gray paint. The chalk paint served as a very effective primer for this latex paint.
To create padding for the ottoman, I decided to use an old bedspread I cut up, and then I stapled on a rug, making sure to take my time and cut it short for a clean finish.
I made a mistake of not using wood to fill in the holes from the crossbars, which in retrospect I should have done.
Once the wood fill was dry, I sanded it smooth with my orbital sander and repainted the legs.
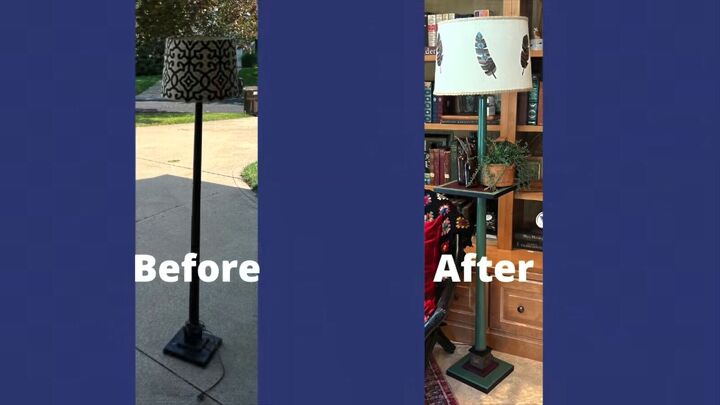
4. Floor lamp
I had wanted to try adding a small table to a floor lamp for a while. I drilled a big round hole on a square piece of scrap wood and sanded the sides smooth with an orbital sander and 220 grit sandpaper.
To slide this piece of wood onto my floor lamp, I removed the socket and the harp base. I used a mallet to hammer the shelf firmly in place and to level it out, and then spray painted it black to match the lamp.
I added caulk in the crack of the opening along the top and bottom sides of the shelf, spray painted the entire lamp moss green, and then reattached the heart base and the socket.
For a funky lampshade, I removed the trim off a thrifted lampshade, hot glued on some burlap trim to conceal the glue stains, and pressed on some embroidery-style feather stickers.
I did not like that you could see the little transparent edge, so I peeled them off and trimmed off that edge and any other place where I could see the transparent sticker.
I loved the colors of the stickers so much that I decided to paint different sections of the lamp to match them with chalk and acrylic paints.
I also decided to attach some laser wood cutouts from Dollar Tree to the base of the lamp with wood glue.
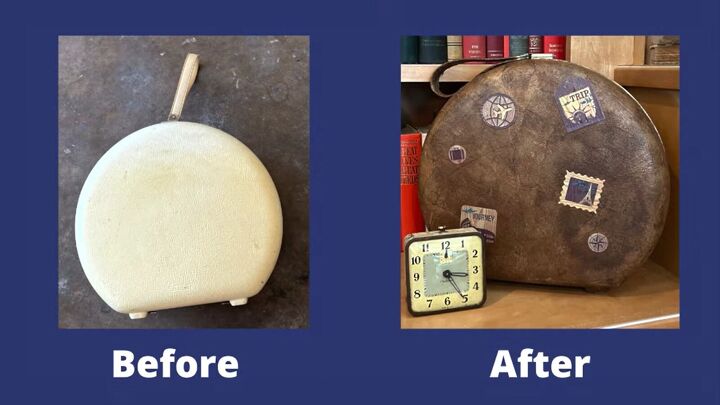
5. Plastic case
When I found this, I thought it was a suitcase, but it actually had a hard plastic shell on the inside designed to hold some kind of appliance.
Luckily, I was able to pry out that hard plastic shell and I was determined to make this look like a leather suitcase. To do this, I applied small pieces of kraft paper with Mod Podge to the outside of the case, and trimmed the extras along the edges with a utility knife. I lightly sanded over the kraft paper to smooth out any wrinkles.
Do not worry if you rip or tear a little bit of the kraft paper because you can just Mod Podge another piece over that hole. I used several small pieces of kraft paper to cover the plastic handle on the case.
After it dried, I applied a coat of antiquing wax over the entire case by brushing and dabbing it on. I found these vintage-looking luggage stickers at Dollar Tree and decided to add them to my case.
Flipping furniture
I hope you have enjoyed flipping trash with me! What curb flip projects have you done that you remember most? Leave a comment and let me know!


Comments
Join the conversation