DIY Easter Decor: How to Make Affordable Stylish Decorations

I have some adorable DIY Easter decor ideas for you. I created these projects using thrifted items along with some Dollar Tree products. Everything was very cheap, but the finished products look expensive and high end. I think they look like something you could purchase at Hobby Lobby or Kirkland.
All right, let's get started!
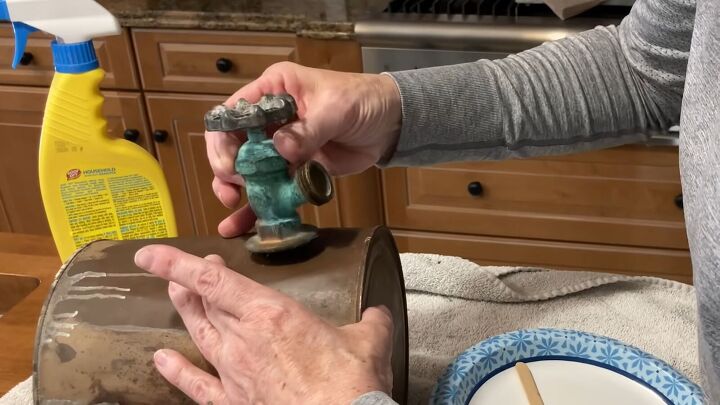
1. Paint can planter
I took an old paint can and gave it a good cleaning. Then I took an old faucet that I had purchased at a thrift store and gave it a good cleaning as well.
I mixed some epoxy, applied it to the back of the faucet, and attached the faucet to the can. Then I put some faux plants in it.
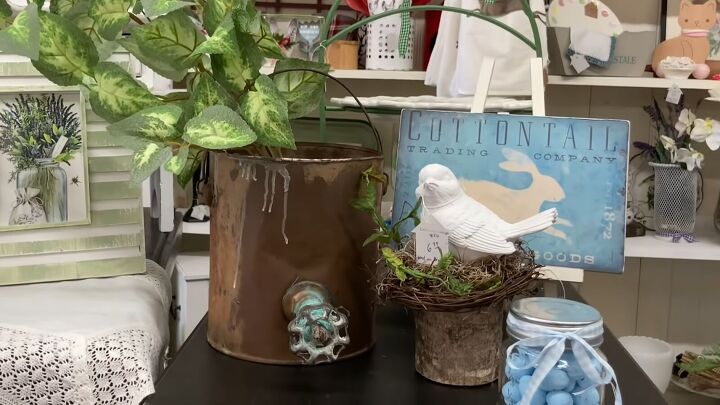
This makes an adorable planter.
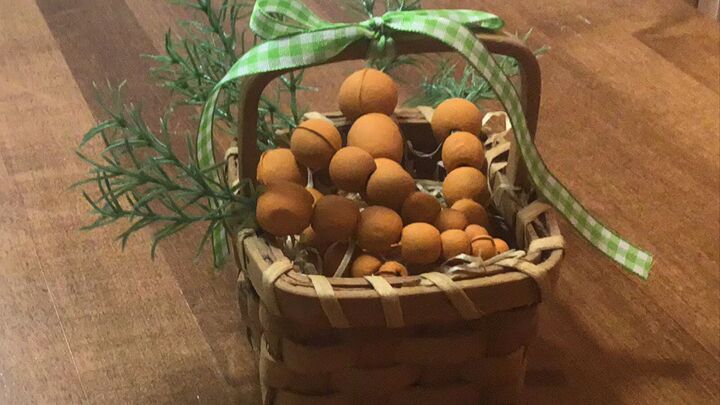
2. Beaded carrots
I purchased some wood beads and strung them up using florist wire to create a carrot shape. Florist wire is easier to thread and holds the beads together better than twine.
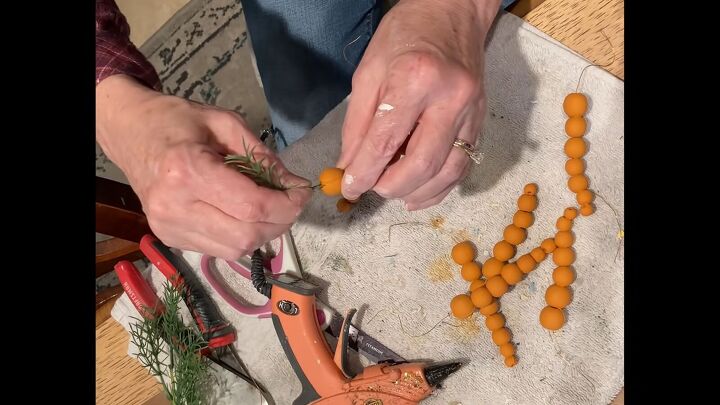
I painted the beads orange. Then I took some fake greenery and used it to create the little sprouts coming out of the carrots. I used hot glue to hold it in place.

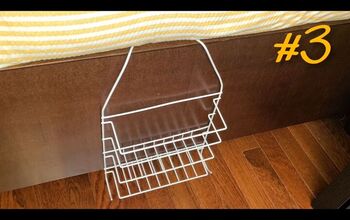
3. Clothespin carrots
Another easy way to create mini carrots is to take the spring out of a clothespin and flip it around. Use a little wood glue to hold the two pieces together and then it's ready to paint.

I drilled some holes in the top for the greenery. I used some raffia that I had cut into small strips. I twisted it together and used a drop of hot glue to hold it in place.

I found these little buckets that were the perfect size to hold my carrots. I removed the handles and spray painted those black. I used Mod Podge to decoupage the buckets with old book pages.
Once the pot was completely covered, I went back over it with another coat of Mod Podge. This protects it and holds everything in place. Then I reattached the metal handles and filled them with carrots and some Spanish moss.
As a finishing touch, I ripped up some raffia to create a bow for the basket.

4. Carrots in cans
The Dollar Tree carrots are cute, but they can look cheap because often you can see the Styrofoam peeking through.
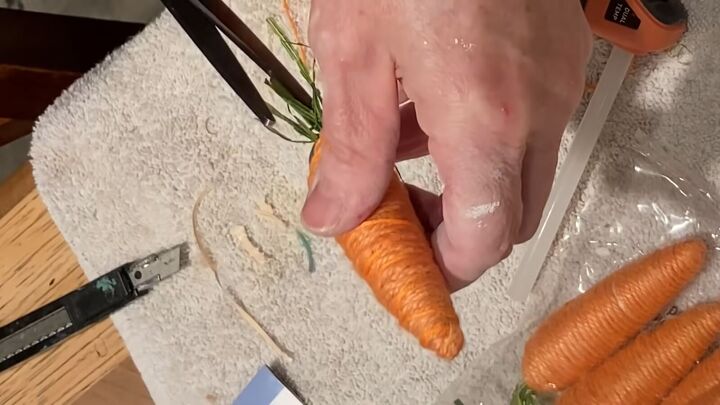
To remedy that, I took some orange string and twisted it around the carrot. I used hot glue at the top and the bottom to hold it in place. This filled in the bare spots and gave it a nice two-tone color.
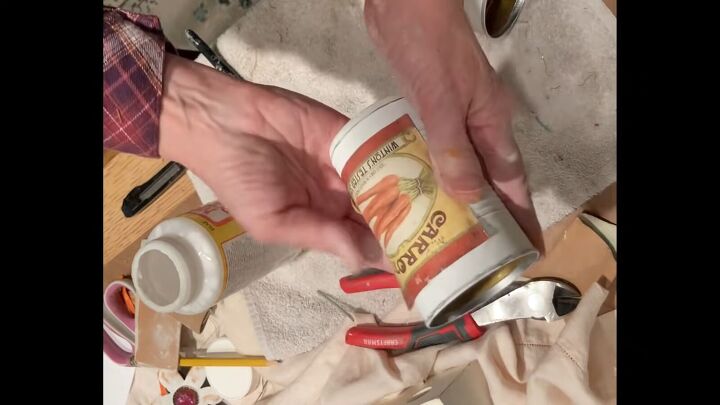
To create a container for the carrots, I recycled a couple of old cans and painted them white. When the paint was dry, I distressed it with sandpaper.
I printed out some carrot labels. I attached the labels by applying Mod Podge to the back of the paper. Once the label was dry, I went over the top of it with another coat of Mod Podge to seal and protect it.
I stuffed the bottom of the can with a piece of tissue paper and topped it off with fake straw. Then I added some bows.

5. Book decor
I love using books as accessories and they are very cheap at any thrift store. For this project, I ripped off the covers of three different books.
I measured them so that I could print out an Easter image for them. I used Mod Podge to adhere the image across all three books.
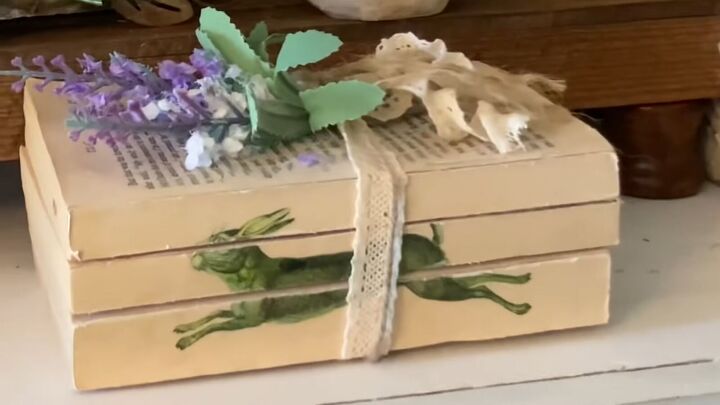
I let it dry and then cleaned up the edges. I tied the books together with lace and twine. Then I inserted a couple stems of fake lavender.
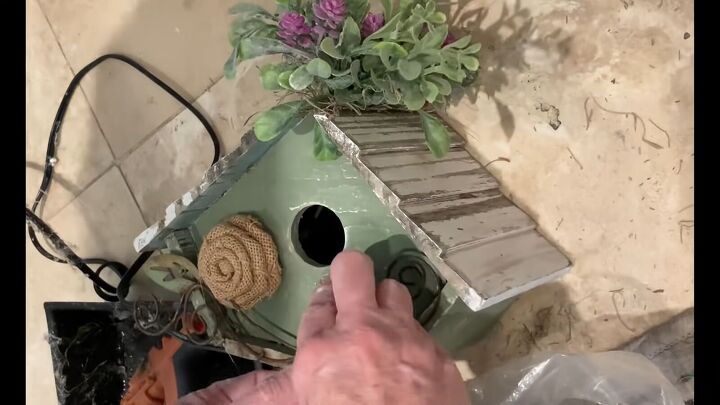
6. Repurposed birdhouses
I found two old birdhouses at a thrift store. For the first, I painted the body of the house. When the paint dried, I lightly distressed it with medium grit sandpaper.
I cut apart some synthetic spring flowers and hot-glued them into the hole in the roof. I added a burlap flower and painted the body and metal adornment with white chalk paint.
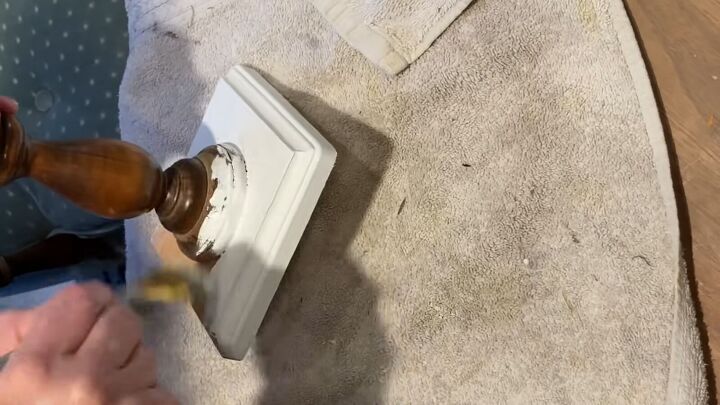
For the second birdhouse, I painted the roof gray. I created a pedestal using a wood square and an old candlestick. I painted these in two coats of chalk paint as well.
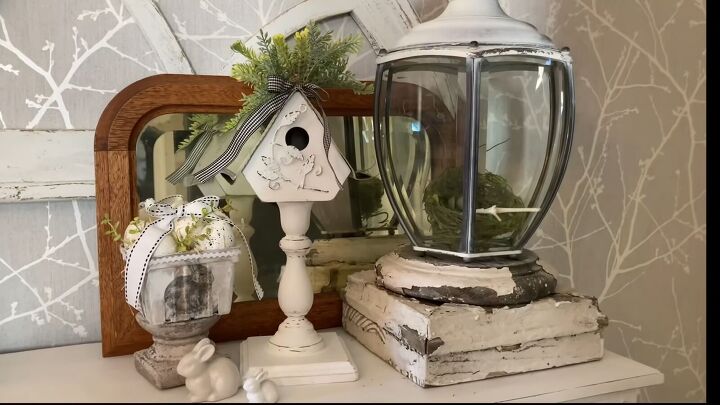
I drilled a large hole in the center. Then I cut apart the flowers, inserted them, and adhered them with some hot glue. I also added a gingham bow. I applied wood glue to the candlestick and adhered the birdhouse. Wood glue is incredibly strong once it is fully dry.
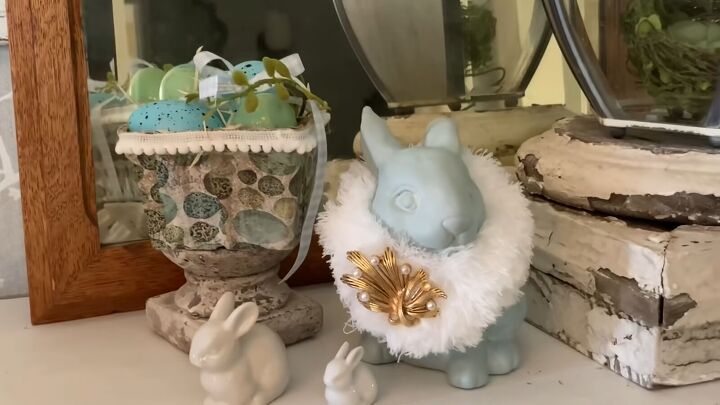
7. Rabbit with fur stole
I think this thrifted rabbit was someone else's failed DIY. I spray painted it blue and applied white wax using a wax brush to get into all the crevices.
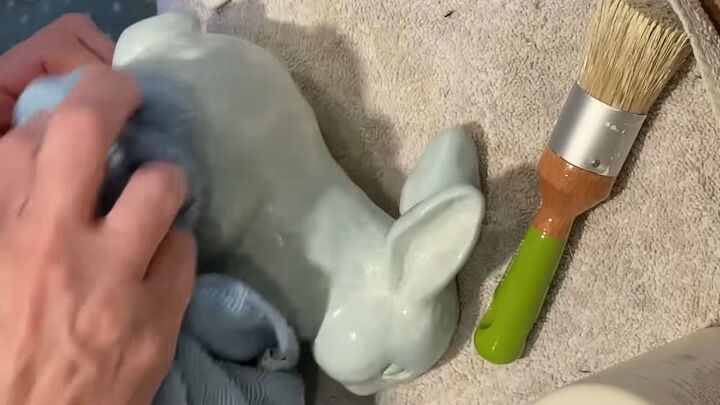
I followed up with a rag to wipe off the excess wax. I was happy with the way it looked but had been wanting to try something different.
I had a fuzzy Swiffer-like mop head which I cut down. Once I got it trimmed to the size that I wanted, I wrapped it around the bunny like a fur stole. Then I finished it off with a brooch.
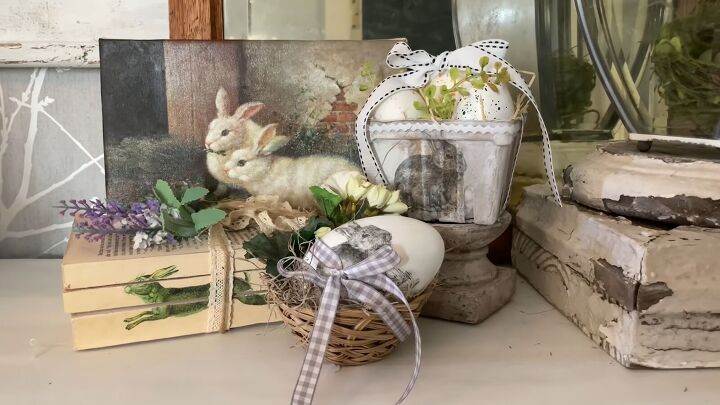
8. Decoupage
I had collected several different types of spring napkins that I wanted to use to decoupage a variety of items. First, I decoupaged some cardboard berry baskets that I picked up at a local thrift store. Then I decoupaged a ceramic bird that was also from a thrift store.
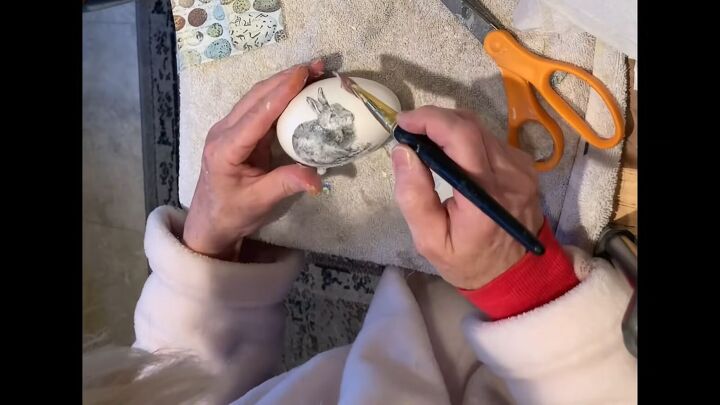
I carefully cut out the rabbit image from the napkin and decoupaged that to a ceramic egg. The bird and the egg were both white before the decoupage began.
The napkins are so thin that the color of the item will show through, so if you’re doing this type of project, you'll want to paint the items white first.
DIY Easter decor
I hope you enjoyed these Spring and Easter DIYs. Use these projects as inspiration to create your décor. Which one was your favorite? Leave me a comment and let me know.


Comments
Join the conversation