How to Use Dollar Tree Faux Leather Items in DIY Fall Decor

We’re going to show you some awesome DIY ways to use Dollar Tree faux leather decor items in your home. If you love crafting for fall, you’ll love these DIY projects. Most items were purchased from Dollar Tree. Get out your hot glue gun and let’s begin!
Fall flower arrangement
- Flowerpot
- 2 floral blocks
- 2 large leather pumpkins
- 2-4 smaller leather pumpkins
- Assortment of large and small faux flowers
- Assortment of faux autumn leaves
- A few wood skewers
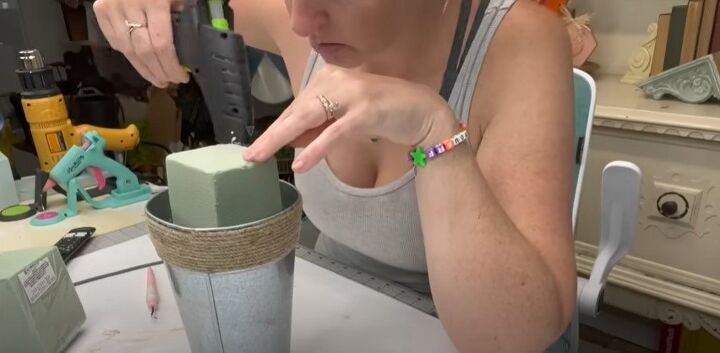
1. Position the floral block
Glue a long floral block vertically into a tall metal pot.
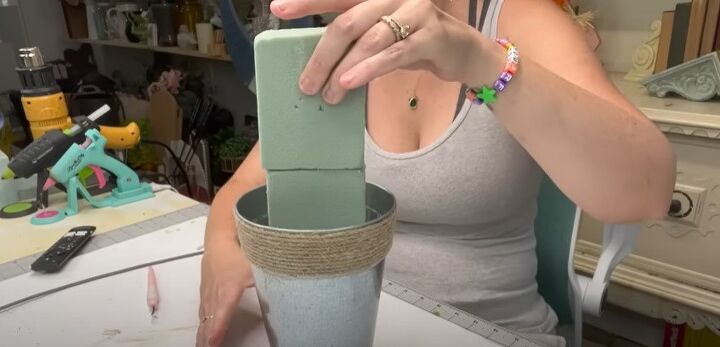
Then, glue half of another floral block on top of the first one.
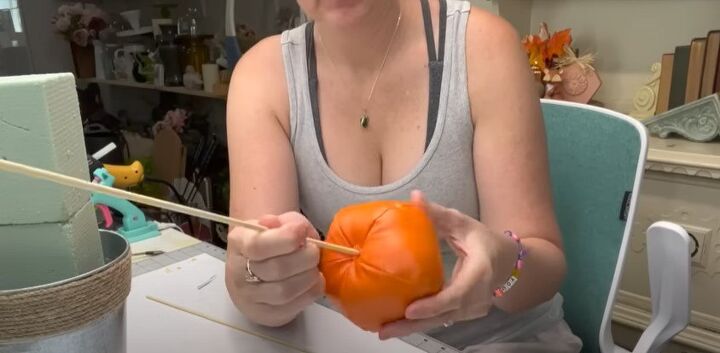
2. Assemble the pumpkins
Hot glue the wood skewers and poke them into each of the pumpkin’s bottoms
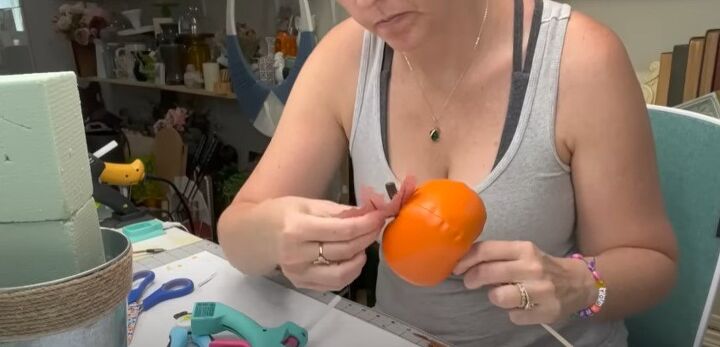
3. Embellish the pumpkin tops
Glue on leather leaves on top of the pumpkin near the stem to jazz it up. Do this for both pumpkins.
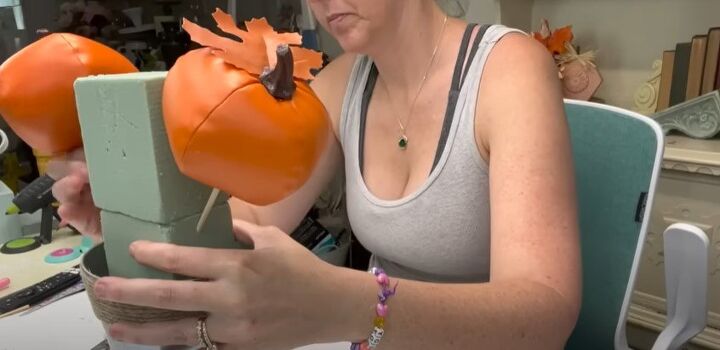
4. Position pumpkins
Start the arrangement with the bigger items, like the pumpkins. Cut down the skewer to the size and height (use nail clippers) you want the pumpkins to be. Stick the skewer with the pumpkins and put them on each side of the floral block.
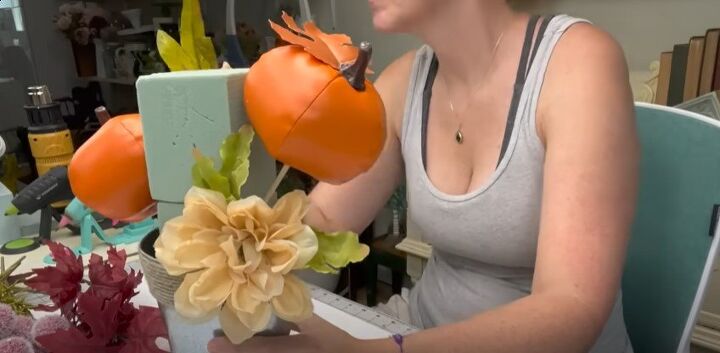
5. Arrange large flowers
Begin to stick larger flowers into the rim of the flower pot.
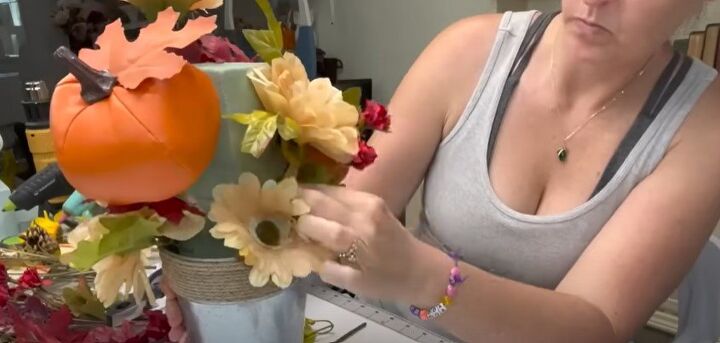
6. Assemble the leaves and flowers
Stick flowers and leaves in the flower block. Trim stems as needed. Look at the color arrangement to make sure the colors are balanced. Here, I decided on oranges, tans, and burgundies for fall.
7. Add in filler flowers
Once the large flowers and leaves are put into the floral block and pot, add in smaller filler flowers and leaves. I’m also adding flocking balls from Dollar Tree. Keep going around the arrangement to fill in so that you don’t have any floral block showing at all.
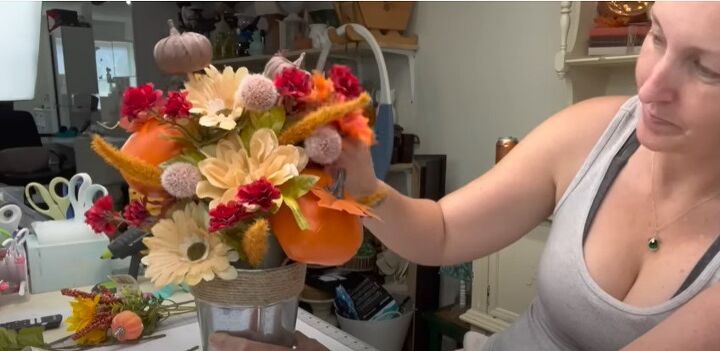
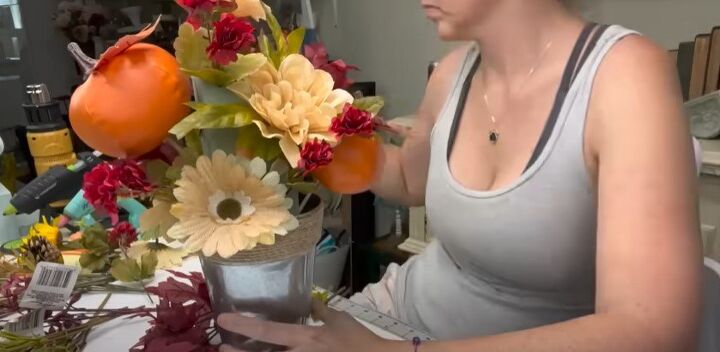
8. Add more pumpkins
I added smaller leather pumpkins on skewers all around the arrangement. The more types of florals you have to add to the arrangement, the more high-end the arrangement will look.
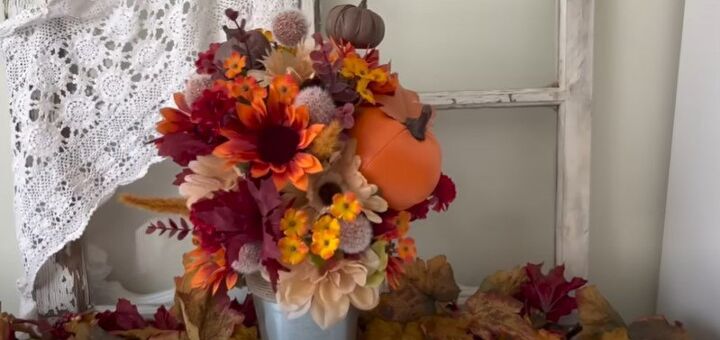
It looked hard to make but it was so easy. I’m so proud of how it turned out and love the colors.
Dollar Tree oval platter
- Oval platter
- Clear matte spray paint
- Cream, hazelnut, and black chalk paint
- Assortment of small leather pumpkins (4 or 5 pack)
- Assortment of faux foliage
- Rustic burlap bow
- Details such as a welcome sign
- Roping for back
- Stencil
- Small paint brush, stencil brush
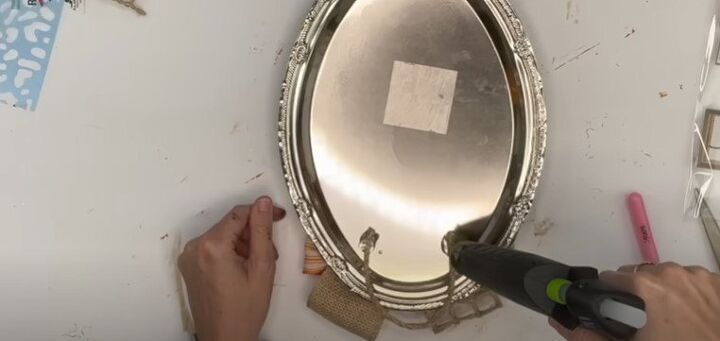
1. Spray platter
Spray the platter with the clear matte spray paint to give the chalk paint something to adhere to.
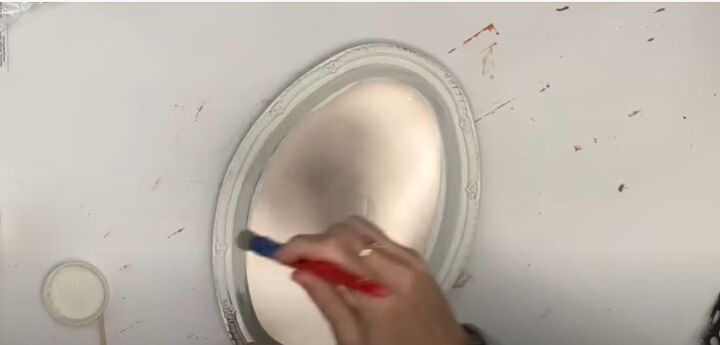
2. Paint the rim
I used a light cream color to paint the trim of the tray.
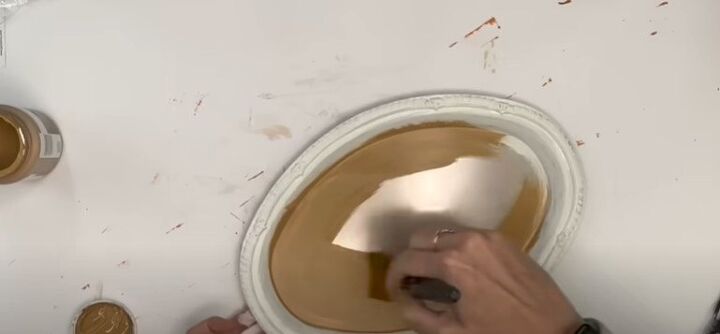
3. Paint the tray
Use hazelnut paint for the base of the tray. Dust some of the hazelnut paint all over the white trim. Let it dry.
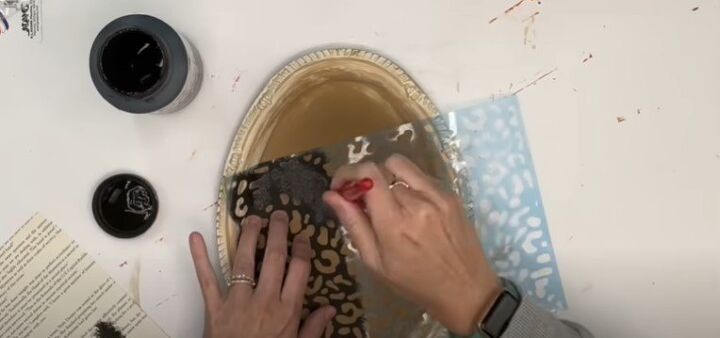
4. Stencil
Stencil the cheetah pattern on the base of the tray using black chalk paint. Let it dry.
Tip: You can make your own stencil using a Cricut.
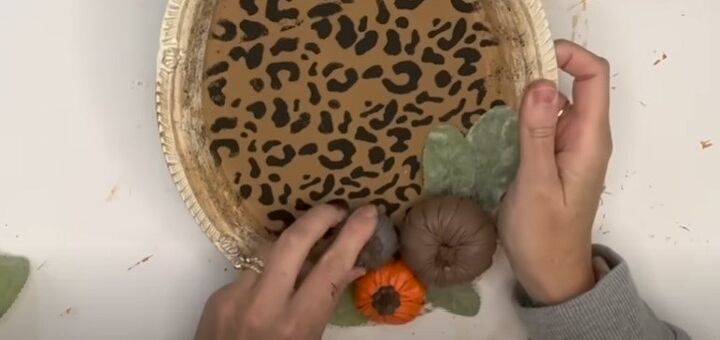
5. Arrange leather pumpkins and foliage
Play around with the arrangement and hot glue them onto the tray.
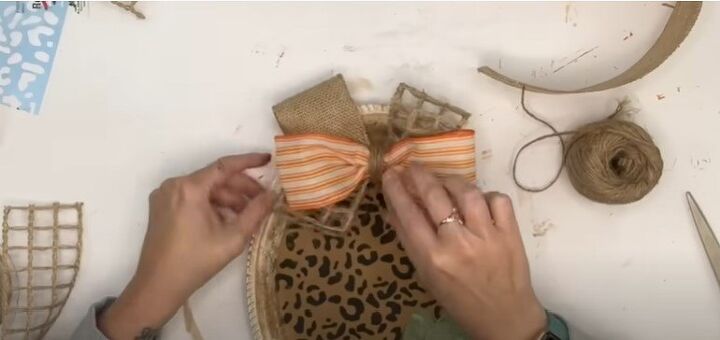
6. Add a bow
I made a rustic burlap and twine bow but you can buy one already made. I hot glued the bow onto the tray.
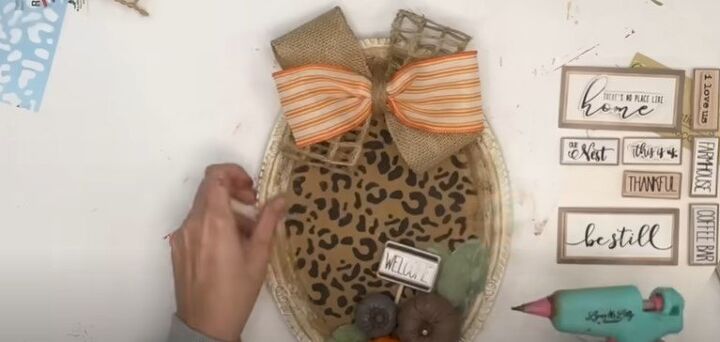
7. Add details
I hot glued a tiny welcome sign into the little pumpkin patch on the tray.
8. Add a hanger on the back
I hot-glued some jute cord on the back of the tray so I could hang it.
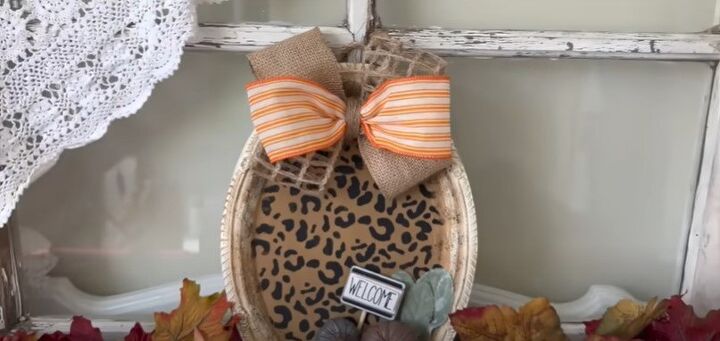
Here it is!
Dollar Tree sign
- Two signs
- Hot glue
- Leather word
- Decals
- Paint
- Antique wax
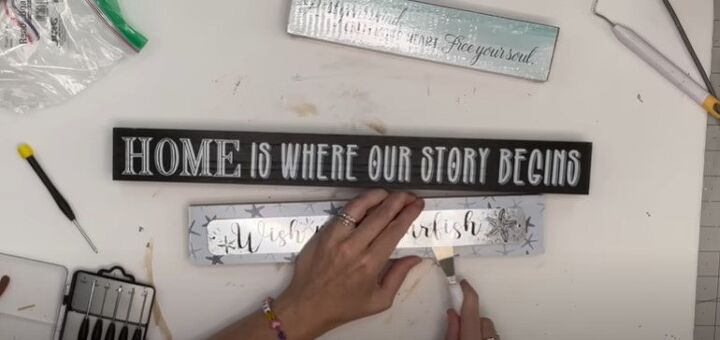
1. Pop off metal sign
Unscrew the metal sign from the frame.
2. Turn it over
I turned over the sign and used the backside. I got rid of the hot glue on the back with my heat gun to soften it up and then a razor blade and spatula tool to get it off.
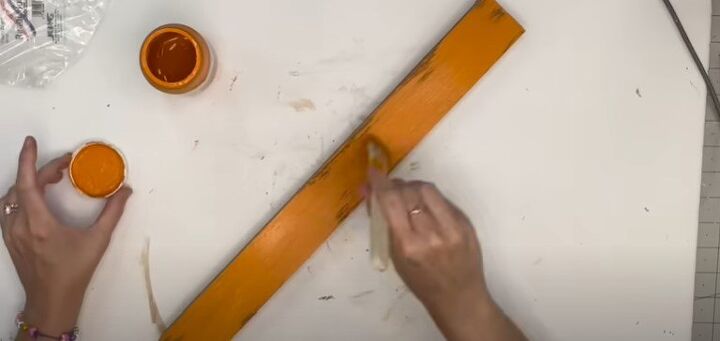
3. Paint the longer sign
I painted the sign Pumpkin by Waverly.
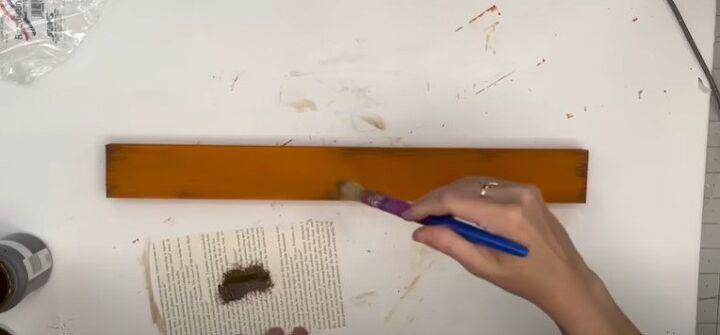
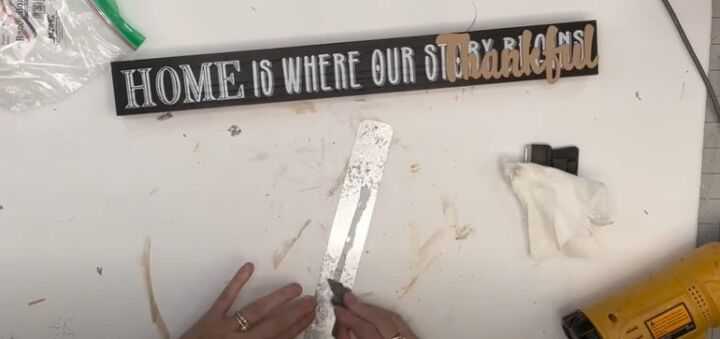
4. Apply wax
I took some antique wax and I put it on the spots I missed with the brush when I painted on the orange color. Let it dry.

5. Screw on the metal sign
Put the metal sign onto the newly painted sign using the screws.
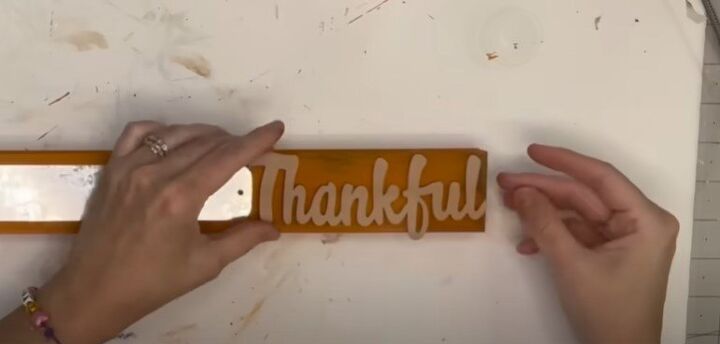
6. Apply the leather word
Hot glue the leather word on the other side of the metal sign.
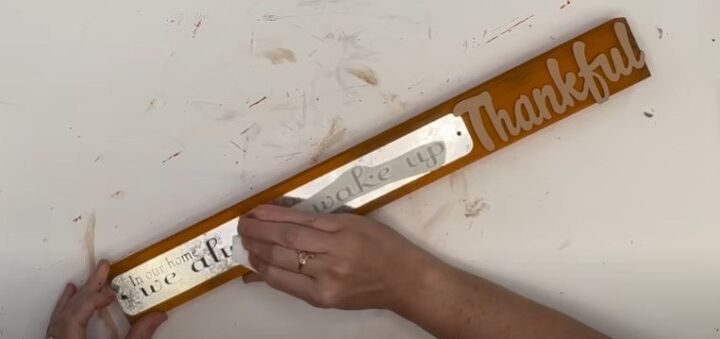
7. Apply decal to sign
Place the decal with a meaningful saying on the metal sign.
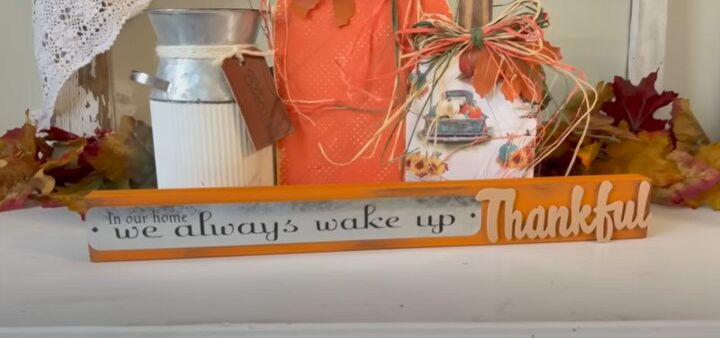
Here's the final sign.
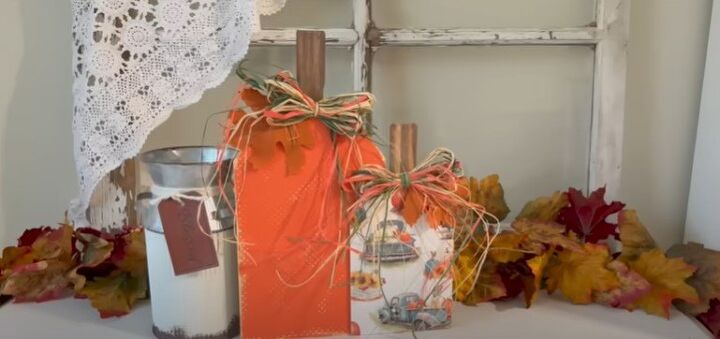
Autumn pumpkin plaque
- Large and small “tag”
- Scrapbook decorative paper
- Leather stems and leaves
- Raffia
- Small wood scraps
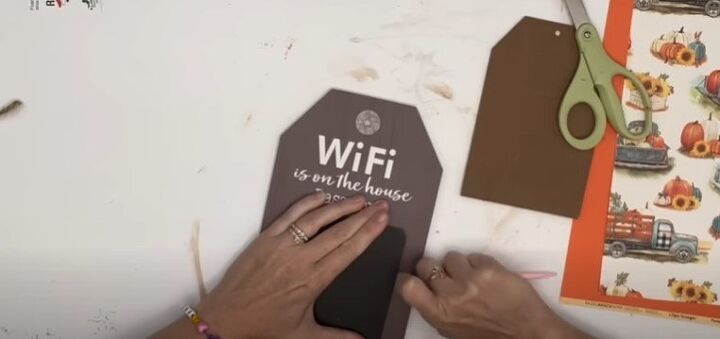
1. Pop off chalkboards and peel off paper
Take the chalkboards off and use a heat gun to peel off the paper from both tags.
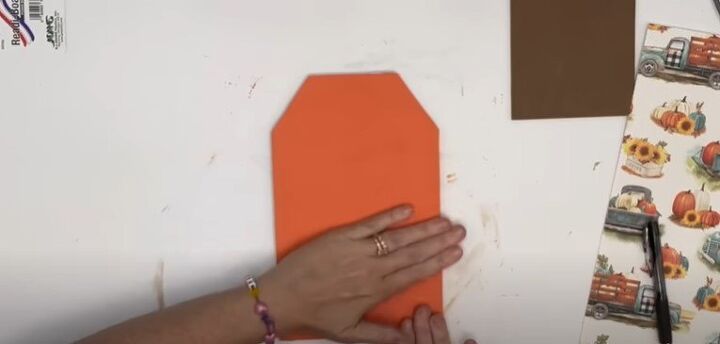
2. Apply paper
Make an outline of the plaque’s shape on paper and cut it out. Hot glue paper on the shaped board.
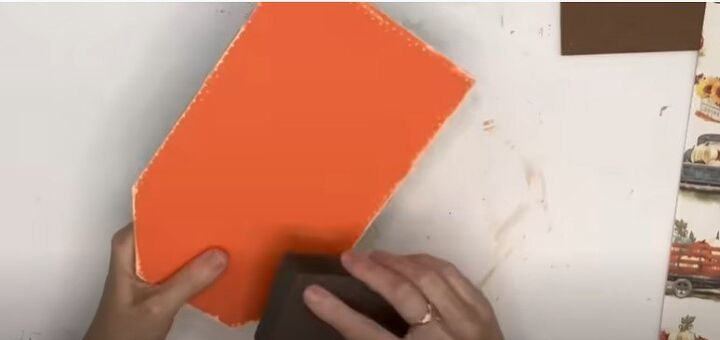
3. Distress the edges
Use a sander to distress the edges of paper once it’s glued on.
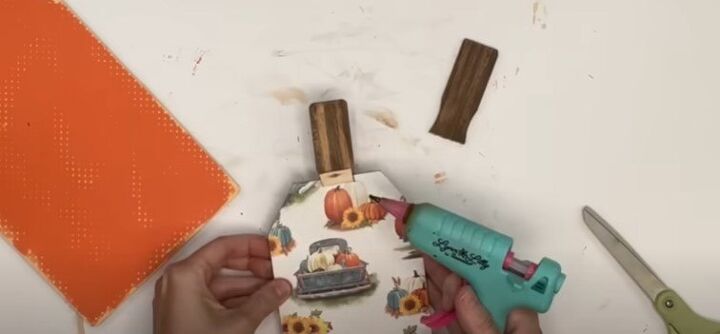
4. Add stems
Add stems made from wood to the tops of the “pumpkins.”
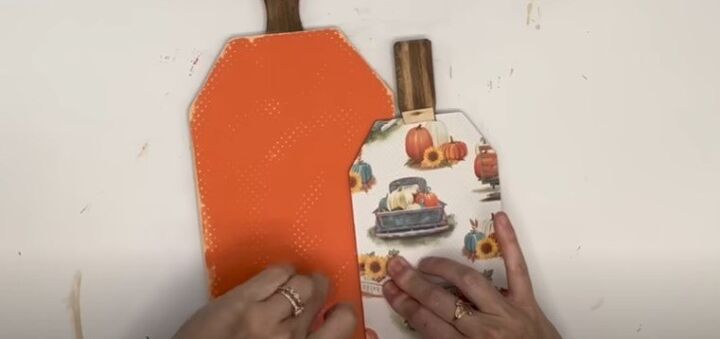
5. Glue together
Glue small pumpkin to larger pumpkin.
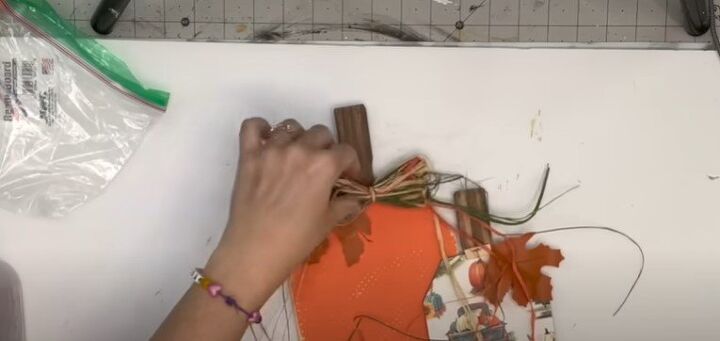
6. Add leaves and raffia bows
Hot glue leather leaves and raffia bows to pumpkins.
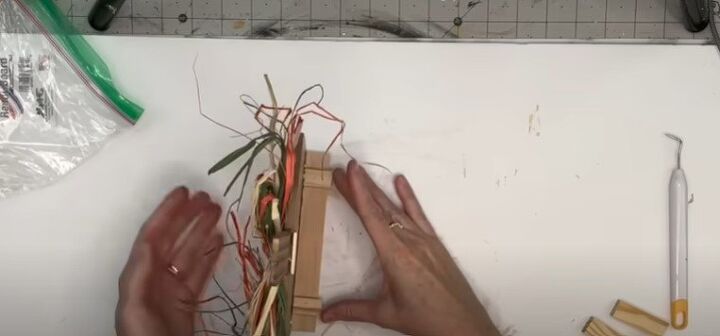
7. Make a stand
Hot glue a stand for the back.
How to use Dollar Tree faux leather in decor
We hope you love these Dollar Tree faux leather projects as much as we do. Let us know in the comments how you use Dollar Tree items for your holiday decor!


Comments
Join the conversation
Great ideas.. your capability to make something out of a plain board that resembles pumpkins in the end is remarkable..too cute!