10 Easy Steps to Milk Jug Seed Starting

Milk jug seed starting is cheap, simple, and there's virtually no maintenance. Better yet, it actually works. I'll share the how-tos and the don't-dos in ten easy steps so that you can have a successful garden using materials that you probably already have around the house.
If you're unfamiliar with why and how winter sewing works, let me take a quick minute to explain in very simple terms. Winter sewing is the process of placing seeds inside containers to create a mini greenhouse that is kept outdoors. It's especially enticing for those of us that don't have a lot of room for sowing seeds indoors.
Growing from seeds is really important for me because I love growing heirlooms that I can't get from my local nursery. Winter sewing allows seeds to get better germination rates. It's excellent for cool-season vegetables and herbs and is inexpensive.
A milk jug provides plants with their own individual greenhouse that creates and maintains the ideal microclimate that a seed needs to germinate. This is really important for your cool-weather crops that have to go through this process of hardening off. But in a milk jug that's kept outdoors, it naturally experiences the outdoor conditions that it needs.
This outdoor exposure stops seed dormancy and triggers germination more successfully than seeds that are grown indoors. So how do you plant your seeds in milk jugs? Here's the process in ten easy steps.
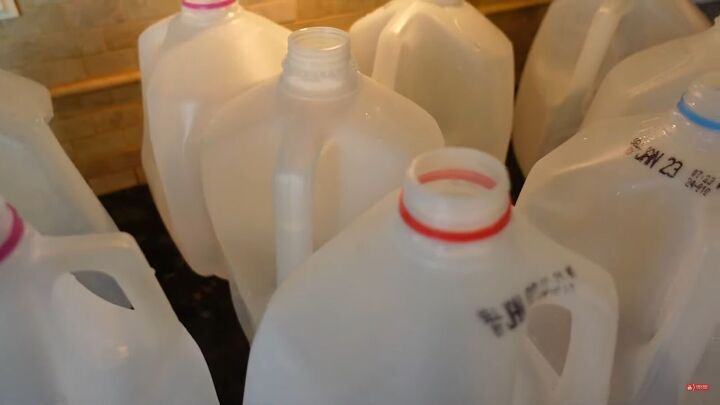
1. Select your containers
You can select almost anything to grow in as long as it's opaque, meaning the sun can get through. Plastic milk jugs are a popular choice because they provide a dome shape that lets in plenty of light, traps heat and moisture, and are easy enough to get your hands on.
Some other options include takeout containers, water jugs, two-liter soda bottles, and rotisserie chicken containers.
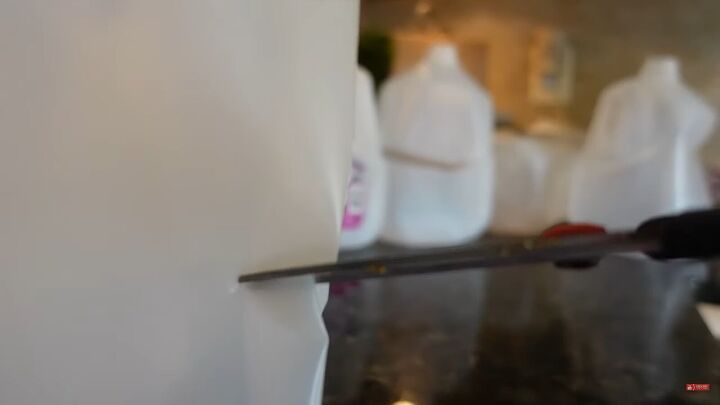
2. Prepare your containers
Wash, rinse, and clean your containers with mild dish soap to remove any residue. Then puncture the center of the container, or around five to six inches from the bottom. Cut around the middle, leaving about a half inch to act as a hinge.
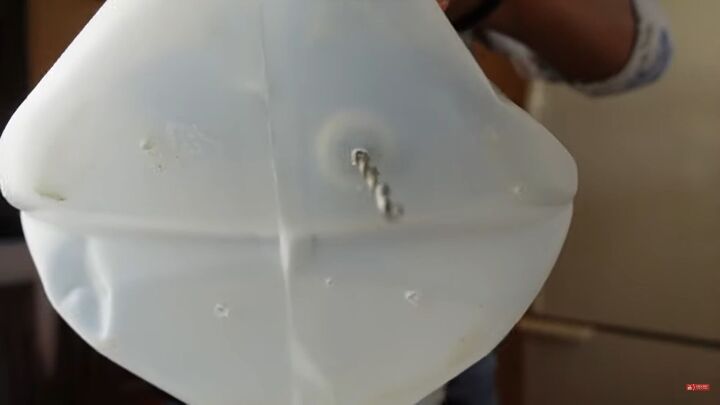
2. Create a pattern of drainage holes on the base of the container
Use a drill or paring knife to create your drainage holes. Go ahead and recycle the caps. You won't need them.
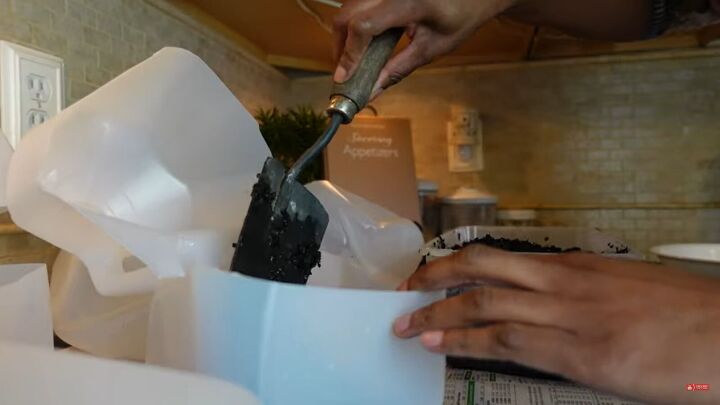
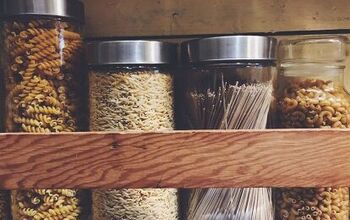
3. Soil
You will need to use potting soil in your container. This is not something that you want to substitute. These seeds will be sitting outside, so an indoor seed starting mix will be too light, and regular garden soil will be too heavy. Potting soil is your Goldilocks fit.
Add a minimum of four inches of damp soil to each container. Planting needs to be done in soil that is neither too dry nor soggy. Using damp soil will ensure your plants won't dry out or die and provide sufficient root-growing space.
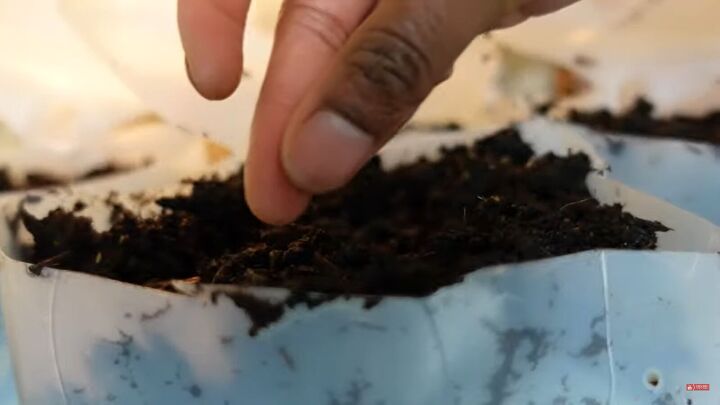
4. Sprinkle your seeds
Sprinkle your seeds on the surface of the soil. You want to add enough seeds to ensure you have successful germinations, but not so many that you crowd things out and end up with a mess to untangle later.
Check the seed packet to see how deep to plant. Gently pat the seeds to press into the surface of the soil and sprinkle a very thin layer of damp potting mix on top.
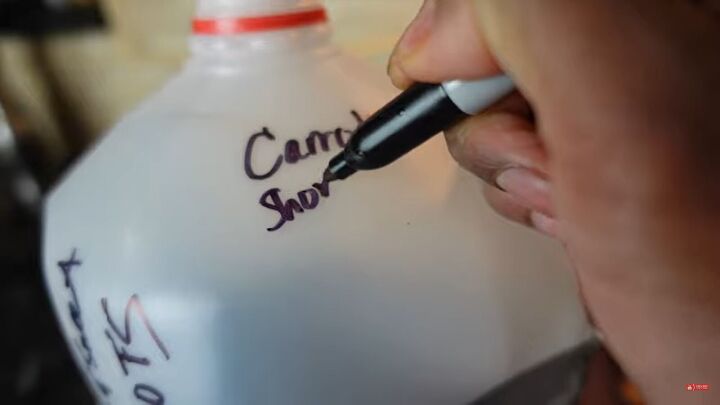
5. Lock and label
Use two to three wraps of duct tape to seal the container. Use a permanent marker to label your container.
I recommend labeling your container in at least two places, such as the top and the bottom, because even permanent markers fade over time, especially when exposed to light and wet conditions.
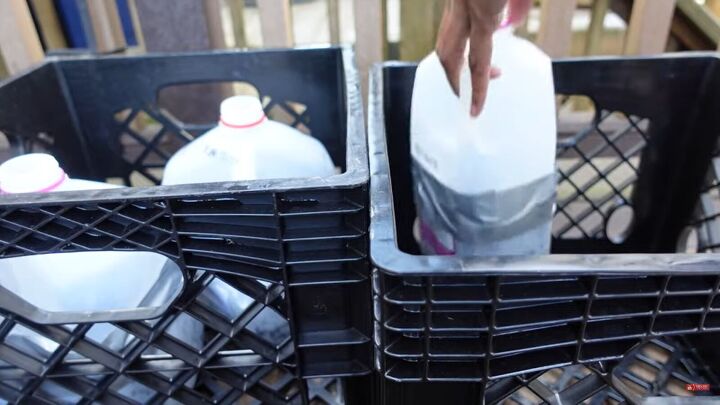
6. Here comes the sun
Place your containers in an area where they'll get the most amount of sun if you live in a moderately cold condition or partial sun if you live in a milder climate.
Once your seedlings germinate, this location will give them the right amount of sun exposure. I strongly recommend storing your jugs either in a milk crate or some other shallow container to avoid the chance of strong winds coming by and knocking over your containers.
7. The waiting period
Be sure to check on your plants weekly, but you'll observe absolutely nothing for weeks or months. That's to be expected. In this case, no news is good news.
8. When the sprouts appear
Be patient and one day you will see something sprout. This is when you have to switch from passive to active mode. As your seedlings grow, they're going to start to need more air circulation.
You'll either have to puncture the top of the container or add more drainage holes. For some folks, they'll even cut out a ventilation window. At this point, you may need to start watering your soil so that the seedlings stay moist.
9. Use a blanket
Weather can be unpredictable. Once you have seedlings, an unexpected cold spell can knock out all your hard work. That's why I recommend keeping a covering, like an old blanket, burlap, or frost cloth to cover your containers anytime the weather dips below 40 degrees.
10. Transplant your seedlings to the garden or their containers
Once your seedlings start to touch the top of the containers and their roots are one to two inches long, they're ready for the garden. See how easy that was?
Milk jug seed starting
I hope you found this tutorial informative and helpful. Seed starting is such a good skill for anyone who wants to start or increase the growth of their own produce. This is a great way to keep your growth moving all year long.


Comments
Join the conversation