How to Use RV Leveling Blocks Properly + a Scissor Jack Hack

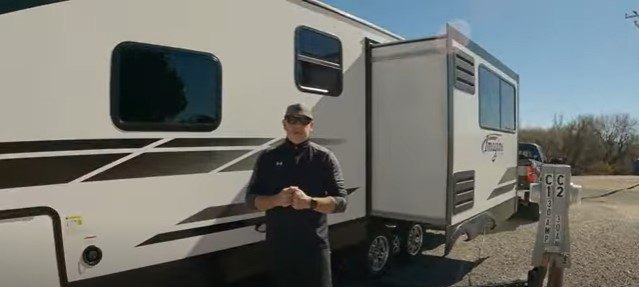
I’m going to explain my scissor jack hack and how I level my Grand Design Imagine 2500RL Travel Trailer RV. I have a few frugal ways that I do it. Let's get started.
I’ll go into detail here, but just to give you a preview, the steps to leveling your rig are:
- Level side to side
- Chock your trailer tires using your RV leveling blocks
- Unhitch from the tow vehicle
- Level front to back
- Put down and set your stabilizer jacks (It’s at this point I open my slide)
Leveling side to side
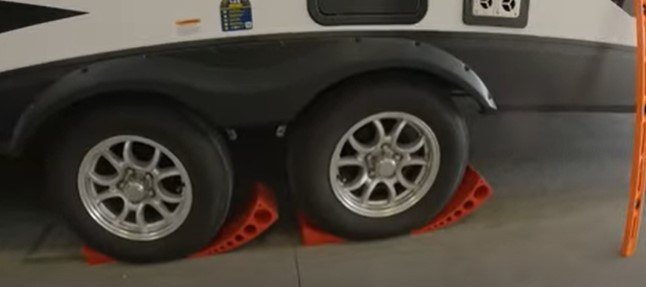
The very first thing you want to do when you arrive at a site is level your rig side to side. I use the Anderson leveling blocks because they are the best RV leveling blocks. But there’s a fault with these blocks.
Try using these blocks when the ground is soft or the ground is wet. If you’re boondocking, there may be some mud. In these cases, the leveling blocks don’t work. This is why you should always carry some lumber.
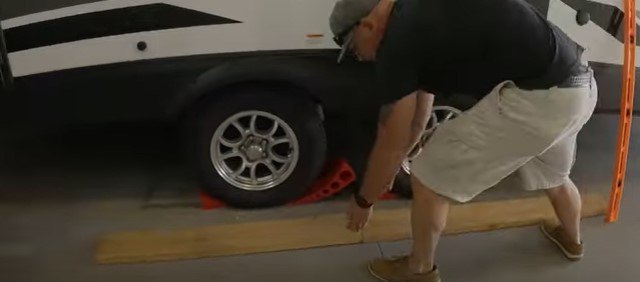
Using lumber
Have some trusty 2x8s with you. Place them end to end and ride up on them. Then you place the Anderson leveling blocks on the tires once they are on the lumber. Always, always, always bring extra lumber.
Leveling front to back
We use our electric hitch that brings it up and down. Rhonda will tell me from inside the rig when it’s leveled. This is important. When we finally get it level, we think it’s okay, but when you’re all level and you put the slide out without putting your stabilizing jacks down, you’re going to relevel your rig.
I put the stabilizing jacks down on the slider side. If you have two slides, put them all down then make sure they’re all secure and tight, then put the slide out. At that point, it’s not going to go anywhere. Slides are heavy and may affect your leveling.
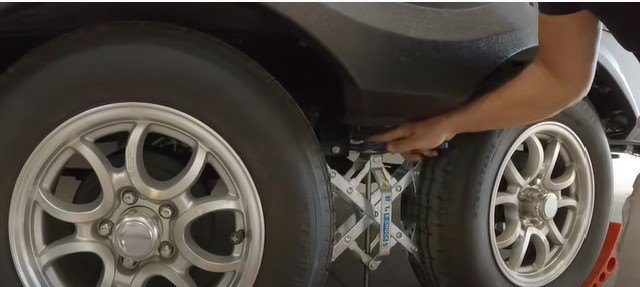
Scissor blocks
X-chocks are scissor blocks. They go in between tires. I don’t do it on the side with the blocks, I do it on the other side. However, if I can’t fit it in there, I will fit it in there no matter what. I cock everything up before I disconnect from the truck. Chock before disconnecting. Before your last level front to back, make sure you chock.
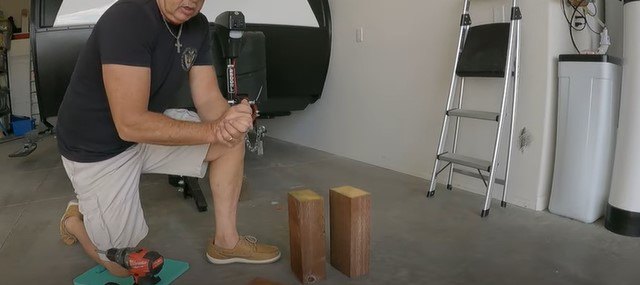
Saving money–DIY stabilizing blocks
I was frustrated when I first started RVing because I couldn’t understand why I was paying a hundred dollars for four stabilizing blocks made out of plastic. I came up with something to save money. I got myself a 4x6x8 at Home Depot. Home Depot cut it for me in 1-foot sections.
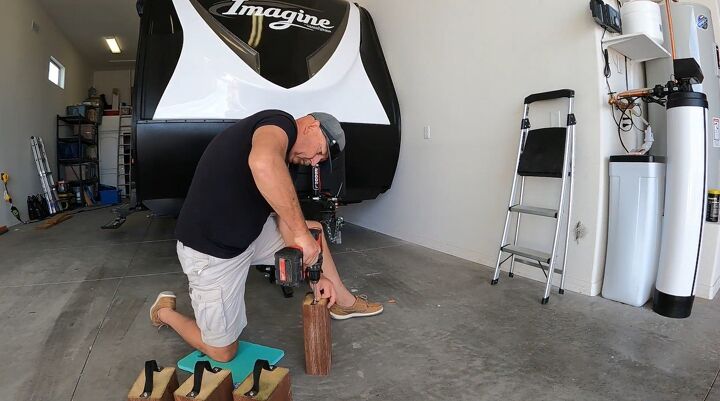
Adding handles to the blocks
Then I put a handle on each block. They go under my stabilizing jack. I can stack them to make it higher and very stable. This is pressure treated so I hope it will last. I used a 2x6 the first time and they cracked in half. I used screws and washers for about $5 for the handles. The strapping I found in my garage.
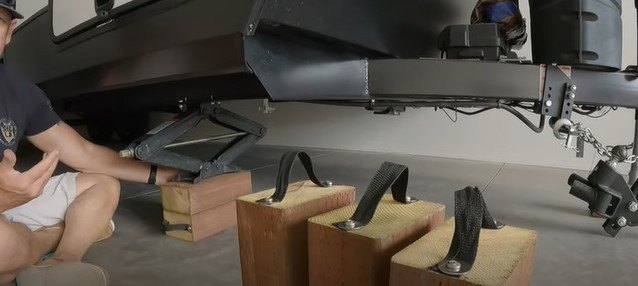
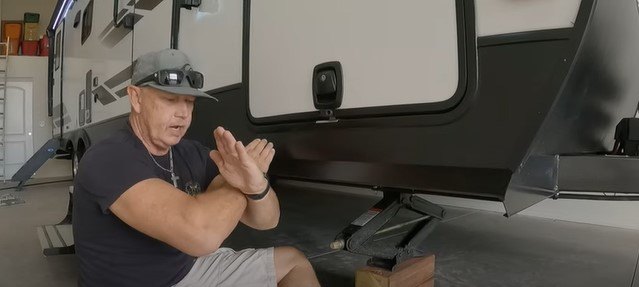
Snugging blocks
The old saying “righty tighty, lefty loosey” doesn’t work here. You can’t raise the jack to a place where it’s too tight. Counterclockwise tightens your stabilizing jack. Clockwise loosens it.
I want to remind everyone that these jacks are RV-stabilizing jacks. They are not RV-leveling jacks. They stabilize the rig. A lot of people use these for leveling and that is dangerous because it will damage the scissor jacks and end up breaking off or becoming inoperable and you’ll be sleeping sideways.
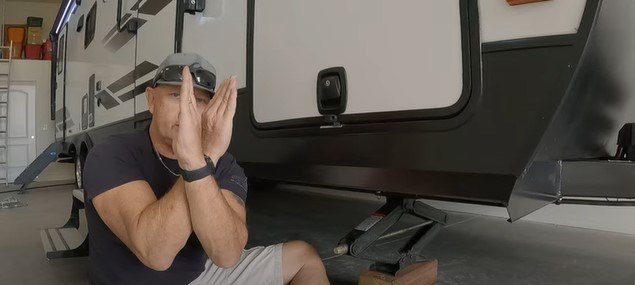
How far to extend the jack
Physics will tell you what would be better for a stabilizing jack. Will it be better if it’s extended all the way (top) or if it’s halfway extended (bottom)? Which position has more strength? The jack is stronger when it’s in the halfway extended position. The jack will be unstable and rock a bit if it’s in the fully extended position.
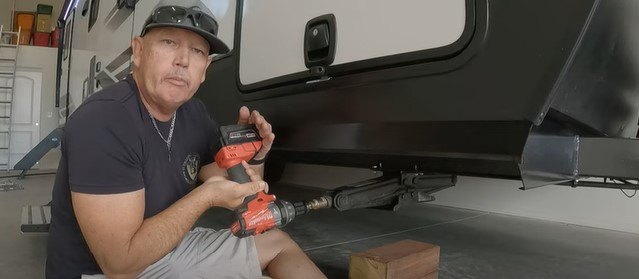
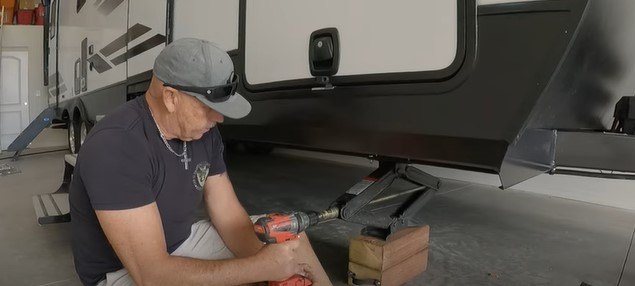
Go slow
As you bring up the scissor jack, bring it up nice and slow, not fast, so it doesn’t get too tight. Believe it or not, the drill can jam and hit you in the jaw and break your arm. I’ve seen it happen. Remember…slow is pro!
How to use RV leveling blocks
I hope you enjoyed learning about this hack. This cost me $14 and Home Depot cut them for me at no cost. They’re light, just like plastic. And they’re cheap. Let us know if you have a stabilizing hack you’d like to share!


Comments
Join the conversation