5 Quick and Easy Pantry Restock Recipes to Save Money and Time

Today, I have a pantry restock to share with you. This previous week I restocked my pantry and my freezer, and I also made a few baked goods to get us through the week. Let's go ahead and jump right into it.
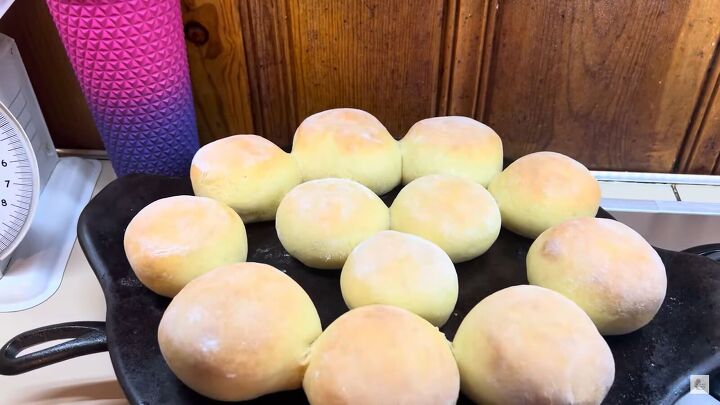
1. Buns
I always use the same recipe for any kind of buns: hamburger buns, hot dog buns, hoagie buns, or anything else. Remember that you do not necessarily need a bread machine to make any bread machine recipes. You can easily do it with a stand mixer or by hand.
Once I get the dough out of the bread machine, I knead it a bit on a floured surface, divide it up into buns and leave it covered under a towel so that no air gets in and it does not leave a crust on the dough before I get it shaped.
Next, I pinch all the edges in, cup it in my hand, and then I move it around with my fingers and seal off that bottom. To give the buns the flatter hamburger bun shape, I press them out around a little.
Then I put them on my baking stone, get them covered, and let them do that final rise for 30-40 minutes.
Finally, I bake them at 350 F. Internal temperature will be around 190-200 for good freshly baked bread. A thermometer is a true lifesaver when it comes to baking breads.
While the buns cool off, I store them in an airtight container, and they can last a few days. If there are any left over, I cut them and then freeze them. I recommend toasting them either with some butter on a skillet or in a toaster, and they taste just like fresh.
2. Sausage
It is time to restock my shelf-stable cooked sausage. I love knowing I have a quick protein on my shelf.
Surprisingly, we do not eat a lot of sausage, but it is still nice to have it for whenever we want to make sausage gravy for breakfast – all I need is to grab one off my shelf and throw in some gravy mix.
To can my sausage, I par-cook it a little bit and kind of break it up, and then add it into my jars. I ended up using six jars for the four pounds of sausage. I cover it with water, not adding any seasonings, de-bubble, leave some headspace, wipe the rims with vinegar, put on the lids and rings, and just get these processed in my electric canner.
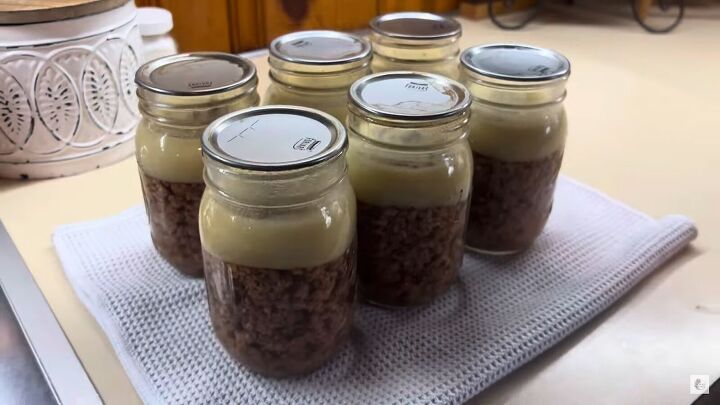
As you can see, all the sausage is done. I just need to get these washed, labeled, and put on my shelf.
3. Cookies
Next, I made some cookies. I made some for us to have through the week, and then flash froze the rest for later. I actually did not like the recipe I was using too much, as I prefer soft peanut butter cookies, and these ones turned out crunchy.
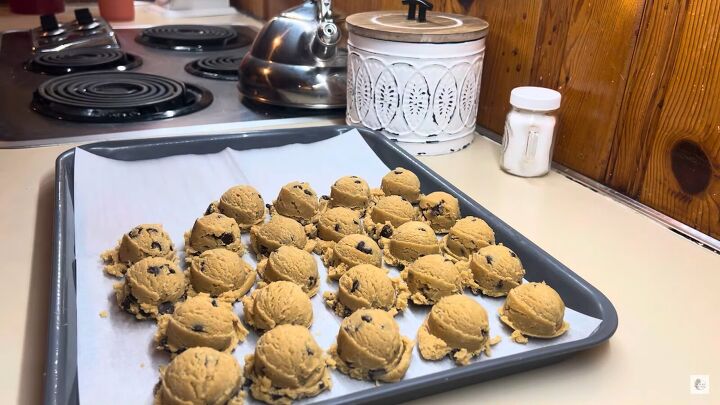
I ended up baking two trays of cookies, and the rest of that dough I just scooped out as normal, put it on a lined cafeteria tray, covered it with saran wrap and then just put it in the freezer.
These stayed in the freezer overnight, and the next morning I pulled them out, put them in either a container or a baggie and returned them right back in the freezer.
Now we can pull out however many cookies we want at a time and just bake them without even thawing them out. They do take like a couple minutes longer in the oven, but they are still delicious and turn out great every single time.
4. Brown sugar
After I made my cookies, I was completely out of brown sugar, so I needed to restock that in my pantry. Homemade brown sugar has just two ingredients: regular sugar and some molasses.
Depending on how much molasses you add, you will either get light brown sugar or dark brown sugar. I just eyeball the amount and watch for the color and consistency that I want.
This is so simple and I always keep these ingredients on hand to be able to make this quick and easy.

Here is what mine looks like when it is done, and now I am just going to get it added into my brown sugar container and get it put back in my cabinet.
5. Garlic
Last thing I wanted to get done was dehydrate the majority of a big bag of garlic that I got at Sam's Club. I left some for recipes, and I also wanted to make some fermented honey garlic out of the rest.
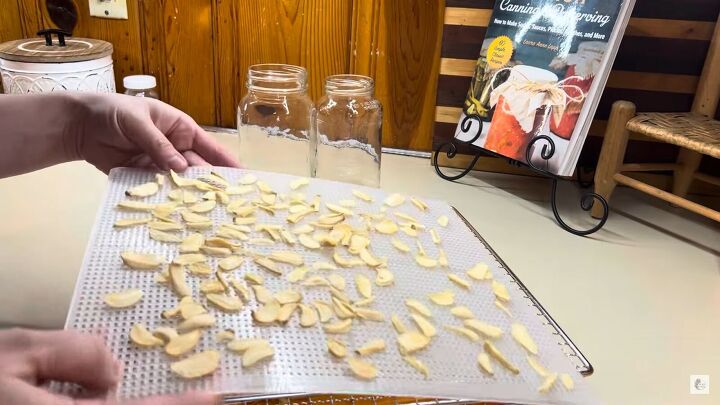
Dehydrating garlic is a great way to preserve large quantities of it and keep it from going bad. I sliced up my garlic, loaded it up on trays and put them in my dehydrator. Make sure you do this outside, as the smell is super strong.
Whatever I had left, I minced and added in. I can use it in recipes or grind it up to make my own garlic powder. I always prefer dehydrating and preserving things on my shelf versus having them in my freezer.
Dehydrating this garlic took about 13-14 hours. The time it takes always depends on the thickness of your garlic. You just want to make sure that it is dehydrated fully, so it does not grow any mold or anything.
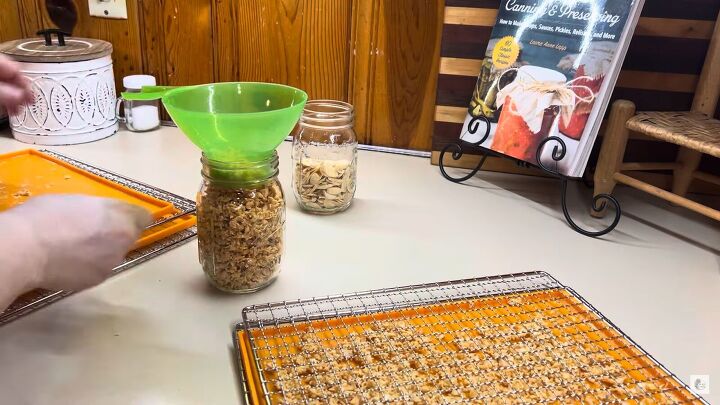
The next step is conditioning. Put it all into jars, and it is important to leave a little bit of extra headspace. Put a lid and a ring on it and have it sit on your counter for five to seven days. Every single day you want to pick up the jar and turn it upside down.
Make sure to check for moisture and if you see any, immediately pop it back in the dehydrator to save it. If you leave it with the moisture, it is going to start molding, and then the whole batch is ruined. This is why it is so important to take the time to condition your jars on the counter.
Pantry restock
Thank you for joining me while I am restocking my pantry! What are the homemade pantry staples in your home? What are your favorite ways to preserve foods? Leave a comment below.
Next, check out my 6 Quick and Easy Side Dishes to Elevate Any Meal.


Comments
Join the conversation