9 Easy DIY Patio Decorating Ideas

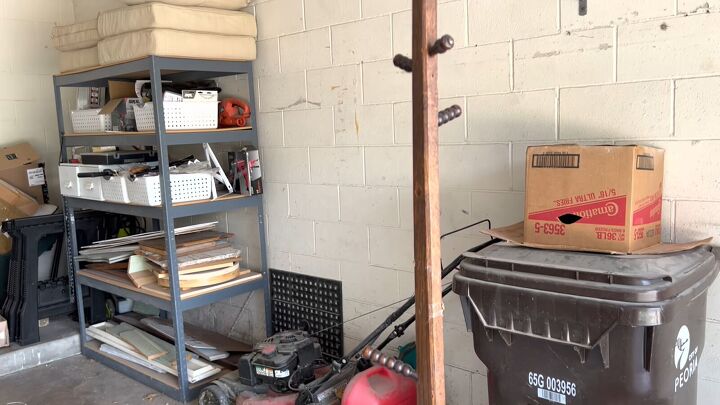
Do you have a bunch of old stuff just piling up in your garage or storage space?
Well, do not get rid of anything just yet because, with a little paint and creativity, you can turn your junk into useful and beautiful outdoor decor.
Here are some fun DIY patio decorating ideas based on my own upcycling projects.
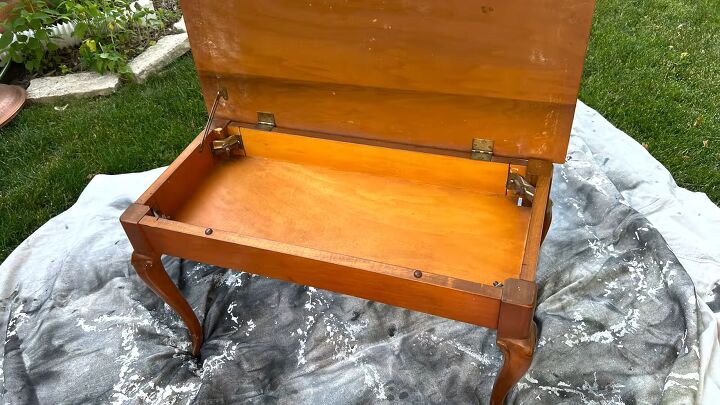
1. Potting bench
I started with a piano bench with a split leg.
After a thorough cleaning with liquid sandpaper, I sprayed both the inside and the outside of the bench with some red chalk paint in three coats.
Next, I drilled three small holes on the inside of the lid and screwed in cup hooks.
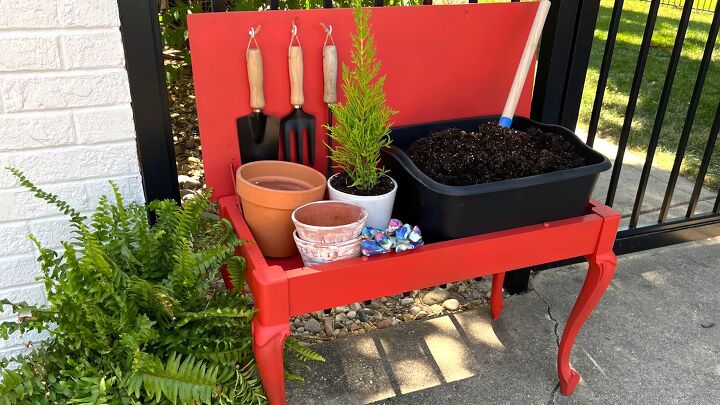
I ran some twine through the holes in the handles of my gardening tools and hung them from the hooks.
A plastic dish tub fit in the seat perfectly to hold my potting soil.
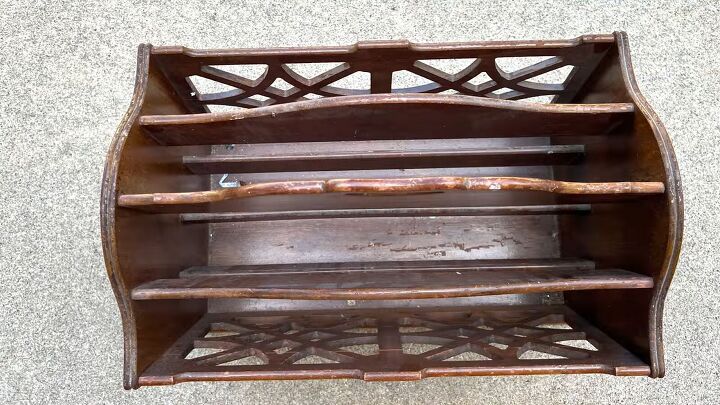
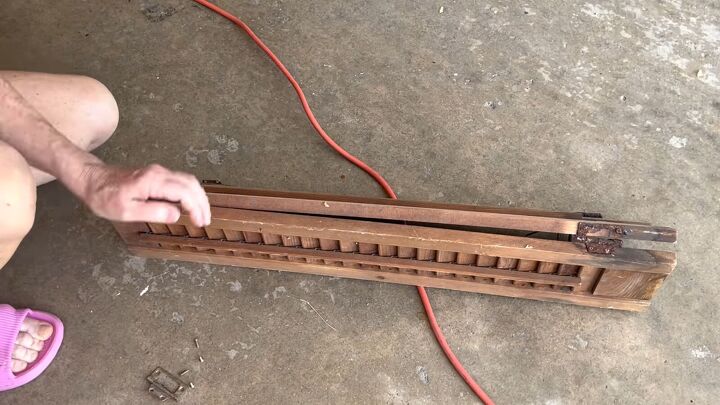
2. Magazine rack
Next, I decided to turn a magazine rack I have not used for a while into a pretty planter.
To make space for the plants, I cut the wood dividers with my jigsaw and removed them.
I used wood filler to disguise the holes left by the dividers, and sanded it smooth with my orbital sander.
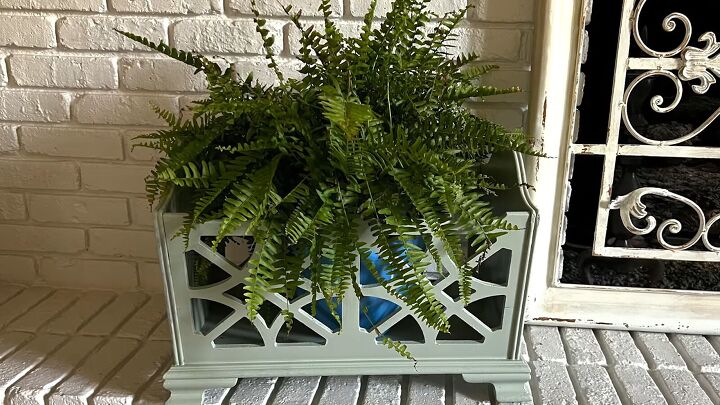
Finally, I cleaned the rack with liquid sandpaper and painted it with two coats of an acrylic enamel paint in a light aqua color.
3. Shutter stand
For the next project, I grabbed four old window shutters, some of them painted white. The shutters were tall and skinny, making them a good size for a plant stand.
I arranged the four shutters into a box shape and used my Brad nailer to attach the shutters together.
I took three of the divider pieces left from the magazine rack, cut them to fit over the top of the shutter stand, and nailed the wood slats into the top edge of the shutters. I sanded the wood slats down to the natural wood.
Next, I painted the shutters with a coat of white Zinsser primer, let it dry and sprayed the shutters with leafy green spray paint.
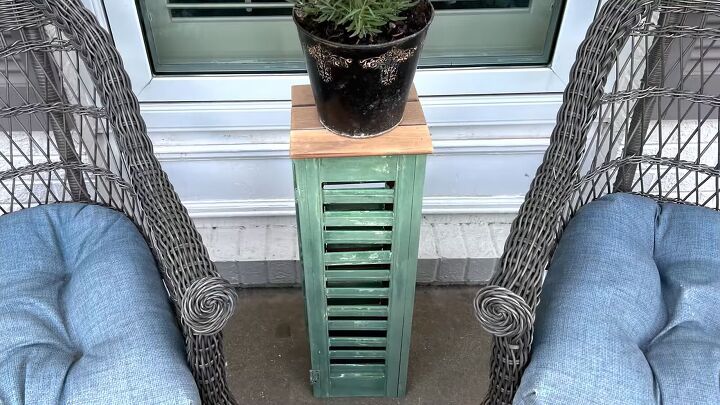
Since some of the louvers were already missing, I just embraced the rustic look and distressed the shutters with my orbital sander.
Finally, I sprayed on a coat of clear satin polyurethane to make it more weather resistant.
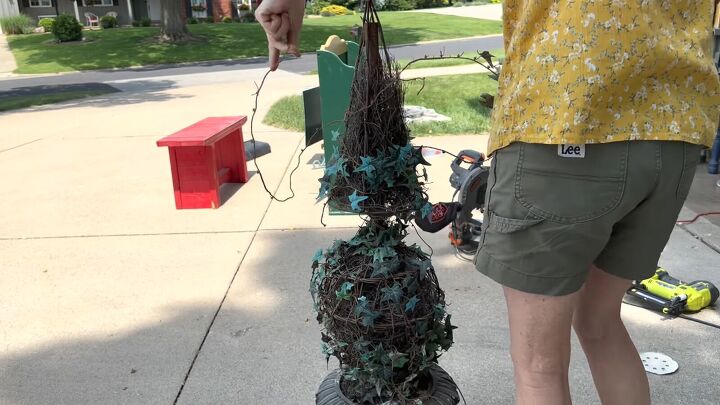
4. Faux topiary
For this faux topiary, I first had to unwind and remove the fake faded ivy vine, as well as the dusty vines shoved inside the metal frame. I sprayed down the whole thing with the garden hose to clean it up.
Once it was dry, I began wrapping the frame with some wired leaf vine from Amazon, and ended up using around 125 feet.
Since the garland is wired, it is very easy to wrap and arrange how you like, and you do not have to add anything additional to hold it in place.
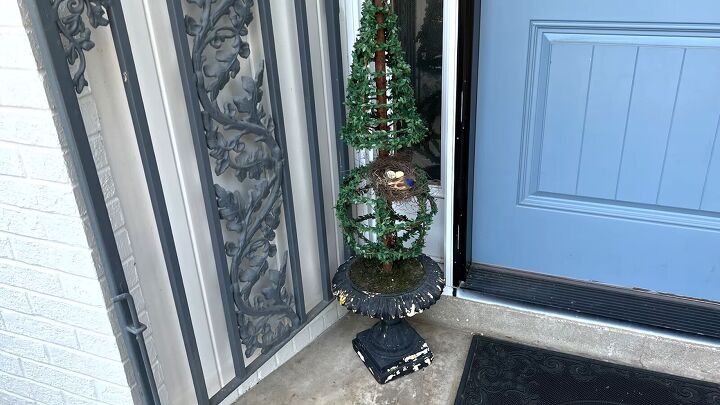
When I was done, I made a nest with some of the vine that I had previously removed, added a bird and some eggs and wired it to the tree.
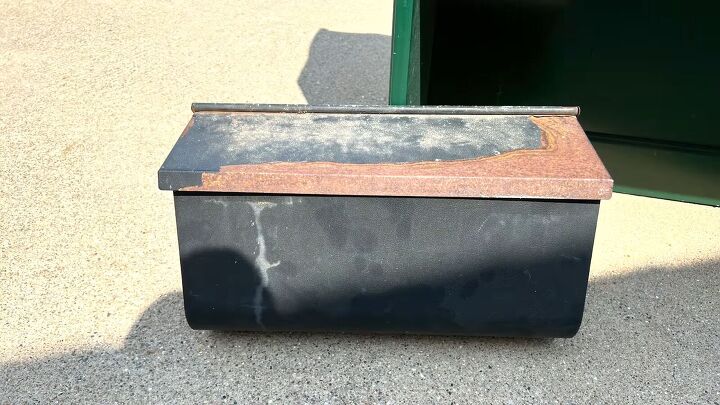
5. Mailbox birdhouse
First, I drilled two holes in the front of the mailbox and sanded the edges of the holes smooth. I spray painted the lid of the mailbox leafy green and the main part white, covering the parts I was not painting with a plastic sack.
Then I started decorating: attached a fairy door in the middle and framed the holes with scraps of wood that I painted green and brown to make them look like windows.
I had some miniature fencing in my stash and attached it along the front with Gorilla glue.
To create some shingles along the roof line, I glued two rows of circular ends of wooden sticks to the birdhouse.
As a final touch, I drew shutter louvers with a sharpie and hot glued tiny flowers into each window box.
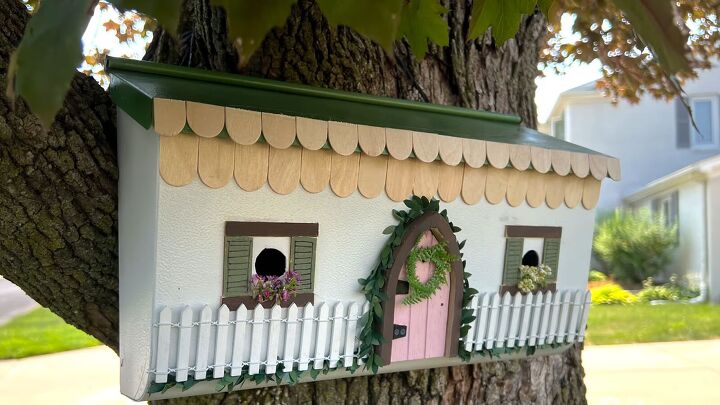
Finally, I ran some rope through the two holes on the backside of the mailbox to hang it from a tree branch.
6. Coat tree
Most of the little arms were missing, so I knocked off the three remaining and lightly sanded over the pole and its stand.
I drilled holes where all the arms had originally been located, angling the hole downward.
I added a good amount of wood glue into the holes and then inserted branches from my yard into the drilled holes.
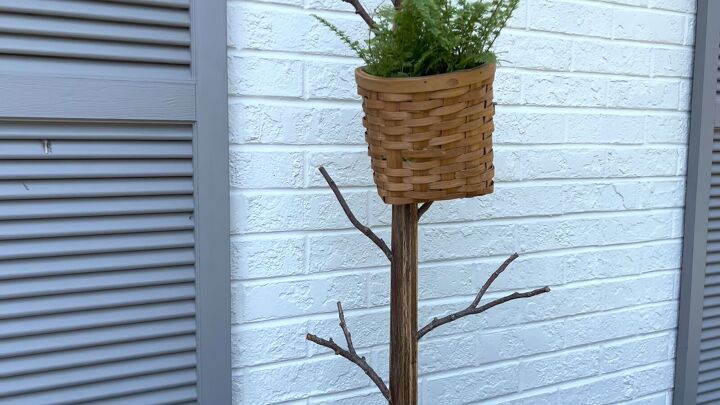
I used pruners to cut the branches to my desired length and just kept adding branches until all the holes were filled, turning the coat rack into a coat tree.
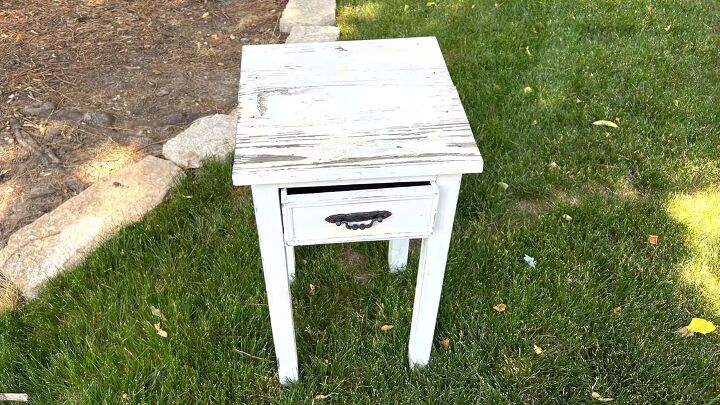
7. Side table
For this old side table, I just planted some small flowers in the drawer.
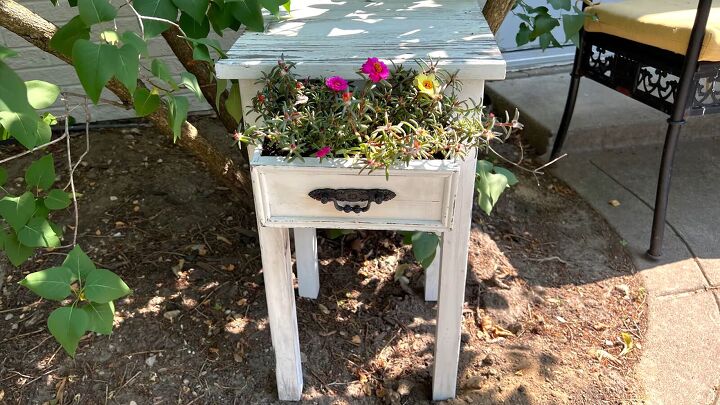
I cut down an old pot liner to fit inside the drawer and added some rose moss and a little potting soil.
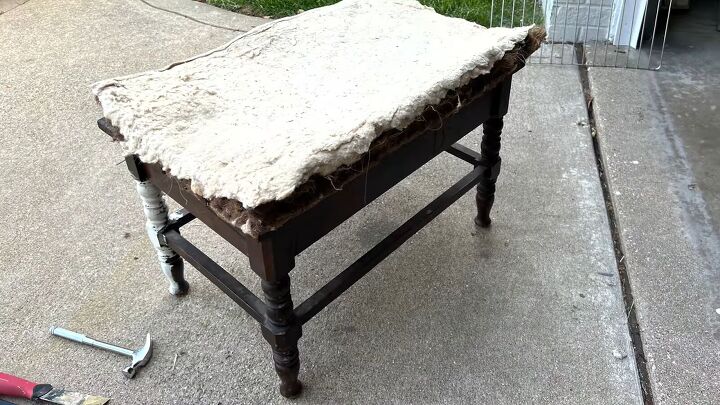
8. Vintage bench
This bench is another piece of thrift store furniture that I have had for a long time.
It used to have horsehair padding, which I removed, and gave it a good scrubbing with liquid sandpaper. This does a great job of removing grease and grime and preparing a piece of furniture to receive paint.
Because I was not planning on distressing this piece, I painted the legs light blue with acrylic enamel paint. Luckily, it only took two coats to cover this dark wood.
Since I was planning to use this bench outdoors, I did not add any new upholstery to the seat. Instead, I used a furniture refinisher and some steel wool to clean up the original wood slats.

I love the aged look of the slats.

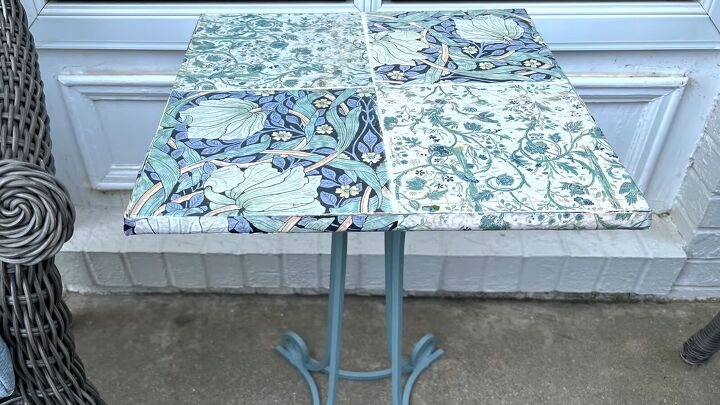
9. Tile table
To prepare this thrifted table for paint, I gave the tabletop and the metal legs a light sanding.
The tabletop design was divided into fours, each about the size of a large tile, so I decided to emphasize the tile look.
I cut out squares of tissue paper to fit each of the four squares and carefully applied it with Mod Podge. I also applied thin strips of the tissue paper to the four edges of the table.
I left a little gap between each piece of tissue paper and then applied a bead of caulk along that line.
Then I painted the iron legs with an acrylic enamel paint in a light blue color to coordinate with the tissue paper.
Once everything was dry, I sealed the table with several coats of spray clear satin polyurethane.
DIY patio decorating ideas
I am really pleased with how today's DIY porch décor projects turned out. Let me know which one is your favorite in the comments!


Comments
Join the conversation
Loved all your projects!! The faux topiary really gave me an idea seeing I have one here. And the vintage bench and tile table, I have - now I am motivated. 😊
Love your magazine rack to planter, and the tile table. I'm inspired and off to hit my local thrift stores. Thank you for sharing your great ideas.