4 Creative Ways to Use Dollar Tree Caulk to Make Decor

I wanted to show you creative ways to use Dollar Tree caulk to create awesome DIY projects. I think spackle is a great medium to use while crafting. It adds texture, depth, and personality to what would normally be a bland piece. I hope you enjoy this tutorial and I hope it gives you some ideas.
Stenciling project
We are going to start off with caulking or spackling. The stencils came in a huge pack on Amazon and they were very inexpensive. The stencils just have to be thick enough so the spackle can go over it without bending it. The details of the stencil will be slightly raised.
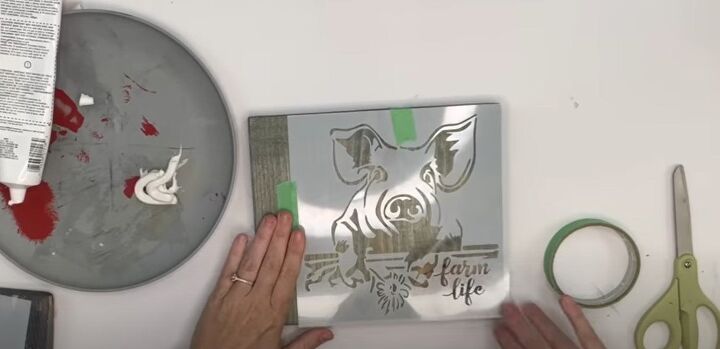
1. Tape stencil to wood
Take the piece of wood and tape the stencil to the wood. We do not want this stencil moving around.
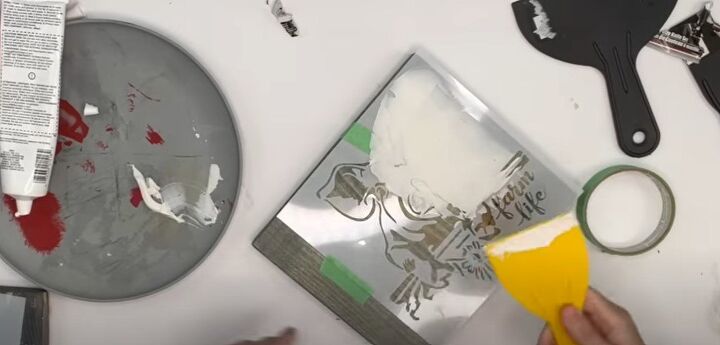
2. Spread caulk
Use a plastic putty knife to spread the caulk over the stencil. This putty knife comes from Dollar Tree. I am using it to smooth the caulk over the stencil. The stencils are thick enough to handle the caulk and they don't bend or move around. You want to coat enough of it so you don’t see the stencil outline under it.
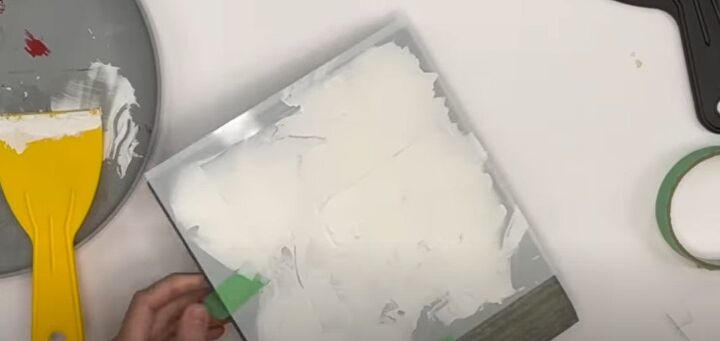
3. Smooth it out
I’m smoothing the caulk over my stencil and you can’t see the outline of the stencil anywhere.
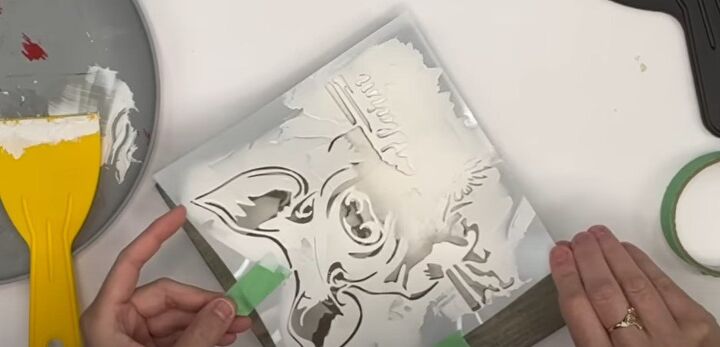
4. Peel the stencil
While this is still wet, you’re going to slowly peel the stencil off the wood.
It looks absolutely beautiful. You’re going to let that stay so it can completely harden up.
6. Clean up
Run these stencils and your tools under warm water and they will be good as new again.
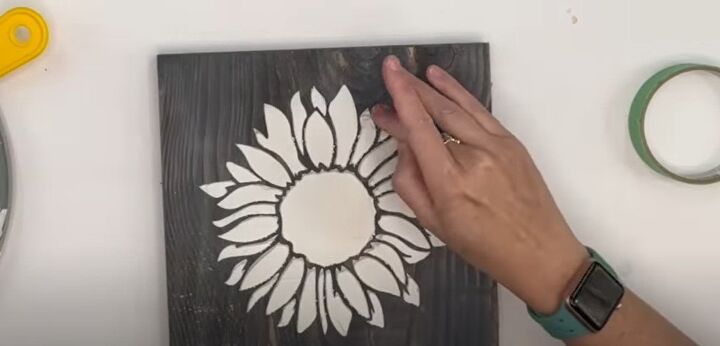
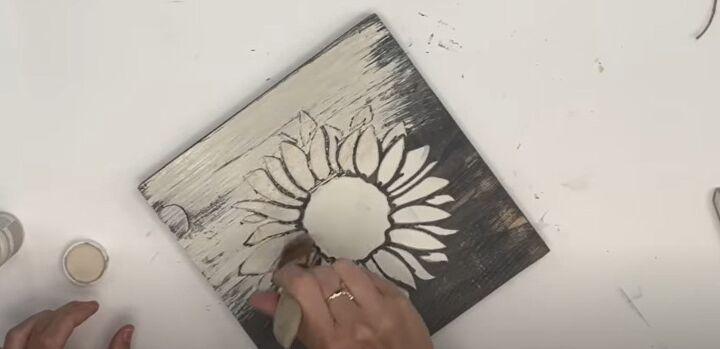
Here’s another stencil I did with the caulk. It is so satisfying. Look at this pretty sunflower.
7. Paint
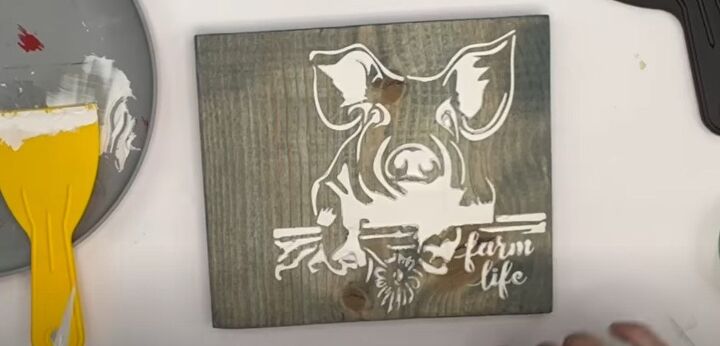
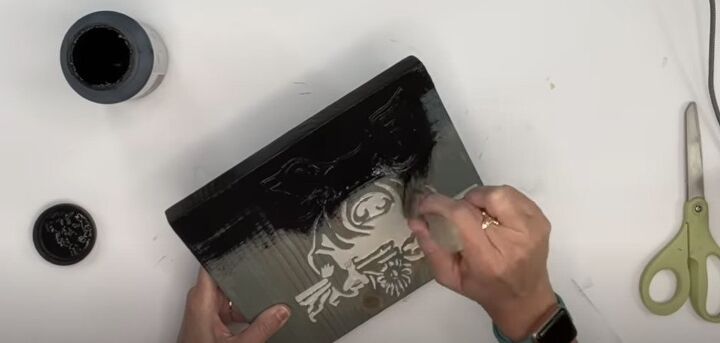
Here’s the first painting technique. I painted the piggy stencil in all-black chalk paint. I’m using my chippy brush to get into all the nooks and crannies of the spackle.
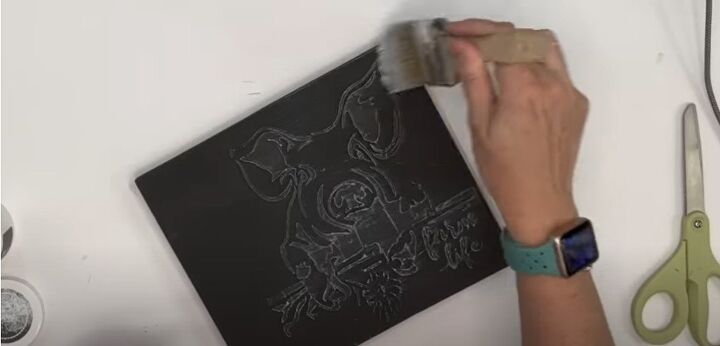
8. Wax it
Once it dries, I’m going to grab white DIY wax and lightly brush it over the wood. The little pig will come to life. The outline comes out so crisp.
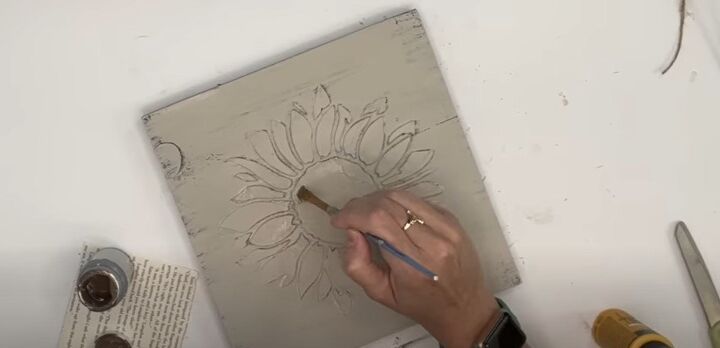
For the sunflower, I’m painting over the piece of wood with a paint called Sandstorm by Waverly. I’m making that the base color.
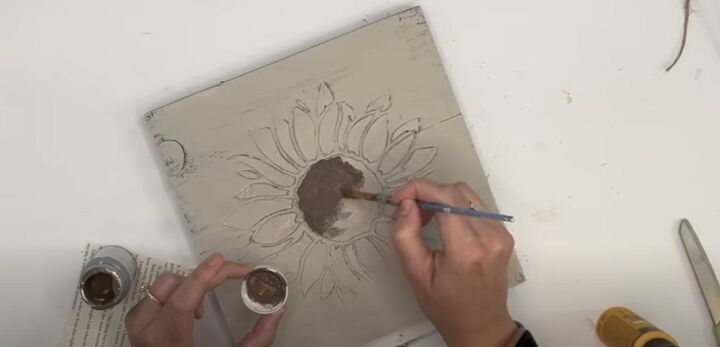
I painted in the lines of the sunflower. It’s a great project for kids to teach them how to stay in the lines while they are painting.
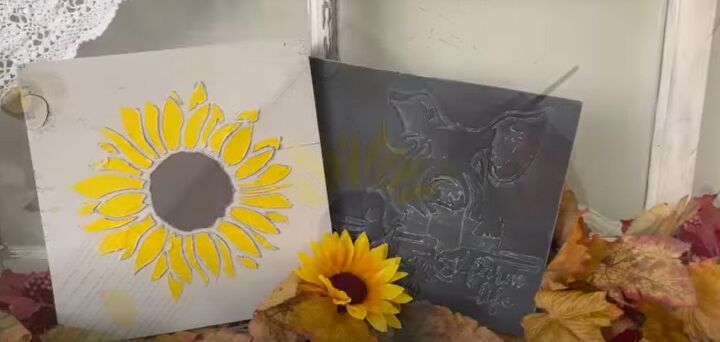
I used Moon Yellow by Folk Art to paint the petals.
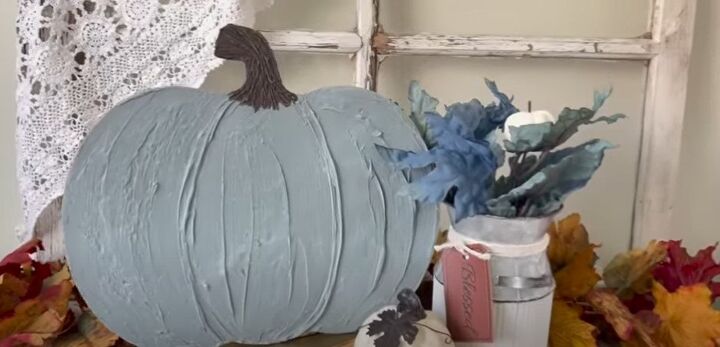
Texturizing a sign with spackle
You can take a sign and bring it up to a high-end look.
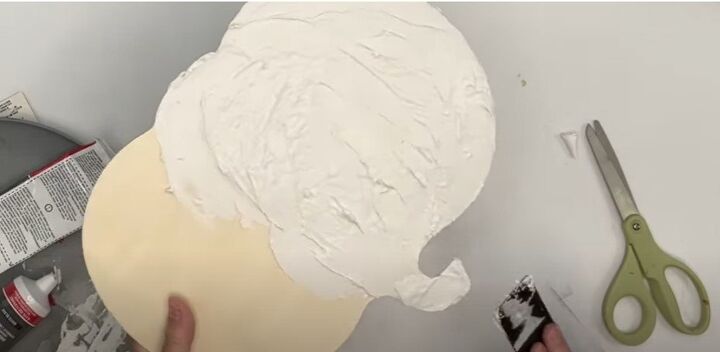
1. Spackle the surface
Smooth the spackle over a wood sign. Cover the entire surface with spackle. You are not making a design yet. You just want coverage. Use the putty knife.
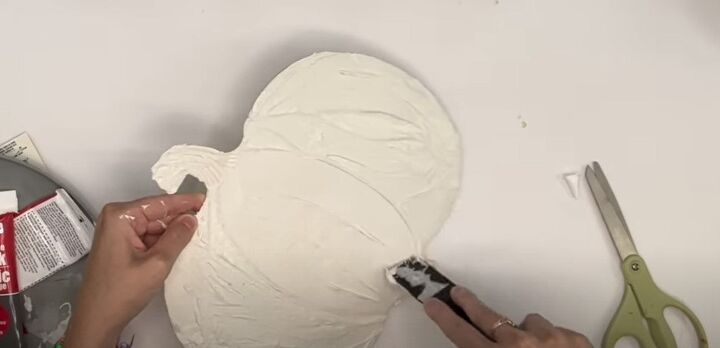
2. Detail the spackle
Use the putty knife to make “carvings” on the surface. Here I’m carving the pumpkin but you can do this with a Christmas tree or Easter egg. Go around the stem and the rest of the pumpkin and make some designs.
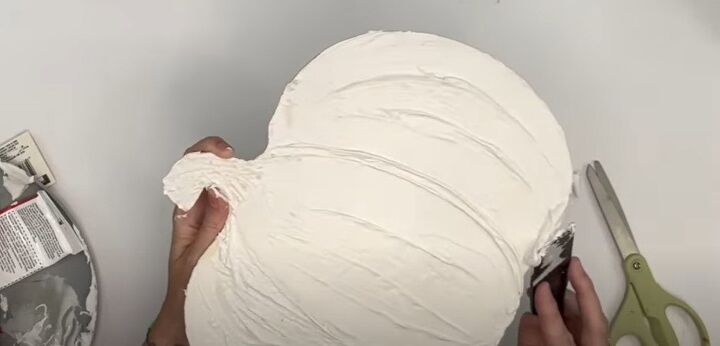
3. Stem design
I put some lines on the stem to make it look real. Let it dry.
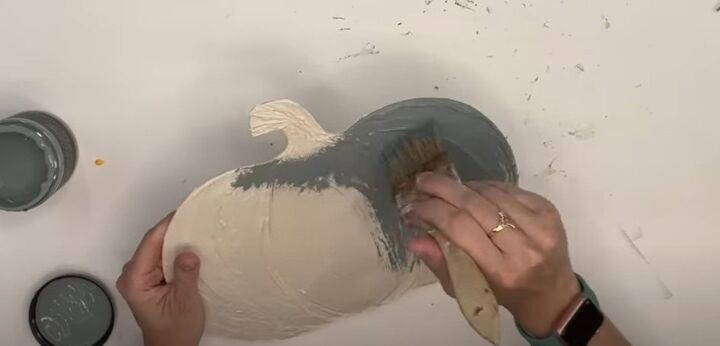
4. Paint the body
I took Skeleton Key by DIY Paint and used a paintbrush to coat the surface. The texture still comes through.

5. Paint the stem
I then painted the stem with brown paint.
6. Wax it
I waxed over the paint to make it more textured and to give the paint a high-end look. This technique looks great on a sign with wording or on just a plain wood piece.
Canvas spackle project
You can paint canvas with spackle! Watch how I create a design. But you can do anything with spackle on canvas. You can even stencil over the spackle and then paint it.
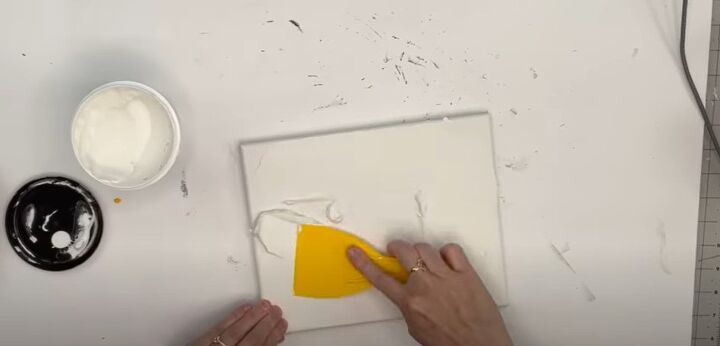
1. Cover the canvas
Spackle over the canvas using the putty knife. Smear it all over and let it harden up. Or, you can do designs in the spackle without letting it harden up.
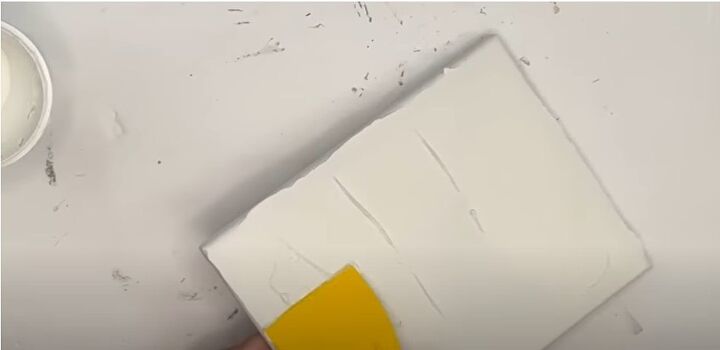
2. Smooth it out
Smooth the spackle out on the canvas. I used a good amount on the canvas. While it’s still wet, I made it very smooth.
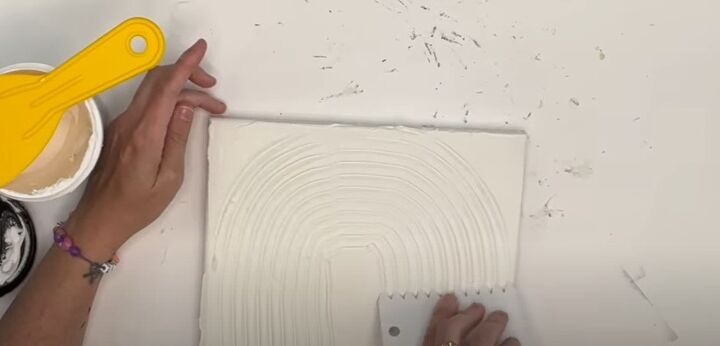
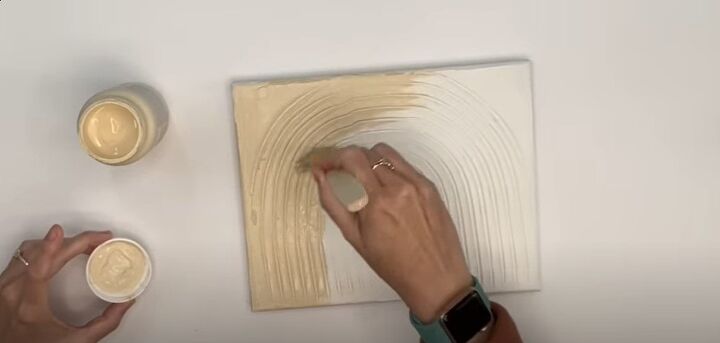
3. Comb a design
I used a comb tool to create a rainbow in the smooth, but still somewhat wet spackle.
4. Paint the spackle
I painted the entire canvas with cashew-colored paint as a base. Then I will add more color.
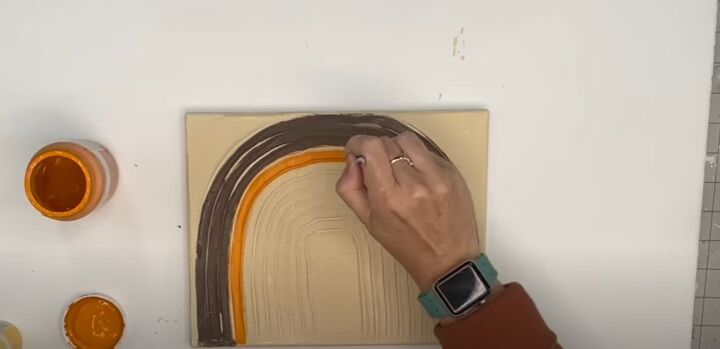
5. Add details with paint
I painted lines with Truffle by Waverly. I painted different lines with different colors.
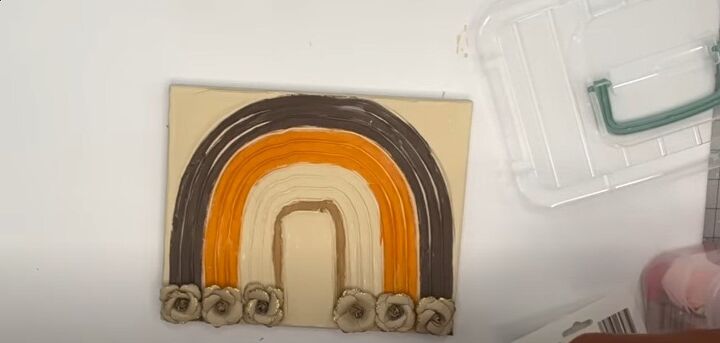
6. Embellish
I found little paper flowers that I hot glued to the canvas to jazz up the design.
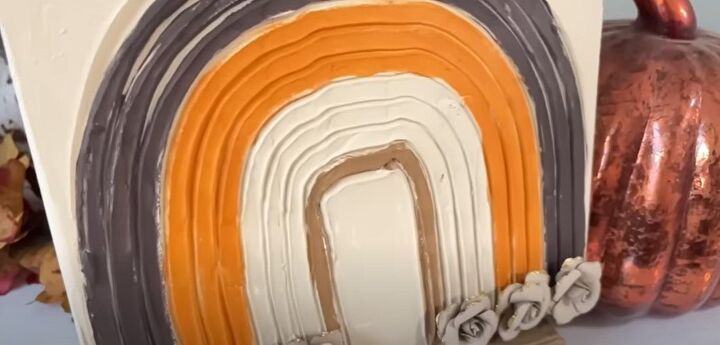
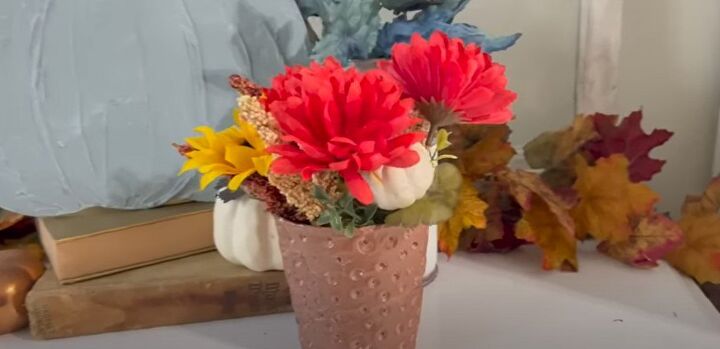
This is a great, cute fall piece to add next to an autumn pumpkin. It has a very boho vibe.
Spackle a container project
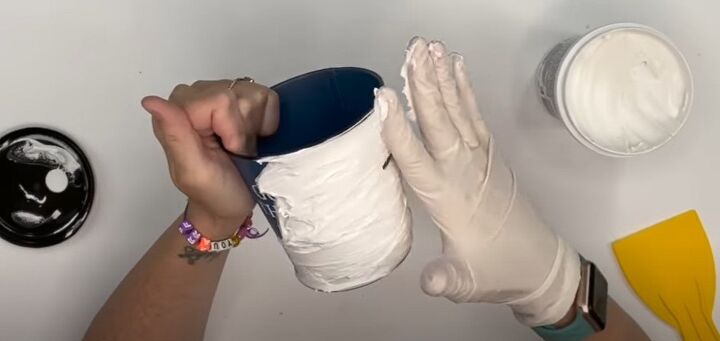
1. Spackle a container
Wear rubber gloves and use your hands to cover the entire flower pot with a thick coating of spackle. This didn’t really work out all that well, but I do like the method.
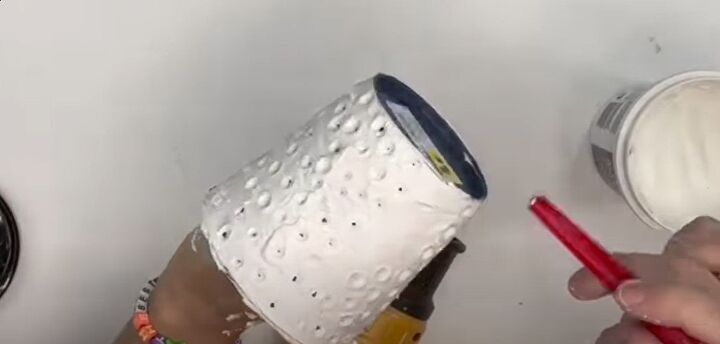
2. Add detail
Let it set for about an hour so the spackle hardens up a bit but it’s still soft enough for you to make little indents. Add little details or divots into the spackle using the end of a brush or some other type of rounded tool. I’m going for a hammered copper pot look.
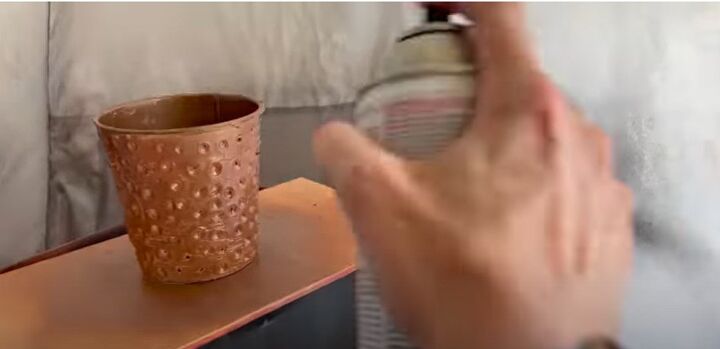
3. Spray paint
I used Rustoleum to spray the pot. The spackle absorbed the paint. You can see all the texture and cracking. It didn’t turn out like I expected, though! It’s a little rough around the edges.
Okay, not the best, but maybe it takes some practice to make it look better. But I thought I’d share the process. It looks pretty bad in person!
Creative ways to use Dollar Tree caulk
Thank you for joining me to see these spackle experiments. Dollar Tree caulk can be a great craft medium but you may need to experiment with the look. I think the wood signs and the canvas spackle art are easy and fun to make and can be great gifts.
Let me know what you think in the comments!


Comments
Join the conversation