How to Easily Grow Your Own Food on a Small Deck Garden

What if you want to grow vegetables but you don't have a backyard? If you have a deck or patio that’s just a few square feet, you can have a garden that rivals in-ground gardens. The answer for my deck vegetable garden: vertical planters.
I'm going to share how I consistently grow over 150 different crops, including herbs, flowers, fruits, and vegetables exclusively on a townhouse deck using a GreenStalk vertical gardening system.
Table of contents
- 1. Simple planters
- 2. Watering made easy
- 3. Fertilizing plants perfectly
- 4. Minimizing pest problems
- 5. Growing herbs
- 6. Growing leafy greens
- 7. Components
- 8. Assembling the planter
- 9. Choosing potting mix
- 10. Filling the top tier
- 11. Filling the second tier
- 12. Filling the mid-level tiers
- 13. Stacking the planter
- 14. Tracking watering
- 15. Moving the planter around
1. Simple planters
GreenStalk vertical planters are so simple. This vertical gardening system helps you to manage pests, watering, and fertilizing and leaves little room for error.
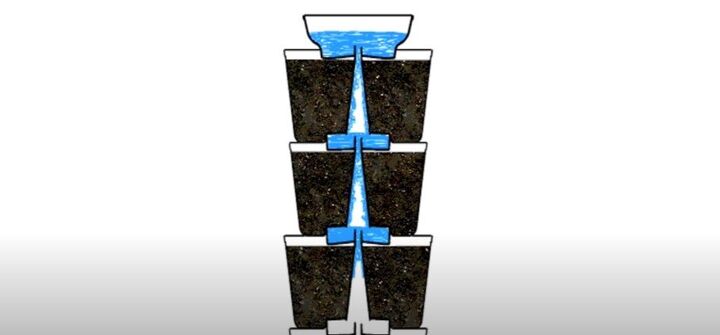
2. Watering made easy
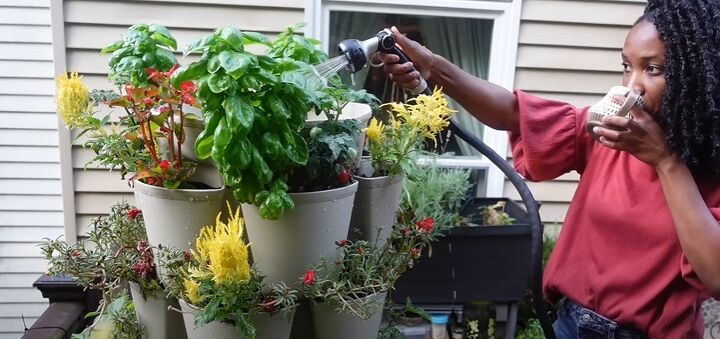
There's no watering guesswork. Just fill the top water reservoir. The series of basins delivers fresh water to each tier at the same time. The results: consistent watering without overwatering.

3. Fertilizing plants perfectly
You can deliver nutrients directly to individual plant pockets and also with any water-soluble or granular fertilizers with the GreenStalk's watering system.
4. Minimizing pest problems
By elevating plants off the ground, vertical gardens minimize direct contact with the soil, which is where many ground-dwelling pests such as slugs or snails thrive and access your crops.
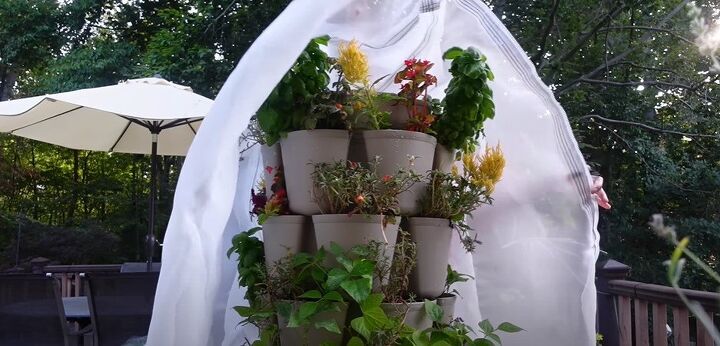
You'll also experience better air circulation around plants compared to traditional in-ground gardens, which will deter pests that are attracted to damp environments. When pest pressure is at its worst, you'll love using GreenStalk's insect protection covers.
The innovative zippered material blocks whiteflies, aphids, leafminers, and thrips but allows 80 percent of sunlight through. These covers give you your very own greenhouse right on a deck.
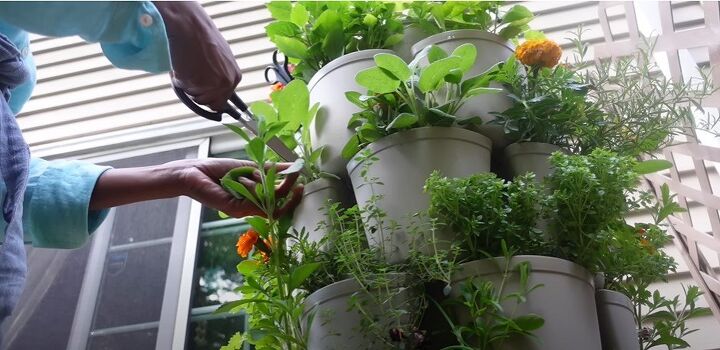
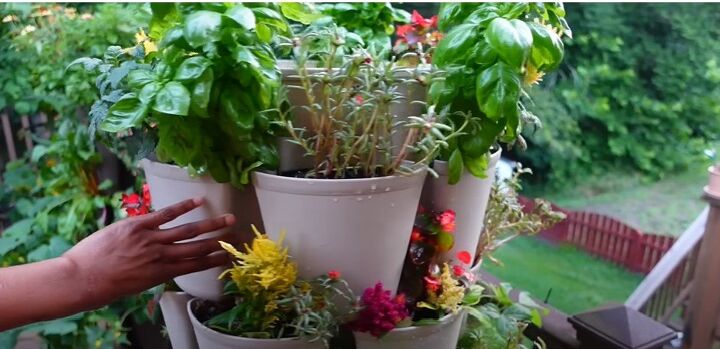
5. Growing herbs
I'm able to harvest a variety of herbs from mid-spring to late fall every year. One of my GreenStalk tiers is entirely filled with herbs I harvest nearly every day.
You'll regularly gather bunches of rosemary, marjoram, oregano, sage, thyme, and parsley that will never spoil on you in the fridge like the overpriced store packs will because you just harvest when you need it.
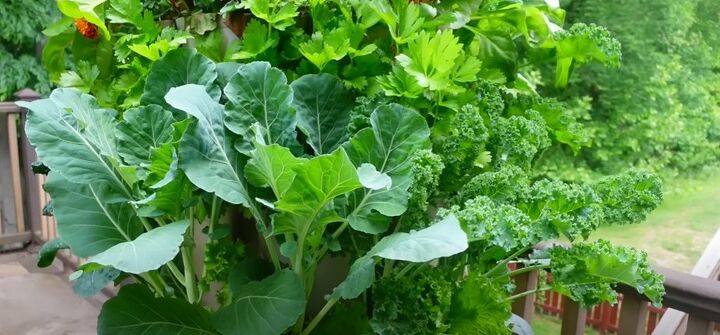
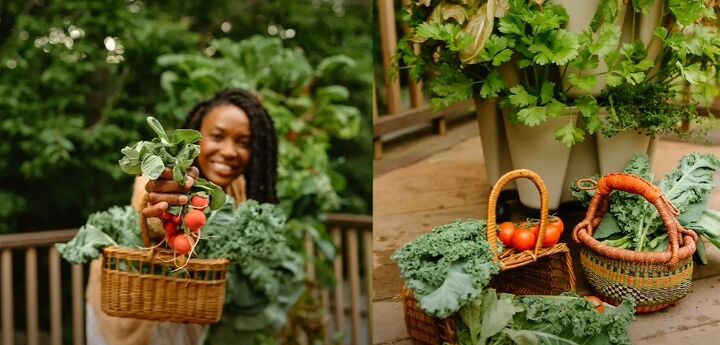
6. Growing leafy greens
You can densely pack these planters, too. I grow lettuce the size of my hand, dark leafy kale, chard, microgreens, and spinach all without land. I've got half the fixings for a salad on demand. Outdoor refrigeration eliminates waste and has better taste. I even grow celery.
You don't have to bend down or get on your knees to get to your plants. Whether you're watering or pruning or harvesting, everything is right there at eye level.
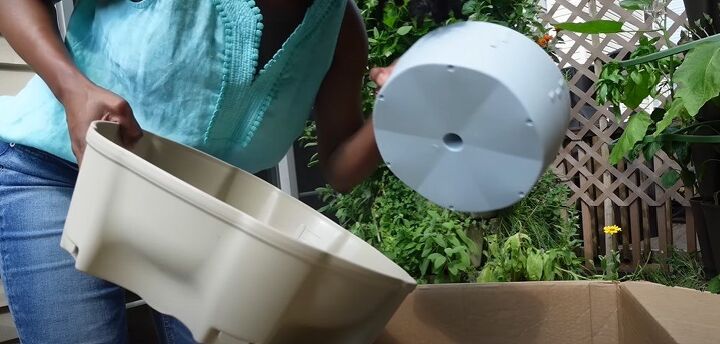
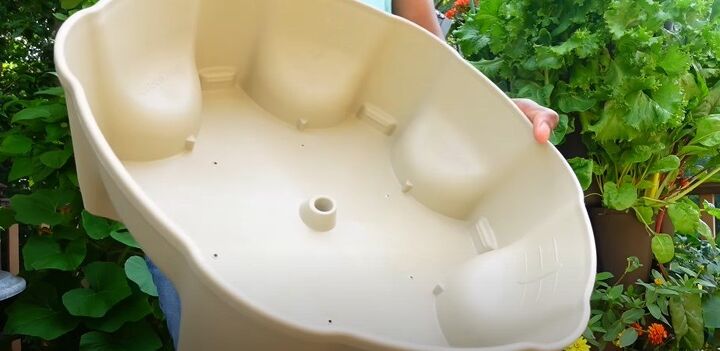
7. Components
Each planter contains one top reservoir, which dispenses water to the lower level tiers in your planter. The gray watering discs drip fresh water into each pocket. The planters are food-grade, UV-resistant, BPA-, BPS-, and PBC-free plastic.
8. Assembling the planter
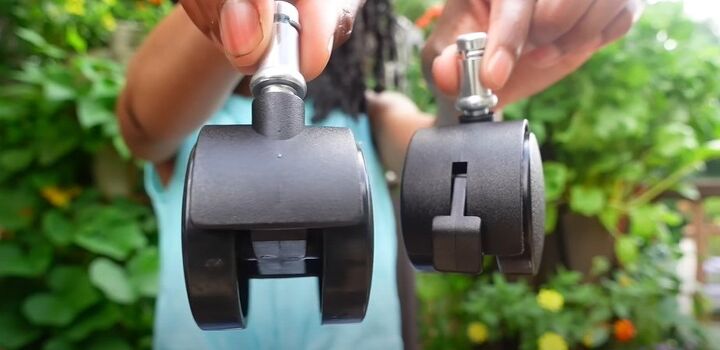
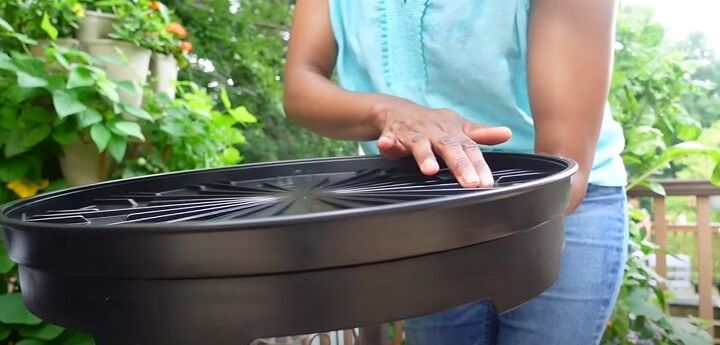
Once assembled, your planter will sit on a planter base. I selected the spinner base, which allows you to smoothly rotate your planter, but is also a universal base for other containers you may have.
The bottom of the base has holes for the six wheels, three non-locking, and another three that are locking so that you can secure the planter wheels in place, or unlock them for easy rolling around on your deck, patio, or pavement. Instructions for use are printed right on the bag.
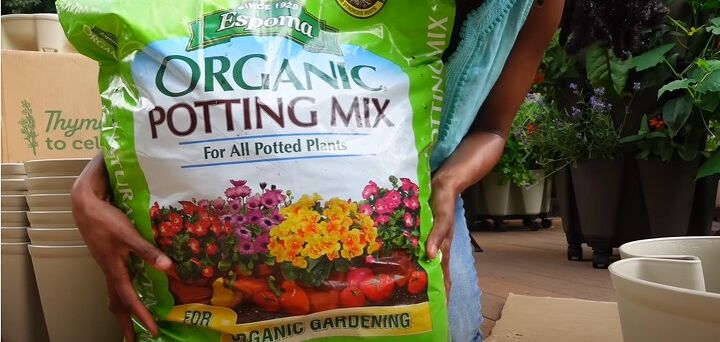
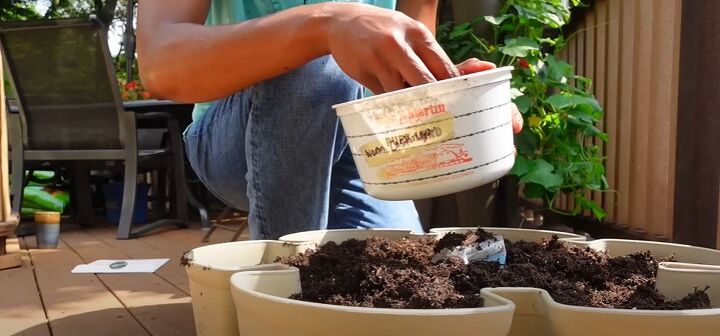
9. Choosing potting mix
You only want to use a high-quality potting mix that’s organic and for outdoor use. Here's a trick: Take the bag for your wheels and use it to cover the hole in your planter. That way you won't waste any of the potting mix we're about to pour in or create a clog. Pour in your potting mix to the marked fill line labeled on the inside of each planter.
I'm adding some worm castings to give my new plants a nutrient boost. Each original tier holds about 8 gallons of potting mix, while each leaf planter, featured here, holds about 6 gallons.
Avoid using topsoil, raised bed soil, or garden soil because those mixes aren't formulated to work well with the drainage system.
10. Filling the top tier
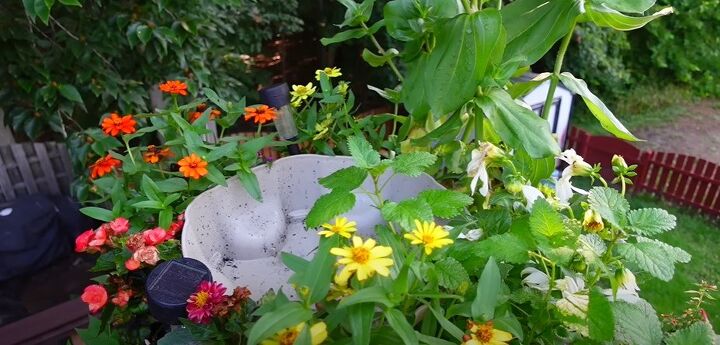
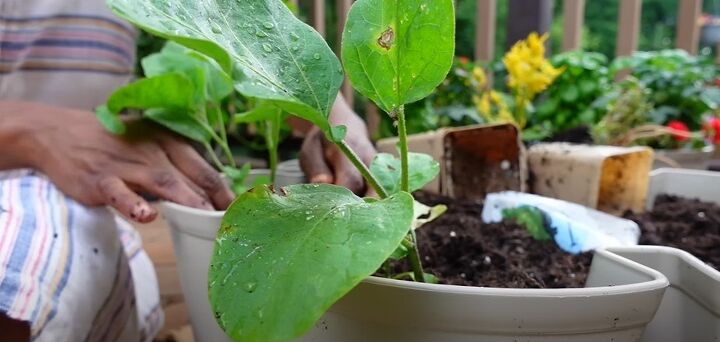
I fill my top-tier planter with florals to give them access to full sun without being shaded by other leafy plants. I have some sky-high dahlias in one of my planters and drooping honeysuckles in another. I tuck two flowers in each pocket, which can be done with varieties that aren't going to double or triple in size throughout the season.
11. Filling the second tier
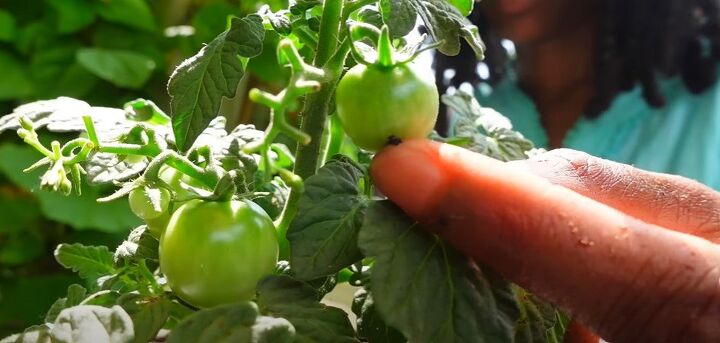
Once your planter is filled, remove the baggie. Repeat these steps with your subsequent planters. For the second tier, I planted dwarf cherry tomato plants and basil, which are excellent companion plants.
Tomatoes love calcium, which prevents blossom end rot, and I dehydrate and crush our eggshells to make my own shelf-stable calcium powder.
12. Filling the mid-level tiers
In the next mid-level tiers, I'm going to plant my vining veggies, like eggplant and green beans, which I've started from seed.
At this level, they'll have a few feet to grow up and wrap around the snap-on plant supports that I'll add as they grow larger. I'm planting just one eggplant per pocket, but two pole bean plants per pocket.
The directions to GreenStalk help you decide what to grow in which tier and how many plants to place in each pocket.
13. Stacking the planter
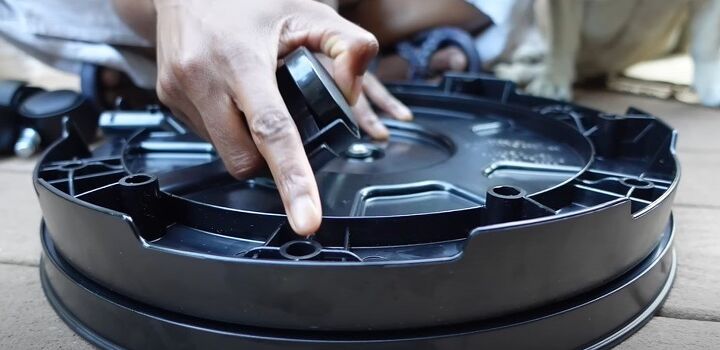
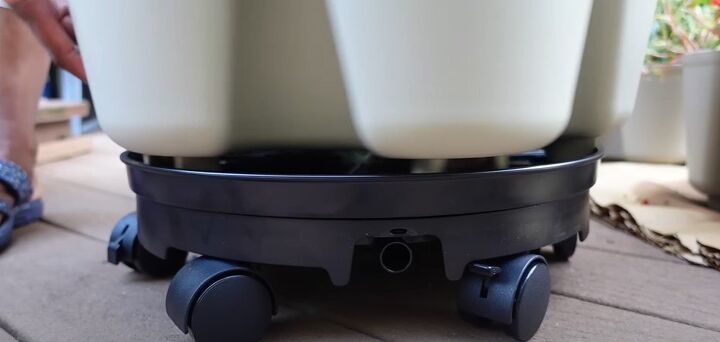
To stack your planter, you'll need to start with the planter base. Use firm pressure to pop the wheels into place, alternating the locking and non-locking wheels around the ultimate spinner base.
You can add the drain hose if desired. The spinner base has grooves that secure the feet of your planter to the base. Place it on top, you'll feel the grooves connect. Next, place one gray disc on top of the tier, lining up the holes with each pocket.
Then, you'll stack each tier, making sure the planter's feet interlock with the planter below. The grain stalk pieces fit snugly together once the weight of the potting mix is added, so you won't experience any shaking or wobbling.

14. Tracking watering
Lastly, take your top water reservoir and snap its feet to your top planter. I needed a simple way to keep track of how and what I've planted in my GreenStalk planters throughout the changing seasons so I used a journal.
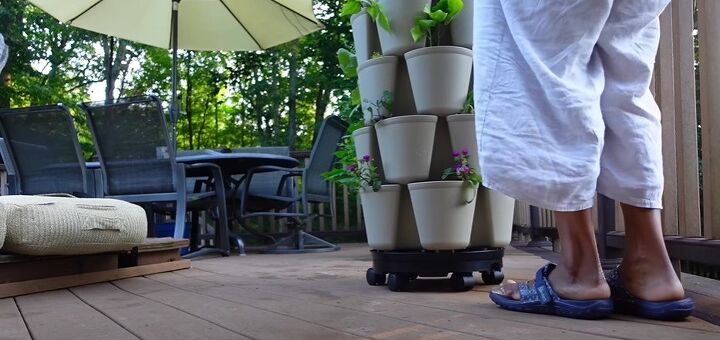
15. Moving the planter around
Can you believe I'm moving around over 40 plants on each planter? Nearly 120 crops just on the right side of my deck, with another 80 on the left side. Insane, but you can do it too.
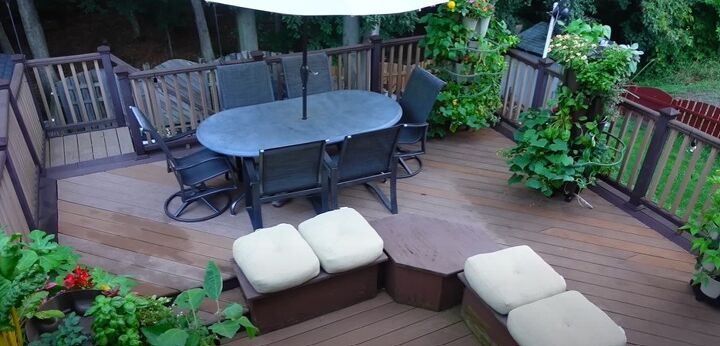
Deck garden
This is how I get ample results from a deck garden. Do you have limited space for a garden? Let me know in the comments if you do use vertical garden planters for your deck and how it works for you! Let me know what you grow!


Comments
Join the conversation