How to Make a DIY Stackable Planter With Items From Dollar Tree

Using a stackable planter, I have a very cheap way to get into gardening in your backyard. I will be using the little planters I got from Dollar Tree. Each of these planters was $1.25. When I ordered on the website, I had to get a case of 36 of them, so I'm able to create a robust garden using Dollar Tree stackable planters.
Stacking the planters
The planters do not come with a hole in the middle, but I wanted to make sure that they would be sturdy once stacked. I don't want my planter to fall over if intense winds come blowing in.
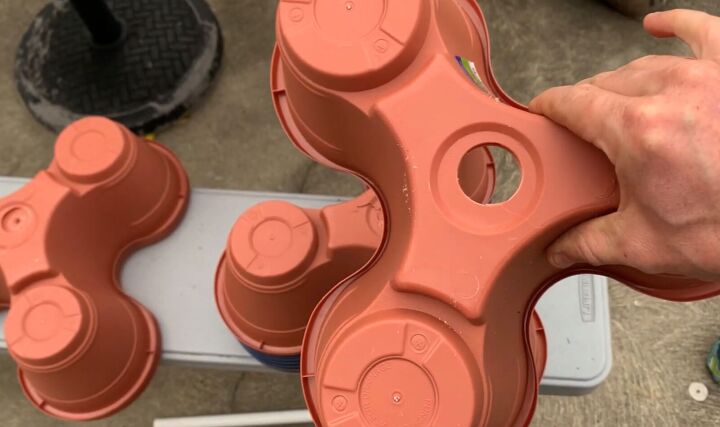
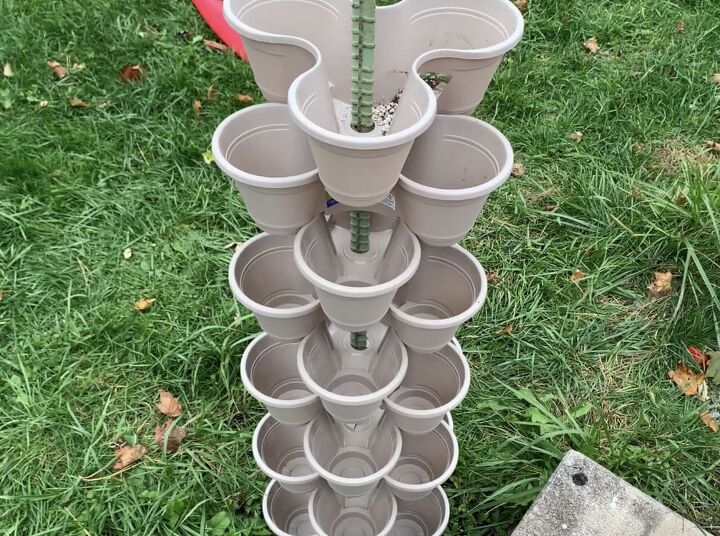
I used a 1 1/4" hole saw to drill a hole in the middle of the bottom of each planter.
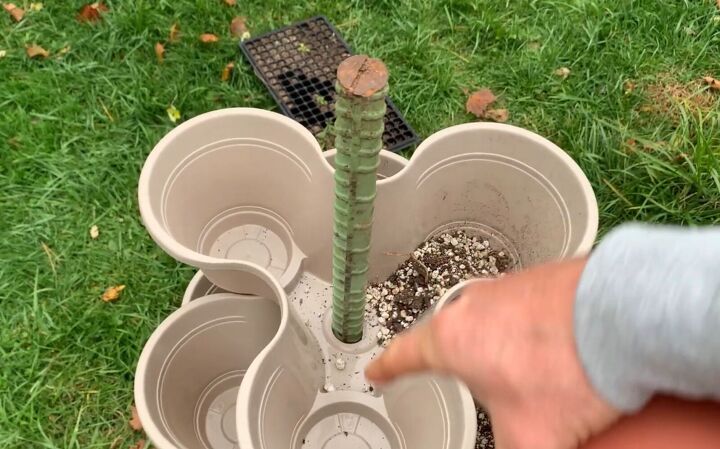
I then used a metal pipe that fit through the hole and stacked all of them up the rod.
This is an economical way to grow a lot of plants in a very small area using vertical space.
Downsides to the planters
There are some downsides to this stackable planter. It is cheap, so it is also a very thin, cheaply made kind of plastic.
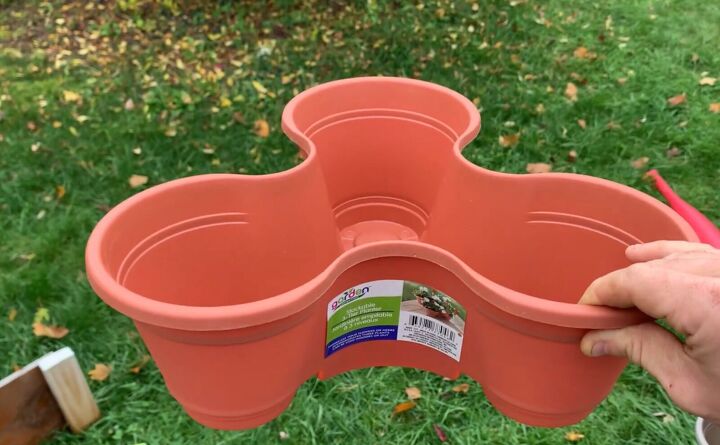
It's not very deep; it might be five and a half or six inches deep.
That might limit the kind of things that you could plant in one of these. That doesn't mean you can't grow leafy greens or salad greens in something like this. It doesn't mean you can't grow flowers or many other things that you could grow in this, that would grow very well.
Setting up the planters
I wanted to do this early in the Spring, but I have too many things on my plate with the rest of my farm. This stacked garden will be primarily for us, so I'm going to grow a lot of herbs and flowers in it, in front of our new barn.
I'm going to put two raised beds in front here. We had strawberries in the front, but I'm going to take them out and move them somewhere else. Then I'll put the planters filled with different herbs and flowers in that space.
I'm going to have three of these stackable planter towers here. This is a good deal because if you look at some other name-brand stackable planting boxes, they're way more expensive than these.
Adding drainage
Another thing I'm going to have to do is take these down and drill some drainage holes in the bottom of each planter. I'm going to have to drill them using a drill with a medium drill bit.
Once I add drainage holes, I want to get them all filled up with soil so I can put plants in them right away in the Spring of next year. Whatever I want to put in each planter, we'll have it, and it'll really beautify the front of our new barn.
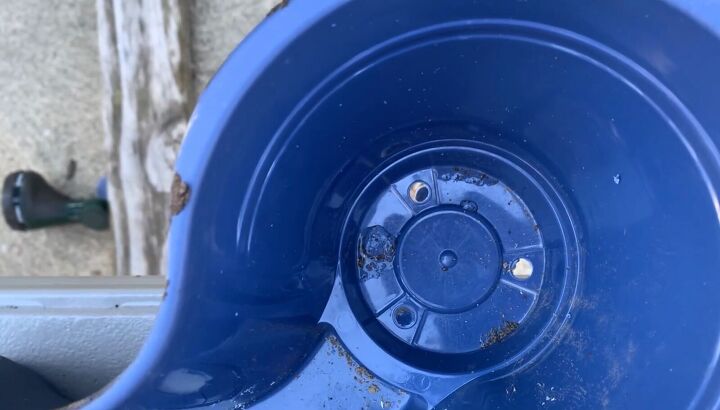
After drilling the holes, I have nice perfect holes in each one.
When drilling, you want to press too hard because I have cracked a bunch of these. It is pretty cheap plastic, but it is what it is. You get what you pay for.
Filling the stackable planters
My planter is twelve high. So I've drilled a hole for the metal rod and put some holes in the bottom for drainage. Now I'm going to fill them all up.
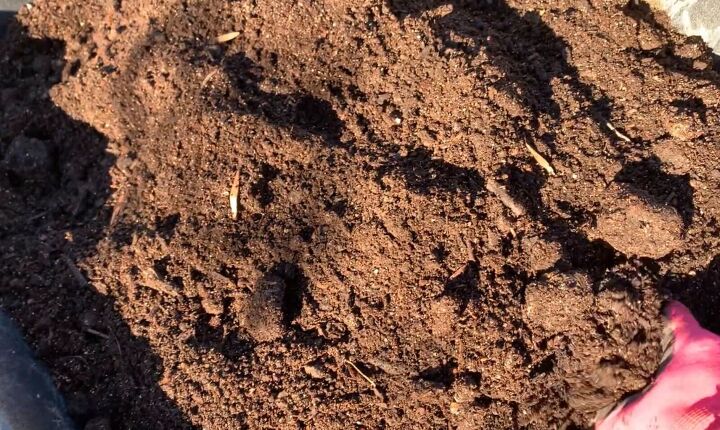
I use a homemade mix of vermiculite, peat moss, and compost.
If you don't have time to make it yourself, you can also buy potting soil premade at the store. Once they're filled with the potting mix, I'm going to be all set to start planting in these stackable planters in the Spring.
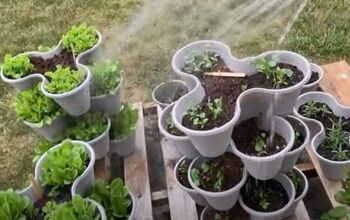
When I stacked them, I made a little design with colors.
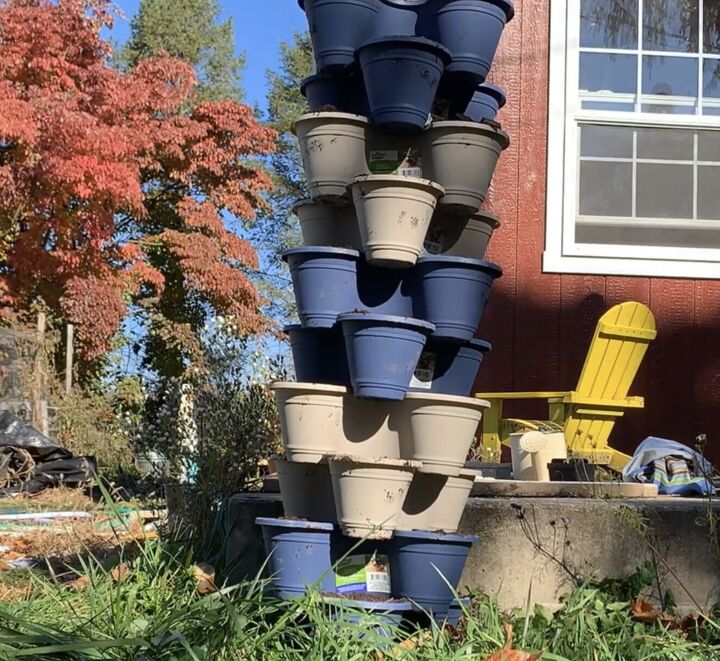
I used a blue planter, a white planter, another blue, then finished with another white.
I'm going to do another one, and I'm going to put two raised beds in the middle.
I've yet to really put these stackable planters to the test and see how they stand up to an entire growing season. For that reason, I'm not going to recommend this thing fully but just based on the price alone, I'm taking a chance on it. It's $1.25 for each of these layers, so that's not a high price to pay compared to other options that can be a lot more expensive.
The pricier planters might give you thicker plastic and a warranty; I already busted some of the planters up trying to put holes in them. I'll be planting in this in the Spring, and we'll see how it does, but I'm excited about having stackable planters in my garden.
I wanted to note that I had trouble finding the planters in Dollar Tree stores, so when you order them online, they make you buy a box of them, which is 36 of them, for a little over 40 dollars.
You can make your planters stacked twelve high, as I did here, to make three towers for $45. If they last and you take good care of them, I think that's a tremendous value.
Stackable planters are an excellent way to be able to have a garden if you don't have a lot of space in your backyard or if you don't even have a backyard if you just have a balcony.
This is a very easy way to get into gardening that costs you very little. You'd be set to start growing a lot in a small area since it's all vertical space.
DIY Dollar Tree stackable planter
Don't think gardening is expensive and out of reach. Using stackable planters from Dollar Tree proves that it doesn't have to be. What are you planting this year? Share your garden ideas in the comments below.


Comments
Join the conversation
Hi...
I had no idea that DT even offered these...THANKS!! : )
Did you make some type of watering system within the planters or will you be watering the individual pods with a hose..?
I've seen the other (very expensive) types of systems and they have some type of built-in watering system. Can't remember exactly how they worked tho'...it's been awhile since I've checked them out.