How to Easily Install an RV Keyless Entry Door Lock System

Embarrassingly, we've locked ourselves out of our trailer a couple of times. We kept leaving the key inside if we stepped outside to walk the dog. Imagine the panic we felt when it was cold and dark outside and we were locked out? We’ve had to crawl through doors, windows, and bays under beds to get back in.
So we decided to put a new keyless entry system for an RV on the door with a key code to lock and unlock the door. Today, we're going to show you how we installed an RV keyless entry system made by Latchit.
It’s a great project to do while your RV is in storage. Installation should take about 10 to 25 minutes. Let’s get started!
1. Remove the old lock
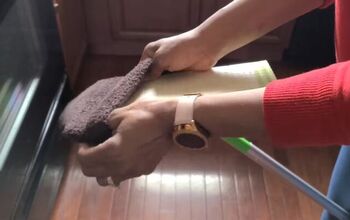
I took the old lock out. There were four screws. Then I uninstalled the side plate.
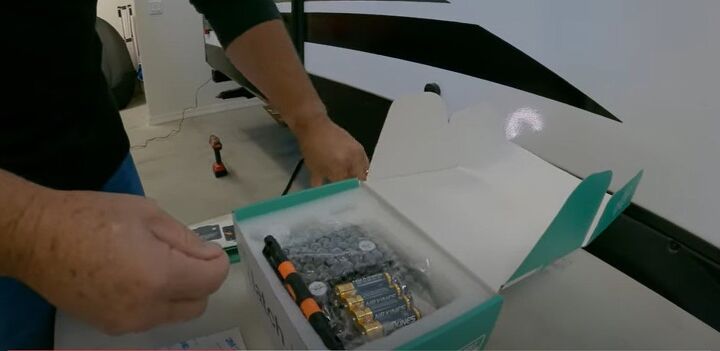
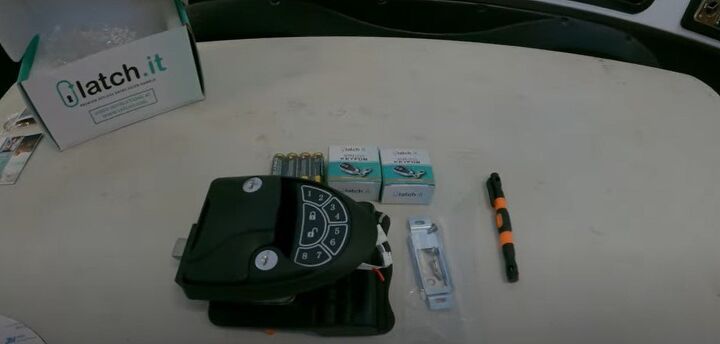
2. Unboxing Latchit
Tip: When ordering your Latchit, make sure you know which way your door swings–either right or left.
I’m impressed with the weight of this lock. It’s all metal. In the box they give you a car key holder, stickers, batteries, two key fobs, a door jam, and a screwdriver for installation. If you don’t have tools, don’t worry, they provide the screwdriver.
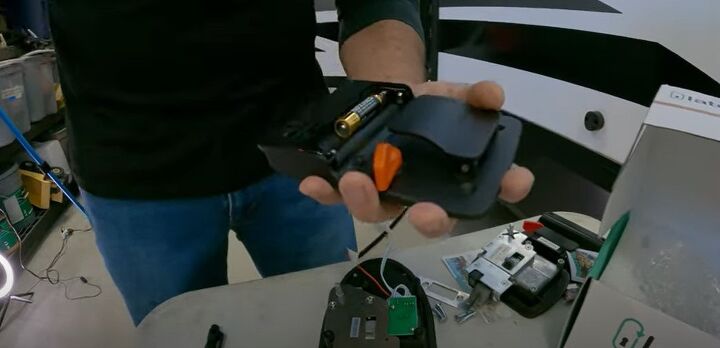
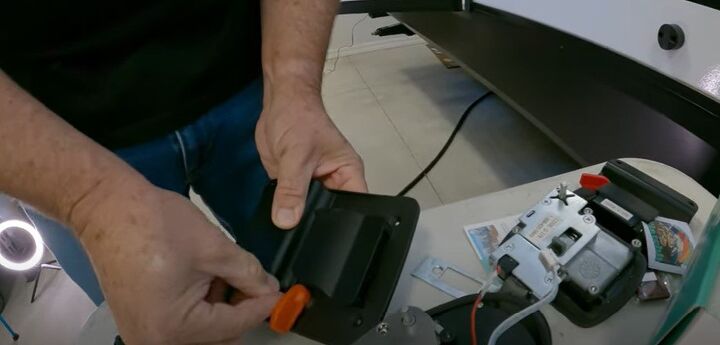
3. Put batteries in
I put the batteries into the lock by unscrewing the battery plate. And these are small screws, so I was careful not to lose them. It comes with four double A batteries. I put in the batteries and slid and snapped the battery cover back on, then screwed it back together.
Tip: Latchit recommends that you change the batteries every six months.
4. The red wire
The red wire is an antenna, also called a signal receiver. I didn’t need to do anything with it.
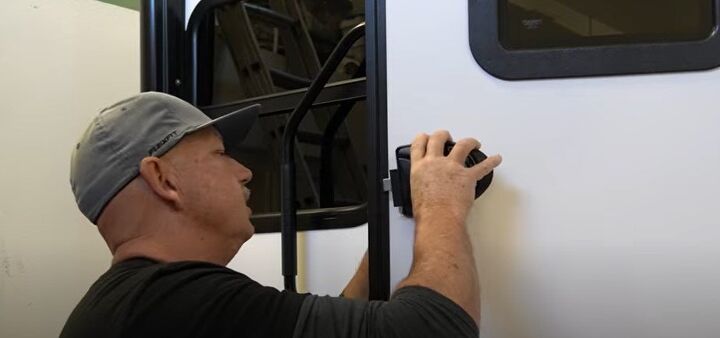
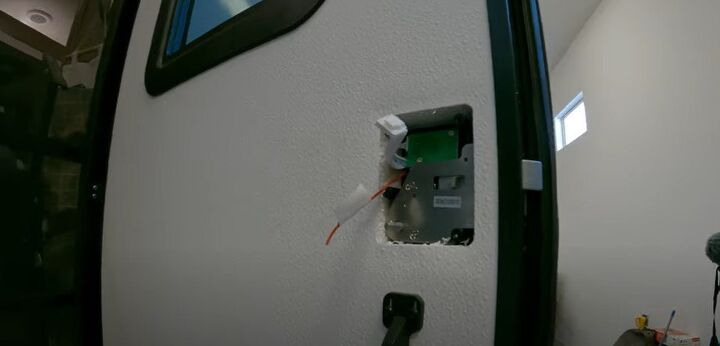
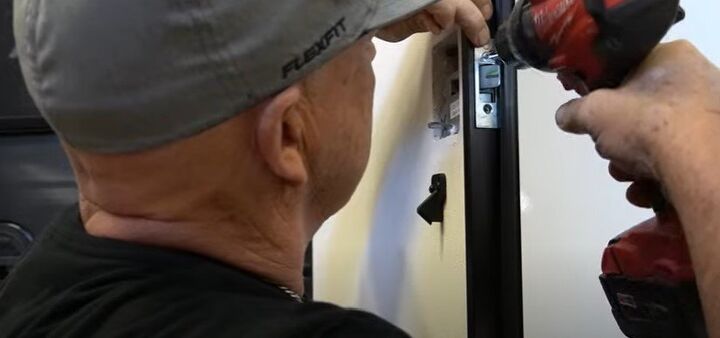
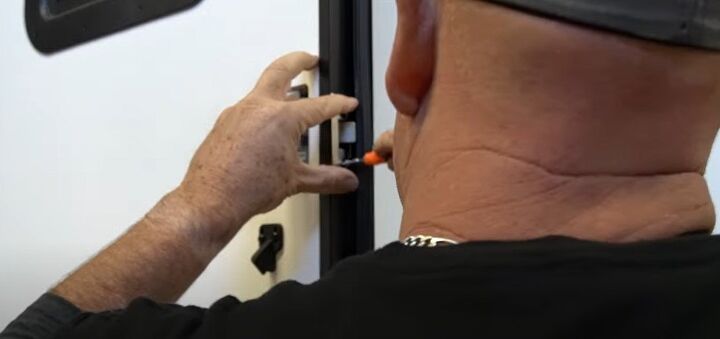
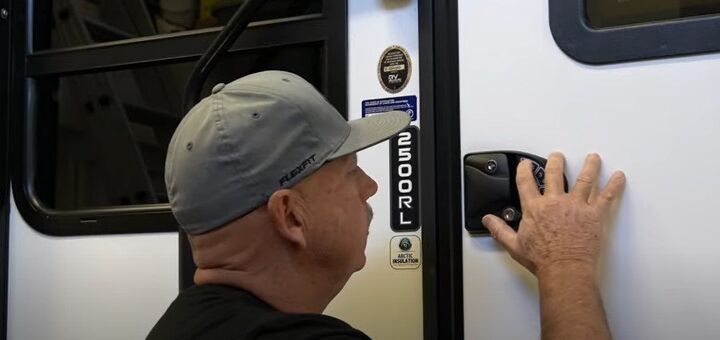
5. Place the lock on the door
I fished the wires through the opening on the door. It was a bit of a tight fit, but I worked it in gently. I made sure the wires didn’t touch anything else. Here’s how the wires looked on the other side of the door.
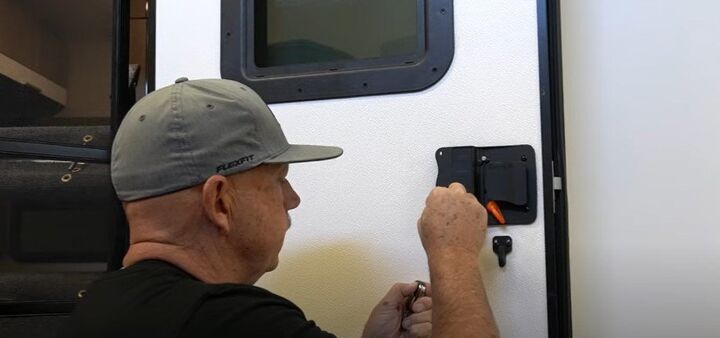
6. Install the deadbolt and side panel
I lined up the panel on the other side of the door with the deadbolt lock.
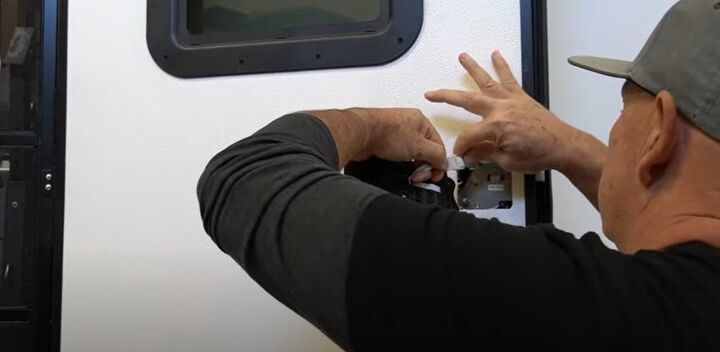
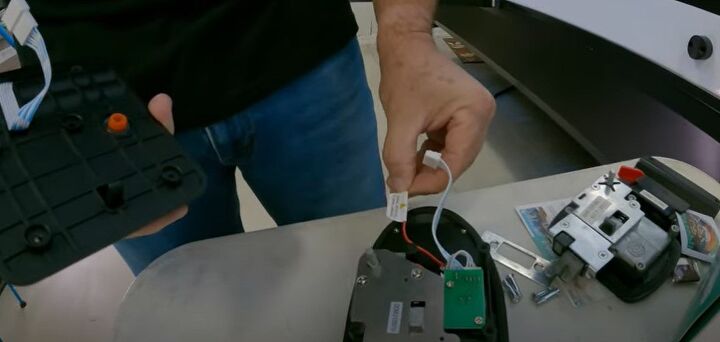
7. Connect wires
Then, I plugged in the two white wires to each other before screwing the backplate on the door. I was careful not to crimp the wires when attaching them. I heard something inside the lock when I connected the wires, which meant the lock was operational.
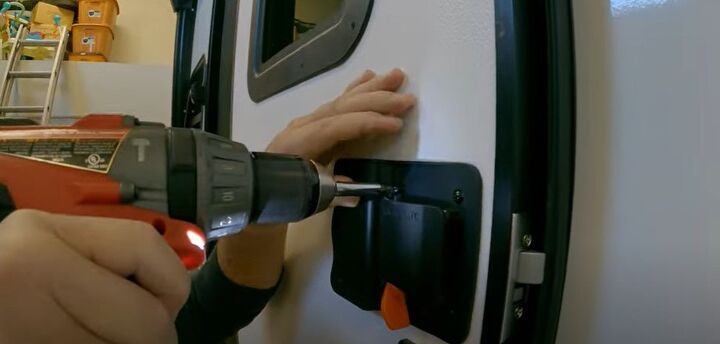
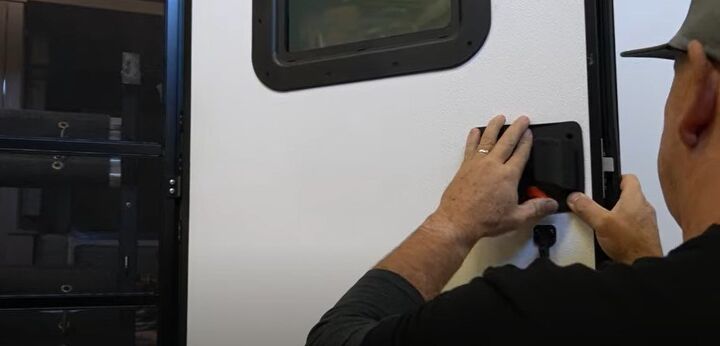
8. Screw on the backplate
I lined up the backplate so that it aligns with the deadbolt on the side. Then I popped the back into place, and applied a bit of pressure when screwing on the backplate so it was all snug.
9. Test the deadbolt
I checked if the red switch at the bottom of the plate allowed the deadbolt to move freely. If it does move freely, then it's good. If the deadbolt doesn’t move freely, you’ll have to take off the backplate and gently adjust how the front panel and back panel sit in the hole.
10. Test the lock with a default code
I finished the installation in 18 minutes. Then we tested it. Latchit gives you a test code that you can change later. Don’t worry, the instructions are great. You basically hold down a button for a couple of seconds and you put your own code. But use the Latchit default code to make sure it works.
11. Program the key fobs
The next thing I did was program the key fobs. Latchit gives you two key fobs. There’s a little hole you press into with a paperclip. Press it down and lock the button at the same time for a few seconds to program.
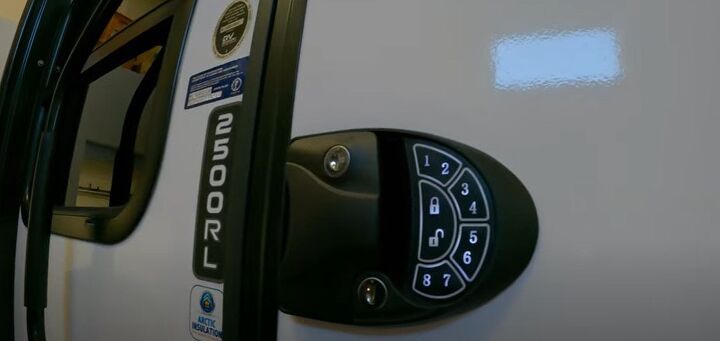
12. We love the backlighting
We also liked the Latchit because it has a face that lights up.
We have more tips to share about Latchit:
- Our dog doesn't like the beeping sounds the lock makes. We were able to take the beep out by just pressing the number 1 for two to five seconds.
- We discovered that you could lock the door by pressing the lock button and you don’t need to put in the code.
- This is important: It’s best to keep one key in your vehicle and one in the trailer. If you need to order extra keys you will need the three numbers that are on your other keys. Write the numbers down and keep them in a safe place in case you ever need to order keys.
How to install RV keyless entry
That’s it! Have you ever had problems with your RV lock? Do you think you’d like a keyless entry for your RV? Let us know in the comments below.


Comments
Join the conversation
Great idea, but what if the batteries die before 6 Mos?