81K Views
SHED Tiny House Full Construction Time-lapse Video

by
Robert
(IC: )
2 Materials
$30000
1120 Hours
Advanced
Having grown tired of throwing money away renting apartments but weary of taking on a mortgage, my wife and I decided to design and build our own [tiny] house on the weekends and pay for it paycheck to paycheck as we built.
We share our floor plans for free and offer our 145 page e-book that shares the entire process here: https://shedsistence.com/resources/
{
"id": "3901110",
"alt": "",
"title": "",
"video_link": "https://www.youtube.com/embed/Pmj_xbj9A6E",
"youtube_video_id": "Pmj_xbj9A6E"
}
{
"width": 634,
"height": 357,
"showRelated": true
}
The thought of building and living in a 204 square foot space with another person can be daunting, but the practical education as well as what you learn about yourself and your partner alone is worth every penny, minute of time and ounce of effort.
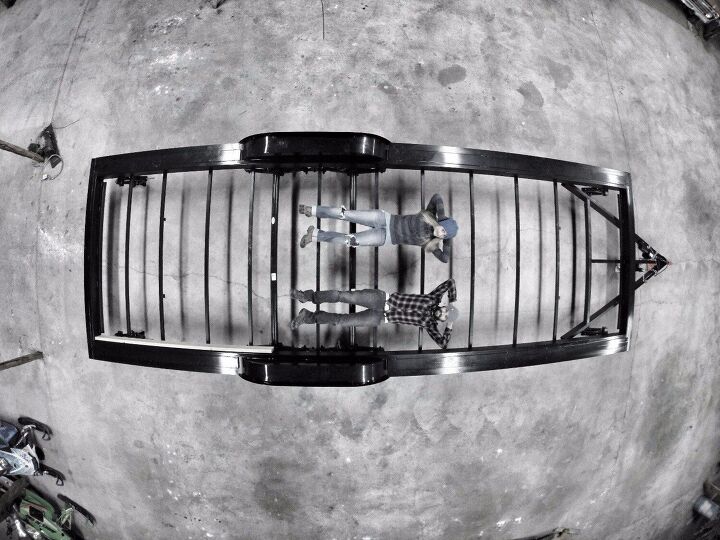
We then had to decided how long our trailer would be based on how much square feet we thought we needed. We settled on a 24'-0" long by 8'-4" wide tiny house specific trailer.
We simultaneously began building and installing the floor system while finalizing the design.
We then 'went vertical' and began using an advanced framing technique that utilized 2x3 studs 24" o.c. to create a lighter structure. You can read more about this system here: https://shedsistence.com/2015/12/16/not-all-tiny-house-walls-are-created-equal/
We created our own c.i. panels (continuous insulation) and glued and screwed them to the structural frame. The use of 2x3s in addition to an inch of continuous insulation means we created a wall that is the same thickness as a 2x4 wall but is lighter and performed better in terms of energy efficiency thanks to the reduced thermal bridging through the structure.
our design uses 8 windows and a full lite door to ensure a spacious feeling and plenty of natural light and view when inside.
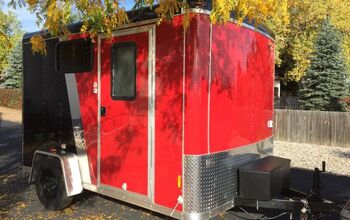
we installed a metal roof to combat the speeds encountered when traveling as well as to protect against potential embers that could travel from nearby brush or forest fires.
our reclaimed corrugated metal siding was salvaged from the roof of a local barn that was being taken down and also shares the same non-combustible characteristics as our roof.
Sometimes we installed the flooring in matching onsies that were the result of a ghost busters Halloween costume...
The interior paneling is painted 1/4" sanded face plywood.
Then it was time to start constructing and installing the built-ins that were made primarily from 1" birch plywood and incorporated mitered corners so the striated edge condition matched up through the corner.
While we don't plan to travel frequently with our home it is an amazing perk when we do want to move.
We acquired extra corrugated metal siding so that we could use it as 'skirting' when we are parked in a location for a longer amount of time.
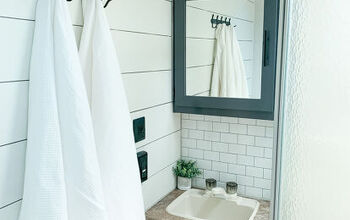
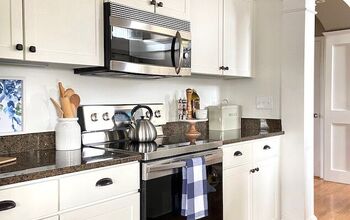
Finished interior! You can see hundreds more finished photos here: https://shedsistence.com/finished-photos/
Finished interior! You can see hundreds more finished photos here: https://shedsistence.com/finished-photos/
Suggested materials:
- 80 year old reclaimed corrugated metal (The roof of a local deconstructed barn.)
- Small space appliances (https://shedsistence.com/resources/)
Published June 20th, 2017 10:52 AM

















Comments
Join the conversation
AMAZING!!!
Amazing maybe when I'm older I would do something like that. Right now I have two small kids that are both on the autism spectrum and I I am a bit claustrophobic so I don't think that space would be big enough for the three of us although I wish it could be cuz for that price and how beautifully it turned out it's so worth it! You guys have a very beautiful home you did a wonderful job as well I hope that you enjoy it and that you do travel with it travel as much as you possibly can if I had a house on wheels I would go everywhere.