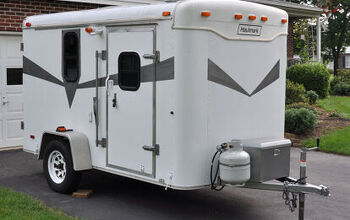
5th Wheel Renovation Episode 3: Prepping, Sanding & Painting

Join me and my husband Mike on our 5th-wheel renovation to see how we managed to paint the inside of our new RV. There was a lot to do so we recruited some friends to help us out here and there. We also did a lot of work at night while our baby was asleep. We got so much accomplished using whatever time and extra help we could get.
1. Clearing out the space
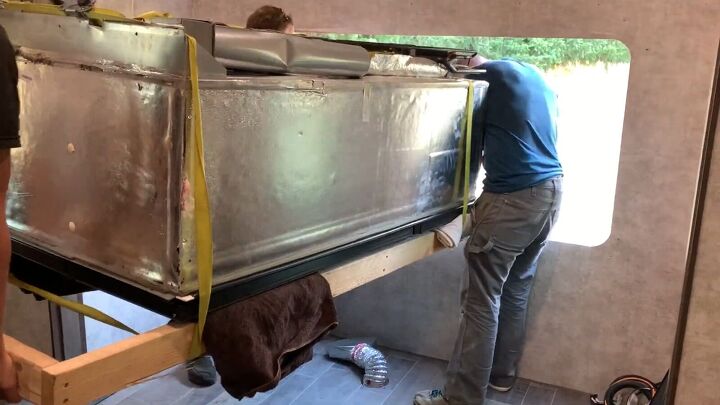
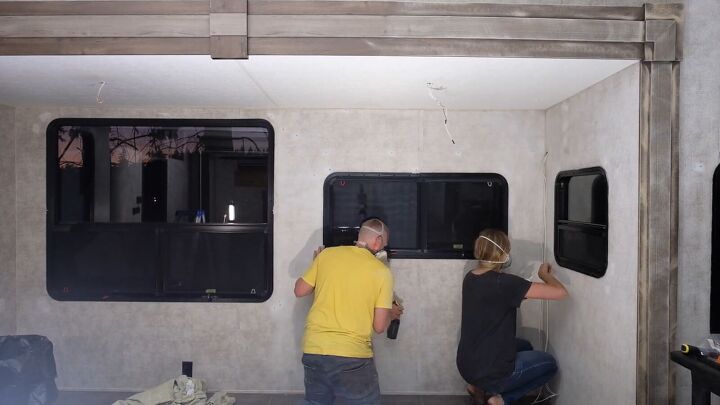
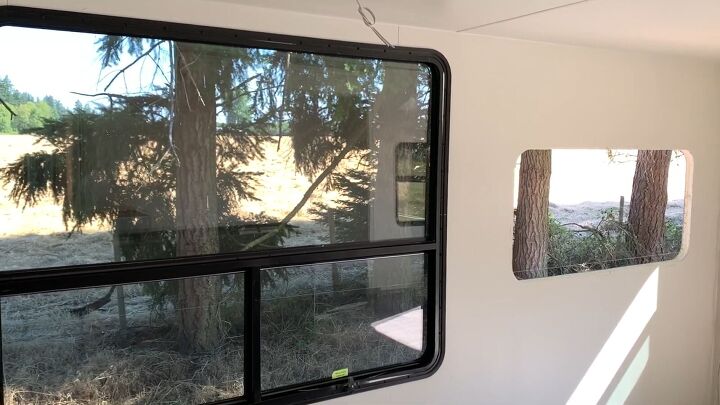
The first thing we had to do to get ready to paint the interior was to get everything out. Most of it was easy but the refrigerator took a little more work. We had to take the window off completely to get the refrigerator out.
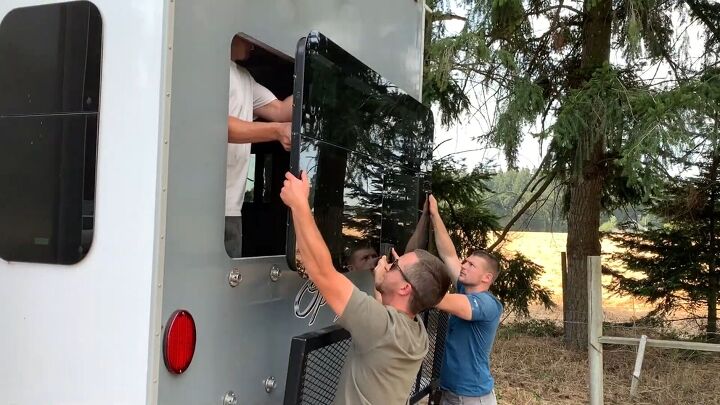
We got some friends to come over and help with this. Getting the window out turned out to be fairly simple. Getting the refrigerator out of the window, however, was not as easy.
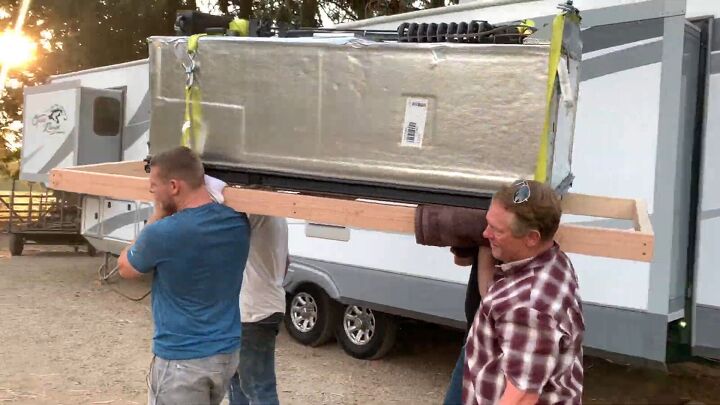
We built a framed plank to put the refrigerator on to help carry it out the window. That ended up being a very helpful method to move this massive appliance. Once that was done we fed our helpers to thank them for their hard work.
2. It’s all about the prep
Now that we cleared the space it was time to start prepping for paint. We received lots of questions on how to paint RV Walls after our first renovation, so we're going to be explaining exactly how to do that. The number one question we get when it comes to painting RV Walls is what kind of paint to use, and that's actually not that important.
The prep work before the painting is much more important than the actual paint you use. You’re going to want to focus more energy on sanding the walls, treating them with TSP (trisodium phosphate), cleaning the walls, and using the right primer. Once all of that is finished you can focus on the paint.
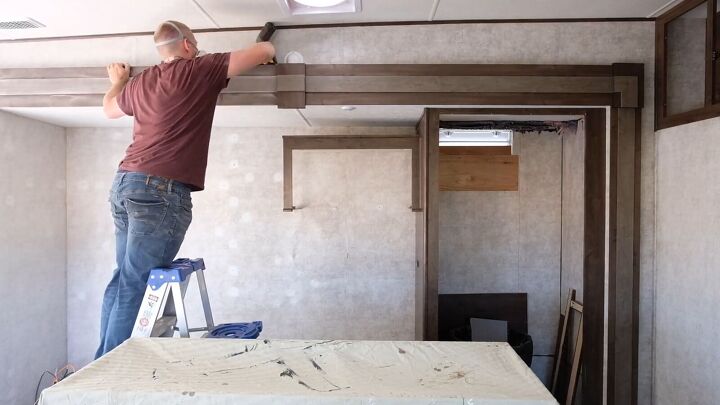
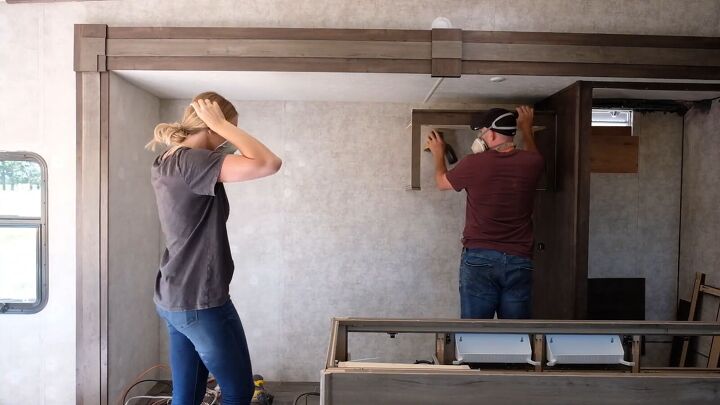
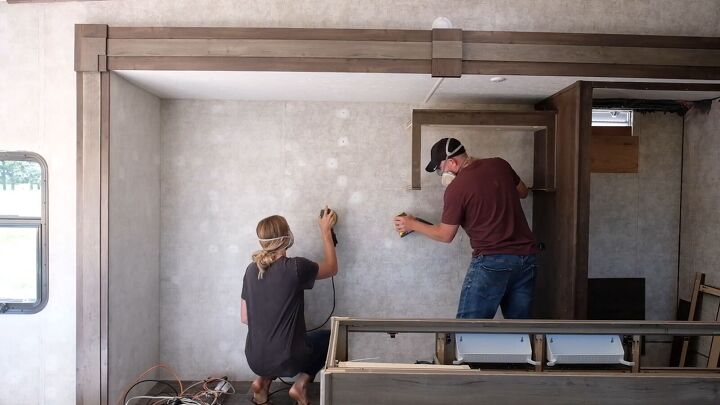
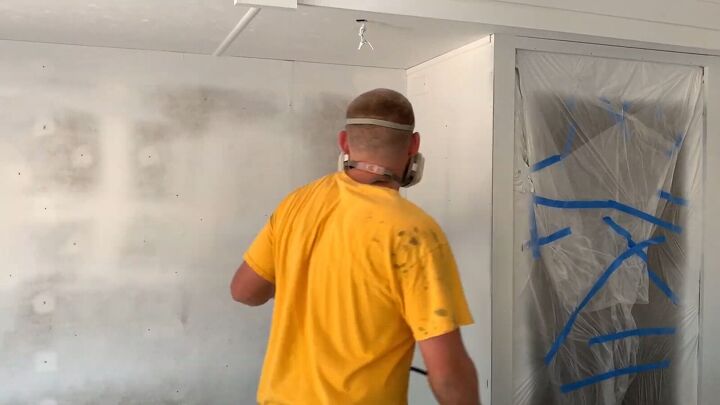
Mike spent all day getting the walls prepped. I helped here and there as I could. Since we need to do a lot of work at night while the baby is asleep Mike set up a huge light box. He got all the nail holes sanded, put on the last little bit of wood filler, and then continued to sand. Painting an RV requires a lot of sanding. The sanding took quite a few hours.
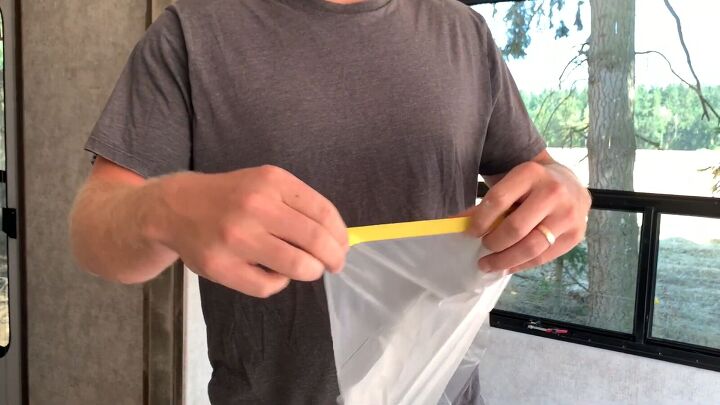
Once all the nail holes were filled and the walls, and ceilings were sanded we had to get ready to start doing some cleaning. First, we covered everything up. Mike laid out this great plastic that we bought and it was extremely convenient because it comes with tape already on the plastic. You just roll it out tape it down and then you're ready to go.
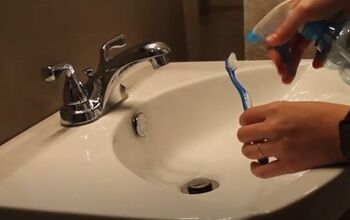
To clean the walls we used TSP which is a strong cleaning solution to help get any stains or old paint off the walls. We just scrubbed the walls down to get everything cleaned and ready to paint. Then we were ready to go in with the primer.
We picked up the paint. We decided to go with Sherwin-Williams Alabaster. It’s actually the same paint that we used in our current RV. I just love it so much so we stuck with what works.
3. Work in sections
We started by painting the main room. We decided to work in sections this time instead of taking on the entire RV at once. Last time we took on everything at once and it was a little bit overwhelming. That’s why we’re working in sections. Working in sections will make the job feel much more manageable.
4. Stay safe
Since I'm still breastfeeding, I want to stay away from the chemicals needed to clean the walls. They're really, harsh chemicals so I didn’t want to take the risk. I had to leave him alone to do all the work. He stayed safe with goggles and a mask.
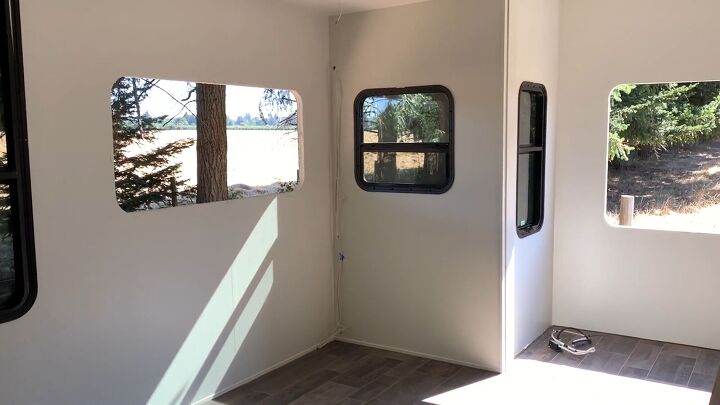

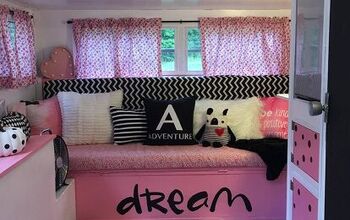
We finally finished the painting process and the space looks so much better. All that hard work was definitely worth it. We are so excited to rebuild this space and get the kitchen put back together. Next, we're going to need to order cabinets and pick out countertops to start rebuilding the kitchen. We cannot wait to share more as we progress.
5th wheel renovation
Thanks so much for joining us on our renovation journey. We hope you can take away some useful tips and advice while we share our experience. Got any questions or tips of your own? Leave us a comment so we can learn from each other.


Comments
Join the conversation