8 Festive Dollar Tree Christmas DIYs & Craft Projects

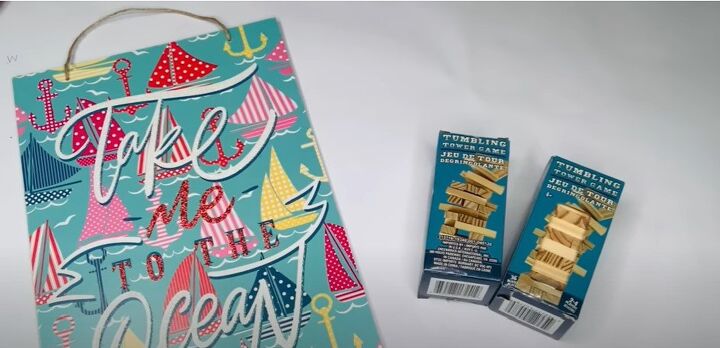
I’m sharing some easy Dollar Tree Christmas DIY craft projects for your home decor. My main piece is the tray. Then, I added other projects onto the tray to make a sparkly vignette. Let's get started!
DIY Christmas tray
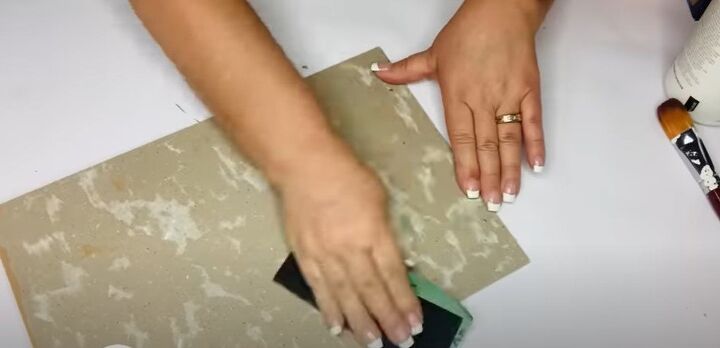
1. Prepare the sign and blocks
I sanded the sign so I could have a clean slate.
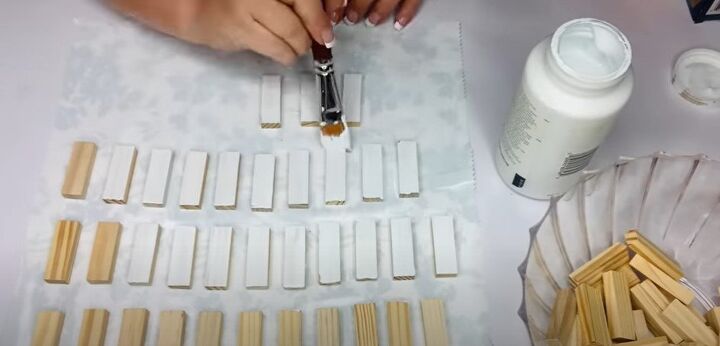
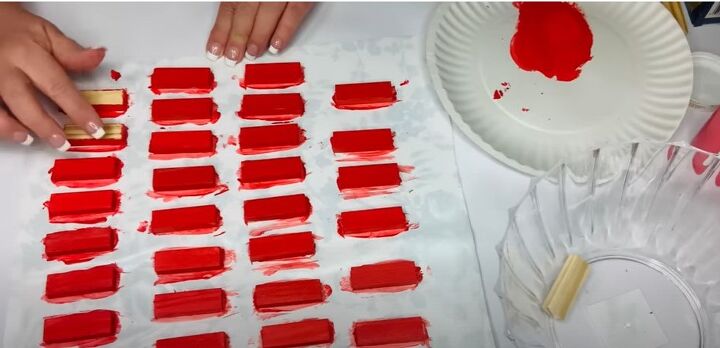
2. Paint the blocks
I put blocks on scrap contact paper to keep them from moving around. I painted half the blocks with Waverly white chalk paint and half with apple red. When the blocks are dry, pick them up and turn them upside down to paint the other side.
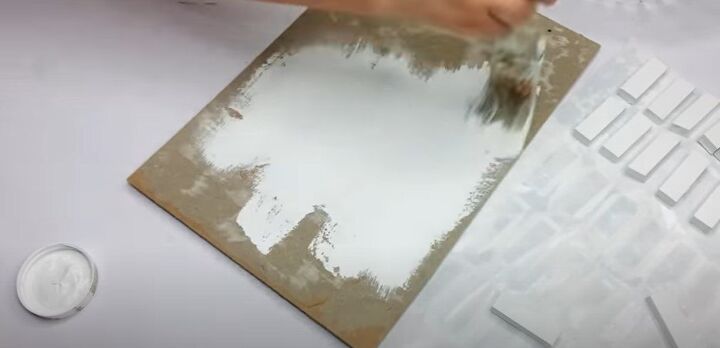
3. Paint the board
Paint the back and front of the board white.

4. Make candy cane stripes
Use a ruler and a red marker to draw three straight lines on the white blocks.
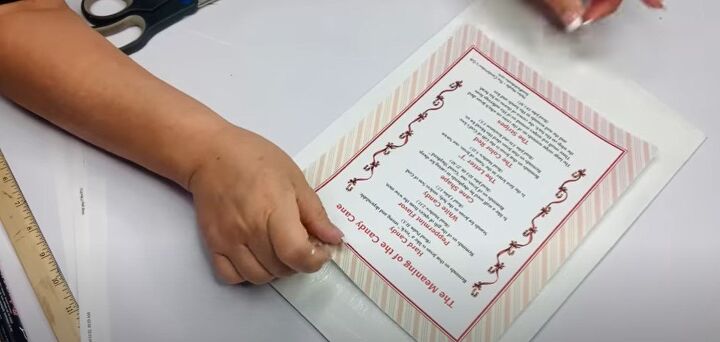
5. Mod Podge the printout
Use Mod Podge to attach your chosen printed-out sheet to the board.
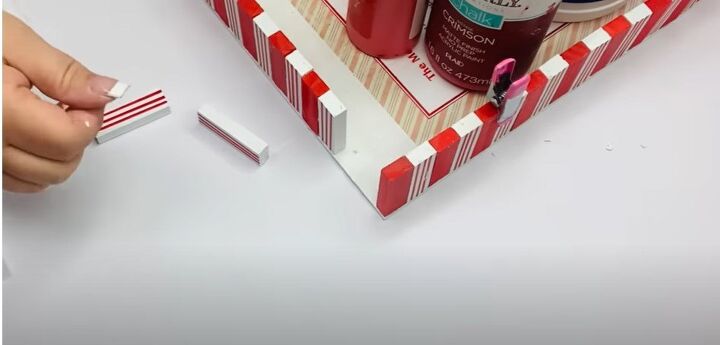
6. Glue blocks
Use all-purpose cement and hot glue to glue the blocks to the sign’s edges so they stand vertically. You’ll alternate red and striped blocks. Go all around the sign. It takes 24 hours to dry.

Here’s the final candy cane tray.
DIY Christmas candles
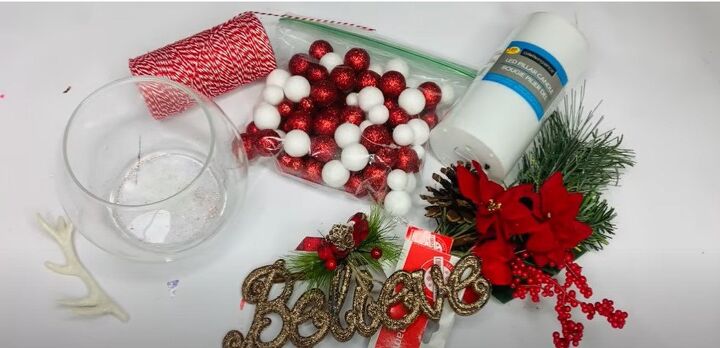
I used a glass holder or fishbowl, tiny antlers, tiny ornaments, baker’s twine, a pre-lit candle, and trimmings.
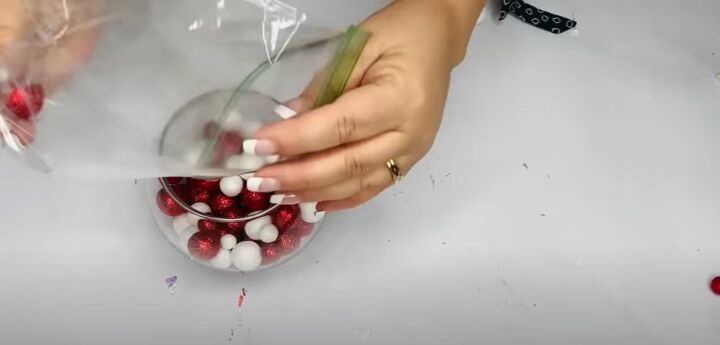
1. Add ornaments
Fill the glass holder or fishbowl with ornaments.
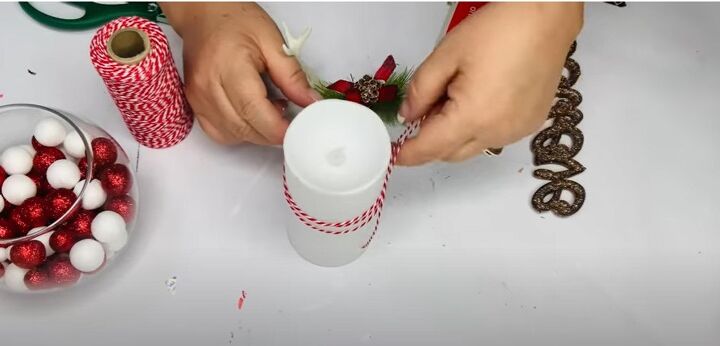
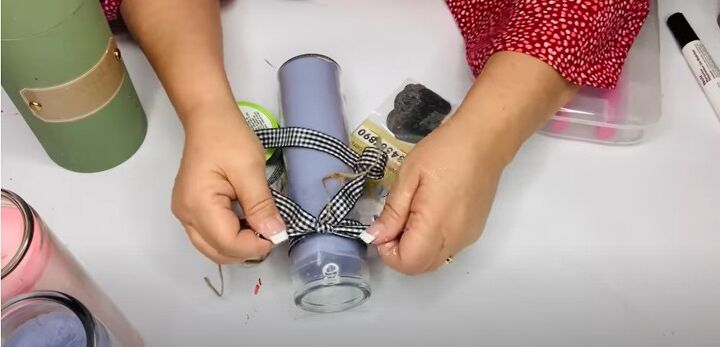
2. Dress the candle
Wrap candle with twine. Then with the twine, tie on an antler and greenery (I took the greenery off of the “believe” pick).
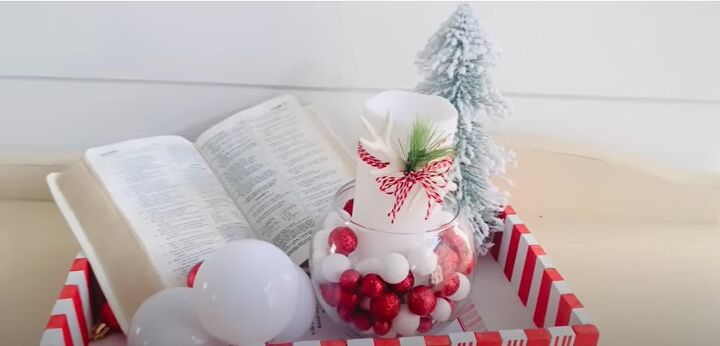
Finish the candle with a bow using the baker’s twine. Place the candle into the bowl and put it on your tray!
DIY Christmas glassware
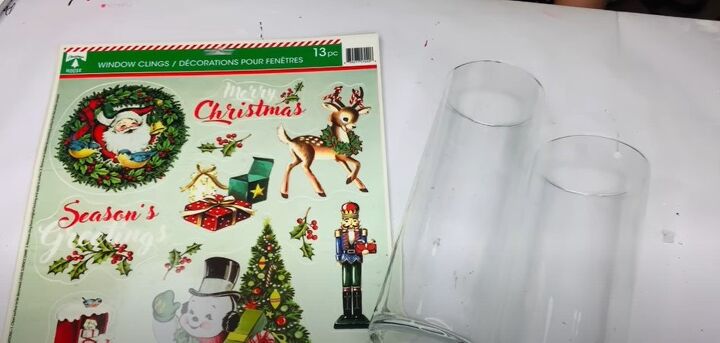
1. Window clings
Pick up a bunch of window cling packages.
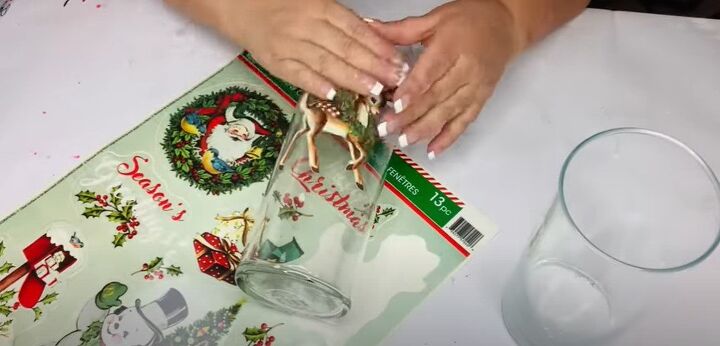
2. Adhere to the glass
Attach to glass vases. It’s a great project to do with little kids.
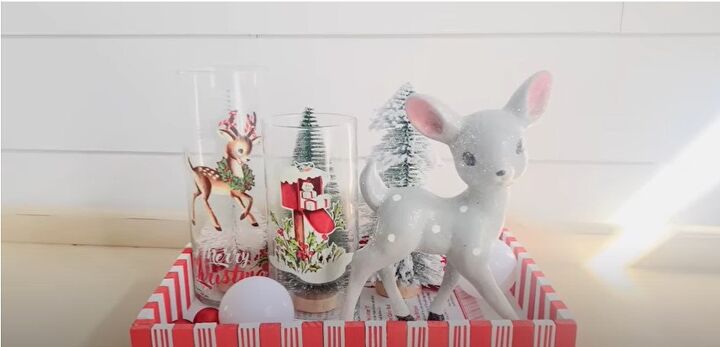
3. Decorate inside glass
Put a Dollar Tree Christmas bottle brush tree or candle into the glasses to complete the look.
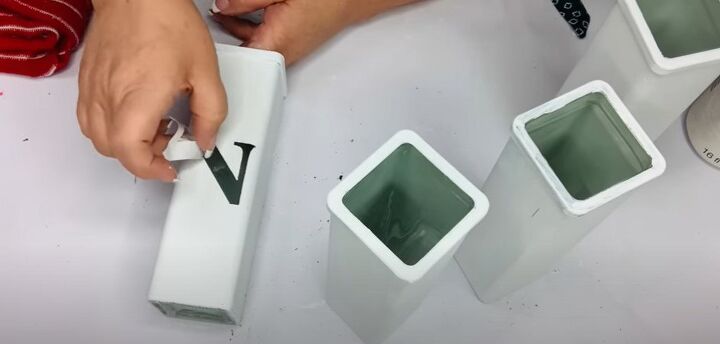
DIY Noel vase set

I’m using four Dollar Tree vases (these are square), a sheet of adhesive lettering, and greenery.
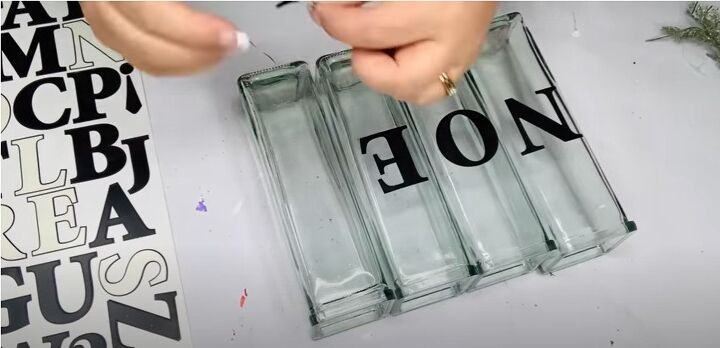
1. Apply letters
I spelled out NOEL using one letter in the middle of each vase. Adhere tightly to the glass because you don’t want paint getting under the edges.
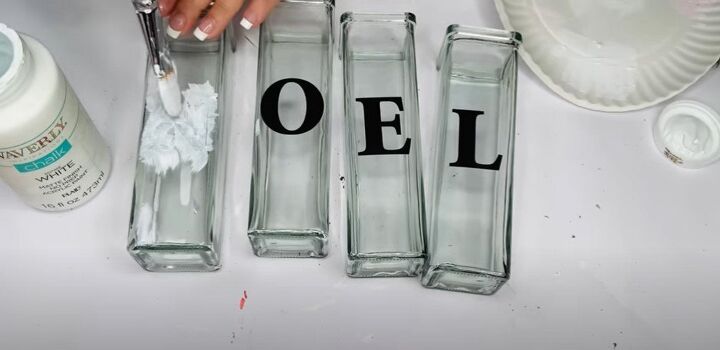
2. Paint
Use white chalk paint to paint the glass and over each letter on all sides. Use a thin coat but do two coats.
3. Peel the letters off
When the paint is totally dry, carefully peel off the letters to leave the glass showing.
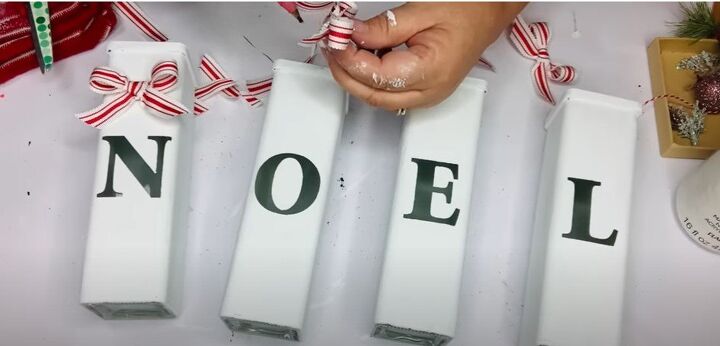
4. Add ribbon
Attach a tiny ribbon to each glass vase.
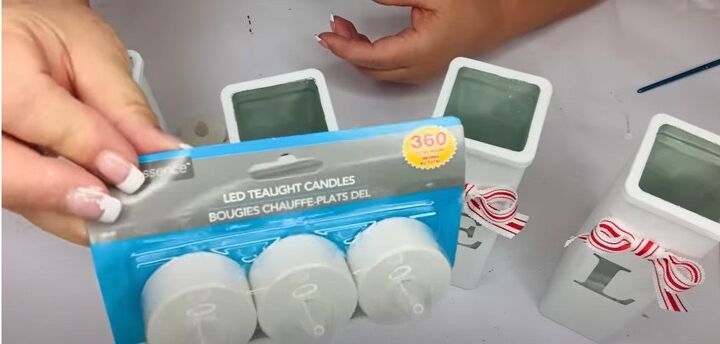
5. Add tealight candles
Put one small LED tealight candle inside each vase.
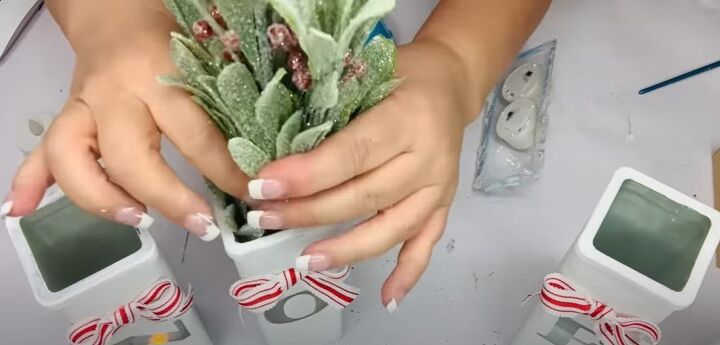
6. Add greenery
Put some greenery in to complete the vase.
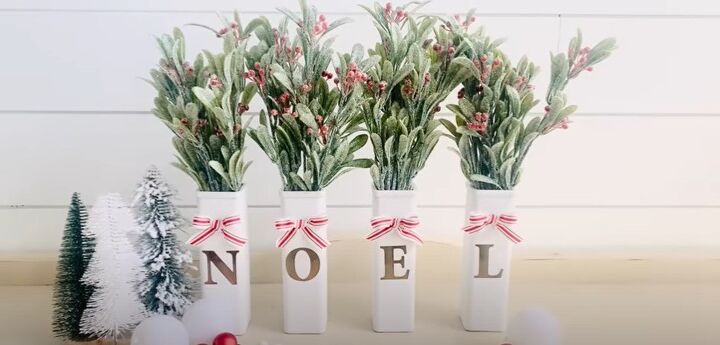
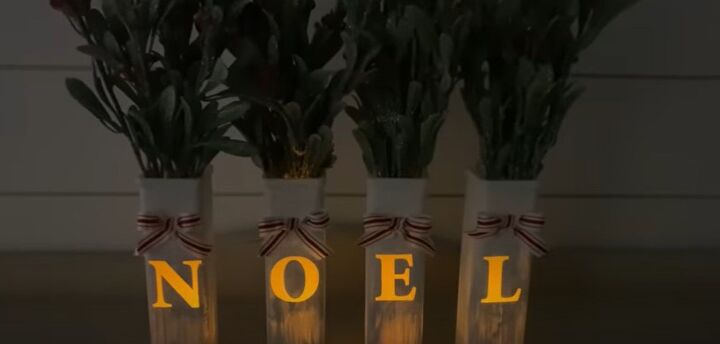
Here’s the final result. It glows at night!
DIY Advent candles
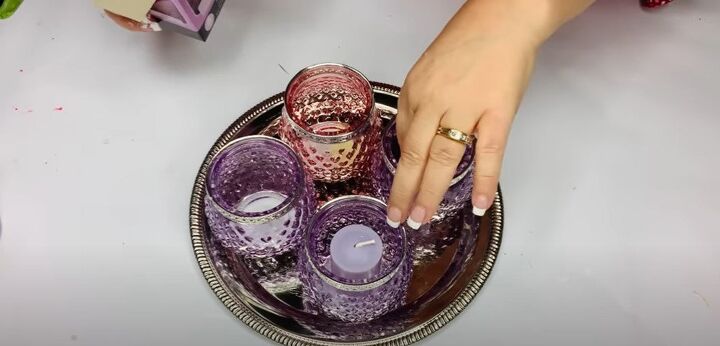
1. Assemble the tray
I put purple and pink glass candle holders on a silver tray. I added matching votive candles to each holder.
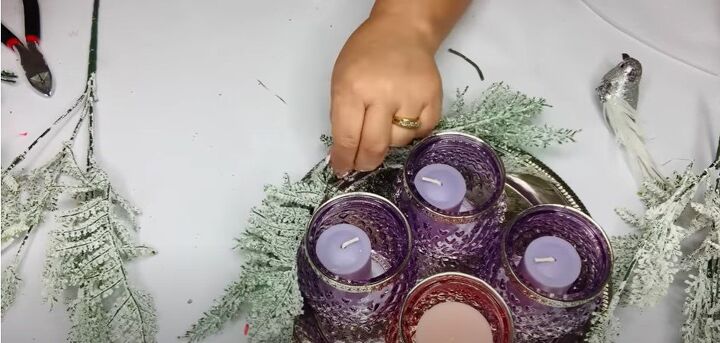
2. Swag
I made a little swag from Christmas greenery. I attached the greenery with a nylon tie.
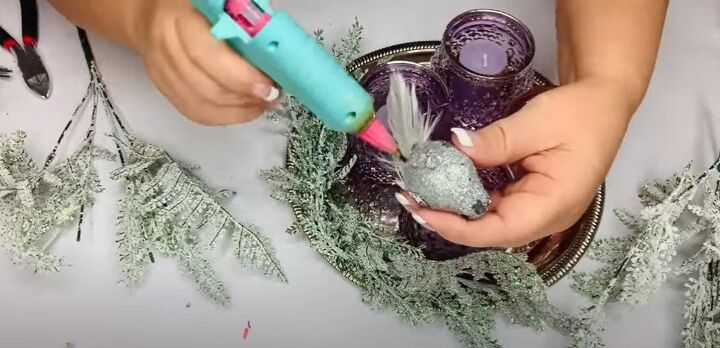
3. Hot glue
I then hot-glued the greenery to the tray. Finish it off with a sparkly bird and bow to the rim of the tray.
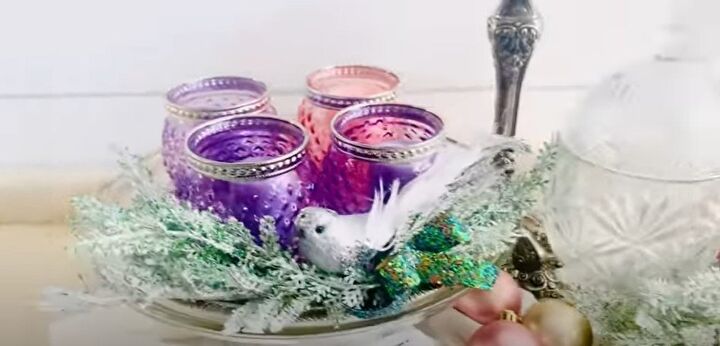
The tray has symbolic purple holders and candles to be used to count down the four weeks of Advent.
DIY Advent wreath
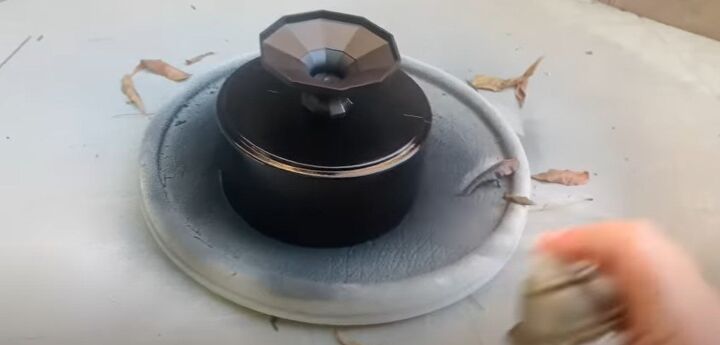
1. Paint a candy dish
Spray paint a candy dish black or white.
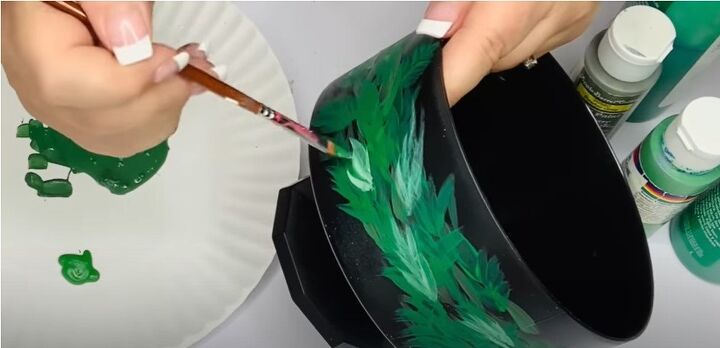
2. Paint a wreath
Use green craft paint to paint on the wreath around the candy bowl. Add layers of light and dark green paint to create the wreath.

3. Add berries
Paint some purple and pink berries around the wreath. I used a pencil eraser to make the painted dots.
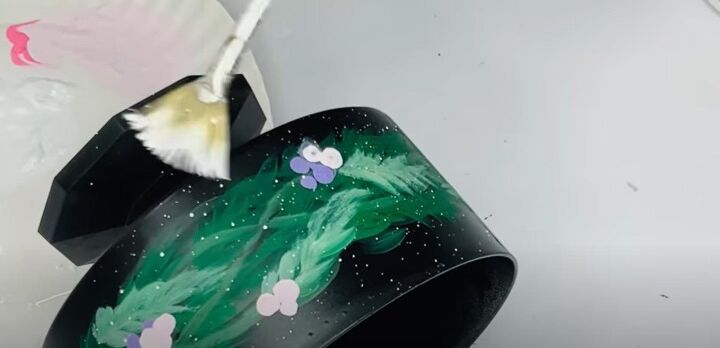
4. Add snow effect
I speckled some white paint around the candy dish for a snow effect.
5. Add candle
Tie a pretty bow around a tall candle, plus a bit of twine so I can hang a number each of the four weeks.
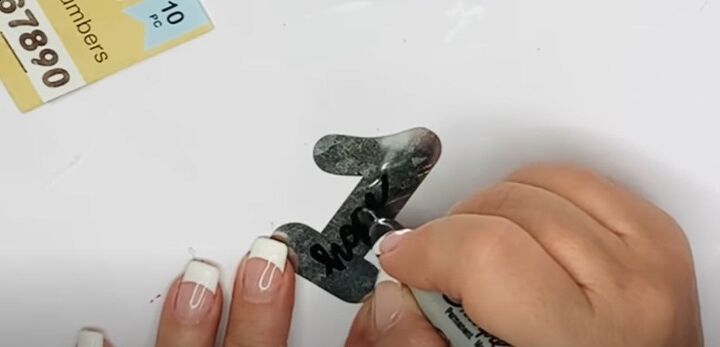
6. Prepare numbers
Make a hole at the top of your numbers so you can string them onto the candle. Each week, I’ll change the number. You can use metal numbers since they are safest around a lit candle.

I put purple and pink candles in the tray.
DIY winter wonderland scene
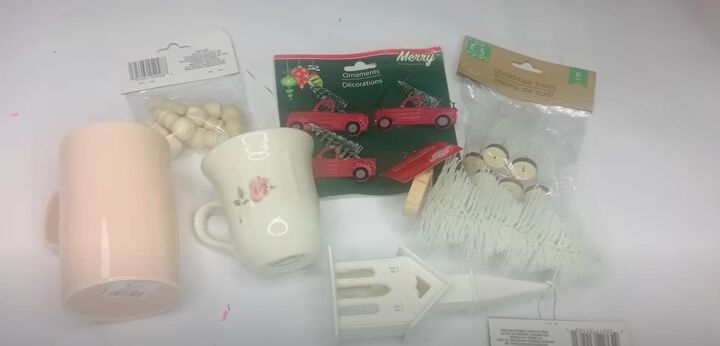
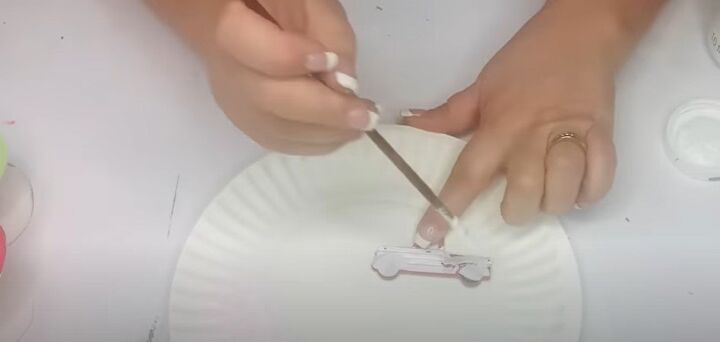
1. Prep the ornaments
I used truck ornaments, took the wires off, and painted each with pink acrylic paint.
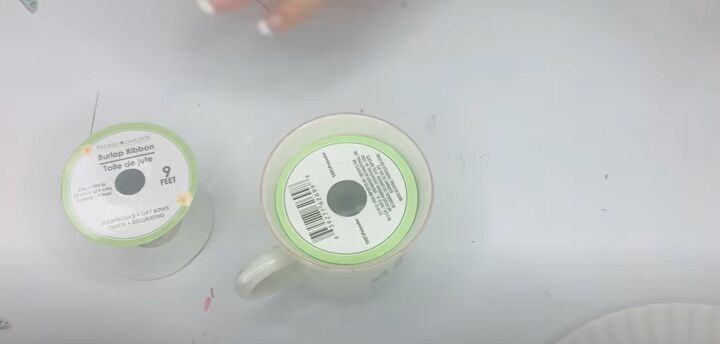
2. Prep cups
I put empty ribbon spools inside pink cups.
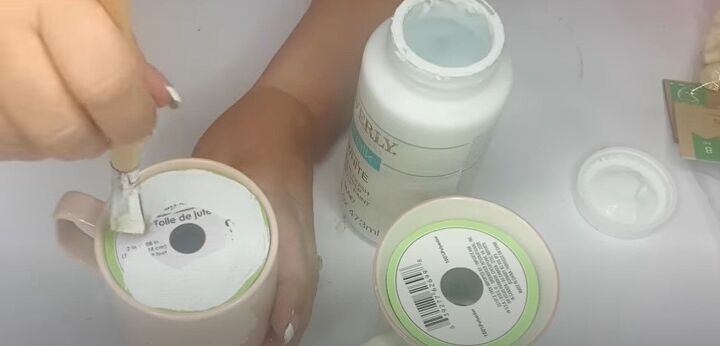
3. Paint
Paint the tops of the spools with white paint.
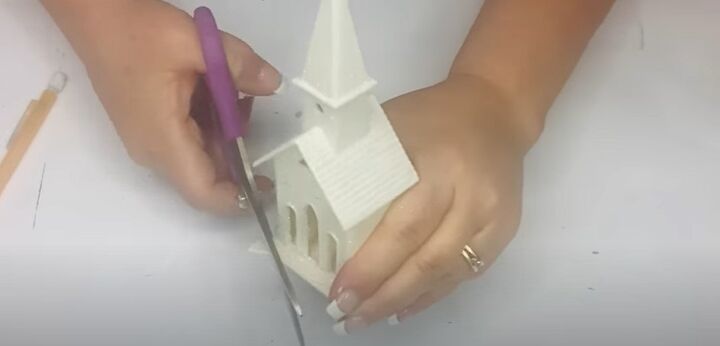
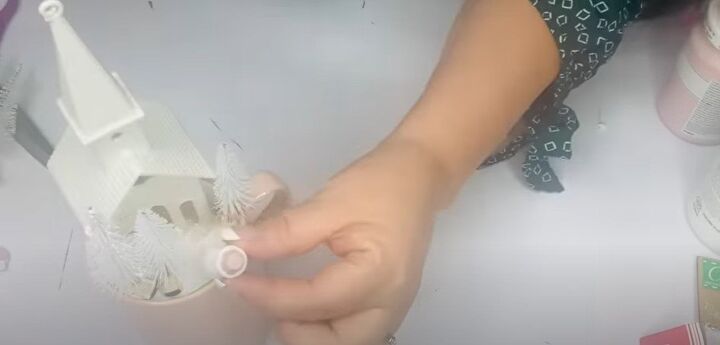
4. Prep ornament
I’m cutting little church ornaments to hot glue so they fit on the top of the cups.
5. Add trimmings
Hot glue mini bottle brush trees to the side of the church. Do the same with little mini snowmen painted pink. I decorated the other cup with a big and small tree, and a little truck I painted pink.
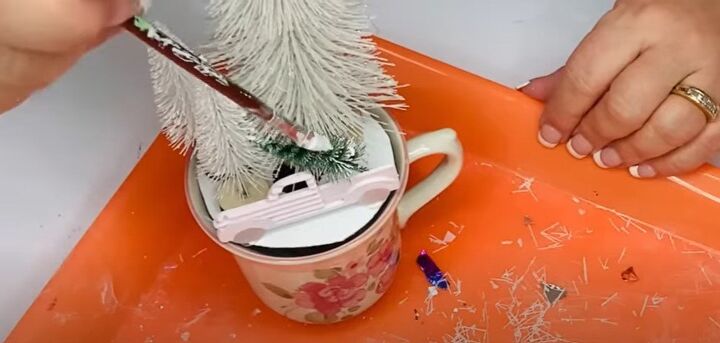
6. Details
I glued a tree onto the truck and speckled white paint on it for snow. I glued on some mini ornaments and tiny tree tips for a winterland look.

I tied some twine around the cup, all finished.
DIY star ornaments
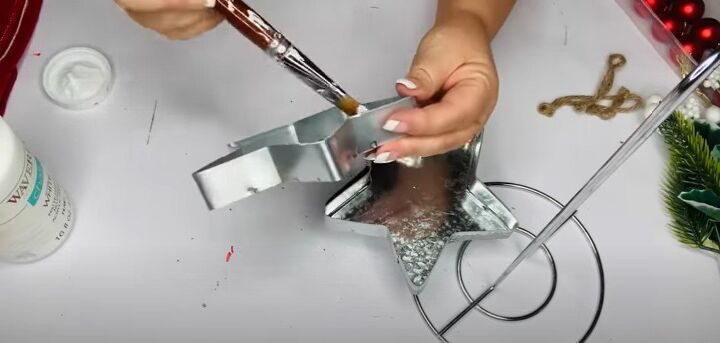
1. Prep the stars
Here are three star ornaments that I painted white with some metal peeking through.

2. Add sprigs
Glue down some sprigs into one point of each star so the greenery fits into the star’s outline.
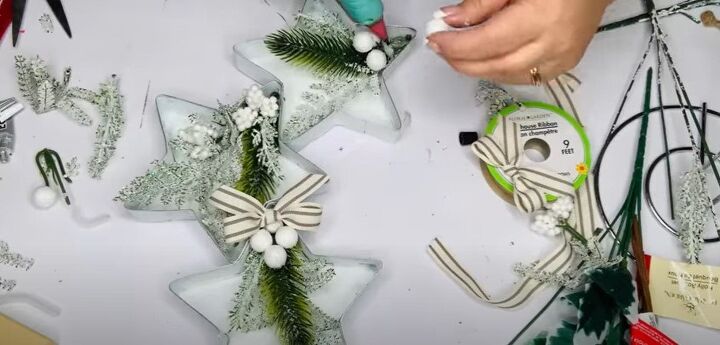
3. Attach bows to the stars
Add a bow to each star. Then use strong glue and adhesive, plus hot glue, to attach stars. Leave overnight to dry.
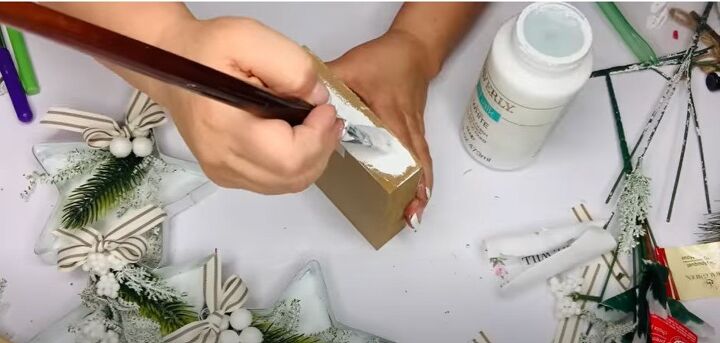
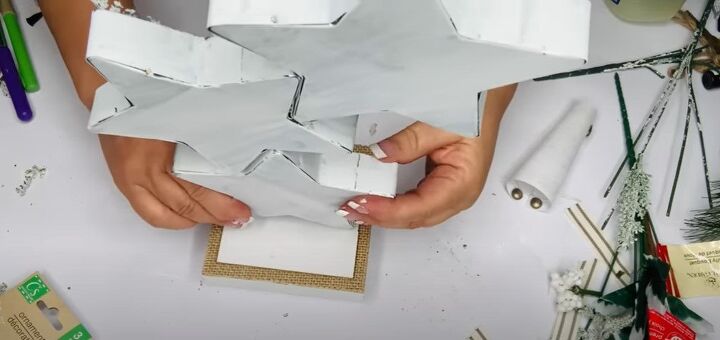
4. Add base
I painted a box white for a base and glued the stars vertically onto the base. I wrapped a ribbon around the base.

How pretty and dramatic!
Dollar Tree Christmas DIYs
Do you countdown for Advent? Which DIY Dollar Tree Christmas decor project is your favorite? Let me know in the comments! below!


Comments
Join the conversation
All so clever and cute. I have not seen purple or pink tall candles at my local dollar tree but will keep an eye open for next x-mas ( advent wreath candles).
I am digging out my red striped bakers twine now to jazz up some plain white pillar candles.