3 DIY Dollar Tree Spring Decor Projects in a Farmhouse Style

Today we are making DIY Dollar Tree spring décor. We'll be making three decorations. Let’s get started!
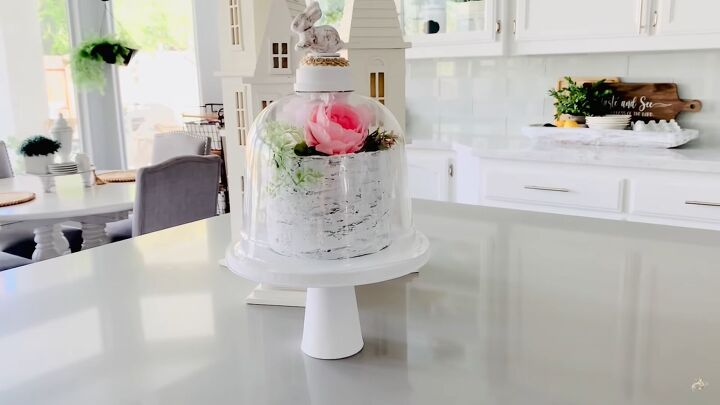
Spring cake cloche
For this DIY, you'll need a plastic dome, caulk, a stove burner cover, an empty coffee can, a candle, and spring flowers. We'll use the candle as a glass and turn it upside down for the pedestal's base.
1. Paint
Paint the stove burner cover and candle white.
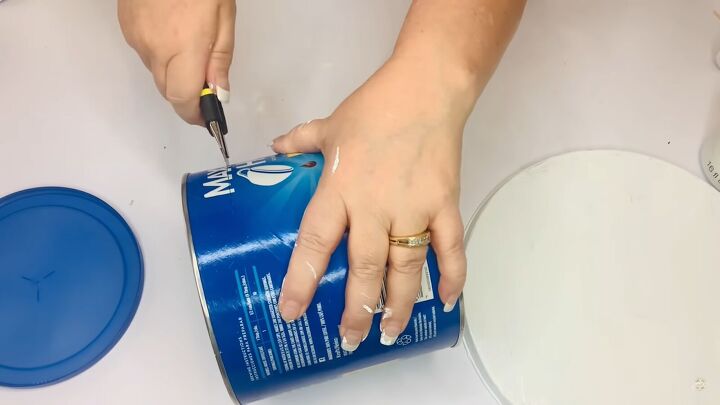
2. Cut the coffee can
Cut two inches from the top of the coffee can with a utility knife. Make sure it sits completely flat.
3. Paint
Paint it brown. You want it to look like a nude cake, and you want the brown to show through once the caulking is on top.
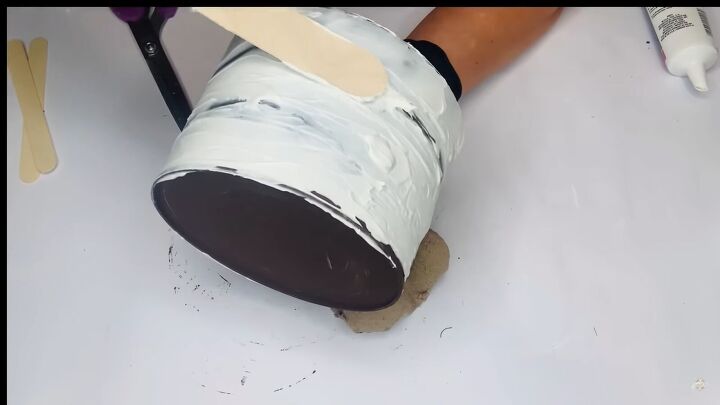
4. Spread the caulking
Cover the coffee can with caulking to mimic the layers of a cake and frosting.
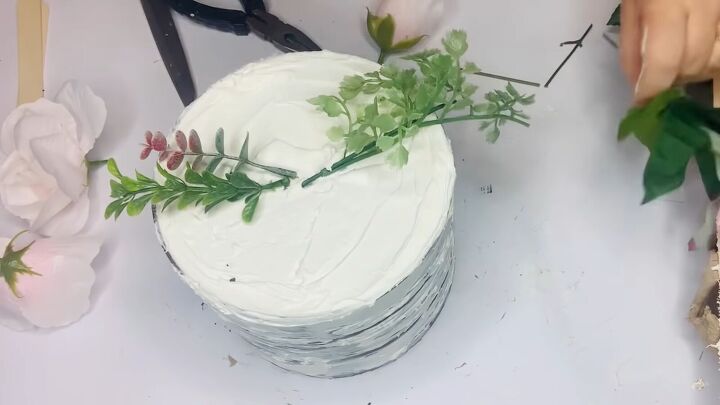
5. Add flowers
Stick flowers on top with the stems poking into the lip of the can. That way, they will stay in place with no glue. You can hot glue others. Tuck scrap leaves under the flowers to complete the composition.
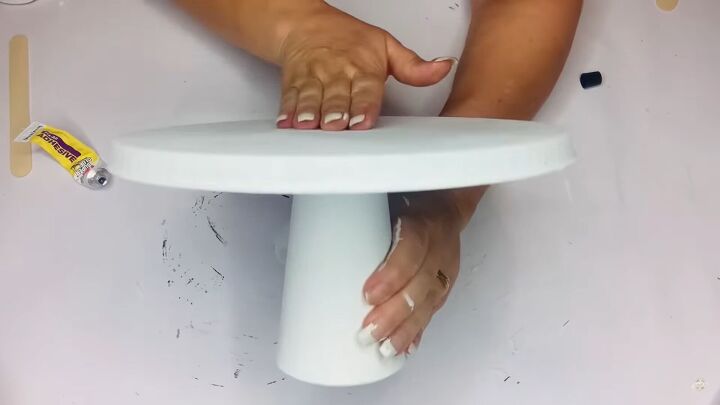
6. Create the pedestal
With all-purpose adhesive and hot glue, stick the glass on the bottom of the stove burner cover.
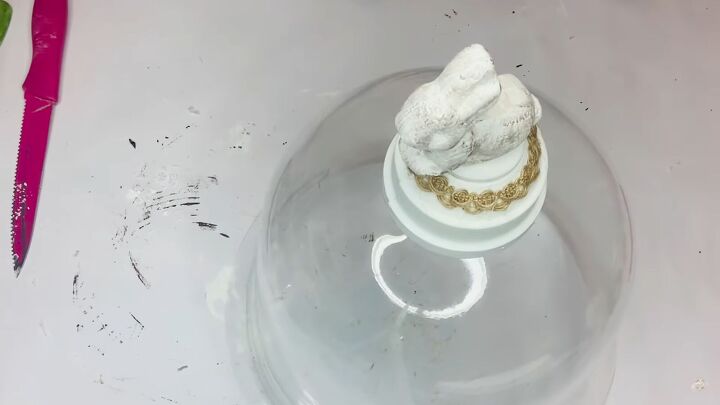
7. Remove the sticker
Carefully and slowly remove the dome sticker, and clear off whatever pieces are left with a spatula.
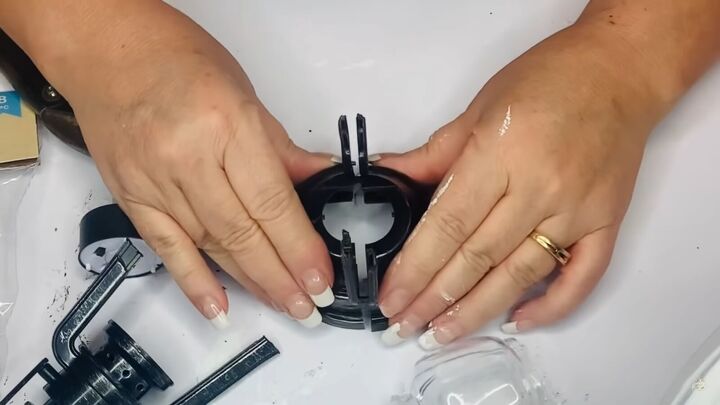
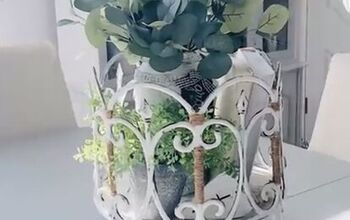
8. Cut up the lantern
Cut up a Dollar Tree lantern to create the shape in the picture: you only need the base. You will end up with two elements, so hot glue them back together, and paint them white.
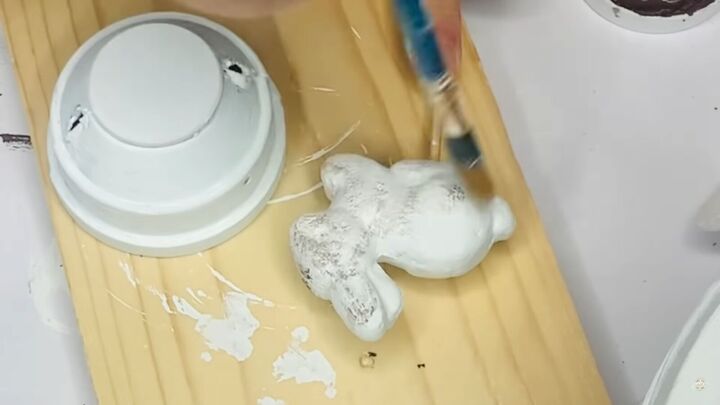
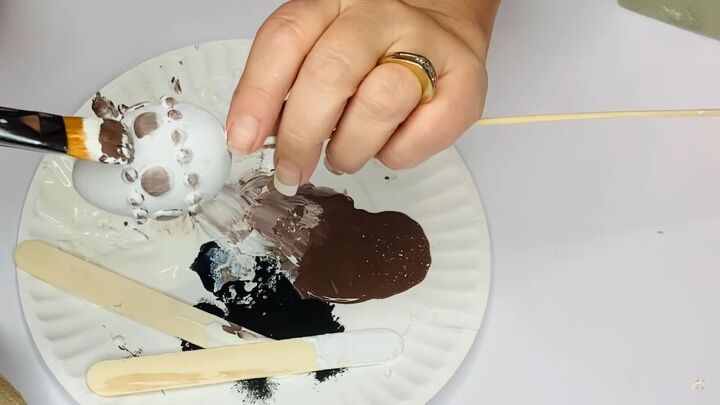
9. Paint the bunny
Paint a Styrofoam bunny white. Hot glue a round piece of wood on top of the base and paint it also. Once the bunny is dry, give it a dry brush coverage with brown paint so that it looks distressed.
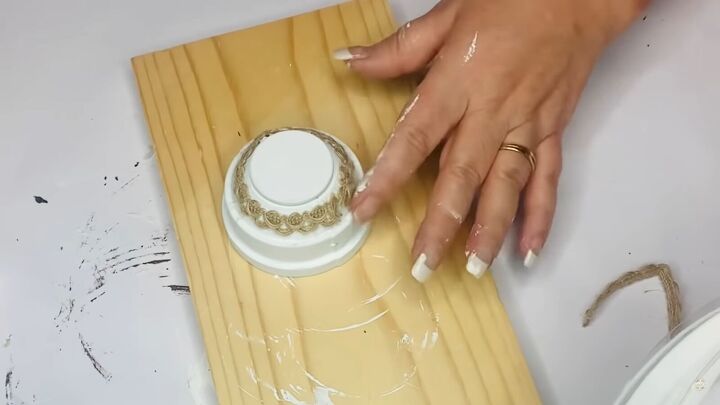
10. Wrap a ribbon
Wrap a ribbon around the base to cover the holes on the sides. Twine trim is best for this.
11. Glue the pieces together
Glue the base piece to the top of the cloche, then put the bunny on top. Place the cake on the pedestal beneath the dome.

Easter sign
For this DIY, you need two framed signs, two oval wood plaques (one smaller than the other), and a wood palette.
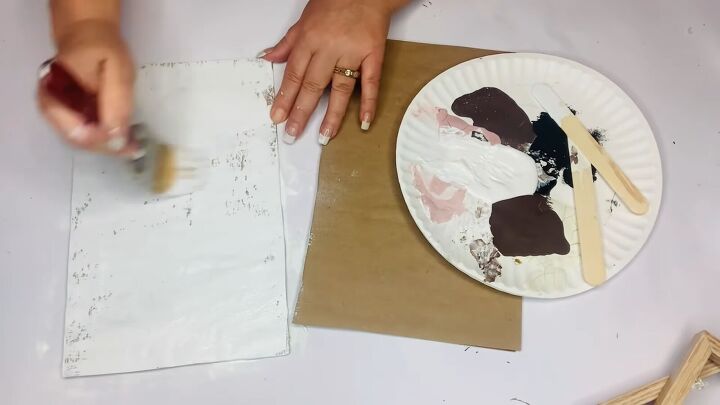
1. Cover the signs with paper
Cover the fronts of the signs with thick craft paper. Glue it on and paint it white. You want it to resemble stone, so leave some of the brown peeking through.
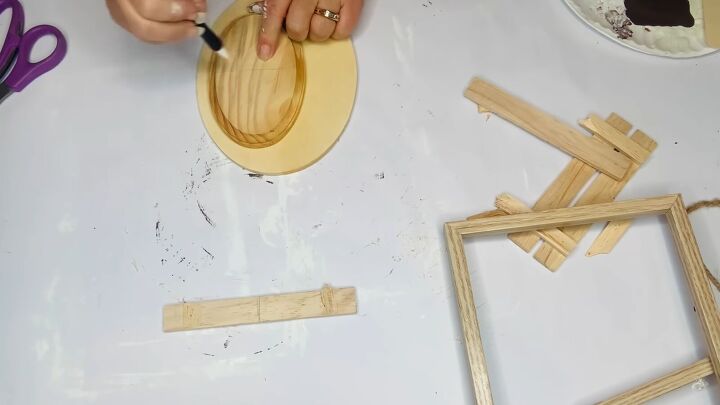
2. Create the tomb opening
Clear the plaques from unnecessary pieces, and break apart the palette. Place the plaques as shown in the picture and mark where you need to cut them to create a tomb opening (around the middle). Paint the plaques and cut them.

3. Decorate the plaques
Glue the smaller plaque on top of the larger one and make sure that it is flush at the bottom. Then put the cross together, too, using hot glue. Place them on the bottom of your signs.
4. Cut out quotes
With a Cricut, cut out the words “Friday's Disappointment” for one sign, and “is Sunday's Empty Tomb” for the other. These are song lyrics.
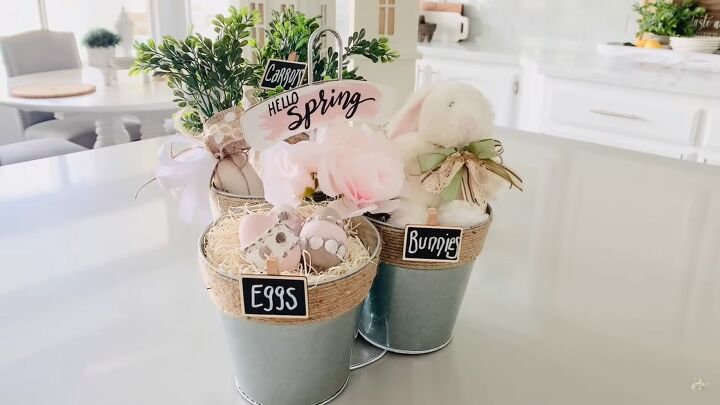
Eggs, bunnies, and carrots
For this DIY, you need three tin planters, a paper towel holder, nylon zip ties, three canvas material pieces, batting, greenery, and ribbon.
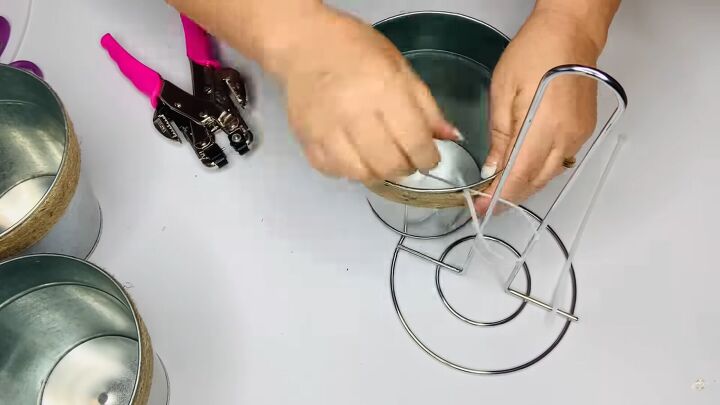
1. Make a hole
With a Crop-o-Dile, make a hole along the seam of a planter. Put a zip tie through the hole and go around the paper towel holder. Once it goes through both, cut off the excess.
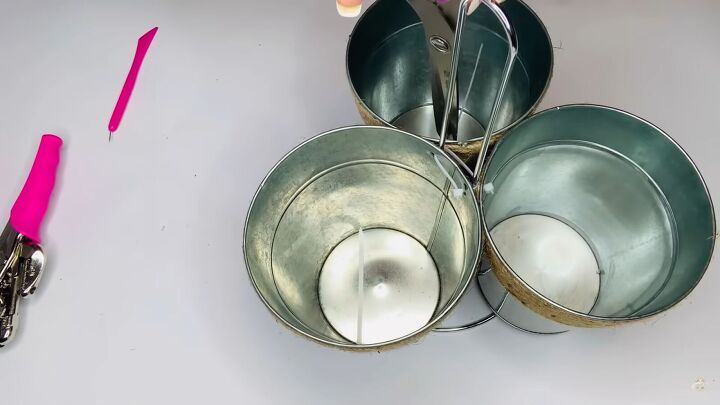
Repeat with all three planters, and be sure to mark where those holes are going so that they are equal on the stand.
2. Make the carrots
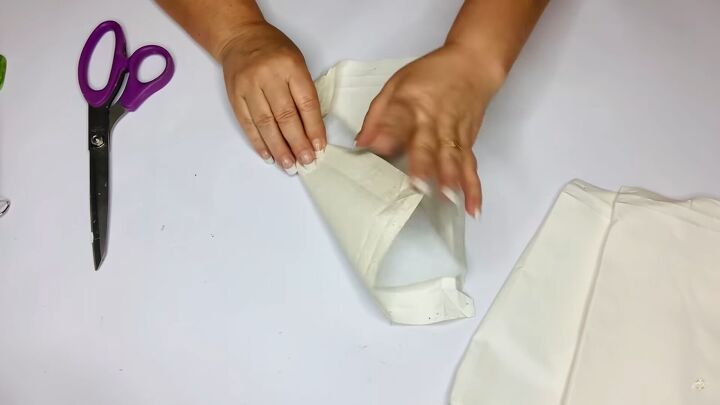
Roll some batting into a cone to make the shape of a carrot. Place the canvas piece with the good side facing up. Hot glue the batting to the canvas, then take the bottom corner, fold it up and glue it down in order to have a covered point at the end.
Then, roll that over and cut off the corner, make a little hem, hot glue it down, and then continue rolling it until you get the shape of a carrot. Tie a piece of jute twine around the top.
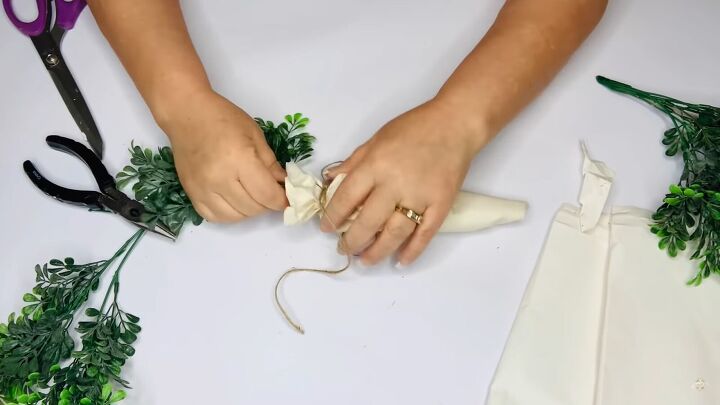
3. Add greenery
For greenery, use boxwood from Walmart. Cut pieces off and tuck them inside. Then cut off the top edge of canvas.
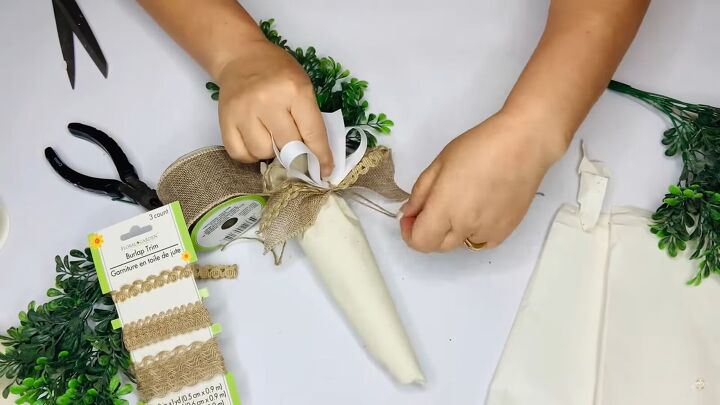
4. Add ribbon
Fold ribbons into thirds and make them into little bows. Tie them all together with some jute twine and tie them to the top of the carrot. Create three carrots total.
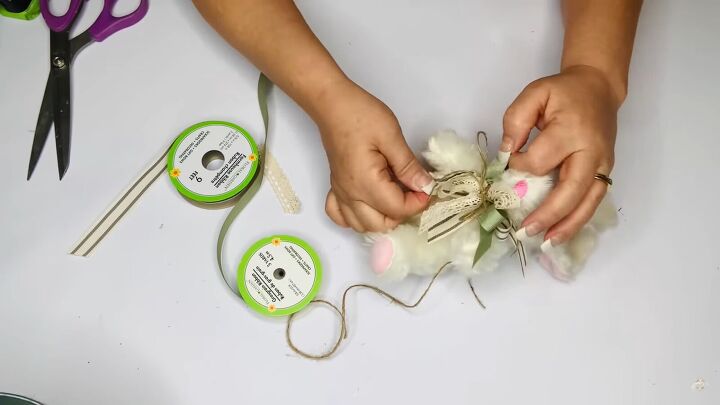
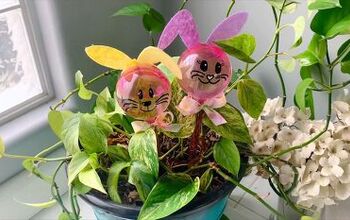
5. Redress a bunny
For the second tin, redress a Dollar Tree bunny in coordinating ribbons.
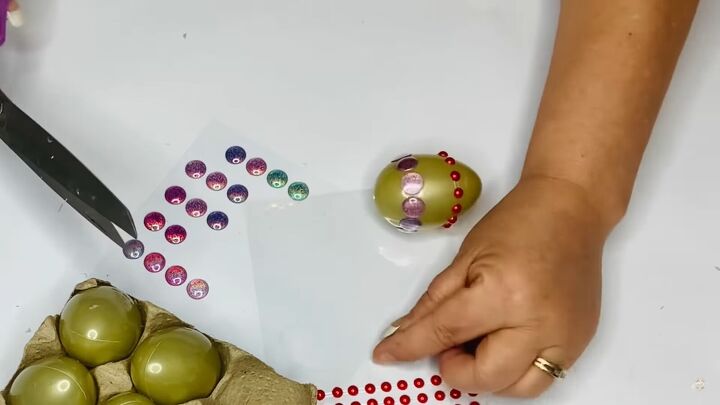
6. Decorate eggs
For the third tin, decorate eggs with polka dots and beads. These are self-adhesive, so you don't need glue.
Go back in with white and beige chalk paint, then highlight the beads with a darker or lighter shade.
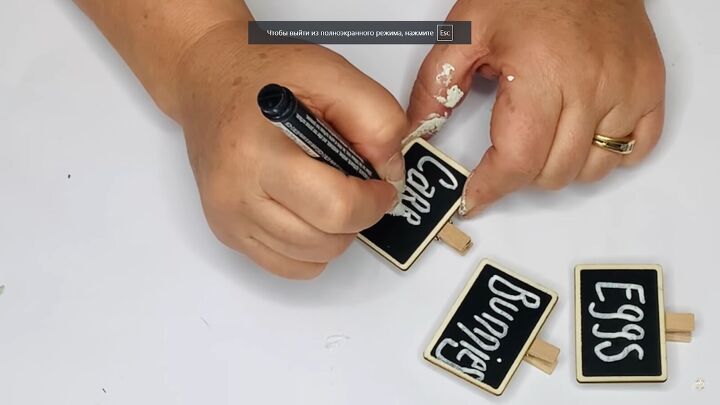
7. Make chalkboard signs
On clothespin chalkboards, write “eggs”, “bunnies” and “carrots” with a paint pen. Clip those to each tin.
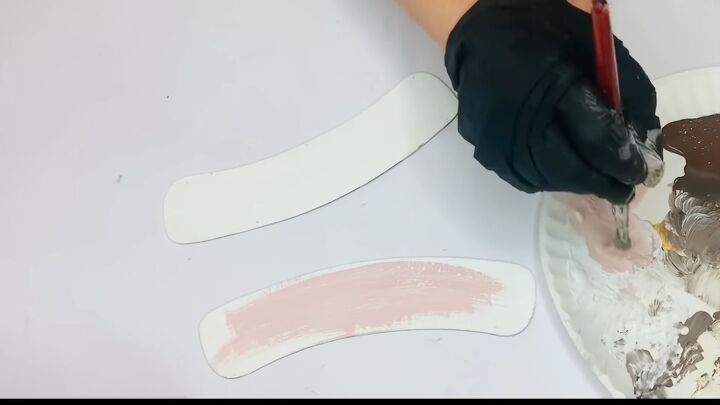
8. Make "Hello Spring" signs
Take a couple of “Happy Fall” signs from Dollar Tree, pull the signs off of the boards, and paint the boards white. Paint pink swishes on top to create a watercolor look. Write “Hello Spring” on them.
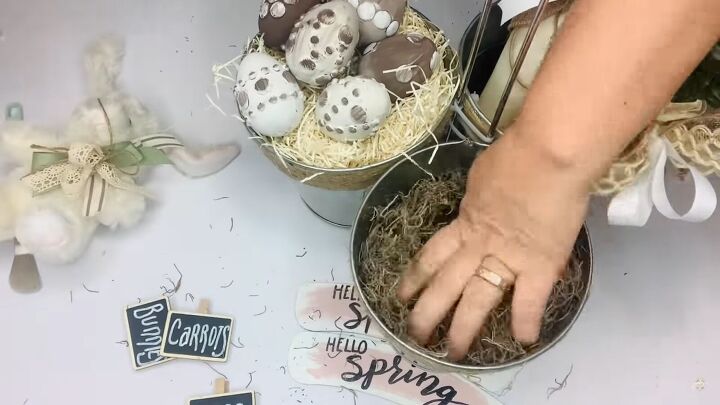
9. Fill your buckets
Start with plastic bags to get stuff raised. Put carrots in one bucket, then fill the other with eggs on top, and the third one fill with Spanish moss and put the bunny on top. Then take the “Hello Spring” signs, glue the pieces back together leaving the middle open, and slide it on the handle of the paper towel holder.
DIY Dollar Tree spring decor
I hope these DIY spring decorating ideas will inspire you. Share how it goes in the comments!


Comments
Join the conversation
Use a hair dryer to get the sticker off! Warm it up and then peel away. Makes it much easier!
Wow! I LOVE all of your projects. Thank you for the beautiful inspiration.