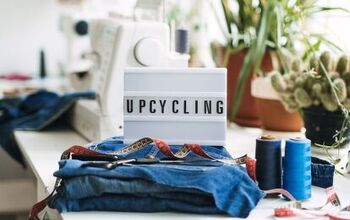
How to Create DIY Thrift-Flip Decor & Make a Profit

Welcome to Unicorn Dust Designs, where I’m going to show you how to do some DIY thrift-flip decor. I’ll take some outdated home decor and flip it for profit. So let's go ahead and get started.
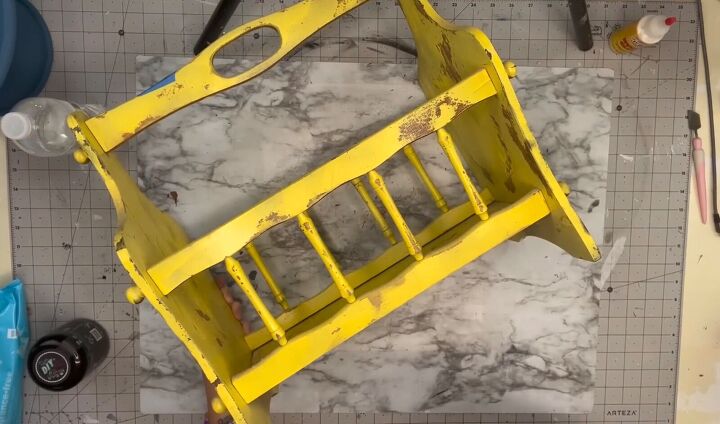
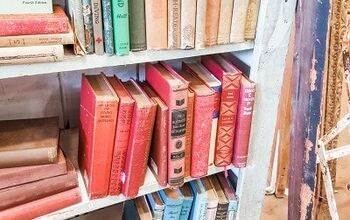
Book rack
I picked this up across the street at my neighbor's garage sale. It was $2.
I'm going to take this outside, and I'm going to thoroughly clean it. Once I'm done with that, I'm going to take out my stunning IOD transfers. You get 38 transfers in a book. You divide that by the cost, which is $21, so these are $0.55 each. Now I’ll pick out the transfer that I want.
We're going to take the carrier sheet off, and the transfers have a little bit of tack to them.

As you could see as I push it down in the middle, it sticks to my surface, and then I'm just going to cut around my little knob so that I could get this to lay flat.
Now you can take the little plastic thing that comes with it, or you can take a library card, it doesn't matter. What you're going to do is you're rubbing down on the carrier sheet.
If you freshly paint something, you need to clear it with a polyacrylic and then put your transfer on top. If you put this directly onto the paint, then you're going to peel your paint up with your transfer.
I'm just going to continue this down.
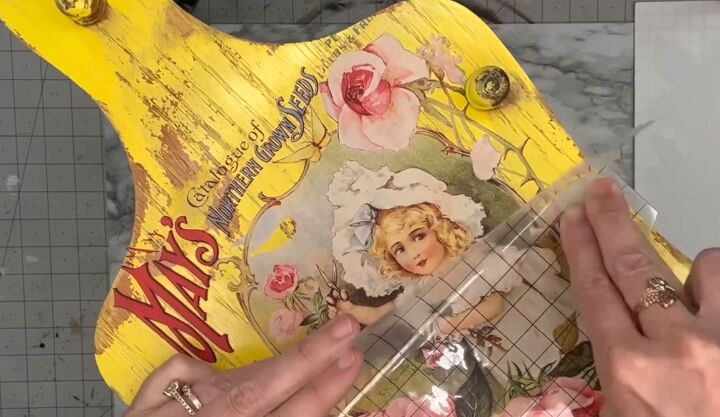
Now I'm going to burnish it. Burnishing is rubbing the transfer with that carrier sheet to make sure that it adheres to my surface really well.
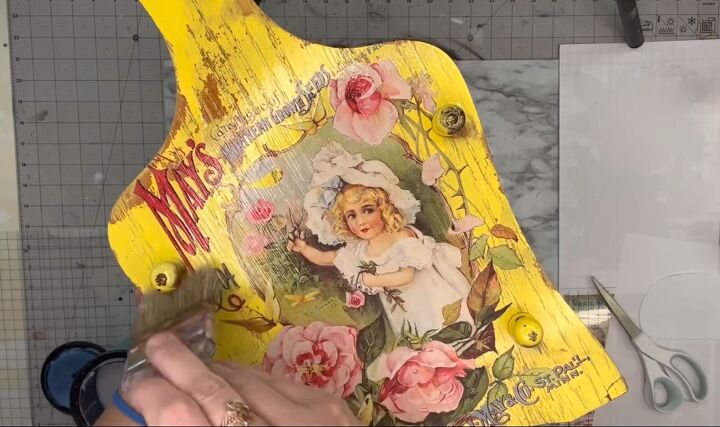
Now I'll take the water-based polyacrylic and I'm going to seal this image in.
I'm going to be putting this in my booth. I will be displaying this with some books and some roses. This cost me $2. Plus if we calculated the transfers at $0.55 each, it would be like $3.50, I'll say.
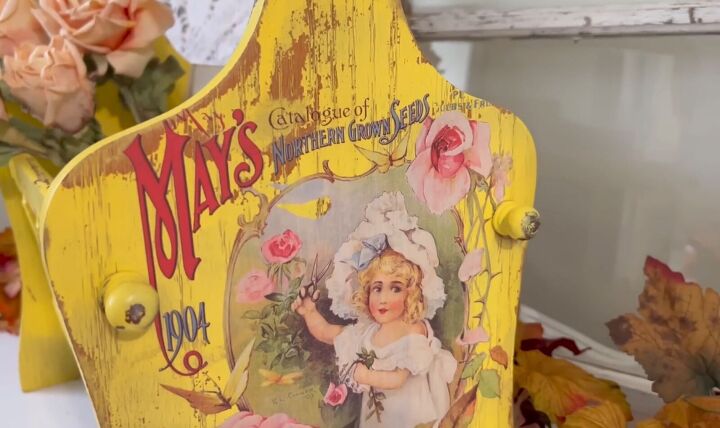
I will put this in my booth for $40.
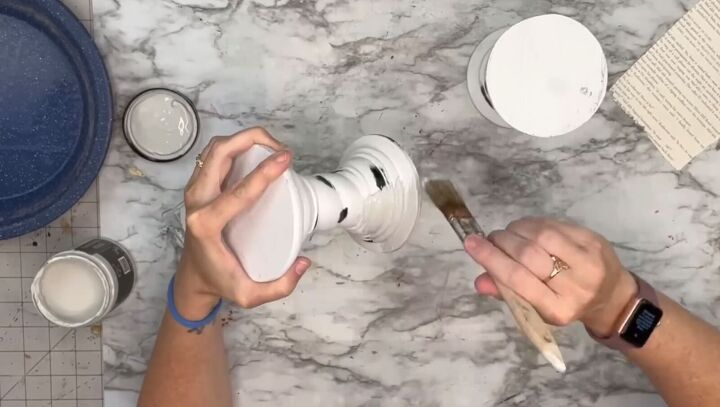
Display pedestal
All right, this next piece, this has been sitting in my basement for definitely over a year.
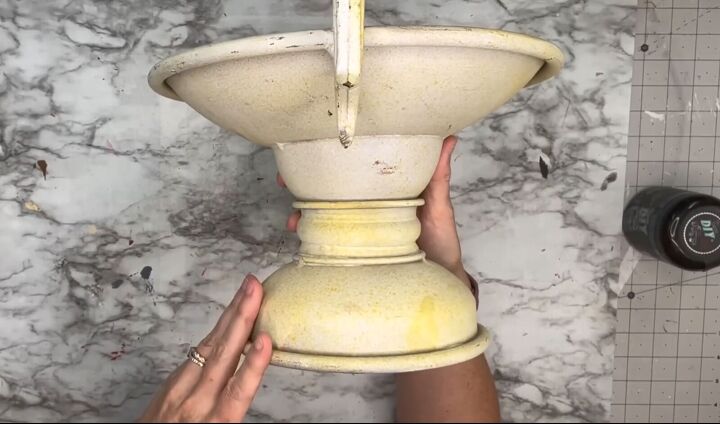
It looked like it was handmade because, on the bottom, it is welded. It was $4.99.
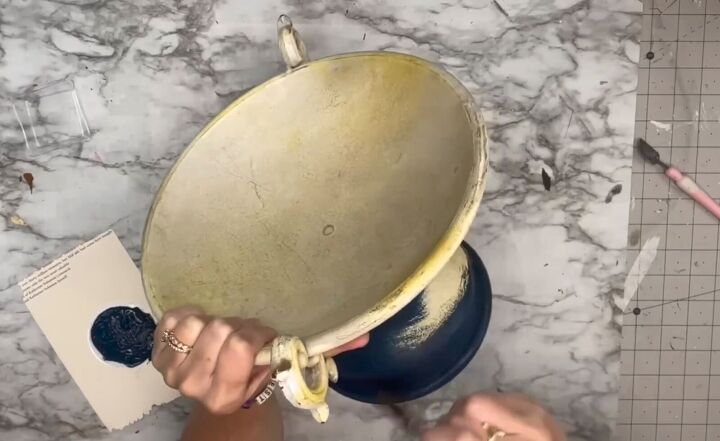
So I'm going to grab my DIY paint, and I am just taking a chip brush. I'm applying this paint.
Again, DIY paint is clay base. So this is going to dry down like this. Super matte. Now I am trying clear DIY wax. as I was applying, I was applying with a fluffy chalk brush, and I started noticing a little bit of streaking so I grabbed my DIY white wax.
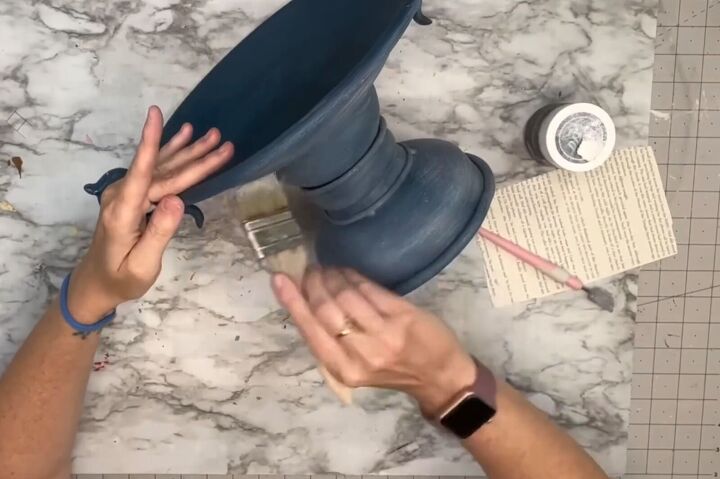
So I'm taking my chip brush. I am just applying this to the top of the clear wax, and it helps move the white wax a little easier.
Now, if you find that you put too much white wax on your brush, just keep brushing over it, and it kind of fans it out, and makes it look how I describe it as fluffy.
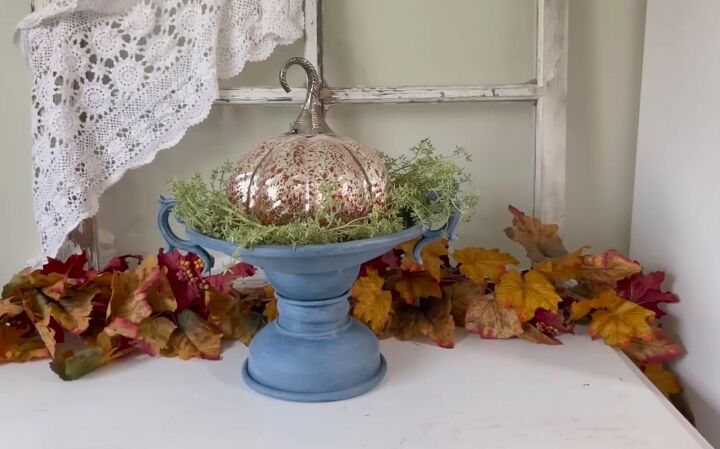
Okay, so this is how it looked. This was $4.99. I'll put it in my booth for $20 to $25.
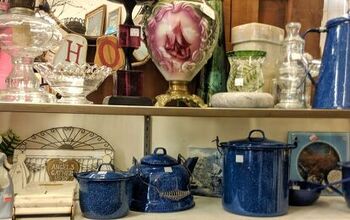
Candlestick display plates
Now, for this next DIY, I tried upcycling these candlesticks, but they ended up looking like dalmatians.
I'm going to paint them and I'm going to use these enamel plates as well that are to the left.
I am using a color called Tarnished Pearl. I do two coats on each of these candlesticks.
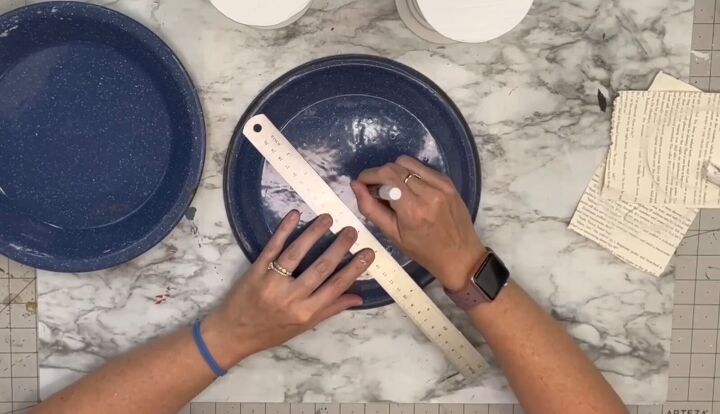
I'm just going to make an X on the back of this plate to figure out the center point of the circle. On the candlesticks, the bottom that's looking up at us is where you would put the candle.
So I flipped it so that the flat surface, which would technically be the bottom, is going to be sitting on our plate. So I just marked that off with some chalk so I know where to put this candlestick back when I adhere it. I'm using wood glue. This can be used on any surface. It does not have to just be wood glue, you can use hot glue for that immediate hold.
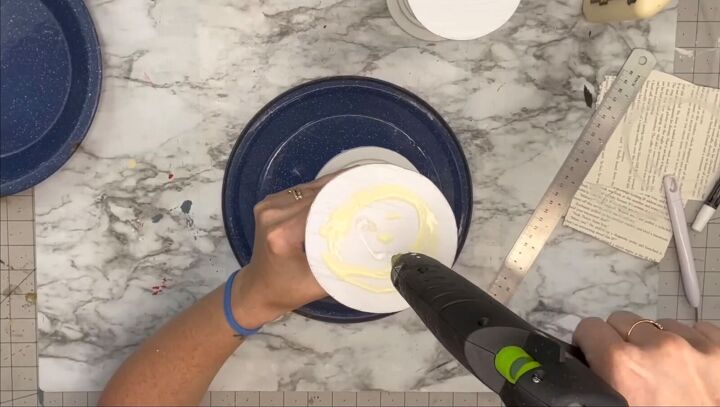
I attach it and that's it.

These turned out cute. These will be priced at $20 each at my booth.
Coffee pot flowerpot
Alright, now, this one I recently found for $3.99. I cleaned it with one of the Mr. Clean erasers. I cleaned it up and it was the perfect creamy, chiffon color. I decided to leave it as is.
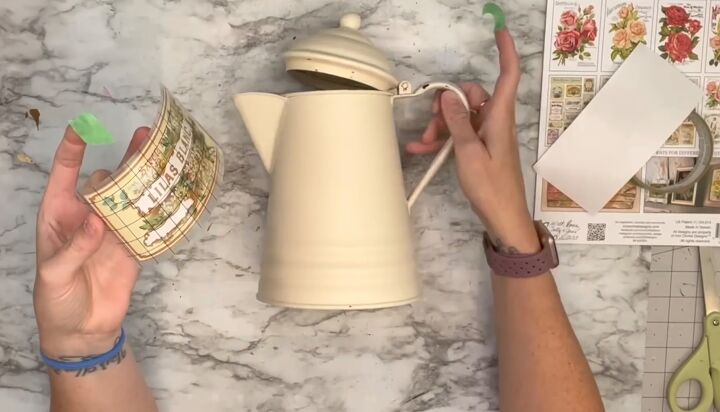
I'm taking more of those IOD transfers. I'm going to lay my transfer on and I'm going to take some painter's tape and I am going to tape this transfer down.
I didn't even have to rub down. This fits perfectly on this coffee pot. So beautiful. I hardly had to do anything.
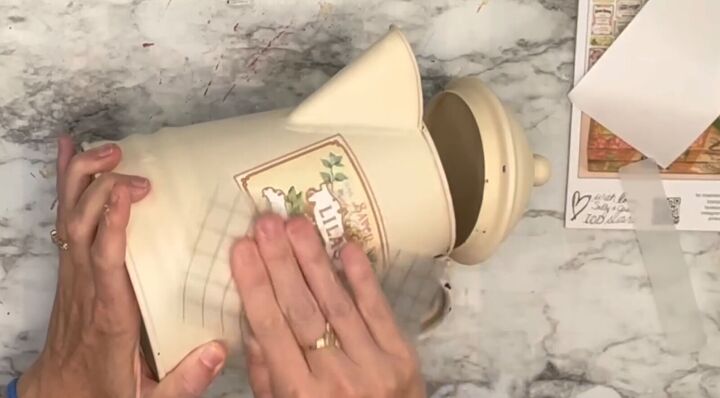
Now I'm going to take that carrier sheet and again, I'm going to burnish that image on there. So all I'm doing is rubbing in circular motions. You could do this with a microfiber cloth as well.
All it's doing is pushing that transfer into your base. Now, once that's done, I take it out and clear it with matte clear spray paint by Rust-Oleum. These florals to go into the coffee pot are at Walmart on clearance for a dollar.
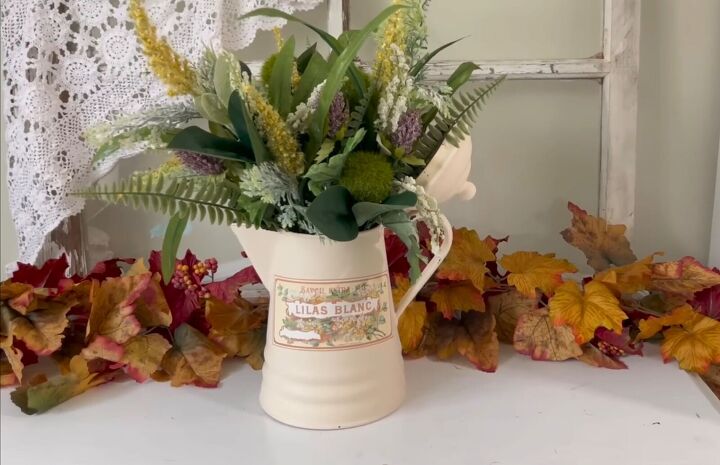
I cut those down and put them in there. This coffee pot looks stunning.
I spent $3.99 and I put about $6 into it, which will be in my booth for $20 to $25.
DIY thrift-flip decor
I hope you have enjoyed my DIY thrift-flip decor. I hope it inspires you to go thrifting. Have you flipped any thrift shop finds? Let us know in the comments!


Comments
Join the conversation
Where can I get IOD stickers. Reside in Australia. Love your ideas. Thanks