Organizing Tips for Closet
Searching organizing tips for closet? We have more closet organization ideas to share with you today... the ideas keep coming!
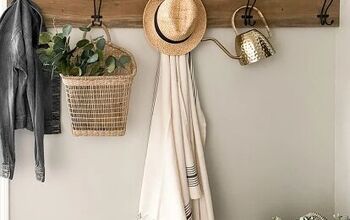
We are still working on our "Use what you already have around the house" series. We first shared our coat/hat rack, then we painted an existing light fixture, and last week we talked about 5 ways to store items in your home.
This week? Would you believe it if I told you that we have another closet to share with you? I am on an organization march through this cottage, and I do not want to stop until I have fulfilled my obligation to have all the closets completed.
Did you just get a visual of me marching through the house snapping my fingers and pointing to items and they magically go to the place I desire, kind of like Mary Poppins? No? Must be just how I would like to visualize things happening around here then. You cannot dispute, it would be lovely if this was the way things really happened in life.
That would be the dreamer in me... footloose, and fancy free.
Have you ever noticed when you begin organizing you have a bigger mess to contend with? I always remove every piece and then put it all back in, but that time lapse from when I remove everything and when it all goes back in, wow! What a mess!
Maybe I should show the mess I have behind me as I work in the future?
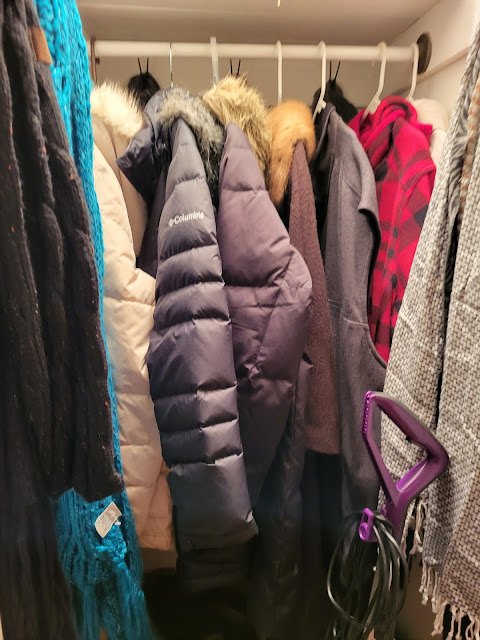
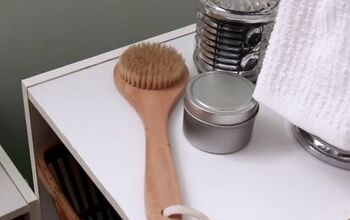
We have a closet near our front entryway which is where folks typically store their coats. Don't get me wrong, we store our coats there too, but it has to serve double duty, or maybe triple duty.
It is where the coats, and shoes, and sweeper, and Bissel Crosswave, and wrapping paper, and hats, and mittens, and gloves are all stored.
Whew, that is a lot of storage in one little ole' closet, isn't it?
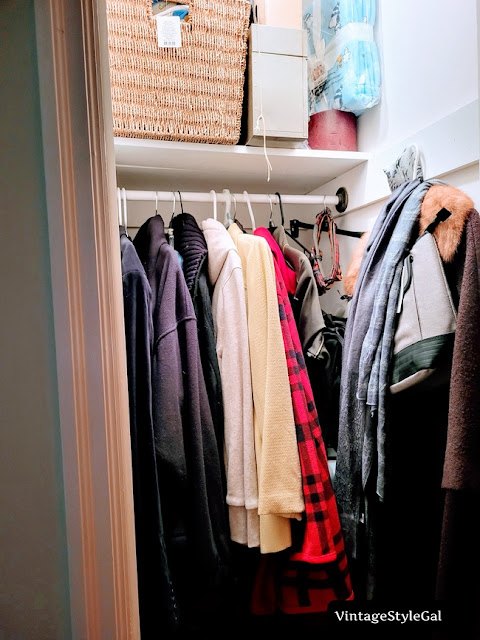
As you can see above, it did not look too bad before we got started. I actually did a little organizing in 2020 when I needed something to do one day. I just did not think it was as great as it could be.
I took a long look and decided to figure it out as I began to work items back into the closet. No plan per se to begin with, but it slowly evolved once items began moving back into their homes. Sometimes, this is the best way to begin organizing.
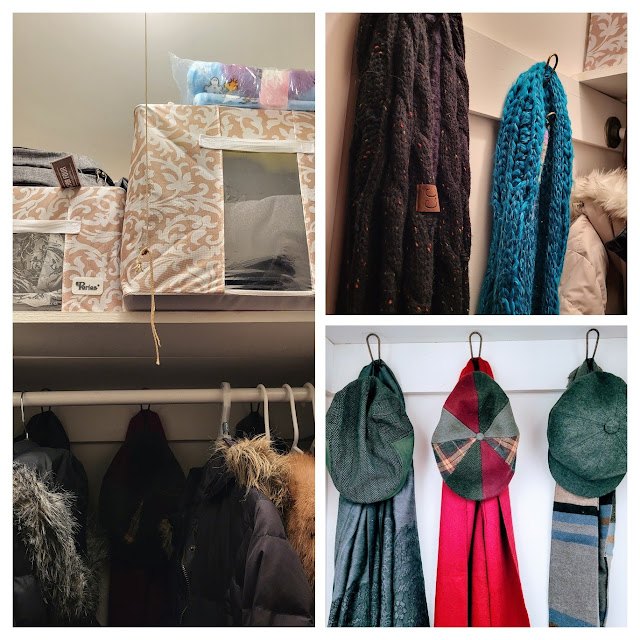
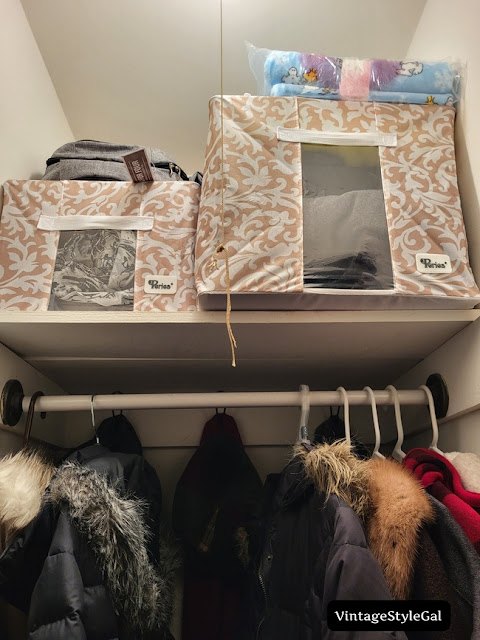
I decided to put all of our wool coats into a storage box. They were taking up a lot of room, and the closet just seemed to be filled to max capacity. There is nothing like trying to get a coat out and needing to pull hard to get it to release, then five others come along for the ride... not ideal.
Putting the coats in a storage box really freed up more space. I was really surprised they all fit in one box, and it was not at all heavy to lift. Wool is not everyday wear so I was okay putting them up on the shelf, wayyyy at the top of our closet where I no longer can reach them.
Remember when we talked about adding a hook last week?
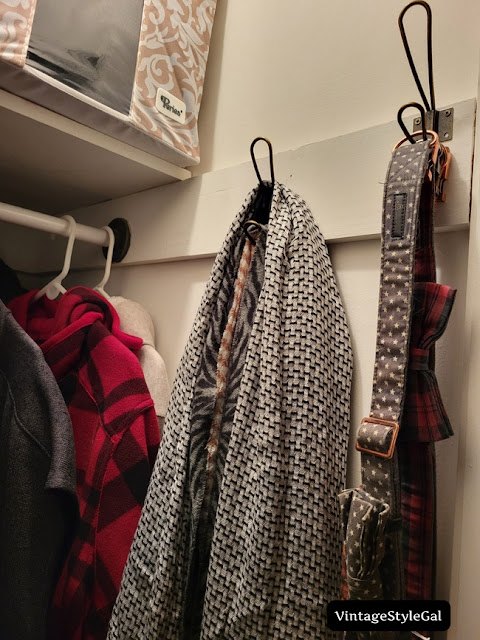
Well, we actually added several hooks to this closet! When I added the coats back in, I noticed there was more wasted space at the back of the closet. Instead of letting it continue to be wasted space, we added these.
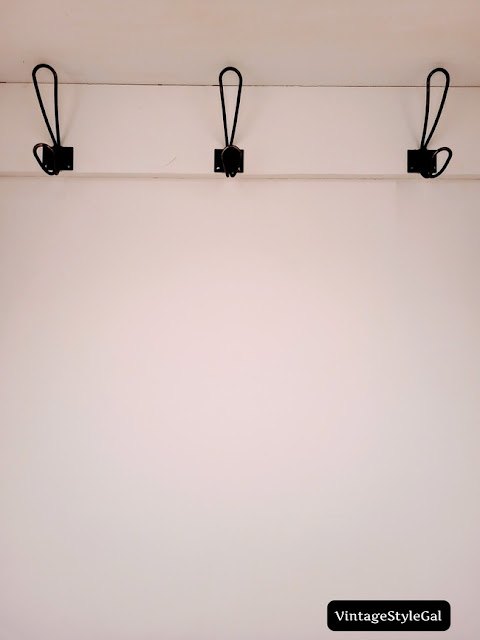
Three hooks, all in a row. I had purchased them a couple of years ago and never did anything with them. Like I have shared before, sometimes I have the best of intensions... smaller projects like these get pushed back because larger projects need immediate attention.
Guess what we put on these hooks at the back of the closet?
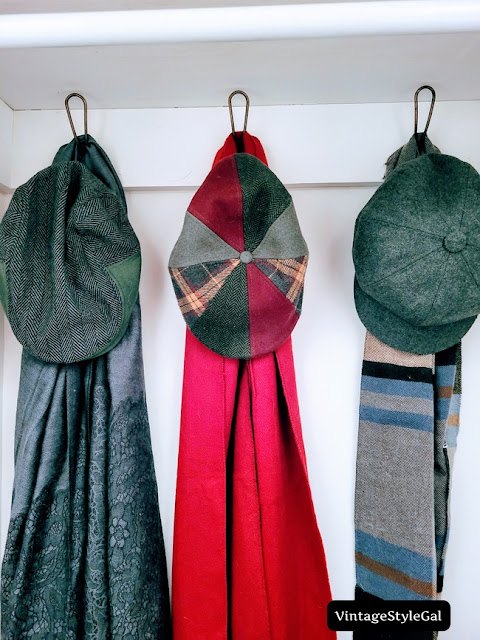
But Cara, they are at the back of the closet... why would you do that? When I moved the wool coats to storage, this opened up a lot of space and we can easily push the coats to the side and reach the back to retrieve the hats and scarves.
Did I not tell you Mr. VS has a collection of hats? I am the scarf lover though. I guess we both have our vices.
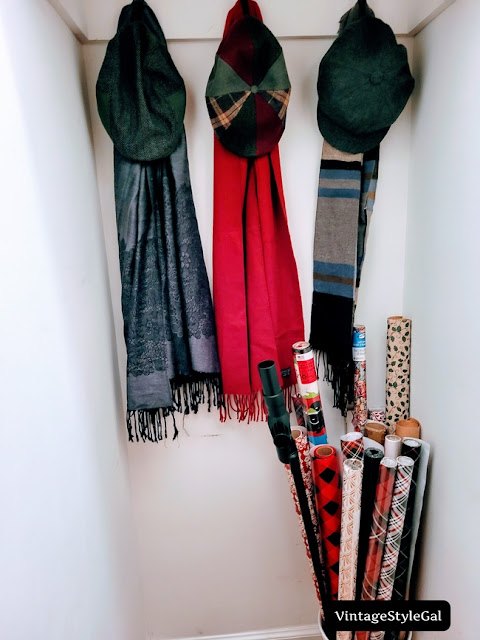
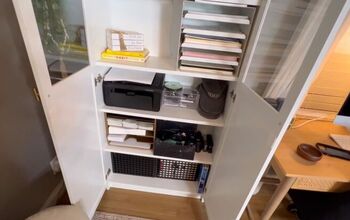
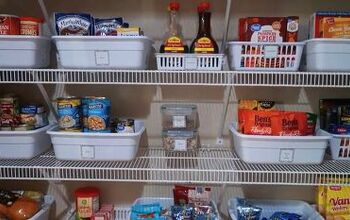
Do you see how the wrapping paper is now stored all in one place too? I showed it to you last week, but I will include another picture in case you missed it.

I stored some of the wrapping paper here before, but it was not all located in one place like it is now. When I needed wrapping paper, I would need to remove everything that was in front of the wrapping paper in order to reach it. That will not be the case now, thank goodness.
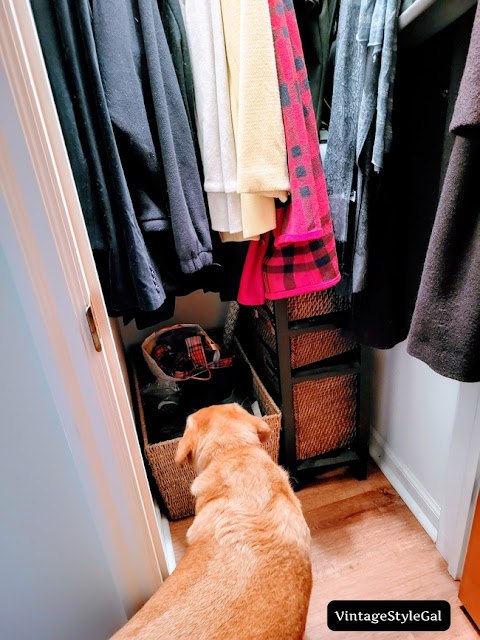
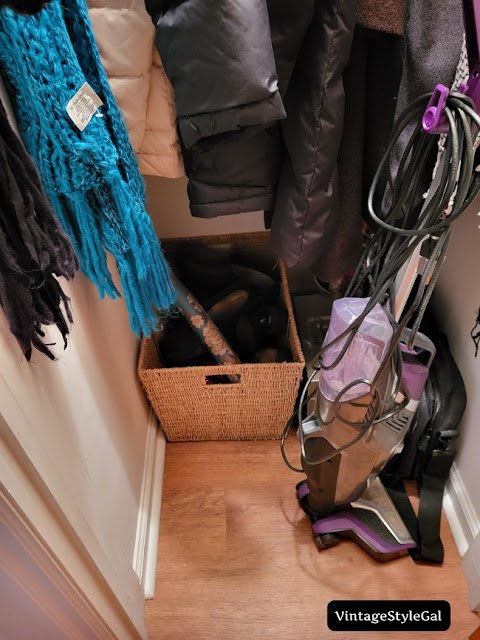
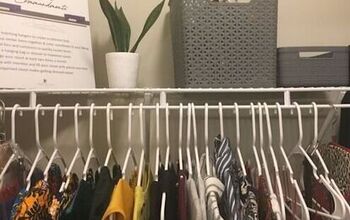
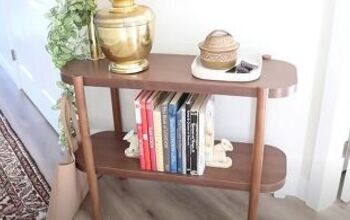
Another before This is a part of the before pictures. Always right there with me, isn't he? Do you see that small stand with wicker baskets? I had scarves and gloves in it. Every drawer was filled to the brim. You cannot see it now, but the wrapping paper was hidden behind this stand too. Bentley's collars were just thrown in on top of shoes in the wicker laundry basket.
Don't worry, everything will have a place here shortly.
I began marking where I wanted to have the first hook inside the closet. Once all of the marks were made for this single hook, I rummaged around in Mr. VS's tools in search of the drill. He was not home, and I thought how hard can this be?
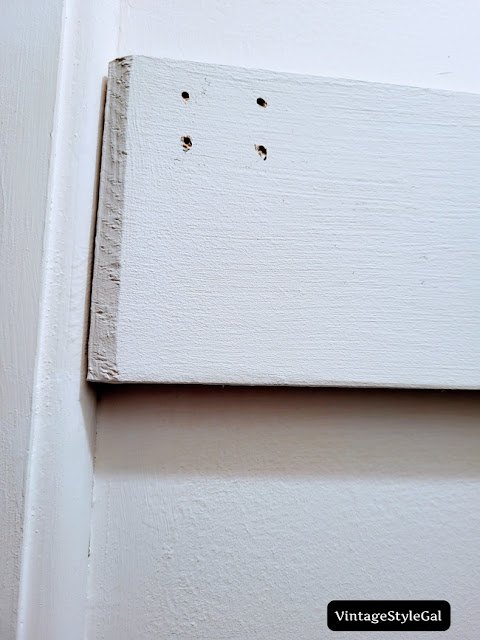
Harder than I expected that is for sure. This was my first adventure with the drill on my own... I could not seem to get the drill bit to load so I could predrill the holes. When it finally happened, I predrilled the holes for one measly little hook.
I was unsure how I wanted the hooks to be spaced so then I decided to hang the hook so I could place a few items and decide from there how spacing should go. I had the darndest time loading that drill bit. I was so frustrated... finally, I was in business and once I attempted to drill the screws into the wood, I found the wood was really hard. I am not sure what kind of wood this is, but darn it, I could not get the screws through the wood.
I have mentioned before I am a short gal, I am not sure if it was because I was not able to get enough leverage behind the drill since I was working over my head, or what the issue was. I thought wow, who knew a drill could give me so many fits? Mr. VS makes it look like a piece of cake. I need to pay closer attention when he is working to learn more.
So above (marking one hook and predrilling one hook) was all I completed on day one. Good thing hubby is one of those guys who will complete the drilling and hanging part. He hung all of the hooks for me over the weekend. How nice, huh?
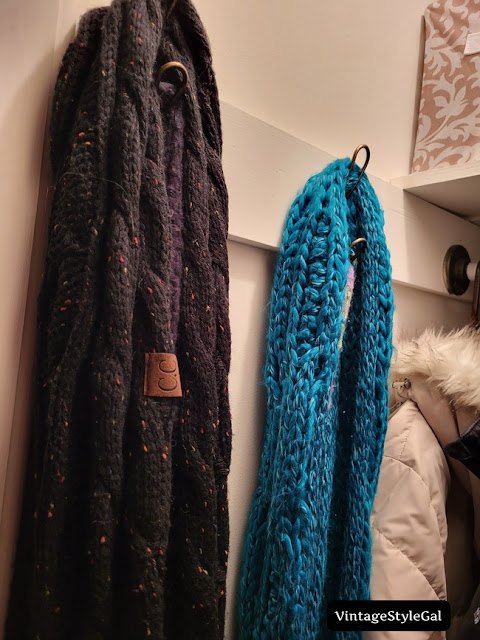
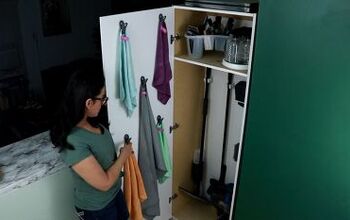
Do you see how we added 2 hooks to each side of the closet in the front? I was able to hang more scarves by doubling, and sometimes tripling them up on the hooks, plus we were able to get Bentley's collars out of the basket.
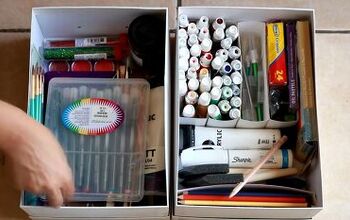
Mr. VS had a wonderful idea, he suggested that I put the gloves and mittens in a pile and strap them all together. My mother had picked up a kit of cable straps that you can organize your tools, cords, and whatnot with. It worked perfectly. Now I no longer need to rummage around in drawers trying to find matching gloves. They are all stored together with matching sets stacked in a pile.
I then put all of the gloves and mittens in the small storage box that is beside the coats. I also put the rest of my extra scarves in with the mittens and gloves. Yes, I have more. Can you believe that? I always pick them up at the end of the season when they are on sale for next to nothing.
Coats in the large, and mittens, gloves, and scarves in the small storage box. I already had both storage boxes on hand since I had another project planned for them, but I think this worked out best for us.
See how much more roomy the closet is now without the black stand? I do not feel like things will get lost in the closet where the monsters used to gobble up single gloves and misplace items all of the time. Oh, I forgot to mention, I even painted the trim in the closet. It was looking a little worse for wear.
Painting I can do.... I was planning to wallpaper this closet as well, but then I do not seem to have the patience for wallpaper like Mr. VS does. One panel up and it came right back down. I had to many wrinkles in it and no matter how many times I peeled it away and put it back down, those darn wrinkles would NOT smooth out. Maybe another day, but for now, I am A-okay with the plain white walls.
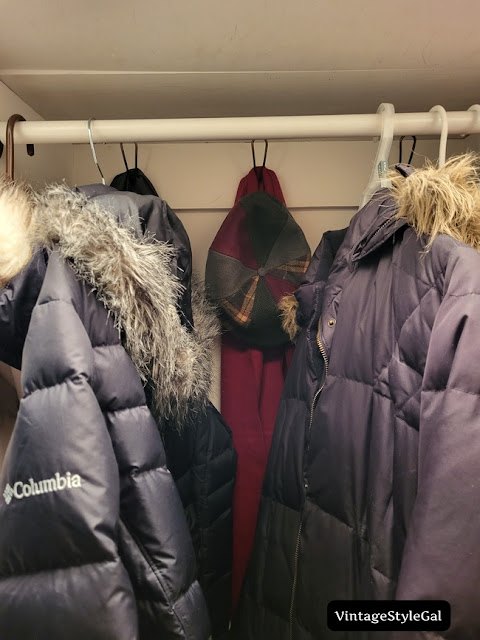
Do you see how we can still access the scarves and hats in the back of the closet? Easy peasy, lemon squeezy!
Overall, I am pretty happy with the way this closet turned out. I already had everything on hand for this project which made it really nice since I did not need to spend any additional money.
There was a lot of putting items in and removing them to find the best solutions for spacing, and finding more storage that magically appeared in the back. I find I just need to play around when organizing to see what works best for me. Even the best laid plans can get a wrinkle or two that need ironed out along the way.
I am over the moon that everything has a place, and is all in it's place. I do so much better keeping organized when items are stored inside storage boxes. I have not figured out the reasoning why this works for me, but it sure makes me smile when I see it. Do you find this helpful too? How do you organize your closets?
We have some organization and cleaning finds to share with you here on the blog.


Comments
Join the conversation