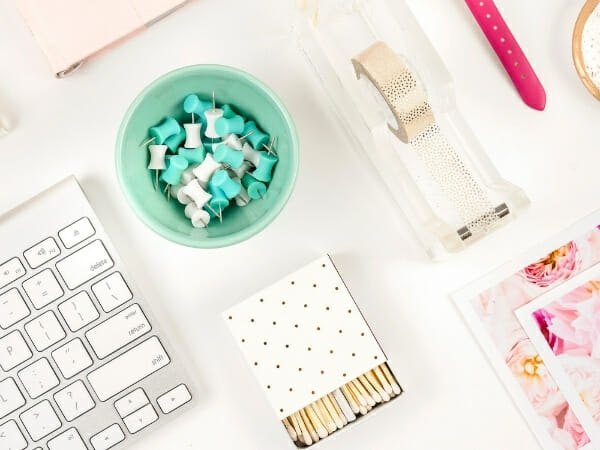
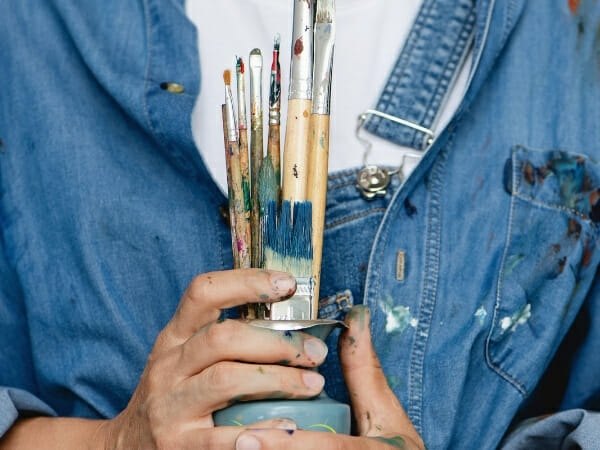
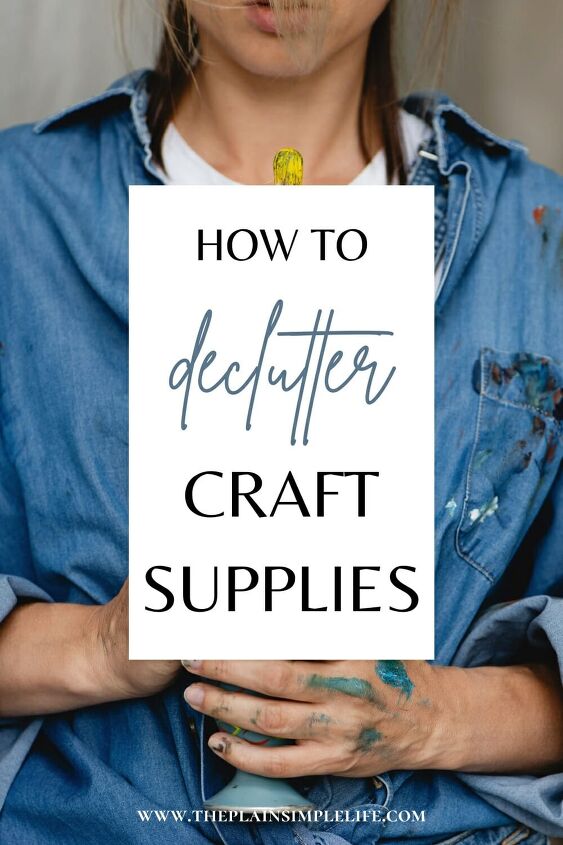
How to Declutter Craft Supplies: 6 Simple Tips For Your Creative Space
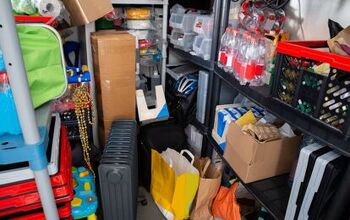
Does your craft room look like a tornado hit it? Are you constantly searching for that one particular skein of yarn or that Google-eyed perfect for that amigurumi you’re crocheting?
If your answer to either of these questions is a resounding “yes,” then it may be time for you to declutter craft supplies. Trust me, your future self with thank you.
Decluttering craft supplies can be a tedious task – there’s no two ways about it. Where do you even begin?
You might have unfinished projects taking up valuable space, or you might be holding on to supplies “just in case.” But decluttering your craft supplies doesn’t have to be an impossible task. And it’s important if you want to stay organised and productive with your crafting.
You might also like:
- 18 Important Decluttering Questions To Ask Yourself Before You Declutter
- 9 Ways I’ve Developed a Decluttering Mindset
- Life after decluttering: What happens next?
- Decluttering Photos: How To Know What You Should Keep
- Decluttering Rules: 13 Important Things To Do When Decluttering Your Home
- How to Organise a Junk Room (and Turn it into a Functional Space)

Disclaimer: This post contains affiliate links. This means that if you purchase anything through a link, I may earn a small commission. As an Amazon Associate, I earn from qualifying sales. This is at no extra cost to you. You can read my full disclaimer here.
The benefits of decluttering your craft supplies
1. You’ll save money
Let’s be honest, we’ve all been guilty of buying that one thing we just had to have, only to never use it. By decluttering your art supplies and crafting tools, you’ll be more likely to avoid making impulse purchases that you’ll regret later.
2. You’ll have more space
A decluttered crafting area will feel lighter and less cramped, giving you the opportunity to spread out and get creative.
3. You’ll be able to find what you need, when you need it
An organised crafting space means no more wasted time searching for that elusive piece of ribbon or that perfect shade of green paint. Everything will have its place, so you can just sit down and get to work!
4. You’ll be inspired to create new things
When you can see all of your supplies laid out in front of you, it’ll be easier to find new ways to use them. Who knows, you may even come up with some brand new craft projects!
5. Your family will thank you
We love our crafting supplies, but let’s face it – they can be a bit of an eyesore. If your family has been constantly nagging you to get rid of some of your stuff, decluttering your craft area is the perfect solution. Not only will they be happy with the improved aesthetic, but they’ll also appreciate being able to actually see the surfaces in your home again.
6. You’ll feel accomplished
There’s nothing quite like the satisfaction of completing a project – and that goes double when it’s something you’ve been procrastinating on for months (or even years!). Tackling your crafting clutter will give you a much-needed sense of accomplishment and motivation to keep going.
7. You might even make some money
If you’ve been holding on to craft supplies that you’re never going to use, why not sell them and put the money towards something else? You could even use it to buy some new crafting supplies that you’ll actually use. Win-win!
8. You’ll reduce your environmental impact
By decluttering your crafting area, you’ll also be decluttering your conscience. Holding on to unused materials is just creating more waste – but by selling or donating them, you can ensure that they’ll go to a good home where they’ll actually be used and loved.
9. Your crafts will look better than ever before
Everything will look nicer when it’s neatly organised and easy to find – including your finished projects. This is especially true if you crochet, knit, or do any other type of needlework; having all of your yarns in one place will make it easier than ever before to find the perfect color or weight for your project.
10. You might finally finish that project you’ve been working on forever…
By getting rid of distractions and clutter, you can finally sit down and focus on completing that half-finished blanket, painting, scrapbook, etc. We all have at least one project like this lurking in our crafting stash – so get rid of the excess and finally cross it off your list.
How to declutter craft supplies
1. Get in the headspace
Any daunting task is made easier when you’re in the right headspace. So before you start to declutter craft supplies, take a few deep breaths and remind yourself that you can do this.
Think about the reasons you need to or want to do start this decluttering project and how good it will feel once you’re finished.
It can be helpful to visualise your future, decluttered crafting area – imagine how much easier it will be to find what you need and how much more productive you’ll be.
2. Make a plan
It’s always helpful to have a plan of attack when tackling a big project. So sit down and map out what you need to do and how your crafting space should look once you’re finished.
Set some time aside, time when you’re not going to get distracted or pulled away to do something else. And make sure you have all the supplies you need to get the job done, like garbage bags, boxes, and labels.
3. Set some ground rules
To make the decluttering process as easy as possible, set some ground rules for yourself.
For example, decide that you’re only going to keep items that you’ve used in the last six months or that you have a specific project in mind for.
This will help you narrow down your choices and make it easier to let go of things.
4. Get all your crafting supplies together in one place
The first step in the actual declutter process is to bring all of your crafting supplies together in the one room. If you’ve got a craft stash in every room of the house, make sure to bring everything into one central location.
This will help you get a better idea of just how much stuff you actually have and what needs to be sorted through.
And it’s also a good opportunity to do a quick purge of anything that’s obviously junk or that you know you’re never going to use.
5. Sort through your supplies
Now it’s time to start sorting! This is where those ground rules you set for yourself will come in handy.
As you go through each item, ask yourself if you really need or want it. If the answer is no, then get rid of it. If you’re unsure, ask yourself if you’ve used it in the last six months or if you have a specific craft project in mind for it. If not, then it’s probably time to let it go.
Just like when we declutter other areas of our homes, decluttering craft clutter takes the same format.
Make three piles
- one for the craft supplies you want to keep
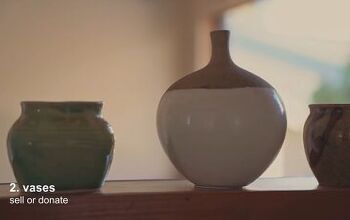
- one for those you’re going to donate or sell
- one for the craft items you’re going to throw away
How to decide what to keep and what to chuck
This is the hard part, am I right? You’ve got everything together but you can’t seem to make any decisions on what to keep and what to get rid of. And that’s okay!
Here are a few questions you can ask yourself to help you decide:
- Do I use this craft supply often? If you’ve had something for a couple of years and you’re yet to use it, chances are you won’t ever use it.
- Do I have more than one of this item? Of course this doesn’t go for all craft supplies, as oftentimes you need multiples of items. But let’s say you have three pairs of craft scissors – all which are used for the same purpose – do you really need all three? Keep one pair of scissors and donate the rest.
- Could I use something else in its place? There might be a particular craft supply that you’re attached to but it’s not actually essential. In this case, think about whether there’s something else you could use instead. For example, if you’re a scrapbooker who loves using patterned paper, could you use some of your pretty stationery instead?
- Do I love it? This is a question for those sentimental crafters out there. If you’re having trouble getting rid of something because it has sentimental value, think about whether you actually love and treasure the item or if you’re just holding on to it because it reminds you of a past event. If it’s the latter, then it might be time to let it go.
- Can this item be replaced easily if I need it again? With the advent of technology, a lot of craft supplies can be easily replaced if you need them again. Often, we hold onto things because of the fear of not being able to replace them on the off-change we may need them in the future. But chances are, if you need it again, you’ll be able to find it.
6. Organise the remaining craft supplies
Now that you’ve sorted through your supplies and decided what to keep, it’s time to start organising everything. This part is entirely up to you and will depend on the type of craft supplies you have, as well as how much space you have to work with
But there are a few storage ideas you can choose from:
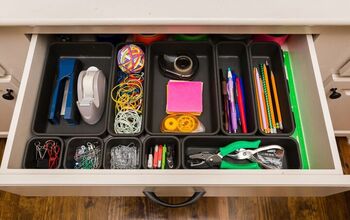
Organise by type
One way to organise your craft supplies is by type. So, for example, you could have a category of craft supplies for all of your jewelry making items, another for scrapbook papers and one for paint brushes and bottles of paint.
This is a great option if you have a lot of different types of craft supplies as it will help to keep everything sorted and easy to find.
Organise by project
If you often work on one particular type of project, then another way to organise your craft supplies is by project. So, you could have a box or drawer for knitting or fabric materials, one for your scrapbooking projects and another for all of the items you need for making stickers.
Organise by frequency of use
Another way to organise your craft supplies is by how often you use them. So, you could keep all of the items you use on a daily basis within easy reach, and store the items you only use occasionally in harder to reach places.
Organise by occasion
This is one of my favourite ways to organise as it’s great for seasonal crafting. So, for example, you could have a box of supplies that you only use at Christmas time, or another box for items you only need when making Halloween decorations.
This is a great way to keep your craft space feeling fresh as you can change up the boxes depending on the time of year and what occasion you’re crafting for. Because you’re rotating a bunch of craft supplies every few months, it’s easier to keep track of what you have and what you need to restock on or declutter.
How to store your craft supplies after they’ve been decluttered
Everything within your crafting space needs it’s own home. If you don’t have room for everything to have it’s own dedicated spot in the one place, then get creative with your storage solutions.
First, I recommend getting rid of all unnecessary packaging to avoid having it add to the clutter in your home. If you need to keep some of it for reference, take a photo of the package instead so you can recycle it right away.
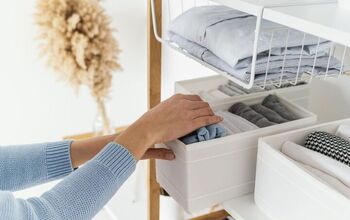
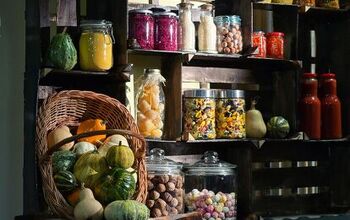
Use clear containers
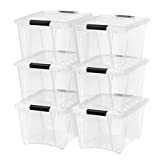
Transparent tubs are great for storing many different crafting supplies like yarn, fabric, scraps, ribbons, etc. Not only will you be able to see what’s inside each container, but you’ll also be able to stack them on top of each other to save space.
I love these stackable clear containers because they’re modular so you can add or remove them as needed. They also have a lid to keep everything dust-free
Use mason jars
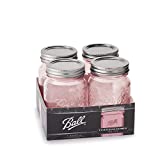
Mason jars are another great way to store small craft supplies like beads, buttons, sequins, etc. You can either keep them all in one big jar or divide them up into smaller jars depending on what you’re using them for.
Not only do they look pretty sitting on a shelf (gotta have your crafting area looking pretty!), but they’ll also help to keep your supplies organised and easy to find.
Repurpose old containers
If you have a lot of odds and ends that don’t seem to fit into any category, consider using things like coffee cans or old gift boxes to store them. That way you can keep things organised without having to buy new storage containers.
Label everything
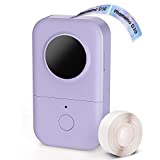
This will save you a lot of time and frustration in the long run. My label maker is one of my favourite tools because it allows me to quickly and easily label all of my containers.
If you don’t have a label maker, you can also use washi tape and a Sharpie to label your containers. Use a different colour for each type of craft supply so you can easily tell them apart.
Invest in a rolling cart
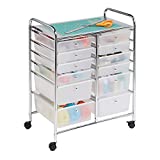
If you have a lot of small items that need to be stored, such as buttons, washi tape and stickers, consider keeping them in a rolling cart. That way, you can move the cart around easily as needed and always know where everything is.
Bonus points if the cart has see through drawers so you can see your supplies at all times!
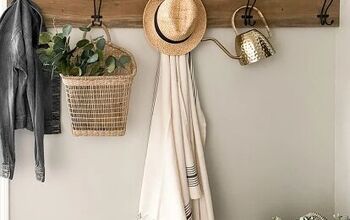
Make use of wall space
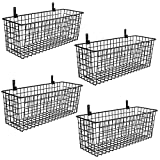
Let’s face it, not everyone has an entire room they can spare for their crafting supplies. If that’s the case, then you’ll need to get creative and start utilising your walls!
Hang things like baskets or wire shelves to store larger items or wall-mounted racks for smaller items like scissors or spools of thread. You’d be surprised how much stuff you can fit by thinking outside the box!
Use vertical space
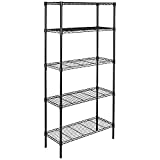
When in doubt, go up! If horizontal surface area is at a premium in your home, make use of vertical space by adding shelves or hanging things from the ceiling.
Get creative
There are no hard and fast rules when it comes to organising your craft stash – if something works for you, then go for it. The most important thing is that you know where everything is. After all, it’s YOUR home; make it work for you!
Additional tips for keeping your craft supply organised and productive
- Set aside time each month to declutter and reorganise your crafting space. This will help to keep things from getting too out of control.
- Donate or sell any crafting supplies that you no longer use. Someone else will be happy to put them to good use.
- Invest in some quality storage solutions so everything has a designated place. This will make it much easier to keep your crafting area clean and organised.
- Try using a planner or bullet journal to keep track of what supplies you have and what projects you want to make. This can help prevent you from buying duplicates or forgetting about things you already have.
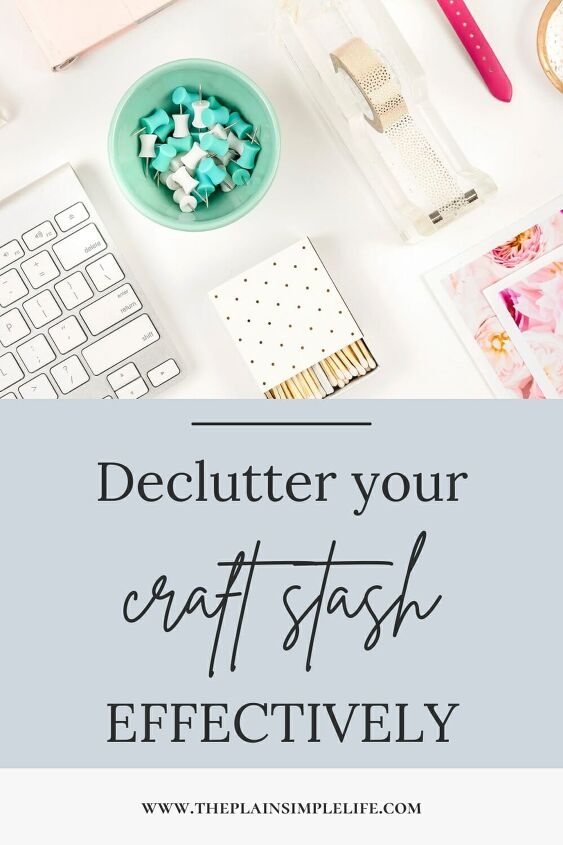
PIN FOR LATER!
Final thoughts
Decluttering craft supplies can seem like an impossible task, but it will be worth it in the end.
These six tips will help you get started on the path to a more organised and productive crafting space.
So, what are you waiting for? Get decluttering your craft stash!
Vourneen


Comments
Join the conversation