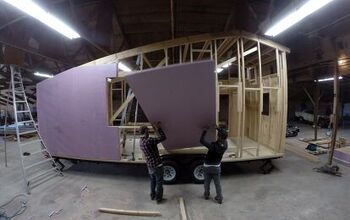
9 Van Build Mistakes I Made & What I Would Do Differently

I am not perfect and neither is this van. There were van build mistakes made in the building of this van. I'm going to go through all the mistakes that were made during the building of this van and the things that I would change next time around.
1. The weight of the walls
This van is heavy, which is fine, but with weight comes extra costs in fuel and you're upgrading your suspension.
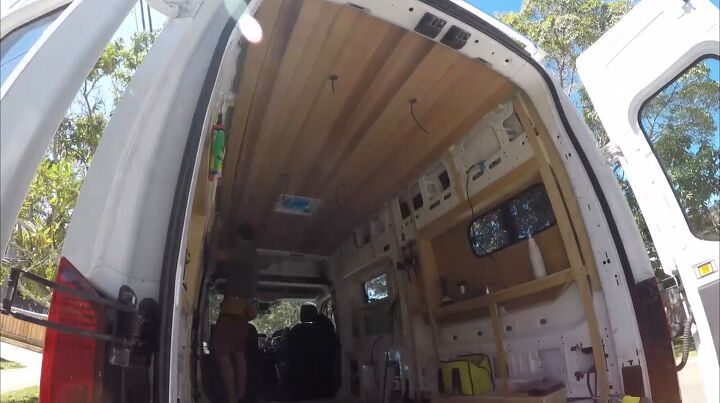
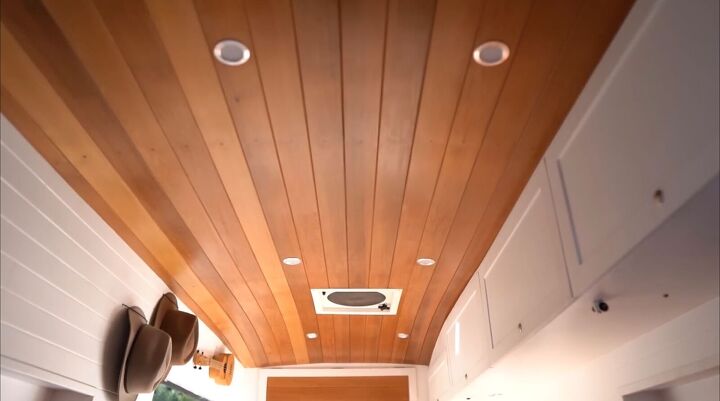
The biggest weight saver that springs to mind would probably be my pine paneling on the walls. All the walls of the van are covered with twelve-millimeter pine tongue and groove paneling.
If I were to build this van again, I would have used a much thinner plywood-based wall. You would save quite a lot of weight doing it like this, and putting up the walls might even be a little bit easier.

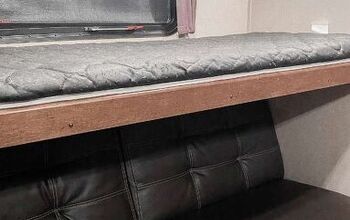
2. Skip the pull-out deck
The pull-out deck is cool, but we don't use it enough for the space it takes. It gets used maybe once or twice a month. As much as I hate to say it, if I built this van again, I probably wouldn't be putting this deck in. We probably use the rooftop deck a lot more than we do this one.
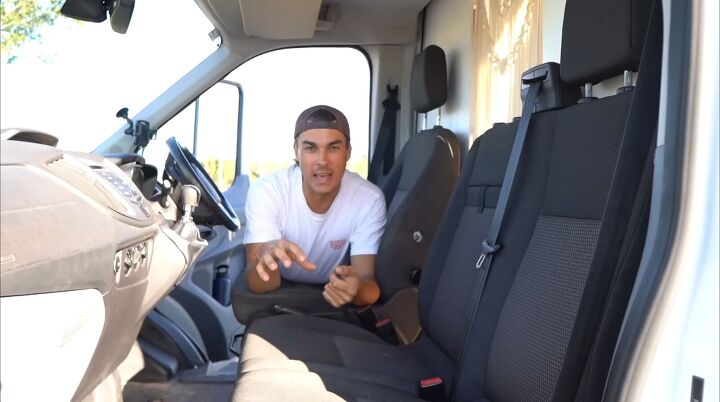
3. Changing the front passenger seat to a single passenger seat
The biggest pet peeve I had when I was building this van was changing the front passenger seat to a single passenger seat. From a double seat, I went through a massive rigmarole of trying to source a single passenger seat. It was more or less impossible to find a single passenger seat with the airbag on the correct side.
It's still quite functional because we're kind of young and we still have the mobility to kind of squeeze through these tight little spots, but for some, it might not be as functional.
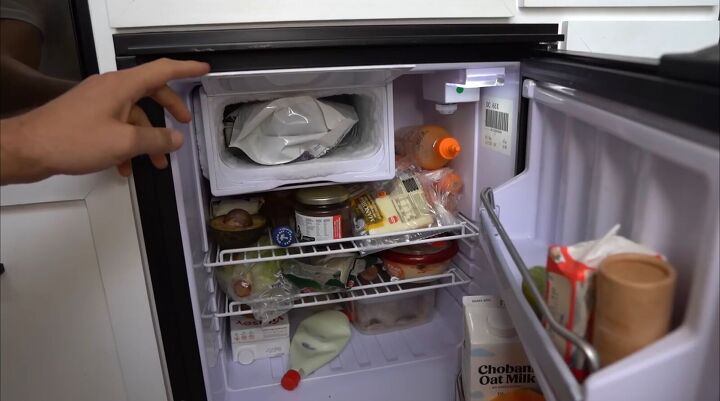
4. Too-small fridge
We have a 65-liter compressor fridge from Bushmans. It has an ultra-low energy consumption when it's running, but it is just not big enough for our needs. You end up going to the supermarket quite a lot more often.
The way I would solve this problem in a future van build would be by installing a permanent freezer in the back of the van. That would be in the form of a chest fridge style, a twelve-volt compressor fridge the size of about 30 to 40 liters, where we can have it as a dedicated freezer for frozen berries, ice creams, and frozen meals.
5. Needing more power points
We spent a lot of time on our office setup, working opposite each other on our computers. I've installed power points and USB sockets in certain spots around the van that require using long cords that get tangled.
So what would I do differently? I would install power points and USB ports in places that are close to where you're going to be charging something so we could use short cords.
6. Didn’t install dimmable light
Something I think that is becoming more and more important these days is having your lights on your roof and around your van dimmable. That's going to make your life a lot easier, especially if you're stealth camping.
I haven't installed an inline dimmer for our roof lights, because I couldn't find a design that I liked. Now I wouldn't care about the looks just from the number of times we would have used it. So I would install a dimmer switch into the wall next time to dim the overhead lights.
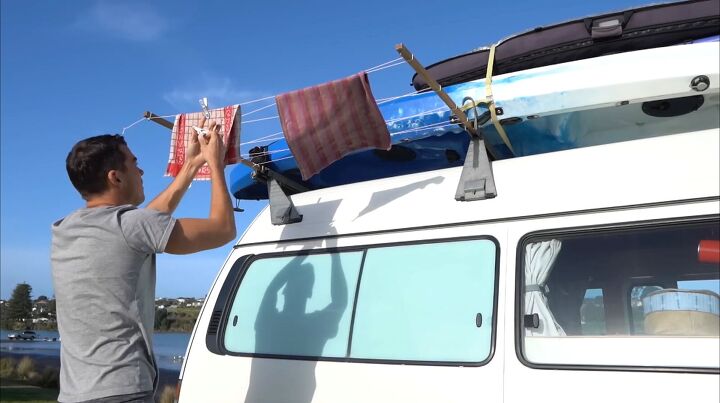
7. Didn’t add a drying line
Another van conversion mistake I made was I didn't design somewhere where we can dry wet clothes. It is quite a vital thing, especially when you're living in a van in a small space and when it rains, you get a lot of wet stuff and you're going to want
to dry it.
If I was to do this again, I would incorporate a washing line into the roof rack, so we could hang wet suits or a whole load of washing off that because it's outside in the sun. It's something I would look at if I was to design this roof rack again.
8. Not treating raw pine correctly
One thing I made a mistake in when building this van was how I treated the pine timber that I put in there. The mistake I made was not treating the raw pine correctly. Pine resin will seep through the paint, especially around the knot. It doesn't matter how many times you try and paint it over, it'll just keep coming.
To solve that problem, you need to paint it with an undercoat, which has a stain blocker in there. A stain blocker will prevent these resin stains from penetrating through.
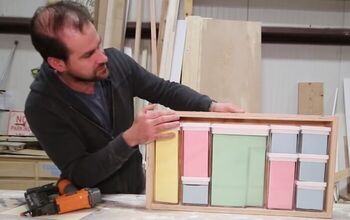
9. Cabinet frames are too thin
Trying to save weight in the van conversion, I made the overhead cabinet doors quite thin. I made the frame by stripping down two x four into ten-millimeter thick pieces and then made the frame array and glued seven mil plywood onto the back.
What's been my downfall in this? What happens is these gas struts put quite a bit of pressure on the hinge and push one side higher than the other. They have started to crack just because I couldn't get the joint strong enough.
What I would do differently next time would be to make the frames a little bit thicker, so I could put a dowel in that joint to make it a little bit stronger, so the whole cupboard door wouldn't flex so much when the gas strut pushes on one side.
Van build mistakes
I hope my van build mistakes help you to think through your van build more completely. These are all the things I would change if I were doing our van conversion again. While none of them make the van unlivable, it would suit our lifestyle better if I had done things differently.
What would you change in our van build? Let us know in the comments below.


Comments
Join the conversation