How to Clean & Maintain an RV Water Heater

Jim from Kleen Tank is here with us to discuss what to do and what not to do with RV water heaters. He walks us through the brands, various parts for an RV water heater, and what to use to clean the hot water heater. You’ll learn why it’s important to maintain a water heater for your RV.
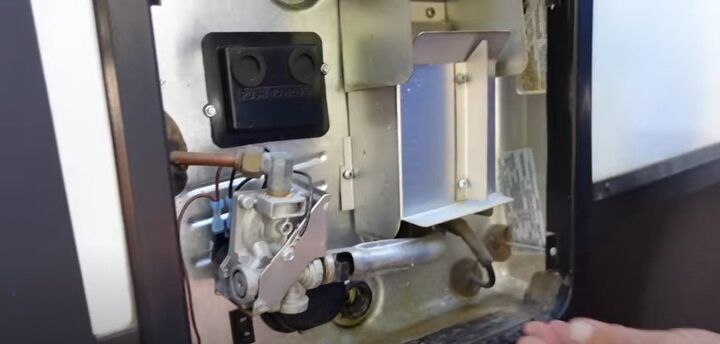
Brands of RV water heaters
There are primarily three different brands of water heaters. They are all designed to last between 15 and 20 years or longer. There is a Suburban Water Heater, which is larger, and it is a steel tank lined in either glass or ceramic. It’s fairly resistant to corrosion.
The second is an Atwood Water Heater. This is an older type that is a bit smaller, and it is an aluminum tank, which is also resistant to corrosion. You can tell if you have an Atwood when the drain or the drain plug is a little nylon hex nut.
The last kind is a Dometic Water Heater tank. Dometic bought Atwood. They are either aluminum, like Atwood, or the newer ones are plastic. The plastic models also have a nylon nut.
What’s an anode?
Getting back to the Suburban, behind the metal nut is an anode. It’s a rod that looks good and smooth brand new. The purpose of an anode is to act as a sacrifice. Water likes to react with metal. So what we do is put a more reactive or a softer metal as an anode in there.
The water interacts with the anode first rather than the surfaces of the water heater. We would rather have the water eat up this 20 or 25-dollar anode than the surfaces of the water heater tank which would result in failure and require a complete replacement.
Cleaning the water heater
The water heater is shut down for draining it. You have to shut it down because if it’s drained, you don’t want the heater to try to fire up without any water, which can burn out the element. By the way, all RV water tanks or water heaters are set at 140 degrees. You usually cannot adjust that temperature.
Something every RVer should do–full-timers should do this four times a year, everyone else twice a year – this simple cleaning process:
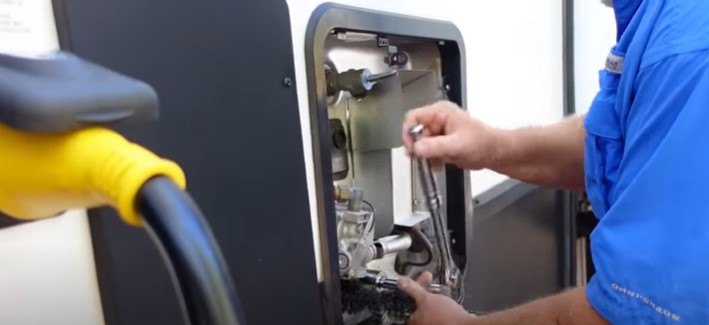
Make sure the water is off in the RV. Turn off the RV water heater.
Look for any type of switch on the outside of the water heater and turn that off, too.
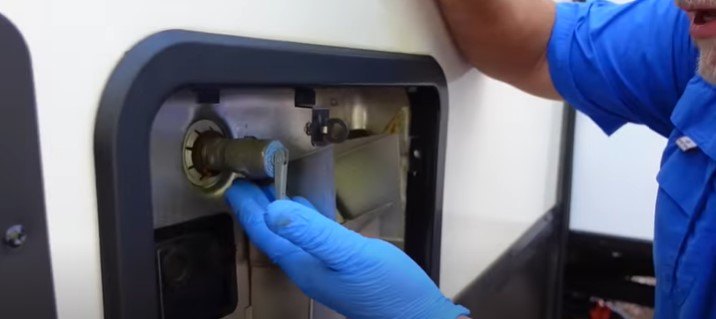
Remove the draining bolt. Quickly move out of the way or you will be doused with very hot water.
The anode rod is attached to the bolt as you pull it out.
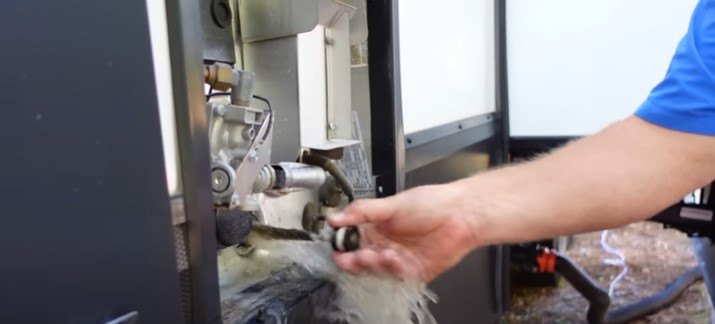
Replacing the anode
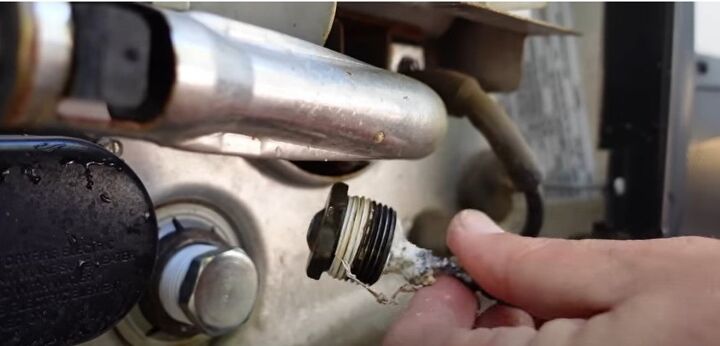
When the anode rod comes out it may look eaten away and may need replacing. They last about a year to a year and a half on larger tanks. There are many reasons why an anode can become eaten up so fast. The quality of the water or whether you have a water softener can affect how long the anode lasts.
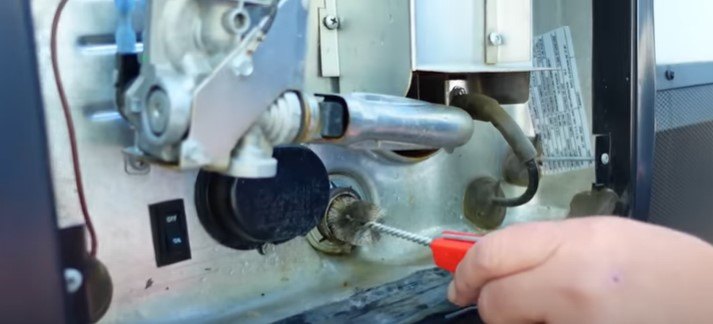
How to get rid of corrosion
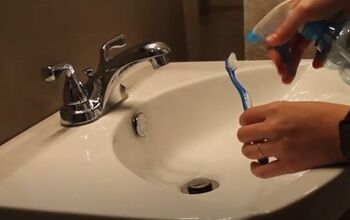
Use a fittings brush in a plumbing department to scrub the threads where the anode goes. That way the anode will go back in nicely, it will seat well, and it won’t leak. You won’t have to use this brush on corrosion much, just every couple of years.
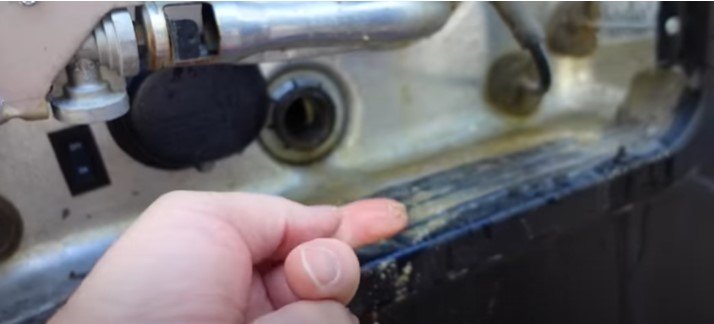
This is corrosion
Corrosion also can look like little soft salt crystals. You may think it’s a calcium build-up, but it’s not, it’s corrosion. If you have a tank with a nylon plug, you may not have an anode. But you also may see corrosion down the line.
But you can also get a magnesium anode, which is much softer than aluminum. You can put that in there in place of the nylon plug and that will help prolong the life of your water heater.
However, very important, if you do put an anode into an Atwood tank in the first two years you have it, it voids the warranty.
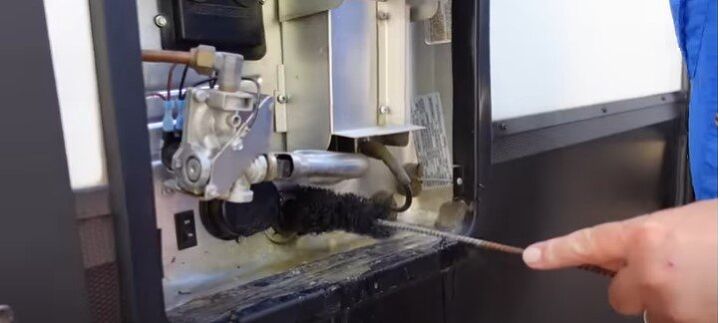
Water heater pipe cleaner
Next, use a water heater pipe cleaner to scrub more out from the threads. You can even stick your finger in there to feel any gritty crud. It’s not corrosion, it’s just a dissolving anode. Just get it out, though, since you don’t want it in your water.
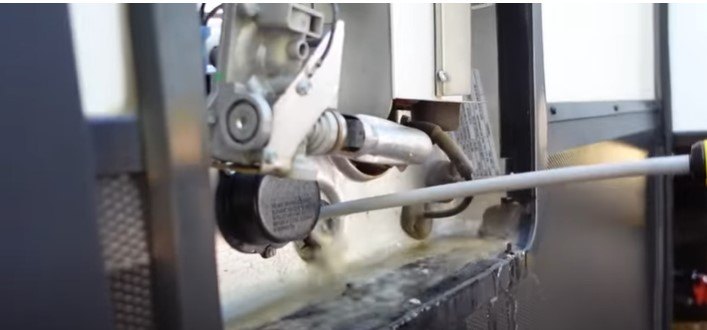
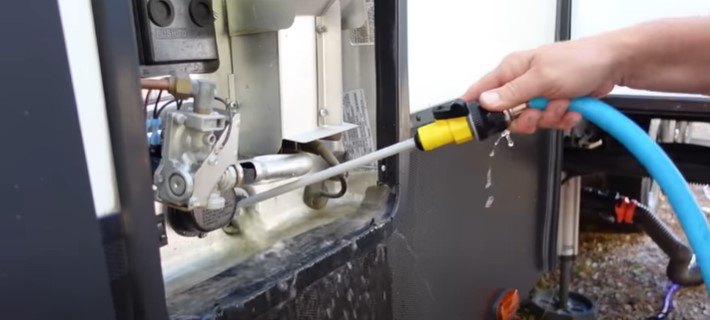
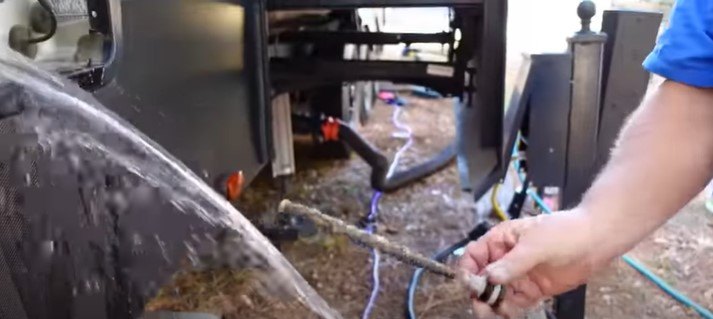
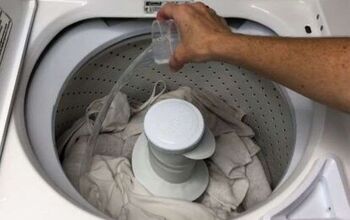
Water heater flush wand
Next, take your water heater flush wand and put it on a sanitary hose (blue), and never use the hose you use to flush your black tank.
Since this is water you could drink or become exposed to, you want the sanitary hose and take a Lysol bleach wipe and wipe down the wand before putting it in.
The wand is specially designed to flush out accumulated sediment at the bottom of the tank, which is normal. Keep flushing for about 10 minutes until the water is clear.
Choosing a new anode
Jim recommends a 9½-inch aluminum anode made by Camco for Suburban RV water heater tanks. There are cheaper versions on the market that come in packs of two, but they are a little too long for what you will need and they will restrict the flow of water in the water heater.
You don’t want to skimp on the quality of your anode rod. Cheaper ones get eaten up faster, too. You can tell a cheap anode because they usually have black caps compared to good anodes with metal caps.
Final steps
Put it back and snug it up but not too tightly. Jim adds plumbing tape to further seal it up. Hook up the water again and turn it on. It will fill up the tank from the bottom. Keep the pressure relief valve open and it will drive out the air.
That will result in a bit of spurting out a bit at the end. Snap it shut and look for any continuous leaking. If it’s leaking, open the valve and shut it again a couple of times. Once all the drips stop, you’re good to go.
RV water heater mistakes and maintenance
It’s not a hard process to clean your water heater elements. But it’s necessary. Let us know in the comments if you clean your RV water heater and how often you have to change your anodes!


Comments
Join the conversation
Our hot water heater stopped working. Acts like it's not getting fuel. It will try to light, but it can't. I can light it manually, but it goes right back out.