How to Scratch Meal Prep Like a Pro

I’m going to show you how to meal prep like a pro!
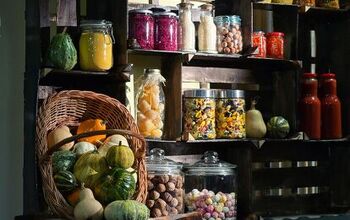
If you have limited freezer space, there is a solution. Ditch freezer cooking and start scratch meal prep with home canned and fermented foods.
Freezer cooking is a great method to batch cook, but canning is ideal for those of us with limited freezer space.
Take a look at how quickly these meals in a jar come together.

1. Canned jar meals make life easier
What can be easier than tossing raw ingredients into a jar, pressure canning them, and storing them on your shelf for the next 18 months or longer.
Plus, we will be in the kitchen only 90 minutes from start to finish.
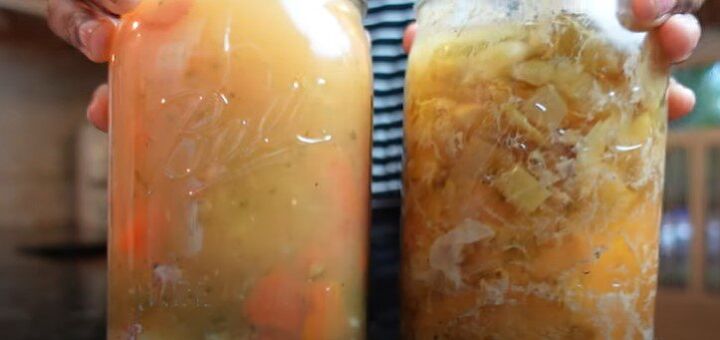
2. Store-bought vs homemade chunky soup
Let’s look at items side by side so I can show you what you get in the store versus when you make it on your own.
Here’s chicken vegetable soup. The store brand has a lot more broth than the homemade canned version I made.
The homemade version on the right is packed with veggies and meat from the top of the jar to the bottom.
The homemade soup will keep you fuller longer since it has more healthy items in it.
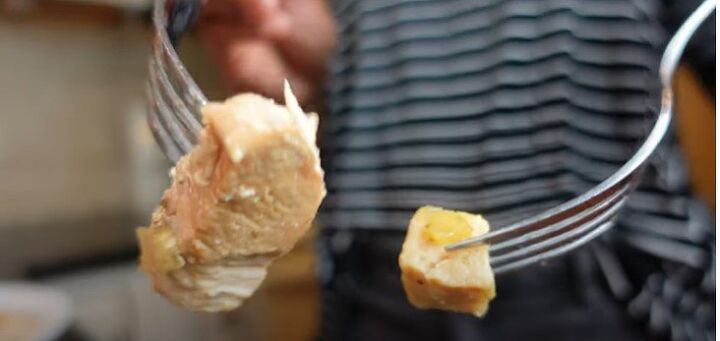
3. Look at the sizes of the ingredients
For example, look at the size of the diced chicken from the canned soup versus the piece of chicken from the homemade version, which is nearly three times larger than the store version.
The same thing goes for the diced potatoes and celery–the homemade canned version is always much larger than the store version.
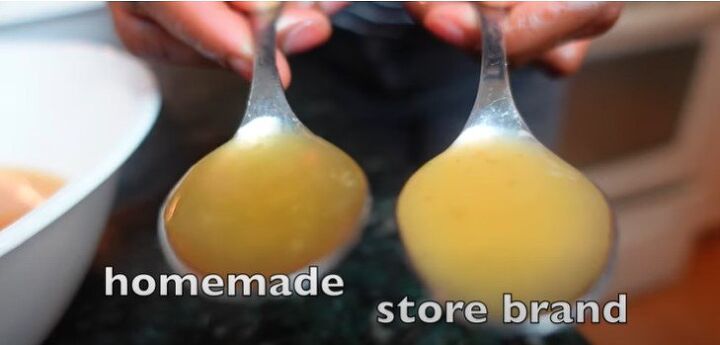
4. Look at the broth
Can you tell which broth is the one from the store vs. the one I made?
Well, the cloudy yellow spoonful is the one from the store (right) and the clear liquid in the spoon on the left is homemade.
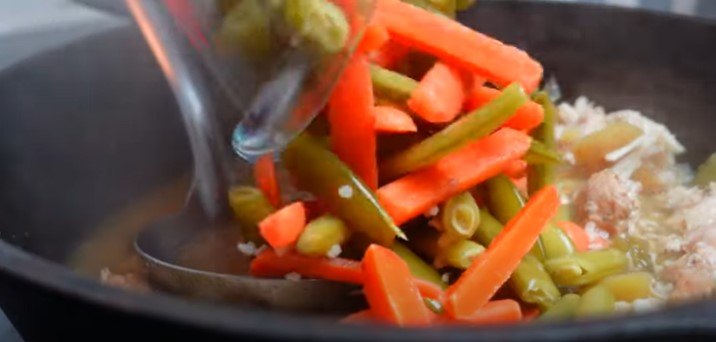
5. Homemade soup
When I make my soup, I toss the jar’s ingredients in a pan, heat it up, then add in my own garlic fermented green beans, peas, and carrots.
The soup has superior flavors and tastes than anything you can buy at the store.

6. Meals in a jar lunch
These are perfect in a pinch and I can avoid wasting time and money on takeout.
When I’m ready to eat a jarred lunch at work, I simply put on a silicone jar jacket so I can safely handle the hot jar after microwaving it.
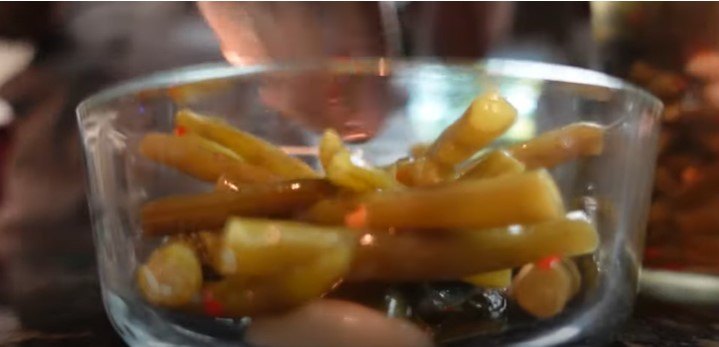
7. Fermenting green beans
I love adding fermented green beans to soups. It’s a great way to add probiotic goodness.

8. Soup with naan bread
I toasted some slices of non-garlic butter bread with a soup I’ve made for dinner that included the green beans.
All I had to do was dump jars of ingredients into a pot for a go-to meal that had my family thinking that I was making a masterpiece in the kitchen.
I can throw this meal together in minutes without having to defrost anything.
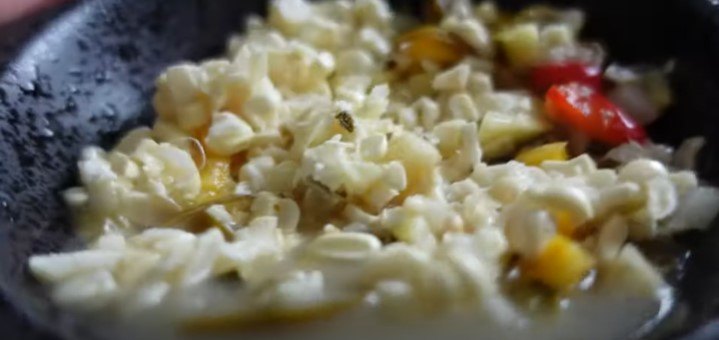
9. Fermented corn relish
This is another side dish that makes everything taste better as a topping or it can be eaten as a standalone.
If you love the Southwest flavors of chipotle chili, cumin, and more, you'll love this alongside a homemade bowl of salsa verde soup.
10. Batch cook prepping
This is going to be the easiest batch cooking you’ve ever done.
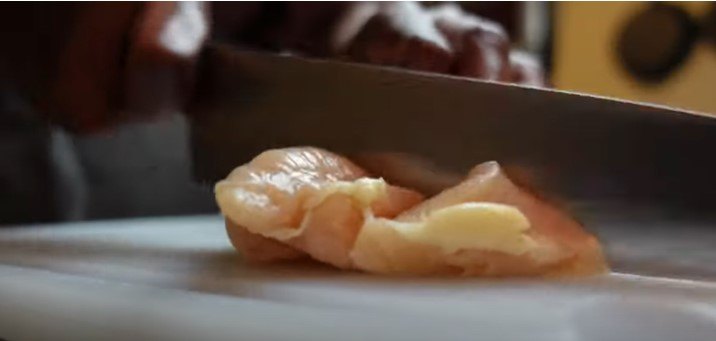
The day before batch cooking, I like to arrange a few things in my kitchen that make the process super simple, such as washing my jars and getting ingredients out and ready.
That way all I have to do is dump things in a jar. Since all of the recipes I am showing you contain chicken, I’ll cut the chicken up, too.
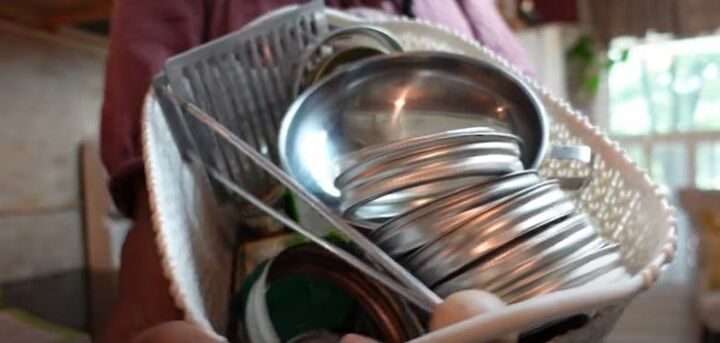
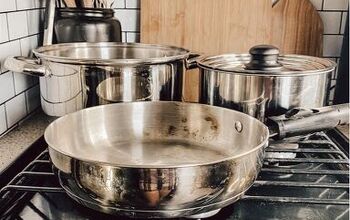
11. Get out canning tools
I’ll put my canner on the burner as well as put out my canning tools basket which stores my rings, lids, de-bubbler, jar lifter, and pickling spices.
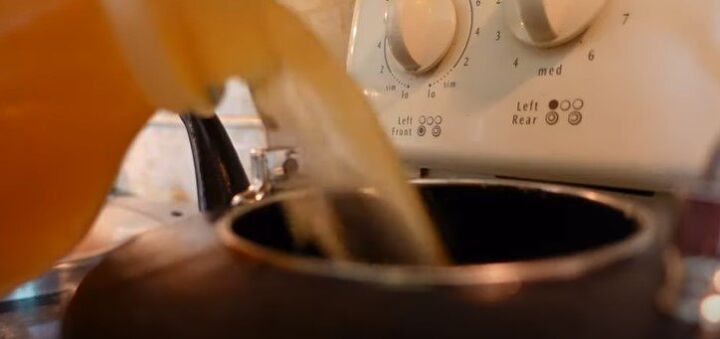
12. Warm the chicken broth
In the morning, I start by warming my chicken broth which I’ll need to add to my jars.
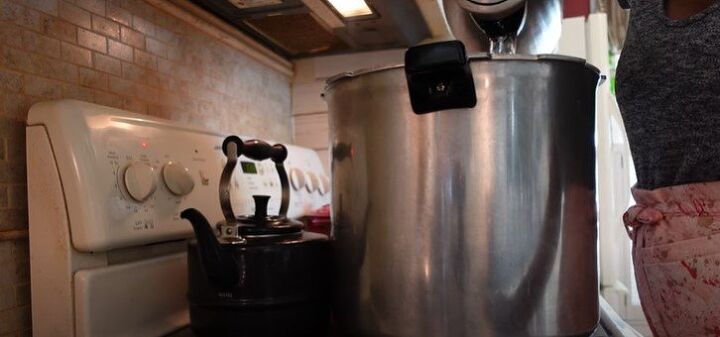
13. Prep the canner
Put a canning rack at the bottom of your canner and add 2 to 3 inches of water and simmer.

14. Add chicken
Add 2 pounds of boneless chicken cut into 2-inch chunks per two one quart jars or across four one-pint jars. This allows me to proportion meals.
This won’t fill up my freezer space because pressure canned meals are designed to be shelf stable.
Now that the chicken is in our jars, can you believe we’re almost halfway done?
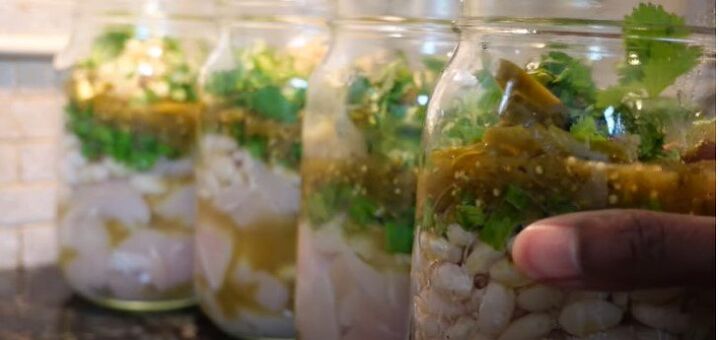
15. Chicken chili verde recipe
For this recipe, you’ll add drained and rinsed white beans, sliced green onions, and roasted salsa verde to the jars.
Also add additional seasonings such as salt, pepper, sliced jalapenos, diced garlic, and fresh cilantro. After assembly, set the jars aside.
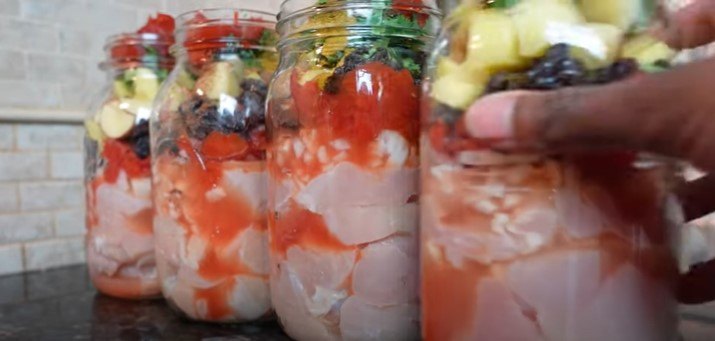
16. Chicken curry recipe
For this recipe, layer your base of chicken with finely chopped onions, peeled and diced tomatoes, raisins, and chopped potatoes.
Add a pinch of salt, top with cilantro, curry powder, and garam masala. Top with tomato paste and set your jars aside.
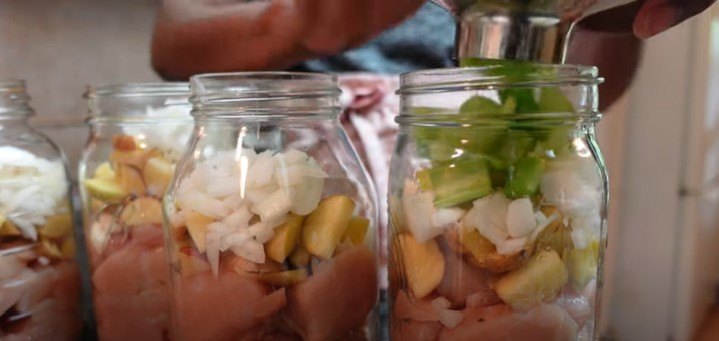
17. Chicken and gravy recipe
For this recipe, you’ll layer your base of chicken with chopped celery, diced onions, and cut up potatoes.
Add poultry seasoning, black pepper, and a splash of dry white wine.
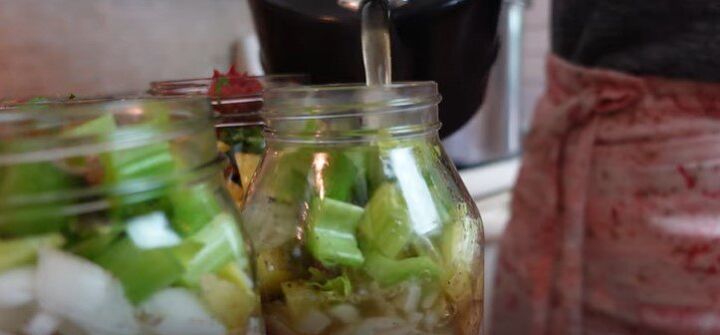
18. Pour in chicken broth
Now you have 16 quart jars filled with three delicious meals! Pour chicken broth into all of the jars.
Leave 1 inch of headspace in each jar so you may only have a few tablespoons of broth.
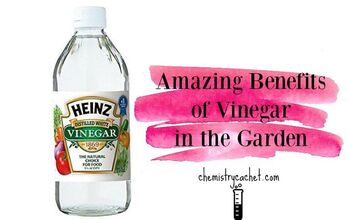
Then clean the rims of your jars with white distilled vinegar or water to remove any residue to prevent the jar from sealing before closing the lids.
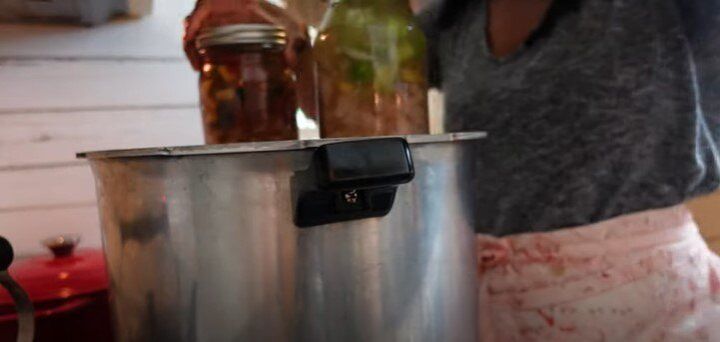
19. Pressure cook jars
Put jars into your pressure canner with 2 inches of simmering water. Put the lid on the canner and lock.
Set the canner for medium high, steam for 10 minutes, then place the counterweight on the vent bringing the pressure to 10 pounds for a weighted gauge canner or 11 pounds for a dial gauge canner.
All recipes are processed for 90 minutes. When the processing time is finished, turn off the heat and allow the canner to drop back to zero pressure.
After five minutes, remove the lid away from your face, let jars cool for 10 minutes and remove from the canner and let them sit undisturbed for between 12 and 24 hours.

20. Fermenting the vegetables
Make the brine for the ferments. Whisk 1/2 cup of unrefined sea salt to 1 gallon of unchlorinated water. This will be used for our spicy green beans.
Cut them up, assemble in jars, add a few cloves of garlic, chili flakes, and brine. Keep the jar in a cool, dark place and it’ll be ready in six to 10 days. Use the same process with peas and carrots.
Scratch meal prep
Meals in jars come together quickly. Freezer meals are not your only meal prep option. Do you think you’d enjoy scratch meal prep using kitchen canning and fermenting methods? Let me know in the comments.


Comments
Join the conversation
These recipes look delish