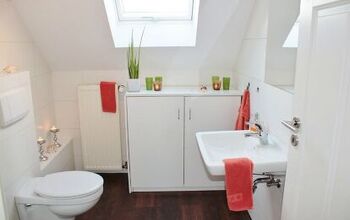
DIY Bathroom Makeover: Tiny Bathroom Ideas on a Budget

I'm going to discuss tiny bathroom ideas that will show you how you can have a beautiful bathroom, even if you're renting or have a tiny home and even on a tiny budget.
Let's embrace small space freedom together and create a haven we love to come home to!
1. Find a focal point
It may sound counterintuitive, but to make a small space look more spacious, the key is to find a focal point and create a large art piece.
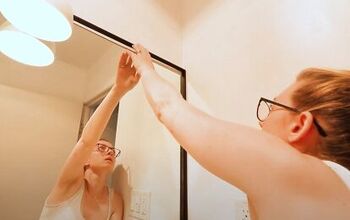
My husband and I live in an 1100-square-foot rental home, and I could not change this light fixture, but I could change the color.
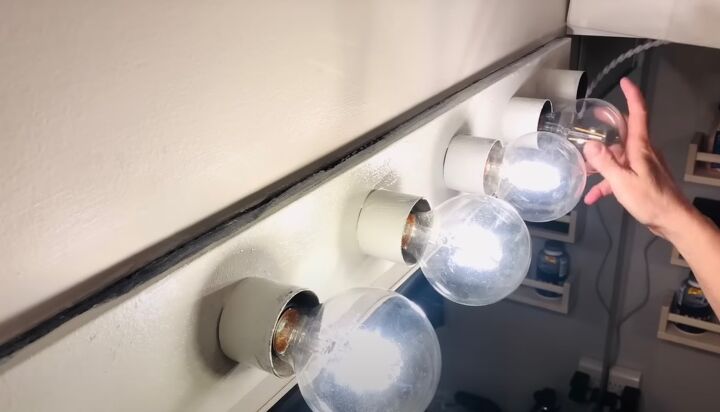
I started by painting a primer over the black surface and then covering it with a paint color that made it fade into that wall. Next, I'll create an oversized art piece to hang just above that.
I want to encourage you to look at the fixtures in your bathroom and see if you could change them, update them, or paint them. It makes such a world of difference.
2. DIY art
Next, I will be creating that art piece.
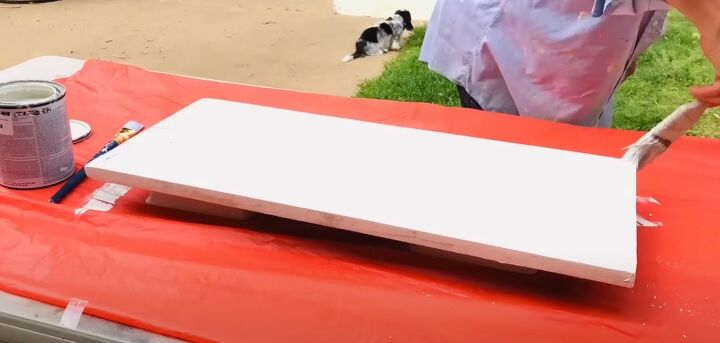
I am using a piece of scrap wood.
I collect wood scraps because I know that eventually I'll find a project that the size of that wood is perfect.
I use an app called Canva, so I printed out the saying I wanted in the font I wanted.
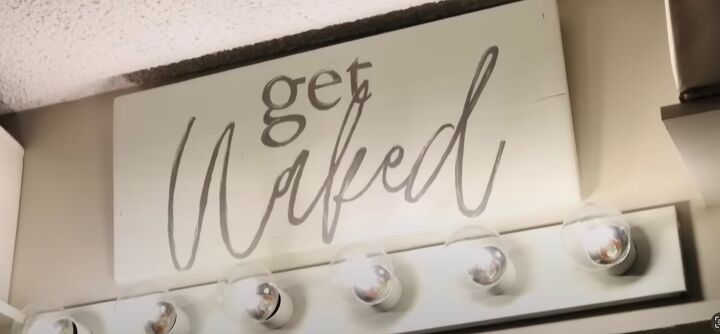
I simply traced it onto that painted piece of wood.
I thought this saying was so much fun because we are empty nesters, and one of the fun things about being an empty nester means you make your own decisions about what you wear around the house.
3. Dyed towels
If you watched part one of this series, you heard a little about how I hand-dyed my towels.
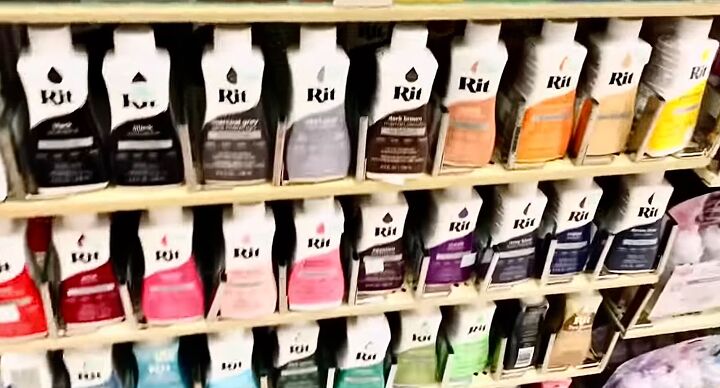
I went to Hobby Lobby and found an extensive collection of Rit dyes.
I simply followed the instructions on the bottle. I used two bottles for four bath towels and about six hand towels, and it worked just fine.
If I had to do this over again, I would have also bought the color fixative. If you wash these in the future with something white, some of that color will come off on the white. So I always just wash them all together.
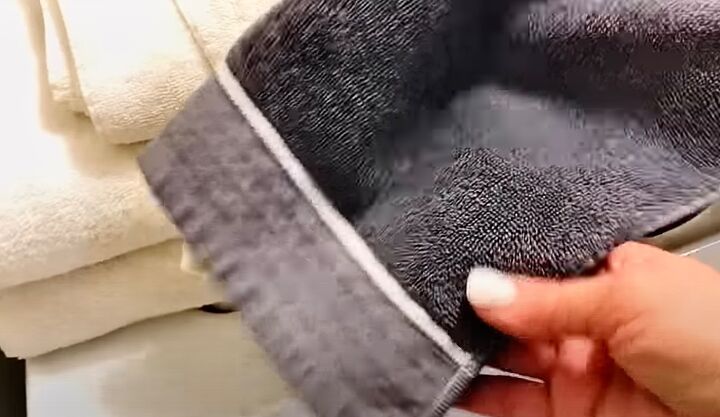
So, if you have some old dingy towels that are still in great shape, I highly suggest you give your bathroom a makeover by dyeing them in a new chic color.
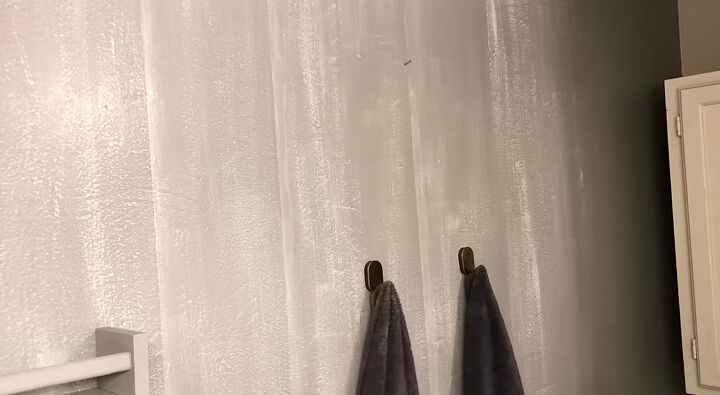
4. Towel hooks
Another simple designer hack for making your tiny bathroom more glam is to replace the towel bars. We had gotten into the habit of putting our towels over the shower curtain because we just didn't like the function of the towel bars that were there.
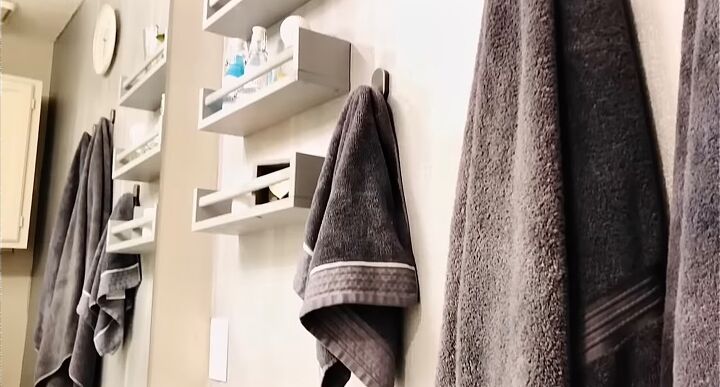
If you have a small bath like we do, I highly suggest you consider hooks for your towels versus towel bars.
They take up so much less space, and they're so practical. We got these reasonably from Ikea, and then it was time to spackle those holes.
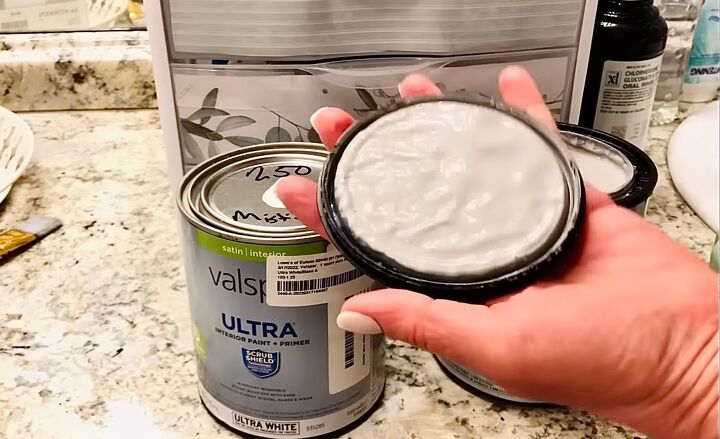
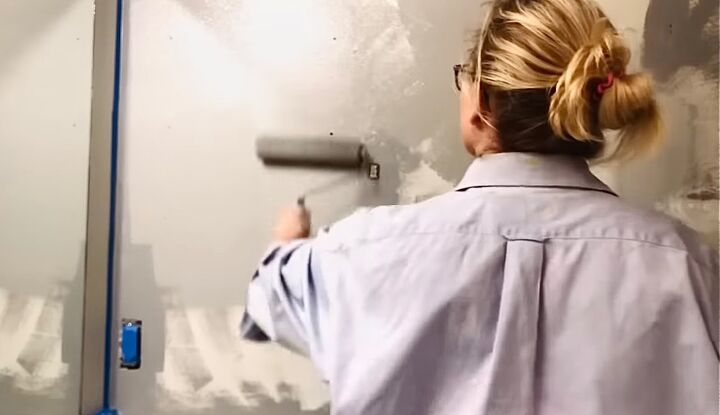
5. Contrasting paint
I am using paint that I purchased at my local hardware store for the paint used in this project. Each quart was only $2.50 for a total of $5. Rather than painting that whole wall, I created a designer look by making a rectangle of that contrasting paint.
6. Lighting
The next purchase was lighting, my most expensive but most needed object in the bathroom.
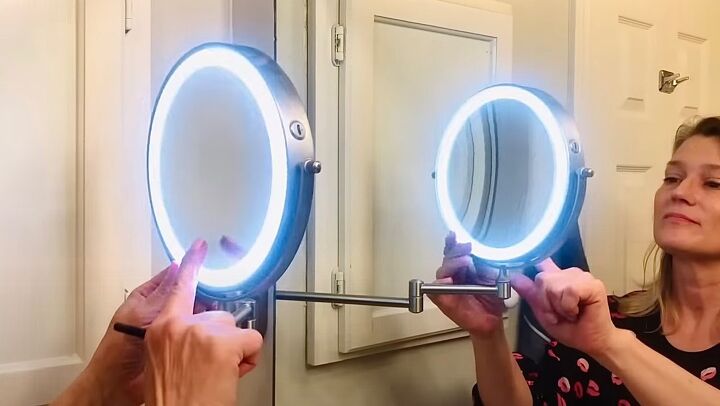
After much research, I decided on a swivel mirror that was wall-mounted and rechargeable.
I was in desperate need of a light for my makeup. Comment below and tell me if you struggle with getting your makeup on because of vision challenges.
I have to wear glasses. Contacts are not an option for me. So, this mirror was a life changer for me. The first side is a standard mirror, and then you flip it over, and we have a 10X magnification.
I used to think I needed different makeup because it wasn't applying correctly. Now I realize I just needed the magnifier mirror.
7. Accent wall
If you're unable or don't feel like painting your entire bathroom, I suggest you try an accent wall. Each color was light gray and darker gray, and I wasn't thrilled with either one individually.
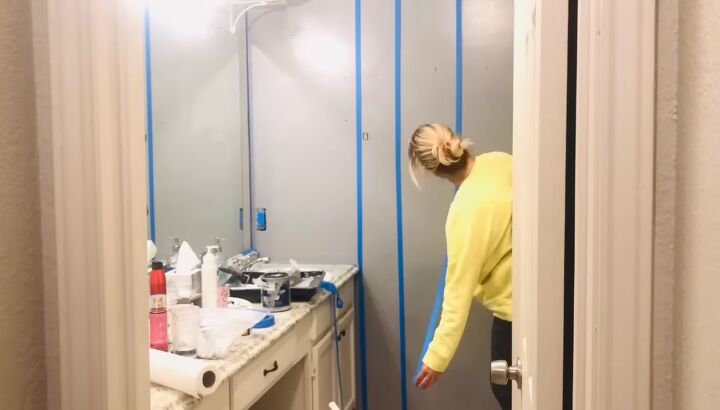
I started by painting the darker color as a base, and then I went through with painter's tape and just made some vertical lines from top to bottom at random intervals.
I suggest you take your time with this step of the process.
Next, I came in with the lighter gray color right next to that painter's tape and created something of an ombre effect going from the tape to the far end.
Then, I removed the painter's tape from top to bottom and dry-brushed the whole wall with that lighter paint.
The result was the effect of barn wood planks, and I finished it off with a mirror from Ikea that cost just $5.
8. Storage
I still had a few places that were not functioning correctly, and one was my under sink space.
Now, the biggest tip I will give you if you have downsized from a large home to a smaller home like we have is to go through everything you use on a daily basis to keep only those things in your bathroom and put everything else in another location.
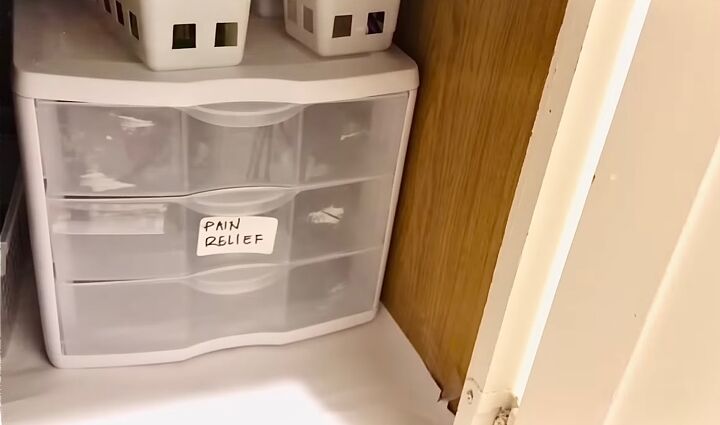
After finishing this process, I had three drawers left, and I labeled them very quickly because these will be test drawers to ensure that these are the things I want to keep here.
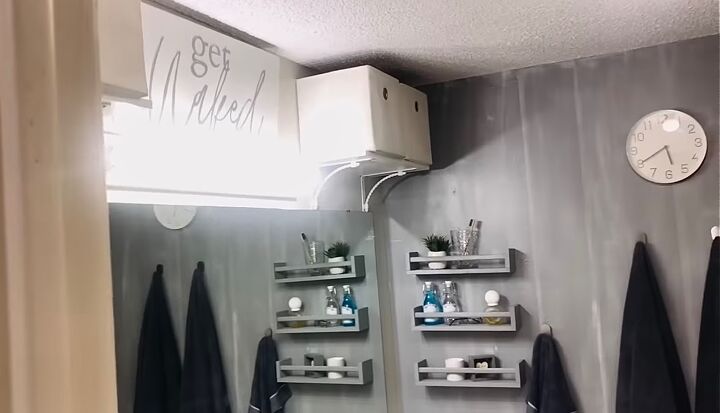
My husband's area over the sink was our last storage area to remodel. He had shelves that belonged in my daughter's room, but I decided it was time for something a little bit more practical for him.
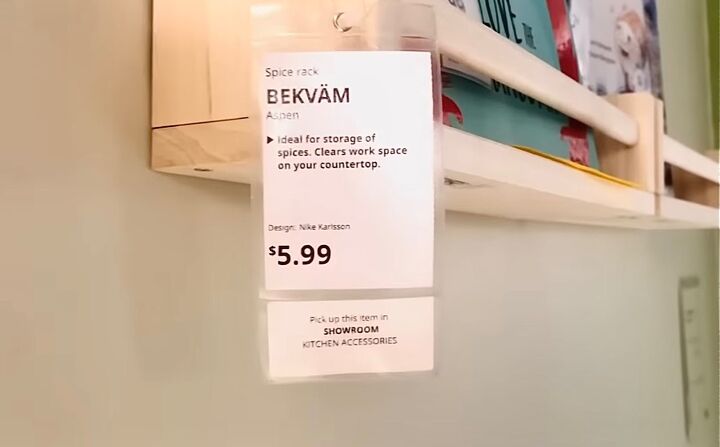
I found it at IKEA.
These are wooden spice racks. They're easy to assemble, and they're incredibly sturdy.

I painted them the matching base color of that wall, using just that quart of mistinted paint.
DIY bathroom makeover: Tiny bathroom ideas
I hope you got some tiny bathroom ideas and the courage to make them happen.
We were able to streamline this entire space. My biggest takeaway is if you have downsized from a larger bathroom to a smaller one, be ruthless about getting rid of things you don't use daily.
Comment below with your tips for downsizing to a tiny bathroom.


Comments
Join the conversation