How To Create Faux DIY Concrete Countertops

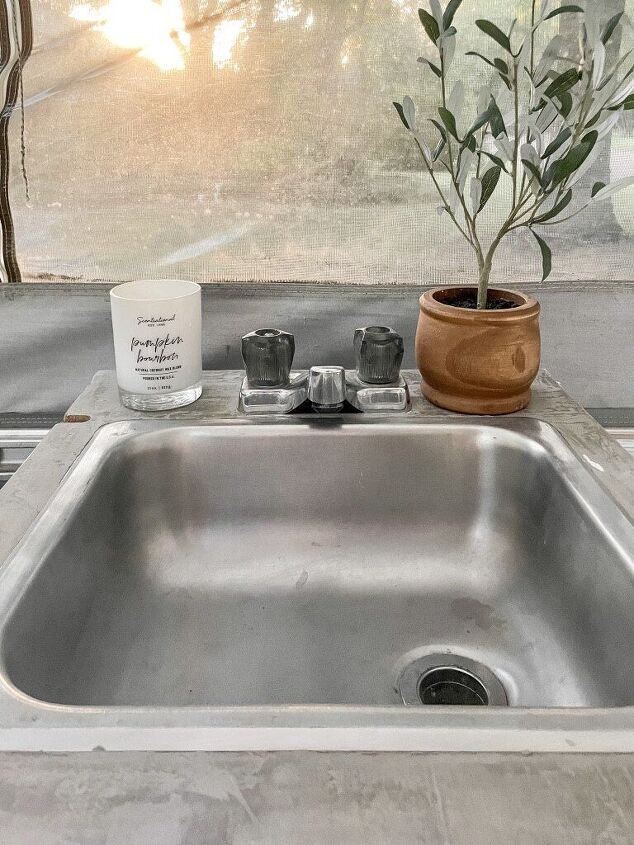
A 1999 Pop-up camper gets a modern update in 6 steps for under $40. Learn how to DIY faux concrete countertops!
Need an inexpensive fix for your old and dated countertops? Look no further. I’m going to walk you through step by step how to update any countertop with modern concrete to add character and texture to your space. Let me show you how to turn beige, laminate counters into designer inspired concrete with tips and tricks to ensure a successful application.
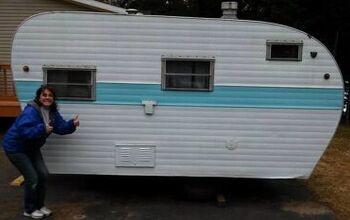
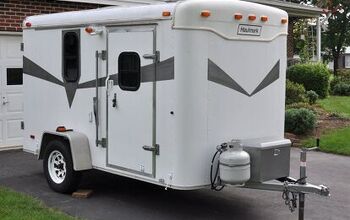
In case you haven’t heard, I bought a fixer upper house on wheels! This 1999 Jayco camper found its way onto my Nextdoor “Finds” page, and it’s my mission to flip it and bring it into this decade. The bones are good, which allows me to focus on superficial face lifts.
The walls, ceilings, and cabinets are getting fresh coat of paint. The floors will get *new* planks installed, and now new countertops with a lightweight feather finish product. I used this concrete countertop technique once before on our entryway cabinet countertop, but didn’t do a tutorial because I wasn’t sure if I liked the finished product.
Over time, it has definitely grown on me. And after more research, I feel confident to share my technique. I never want to write a post or promote a product I don’t love, which is why I wanted to try it out one more time before sharing. Who’s ready to find out if I’m happier with round 2?
For a full supply list complete with links, visit the original post at EmilyRoneHome.com
STEP 1: Prep the countertops
First, clean your countertops with a rag and La’s Totally Awesome All Purpose Cleaner to remove any residue, grease, dirt, etc. My countertops were in great shape, so let’s rough them up! There was really nothing wrong with them, but the dated beige laminate didn’t fit the aesthetic I was going for. I decided to use feather finish concrete.
For best application, it is recommended that you create a rough surface to promote product adherence. I used a box cutter to make random marks on the surface, then an 80 grit sanding sponge to give it even more texture. I used a tack cloth to remove the sanding dust.
Do one last look over to make sure you have a clean surface clean of debris. I may not use tape when I paint, but I got out the painters tape for this project. I lined the walls and cabinets to ensure I didn’t get concrete on those surfaces. I have a steady hand when painting, but I’m still working on my trowel abilities.
STEP 2: Mix the concrete
If you choose to go with Henry Feather Finish like I did, the box gives you good directions to follow in order to mix. The area I improved on through trial and error is how large of a batch to mix up at a time. Several other reviews and tutorials say you have 15-20 mins before it dries and is no longer workable, but that still didn’t tell me an exact amount to mix. I guess that’s different for everyone based on how quickly you work.
For me, the first time I mixed an entire half gallon bucket full of 1 part of water to 2 parts concrete powder. The 1:2 ratio is per directions on the package label. I was only able to use less than half of the concrete before it dried out to a consistency that was crumbly, hard and not spreadable. So for me, adding 6-8 oz of water to a smaller mixing cup, then adding 12-16 oz of concrete powder and mixing with a stir stick worked best.
I wore gloves because I’m messy, and didn’t want the concrete on my hands. Note, some people said adding more water made the product easier to spread and work with. However, the label states that adding more water affects the integrity of the product. I think it would also increase the risk of cracking.
I did so many different batches throughout the process of giving every countertop 2-3 layers. Most went on fine, but I would say the one batch I mixed that was slightly more watery than the others came almost completely off after the first round of sanding.
STEP 3: Apply the Concrete
The first time around when I used this product to finish my entryway countertop, I had a hard time getting a smooth consistency and felt like the edges of the trowel kept digging in on the sides and leaving ruts. This time, I chose a smaller trowel and was able to manipulate the concrete better.
I scooped a glob onto the countertop surface, then begin to spread it out. Once I had a decent amount of concrete spread on the surface, I started trying to smooth it out row by row. The thinner the better! You also don’t want to add a lot of weight to your pop up, so my goal was to get my layers as thin as possible. Various tutorials recommend 3+ coats, but for the pop up I chose to only do 2.
STEP 4: Sand and smooth
You want to sand and smooth between layers to keep a uniform and thin finish. The first time I did this finish on our entryway countertop, I wasn’t happy with how the color changed significantly after sanding. The areas that needed more sanding got much darker, creating a striated effect. To compensate, I didn’t sand after the final coat. Instead, I used a wet sponge to smooth out the final coat to avoid any possibility of discoloration from sanding.
However, I think adding the extra water to help smooth it out (instead of sanding) caused the surface to crack. There are hairline cracks running through the finished product, that I was able to avoid the second time around on the camper countertops by being mindful of the water to powder ratio, and not adding extra water to smooth it out at the end.
STEP 5: Remove tape
In some areas, the painters tape that had a significant amount of concrete on it was easier to remove than the painted over tape during this RV fiasco.
To remove, I used a box cutter, and the putty knife to get up and under the tape. I was able to remove about 95% of the tape this way, the rest may still be on, but in less obvious areas that aren’t visible.
STEP 6: Seal
After 1-2 coats and sanding in between, you should prepare for your final coat. Be sure to make this as smooth as possible during application so only minimal, light sanding is necessary to create a smooth finish. The more sanding that is required to make the surface even, the more discoloration you will get in your final product.
End with a 220 grit sandpaper to ensure a fine and smooth finish, and you are ready to seal. I chose a waterproof sealer safe for concrete to finish these counters.
The product claims to “protect concrete, masonry, metal and vinyl against moisture”, and “waterproofs, provides resistance from UV rays and mildew”, which is imperative characteristics for a camper. You can apply with a brush, roller or sprayer. I chose a roller to get a smoother finish. 2 coats are recommended, with 2 hours of dry time in between.
Although time consuming, I am convinced this is a higher end and more sustainable solution to update camper countertops affordable (especially compared to the popular c ontact paper solution). What do you think? Remember, I also have this in my home and you can too! Concrete countertops look great whether its a kitchen, bathroom, bar, or mudroom. The possibilities are endless.
Tags: camper, countertops, DIY, faux concrete, how to, pop up
Resources for this project:
See all materials











Comments
Join the conversation
Will it crack when the camper is going down the road?
Wow! The best written tutorial I have read yet! Emily you have a gift for using just enough words to get your ideas across without losing me with a deer in the headlights look on my face!! I appreciated the dont do this & what will happen & your experience is great the way you were able to pass your information on and get your message across! I even stopped in the middle of reading to answer a friend’s text! But I came right back to continue reading your tutorial! Great job! It looks great! You made doing it seem reasonably easy to follow & “imitate” your procedures and feel confident! Kudos to your end product & the very clear instructions on getting there!!👍️👍️♥️♥️