How to Build a DIY Off-Grid Tiny Cabin From Scratch

One of my brothers moved to a spot fairly close to us this summer and we helped him get a little off-grid tiny cabin built to live in. It took the summer and into the early winter to build the DIY tiny cabin, but we did it and he’s all moved in.
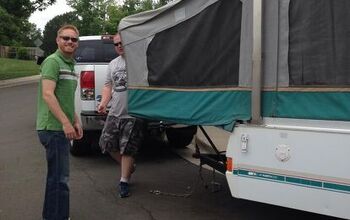
While we were building the cabin, my brother lived in his truck/camper near the spot. We made the cabin livable so he could move in for the winter, but in the spring, there were more improvements to the cabin.
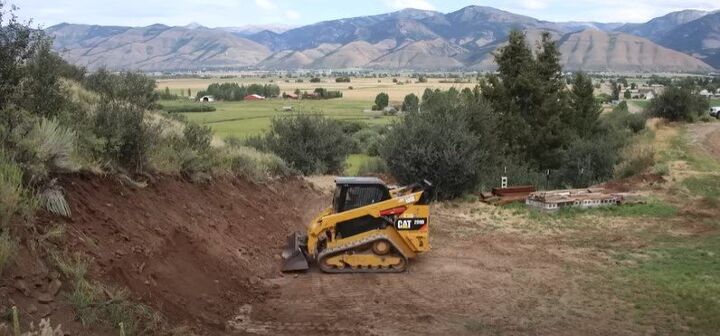
1. Prepping the site
His tiny cabin is on a bit of a steep hillside with a gorgeous and spectacular view. The first thing we had to do was level the dirt. We used machinery, including a backhoe, to regrade some of the hills and re-bank a slope so that it would hold.
We had to pull up a lot of wild plants and tough roots that were growing in the spot. But we put back a lot of dirt so the wild plants could regrow in a way that stops erosion. All of this took a significant amount of time to accomplish.
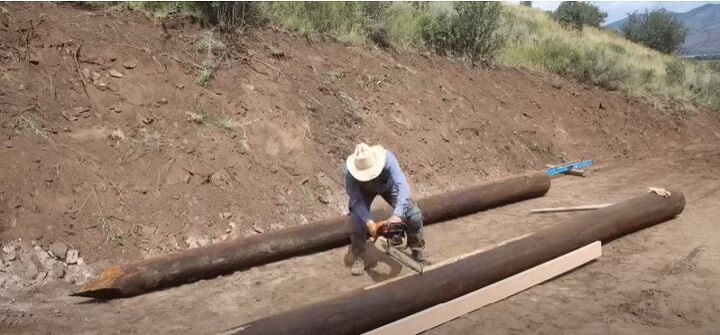
2. Building the foundation
The cabin can technically be moved because it’s built on big skids. It took a load of work to level, square up, and even out the foundation. It’s a matter of turning a round base into something you can build a square platform on.
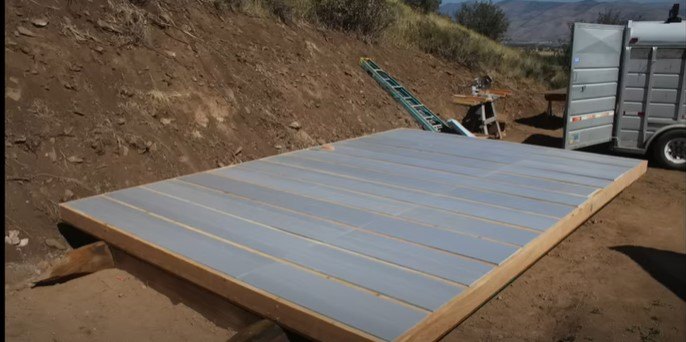
3. Building the floor
Here’s the bottom of the floor. We screwed it all down. Then we used the backhoe bucket to flip it all over. Once it was flipped over we filled it with several layers of insulating foam. Then we put sheeting on all of that.
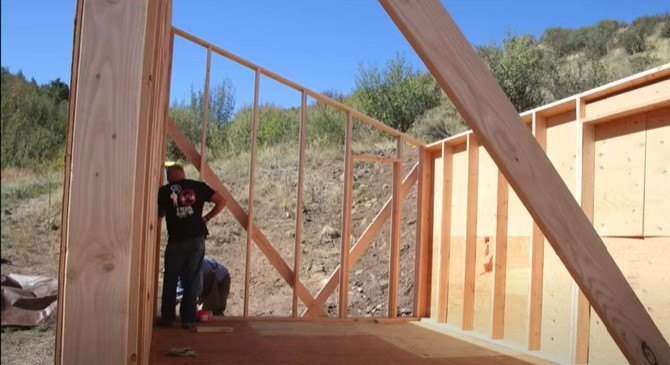
4. Framing the walls
After the floor is all done, we framed up the walls. We stood the walls up using the backhoe bucket. My brother rigged the backhoe up so it had a hood on it to hold the heavy walls in place. It’s a shed roof-style cabin so there’s one shorter wall and one taller wall.
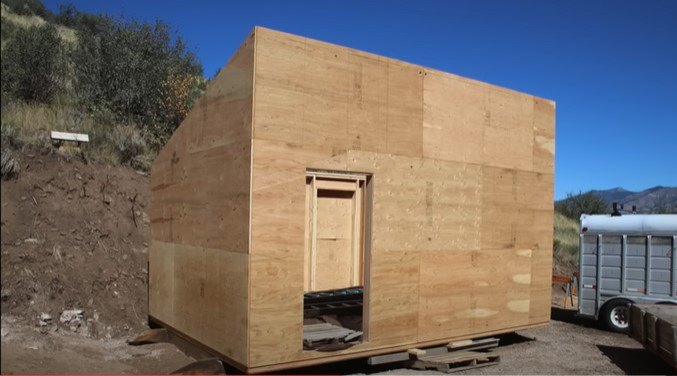
5. Sheeting the outside walls
We tried to reuse as much second-hand material as we could. And then we painted it. But siding is going to be put up on the cabin after the winter.
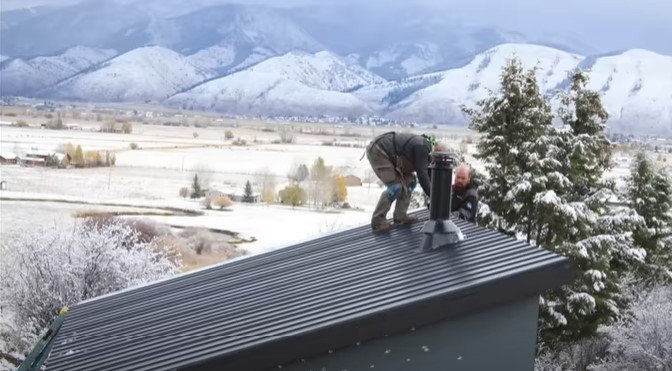
6. Building the roof
We then did the roof rafters and built out the whole roof. As this was being built, I began to caulk the joints on the plywood, then painted it. The roof was sealed up pretty well. Once the metal roofing material came in, we put that on–in the middle of a snowstorm.
7. Inside the cabin
Here’s the inside of the cabin once the roof was on–though there are no doors or windows.
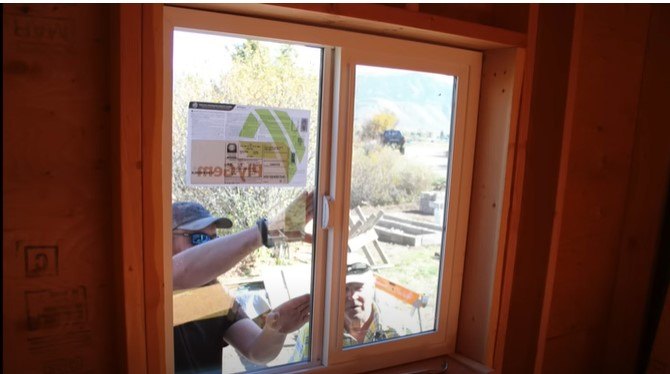
8. Windows and doors
In went the windows and doors. We used some second-hand, mostly new, though. We also put a hole in the roof to accommodate the chimney for a wood-burning stove.
9. Electric
Though the cabin is fully off-grid right now and has a little solar setup, my brother wanted to wire some electrical stuff in there so it would be an option down the road.
Currently, it’s set up where you could just plug a generator into it and power all those outlets if he wanted.
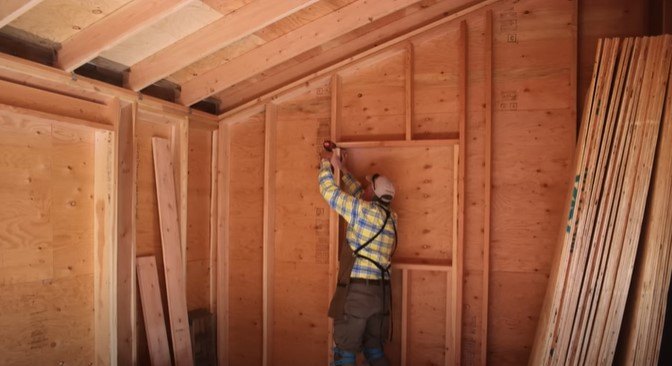
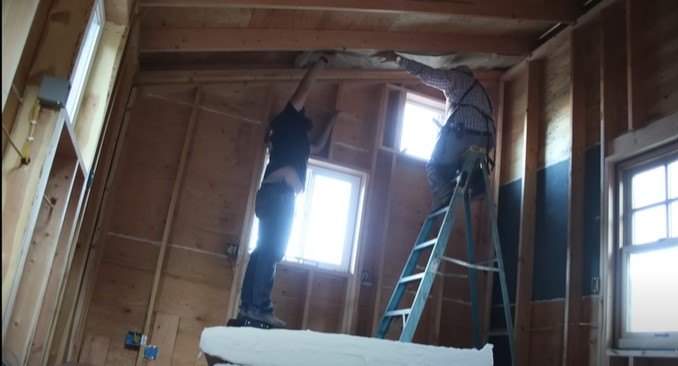
10. Insulation
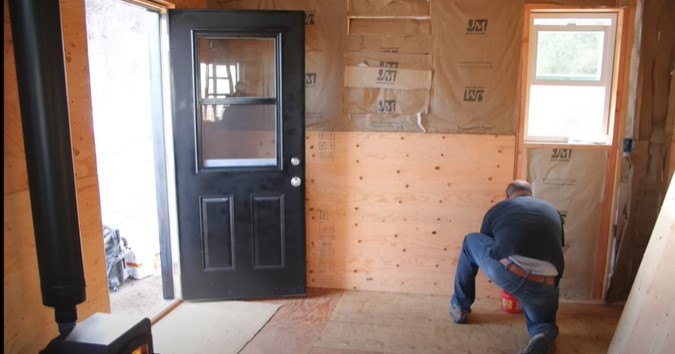
We insulated the interior ceiling and walls and sheeted them on the inside. We do “plywalling,” which is plywood, not drywall on the inside. The plywood makes a sturdy, stable finish.
You can attach anything you want to the plywood and you don’t even need to find a stud. It’s nothing super fancy, but we like it.
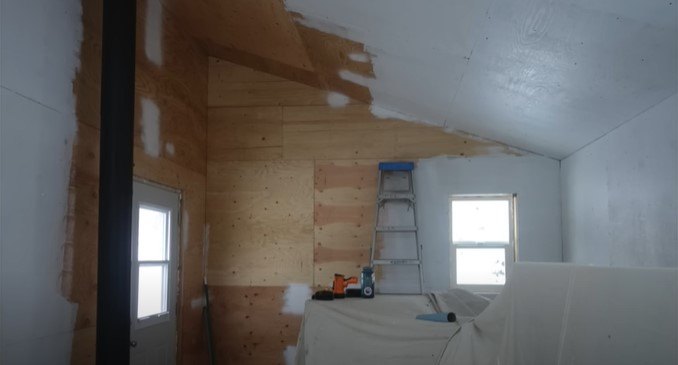
11. Painting
Then I caulked the cracks and painted the inside. It looked pretty nice and bright inside. Still, nothing fancy!
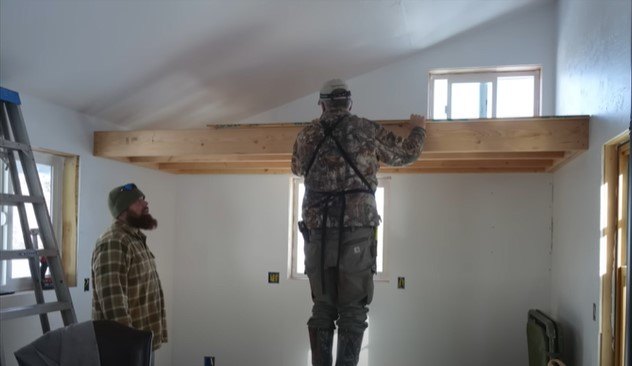
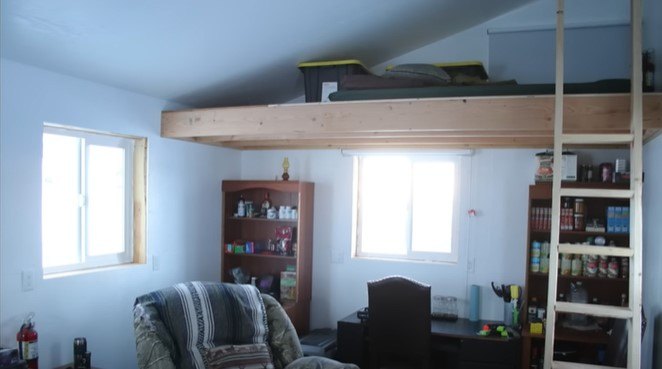
12. Sleeping loft
We added a sleeping loft. There’s a window high up in the cabin to fill the loft with air and light.
13. Little touches
One thing we did was move the solar panels up the hill a bit more to get more sunshine in the winter. The wildlife that surrounds the cabin doesn’t seem to mind my brother’s presence.
As an update, my brother has added a lot of nice touches, like a coat rack, a wood ladder to get to the loft, a little shed for his tools, a composting toilet, plus a compost and gray-water setup.

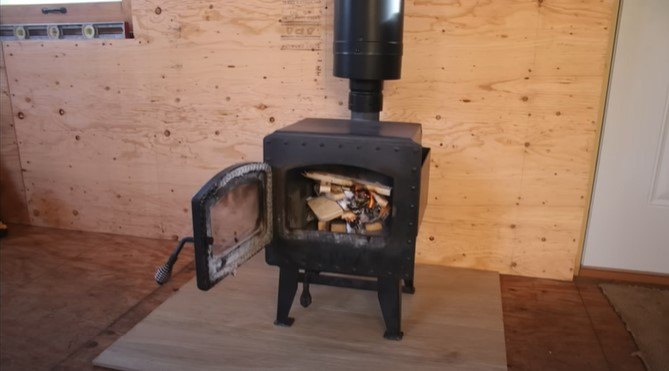
Off-grid tiny cabin
All this work was done on the weekends when everyone had off work. We also worked well into the night most of the time. The wood stove does an excellent job of keeping the cabin cozy and warm, especially on snowy nights.
What do you think about building a tiny cabin? Does it inspire you and do you think you could live off-grid as we do? Let us know in the comments below!


Comments
Join the conversation
I have a diagram of a 26' x 12 ' gambrel barn from 1996 that we bought at Home Depot. We put that together myself n my husband at the time. We put it on cement blocks as a foundation all the way around,filled in the blocks with cement. But our design was based on putting up half walls built up with the length of 8 ft each 10 ft high. Easier to install. The only thing we needed help on was a slight change in the carrying beam for the roof. I wanted a 20' beam. So we doubled the beam n added plywood spacers in between for strenght. [20x 12] n extended it over the front of the barn. Then added a pulley for the future to lift large items to the double doors. The second floor was sheathed and the third person helped us lift and brace the double beam. Otherwise everything was done by two people. On the upper half in the front I put double doors. We built stairs along the right side with two steps/ platform then the rest of the stairs centralized so we could walk up in order not to hit our head on the slant of the roof. So don't know why they didn't decide to divide the walls in sections while putting it up to make life easier to install. One thing I also learned when you lay plywood my father said you over lap the seams. No seam joints should meet that is for strenght n durability. Though my husband ignored him later down the road the floor was spongie in some areas. I eventually had to reverse the direction with a added layer that was 3/4 in for support the way Dad taught me. Today Home Depot is selling the same barn for $8000 as a tiny home. I am glad I kept the prints.So the only change I would make is build the upper loft sides 4 ft high instead of the two to bring the ceiling and extra two feet up higher before putting up the support beams for the roof. A note: I used 2x 6 for side supports for future expansion.
Yes, I would love to live in a tiny home of our very ow. I wouldn't know how to go about building it though. Or where to put it. But yours looks great. I wish your bro many happy years there! Congrats.