How to Install Tiny House Windows in 8 Easy Steps

Tiny house windows are picture-perfect. Today I want to teach you how to trim out a window in a tiny house. This method can be used in any house, but we use it in our tiny houses, and don't have any problems with moving, flexing, cracking, falling off, things falling apart, or any of that stuff.
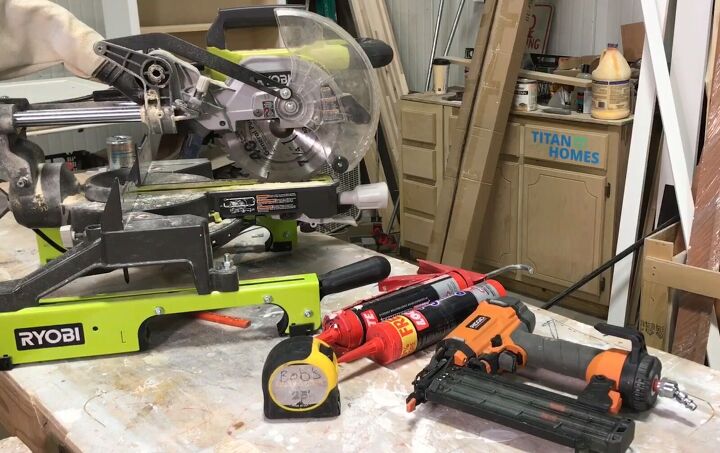
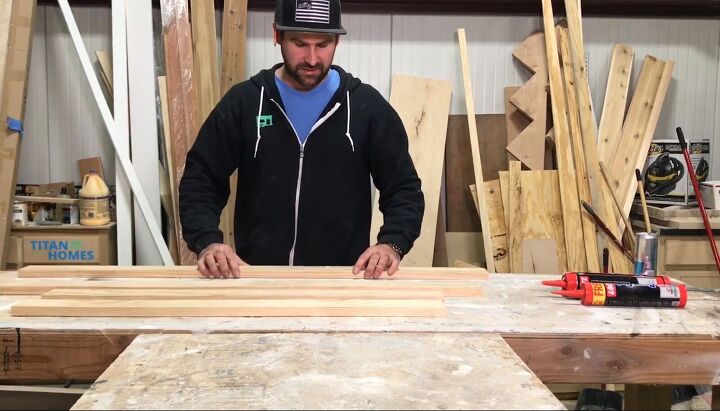
Tools and materials
Here's what you need to get started First, you're going to need to grab a brad nailer, a tape measure, two tubes of caulk, and obviously your trim or whatever it is you're gonna make the window out of. So let's get started.
Okay, so this is the window that we're going to trim out today.
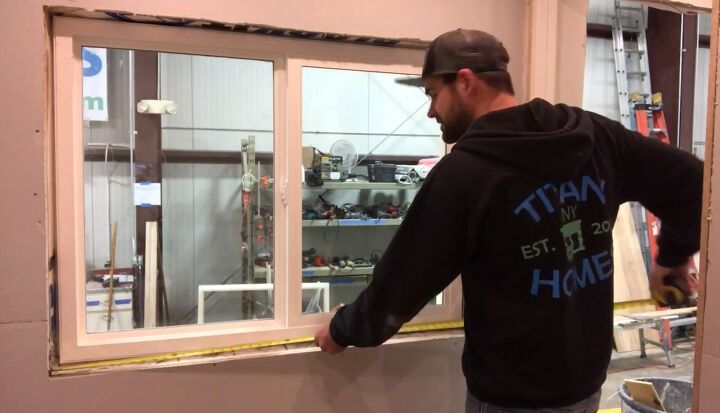
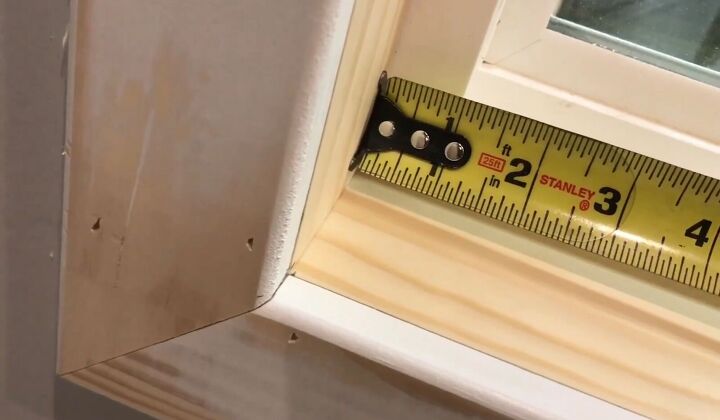
1. Take measurements
You're going to want to grab your tape measure, and you're going to want to take some quick measurements. You're going to want to measure the width and height of your opening.
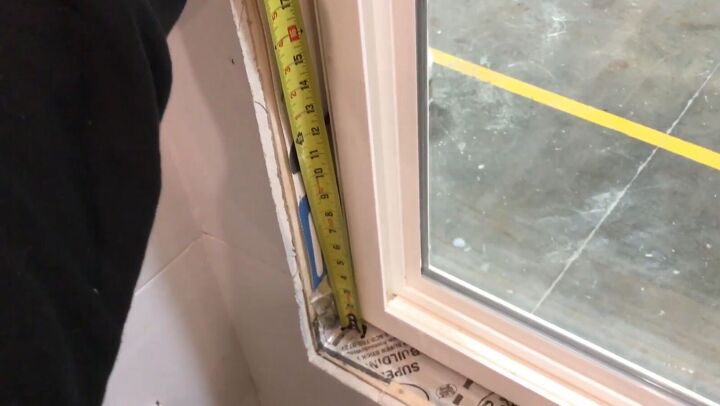
2. Adjust the measurements
Then you're going to want to take off about a quarter inch from each of those measurements so that you have nice movement and placement.
I'll show you why that's important. When we start to build the whole frame and extension, we're going to build it as one piece. From there, we're going to take off a quarter inch from each side. So we'll go 48¼ inches by 36¼ inches.
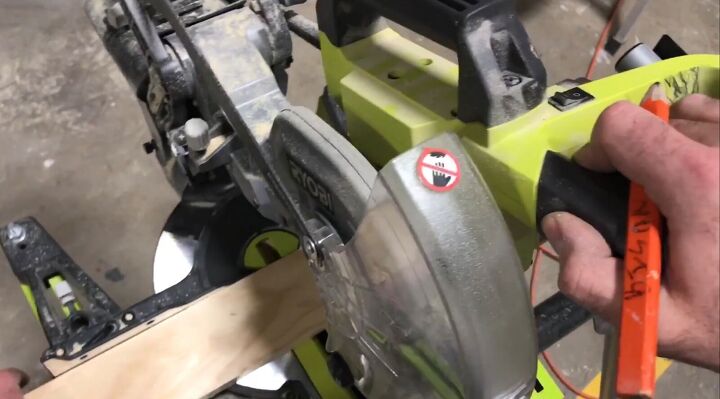
3. Cut some wood
So I've gone ahead and cut all of our jamb extension pieces.
These are the pieces that are actually going to sit inside the window, and they're going to create the interior portion. Then we're going to put trim around the outside right now.
Okay, so I got my trim and I've got my jamb extensions.
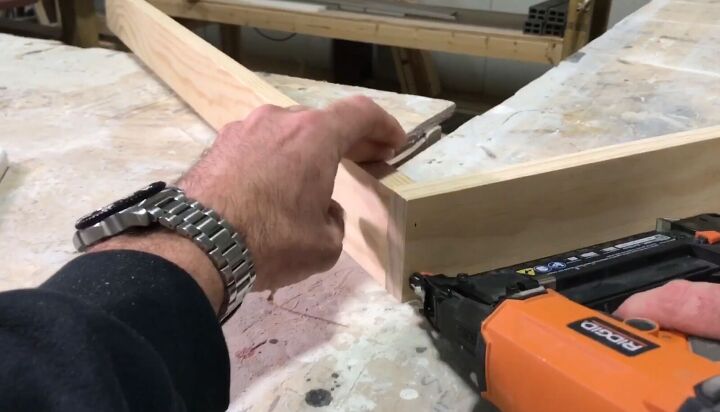
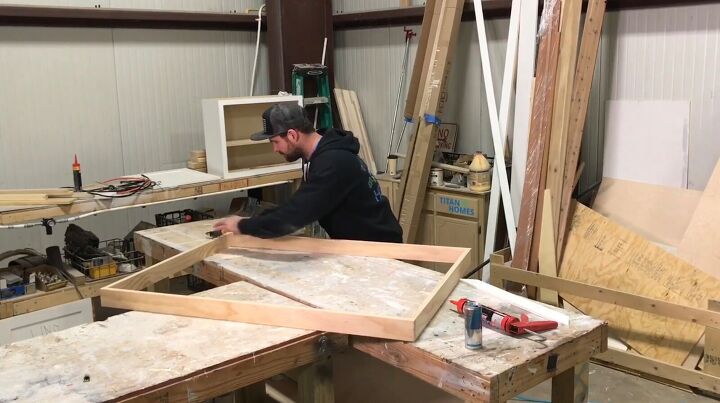
4. Assemble the frame
Now I'm going to start to put the thing together.
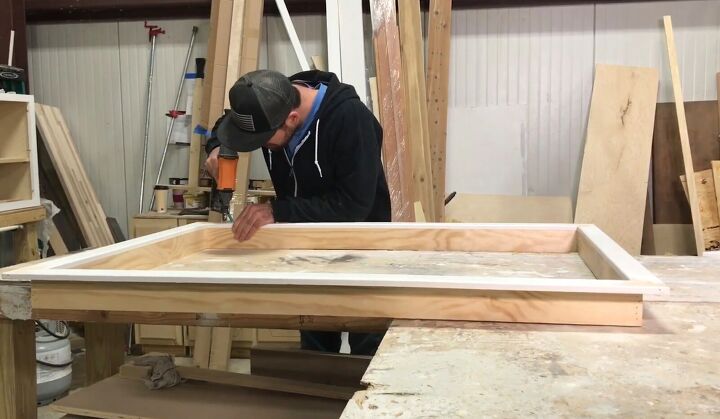
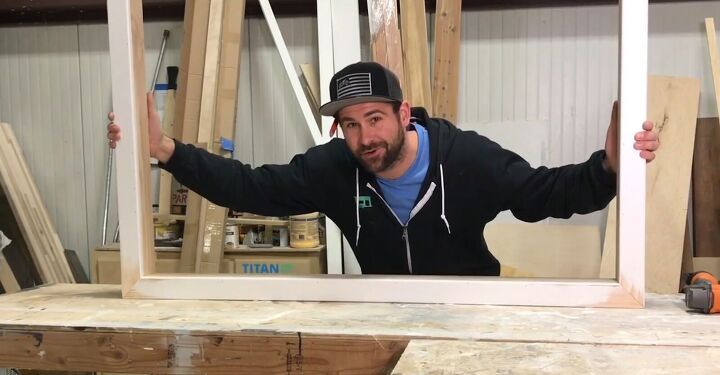
All right, well, now that I got it all nailed together, you can see it's almost picture-perfect.
This is our finished product. Prior to us installing it inside, I went ahead and I sanded these down. After you get everything mitered together, sometimes it's a good idea to take a palm sander and just buzz these corners down nice and smooth before you put it in.
Put some wood putty in here or something. But the bottom line is you want to get it nice and smooth so that you don't have to mess with it once it's in the house. All right, let's go put this inside.
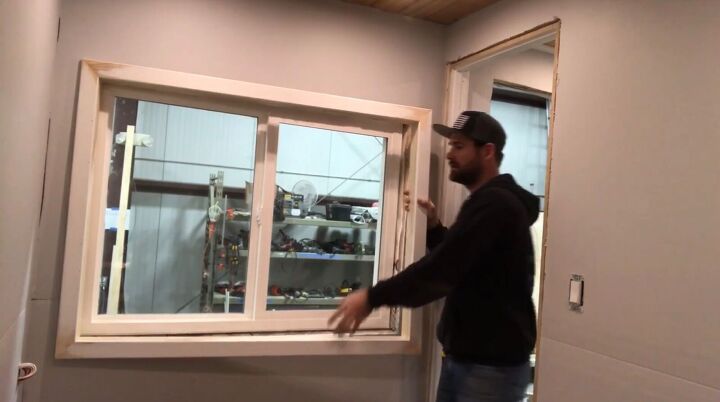
5. Test the fit
We want to test it out first before we put it in, of course, permanently. Yeah, that is a nice fit. Now one of the other things that you're going to want to do is you're going to want to take your tape measure around here and really center this in the window before you go and glue it and nail it home. This is where the glue comes in handy.
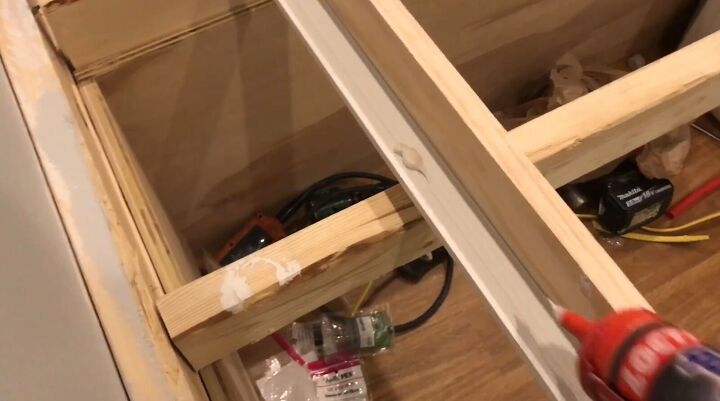
6. Add caulk
So we're going to put some so we're gonna put some caulk on the backside of here and just some dabs.
We'll do about three on each side. There's plenty.
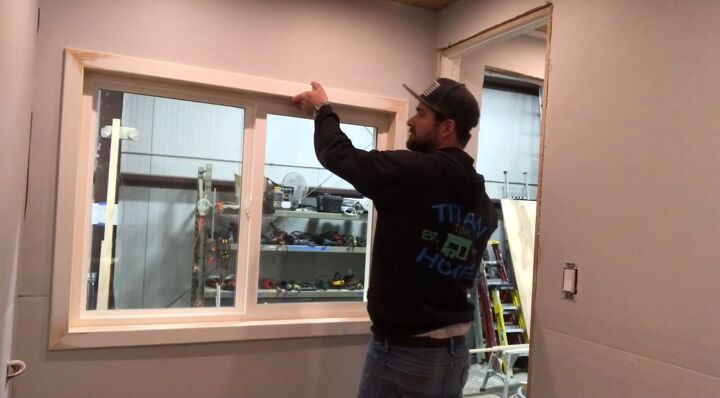
7. Insert the frame
Set this up here. Push it firmly against the wall.
Kind of move that glue around a little bit and get it nice and settled in. Then you take some overall measurements just to make sure you're nice and square.
8. Final measurements
Then when you're ready, hold your measurement. And in our case, it's going to be one inch.

Do the same thing on the other side.

There you have it, a tiny house window is installed.
How to install tiny house windows
I hope this has been helpful for you and taken any fear out of installing tiny house windows. Have you installed windows in your tiny house? Let us know how you did it in the comments.


Comments
Join the conversation