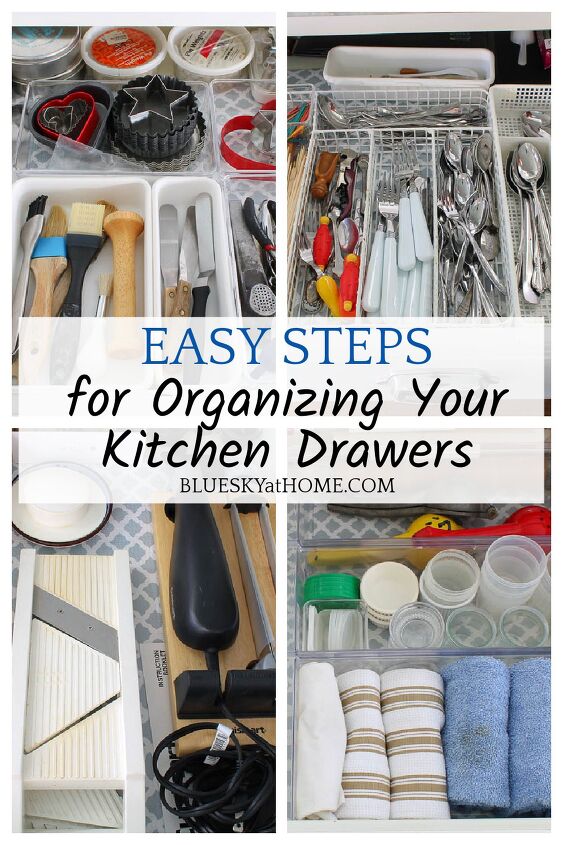
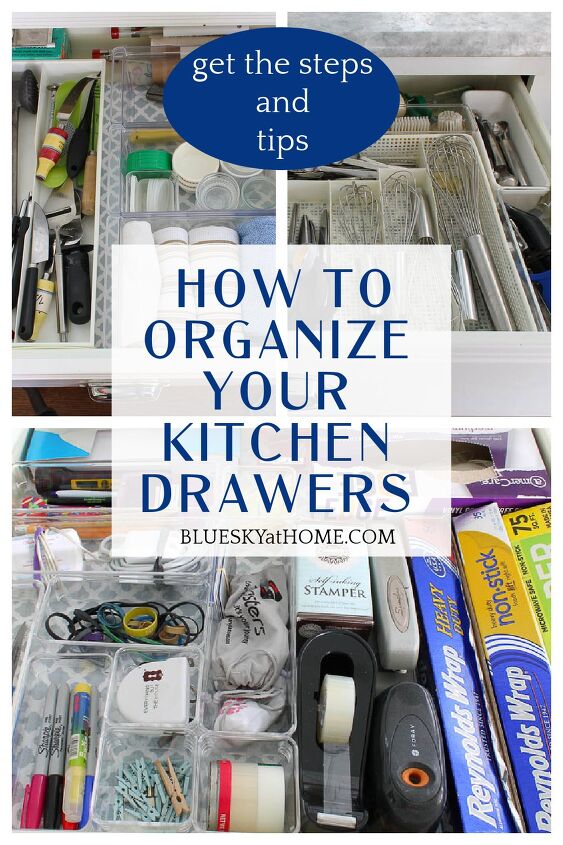
Great Steps for Organizing Your Kitchen Drawers

Do your kitchen drawers get messy? Do they go from neat to nasty? Mine, too. Here are some great steps for organizing your kitchen drawers. Get rid of the clutter with these tips to help you organize your kitchen drawers.
But, like any storage area, drawers can become messy and disorganized. Occasionally, it is necessary to do a major overall of our kitchen drawers.
That time came last weekend when I finally faced my messy drawers. I became an organizing ninja, a whirling dervish, an organizing superwoman to the rescue.
I learned some things along the way from cluttered to clean kitchen drawers. Here are the tips and steps for organizing your kitchen drawers.
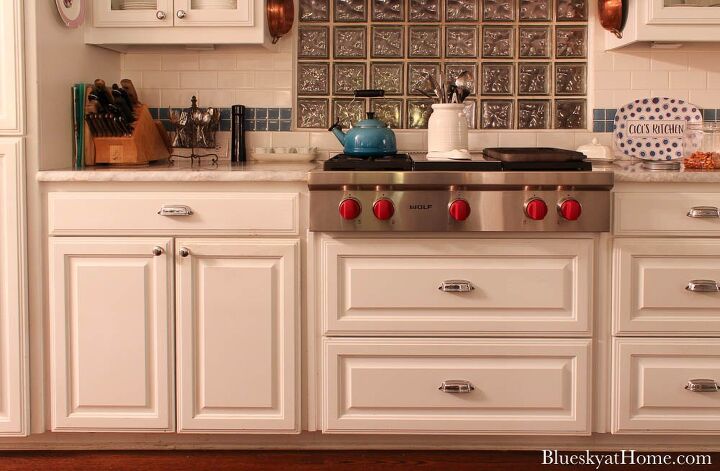
Since I recently updated the display shelves in our kitchen, I was ready to work on organizing the drawers.
OUR KITCHEN DRAWERS
I love kitchen drawers. They are so much easier to use than cabinets. When we remodeled our kitchen almost 10 years ago, I specified that I wanted all drawers on the lower level.
I counted and we have 19 drawers. Six of the drawers are shallow and 13 are deep drawers.
Six of the drawers were fairly organized. That means 13 drawers needed an immediate overall. Five of those drawers are shallow and eight are deep.
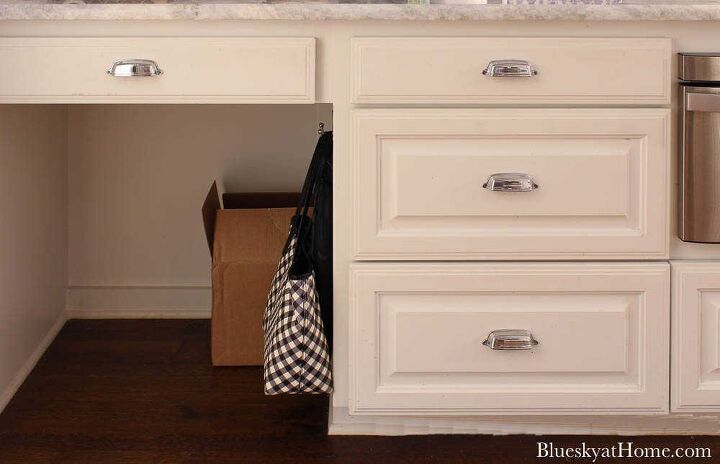
We only have one “cabinet” below the kitchen counter. One side is for the trash can with space for recycling newspapers. The other side is for colanders and my salad spinner.
WHAT WERE MY GOALS?
- declutter and clean the drawers
- add new shelf liners
- throw out unneeded or duplicate items
- gather similar items in drawers
- make it easier to see and access items in a drawer
WHAT YOU NEED TO ORGANIZE YOUR KITCHEN DRAWERS
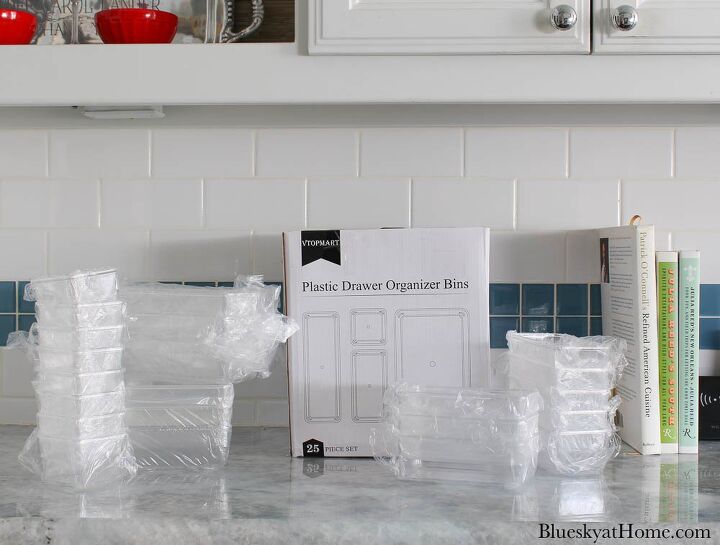
The first thing I did was order a set of clear plastic storage containers. This set contained 25 containers of different sizes ~ all perfect for drawer organization.
TIP: Have plastic organizers on hand when you start your organizing. Wait until you are sure that you are going to use them before removing the stickers.
I also bought several plastic containers of different sizes:
- 9″W X 10.5″D X 4″H plastic kitchen organizer
- 5.5″W X 14.5″D X 4″H plastic kitchen organizer
- 7″W X 10.5″D X 4″H plastic kitchen organizer
- pot lid organizer
THE KITCHEN DRAWERS ~ BEFORE
Let’s start with drawers immediately when you come into our kitchen from the butler’s pantry.
The first drawer on the left is where I keep small baking tools.
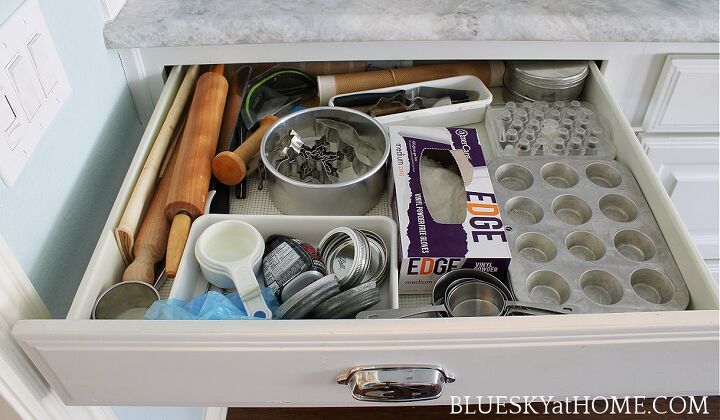
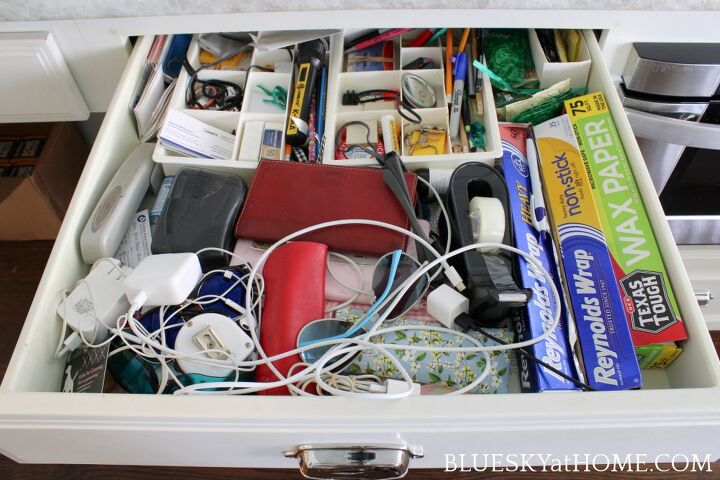
The next drawer ~ the one that really started this kitchen drawer organization project ~ is what we affectionately call “the junk drawer”. It’s really meant to hold “office” type supplies.
It’s not a pretty sight.
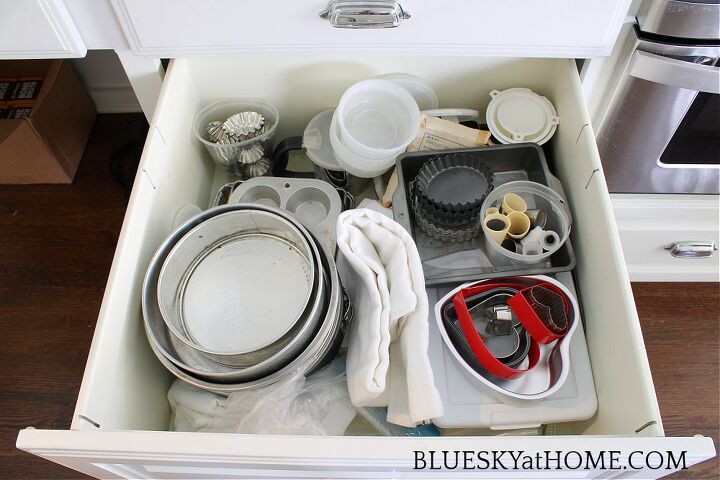
Below this drawer is one that holds larger baking tools. It’s hard to see what’s in there and hard to get to some pans and tools.
Let’s start the kitchen drawer organizing project here.
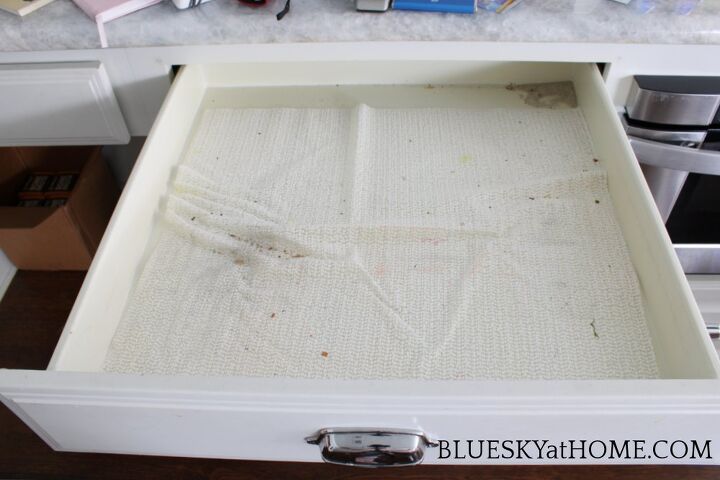
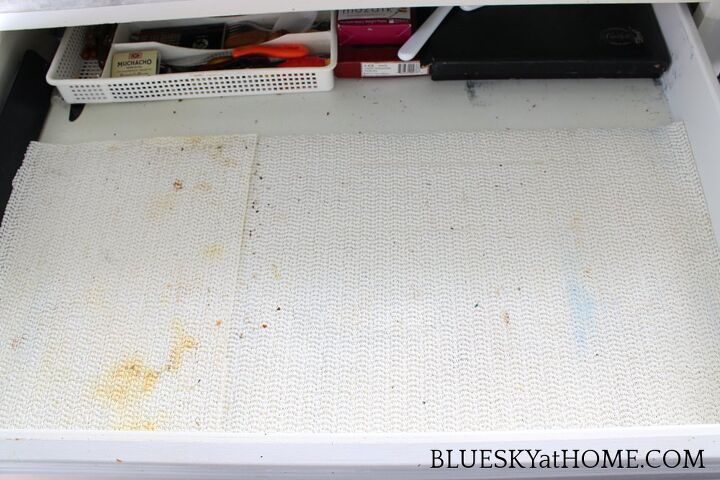
I currently use the waffle~type rubber shelf liners. As I began my drawer reorganization, I realized they were not the best option.
- Crumbs and any spills in the drawer went straight through to the drawer which made a mess.
- The rubber shelf liners would occasionally bunch up and add to the unorganized feel of the drawer. You’ll see waht I mean in some pictures below.
I hate the adhesive shelf liners. You can’t take them out of the drawer to clean them and it ruins your drawers.
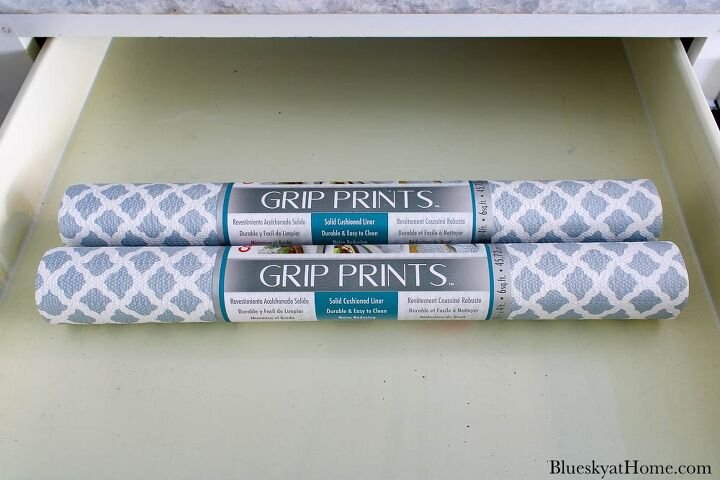
I bought several rolls of shelf liners. The Con~Tact Grip Prints are great because they stay firm in the drawer and don’t move around.
I found a pattern I liked and bought 2 rolls. I quickly realized that would not be enough so I bought 4 more rolls. (I ended up using 5 rolls.)
TIP: Do you have utensils, dishes, or storage containers that you don’t use on a daily or weekly basis? Move them to a bin that you can store in another out~of~the~way place.
TIP: If you have items you rarely or never use, this is the time to box them up. Ask a neighbor if they want them or give them away to Goodwill or the Salvation Army. If they are in bad shape, then throw them away.
THE PROCESS FOR ORGANIZING YOUR KITCHEN DRAWERS
The steps I took for all the kitchen drawers followed the same process. Once I decluttered, cleaned and organized a couple of drawers, I had the best method.
I’ll use our junk drawer as an example.
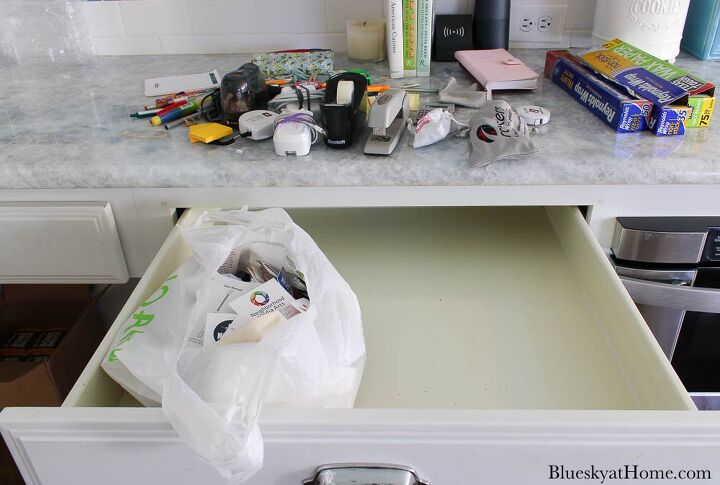
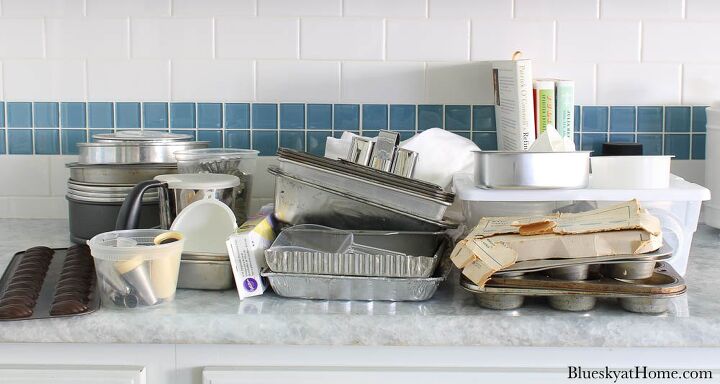
STEP 1 ~ Remove EVERYTHING from the drawer, including the contents and old liner. Put the stuff on your kitchen counter.
You can see how the rubber liners bunch up and how dirty it was.
That’s sand in the back corner that spilled out of an old tape dispenser.
STEP 2 ~ Organize the items:
- what needs to stay ~ the things you use
- what are duplicates or you don’t use: I had a dozen packets of plant food, dozens of twist ties, old business cards, some screws, old sun glasses, a couple of battery~operated cell phone chargers that never worked.

Have a trash bag handy and put everything you don’t need (see above) in the trash.
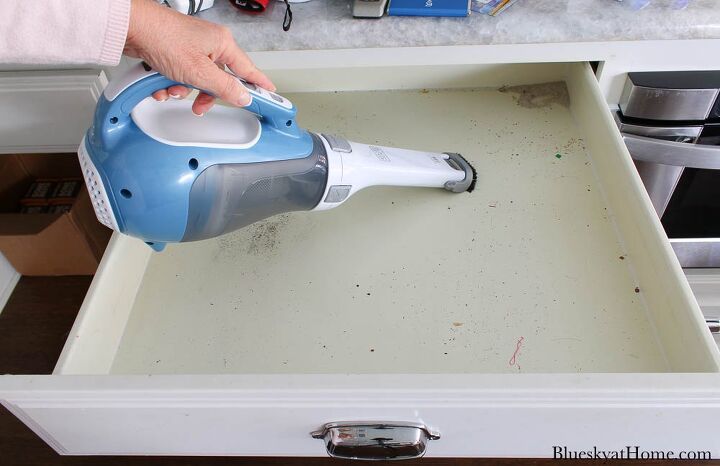
STEP 3 ~ Use a dust buster to remove any debris, crumbs, dust from the drawer. It’s the easiest way I’ve found to get in the corners and suck up any dust and debris.
I love our Black & Decker Dust Buster.
STEP 4 ~ Use a Magic Eraser to wipe down the inside of the drawer. I like it better than a damp paper towel or sponge.
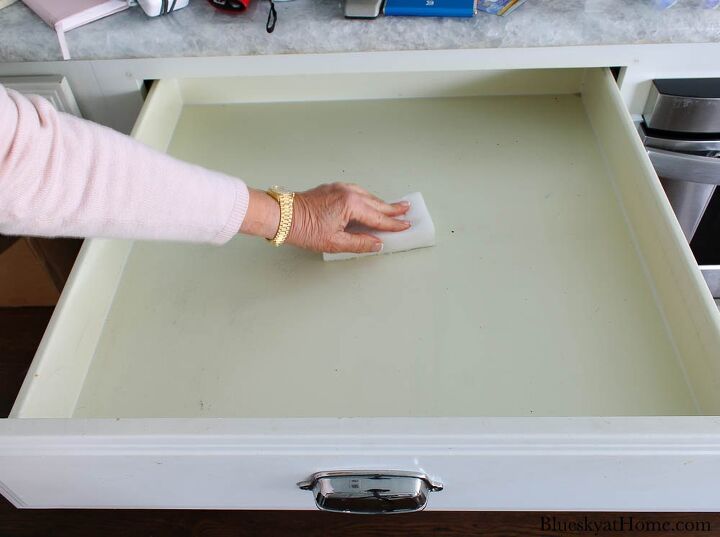
TIP: This is also a great opportunity to use the Magic Eraser to clean the fronts of the kitchen drawers.
STEP 4 ~ Measure the width of your drawers and cut your drawer liners to fit. I just used a 2~foot plastic ruler, pencil, and scissors.
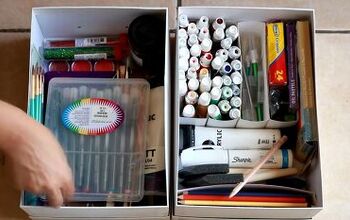
STEP 5 ~ Gather similar items that need to go back into your drawer. Put them in the best size container. You will adjust the size of the container as you go (trust me on this).
STEP 6 ~ Rearrange your containers as needed.
NOTE: The “fuller” and “tighter” your containers and other essential items are, the neater your drawers will stay.
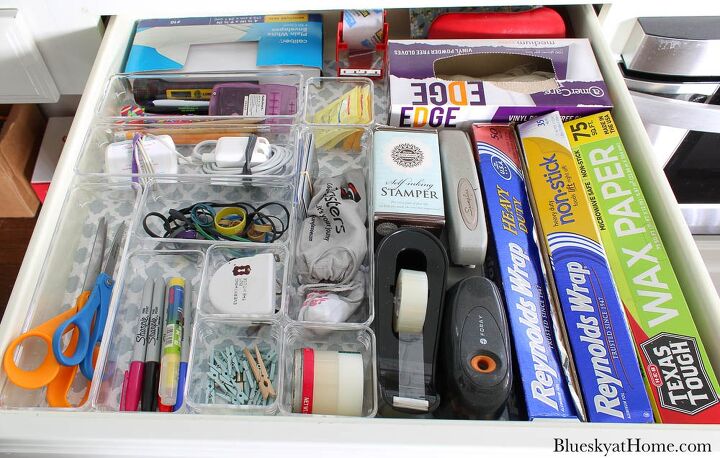
I used 10 containers of two sizes in this drawer.
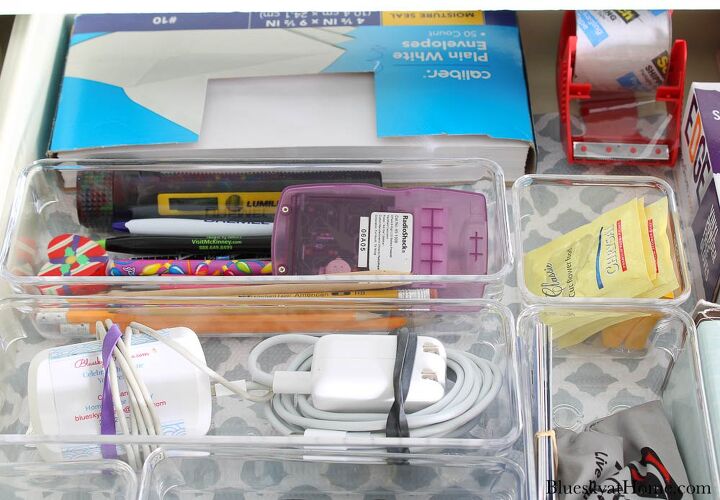
I actually moved a few items to this drawer from other drawers: envelopes, my box of plastic food gloves, packing tape, and our address stamp. These are items we use all the time.
These items are now more easily accessible.
TIP: I threw away all the sunglasses and used the tie~bags to hold charger cords and earbuds.
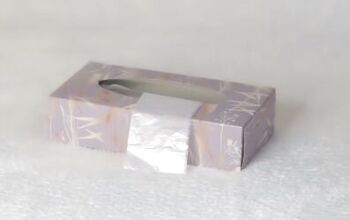
For the envelope box, I removed the cover and cut out a piece so that I could easily pull out an envelope. I kept 3 plant food packets.
ORGANIZING THE BAKING DRAWERS
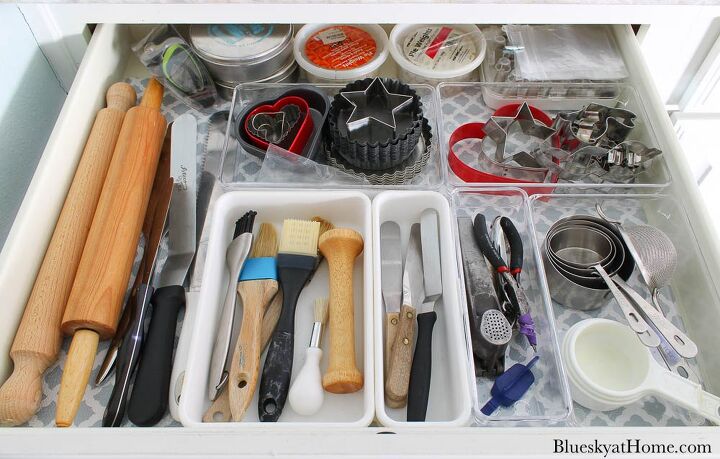
One shallow drawer has small baking tools. The cupcake pan tool up too much space. I moved it to the metro shelves in the laundry room with other cake pans. The food gloves were moved to the junk office~organized drawer.
Following the steps I explained above, the drawer is now neat and organized.
I was able to move several items from other drawers to this one, which makes more sense.
More items are in the drawer than before, but better organized.
I used 4 new plastic containers and 2 old ones.
TIPS: If reusing existing storage bins, be sure to give them a good wash, either by hand or in the dishwasher.
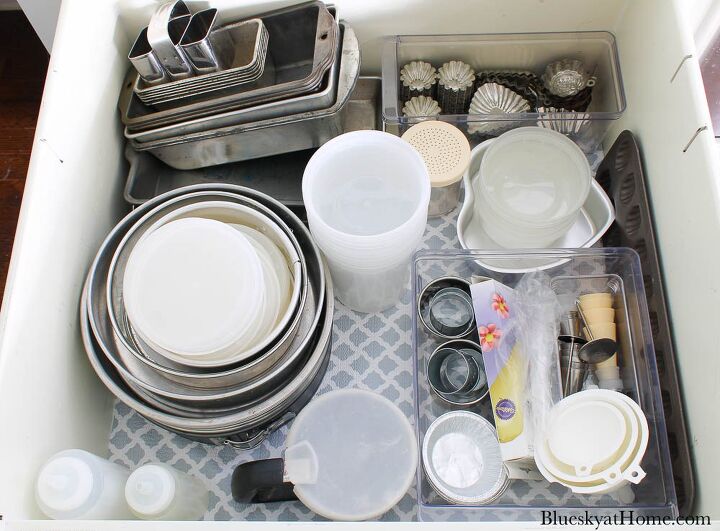
The large baking drawer was a mess. I hardly knew what was in there.
First, I emptied a plastic shoe box. Next, I rearranged pastry tips and bags, baking pans, tart molds, funnels, my flour sifter, and deli cups.
Round baking pans are not the easiest things to store. You can’t help but have awkward spaces. Forntuately, this kitchen drawer is still so much better organized than before.
At least, now I see everything and it can easily be accessed.
ORGANIZING TOWELS, UTENSILS, AND STORAGE CONTAINERS
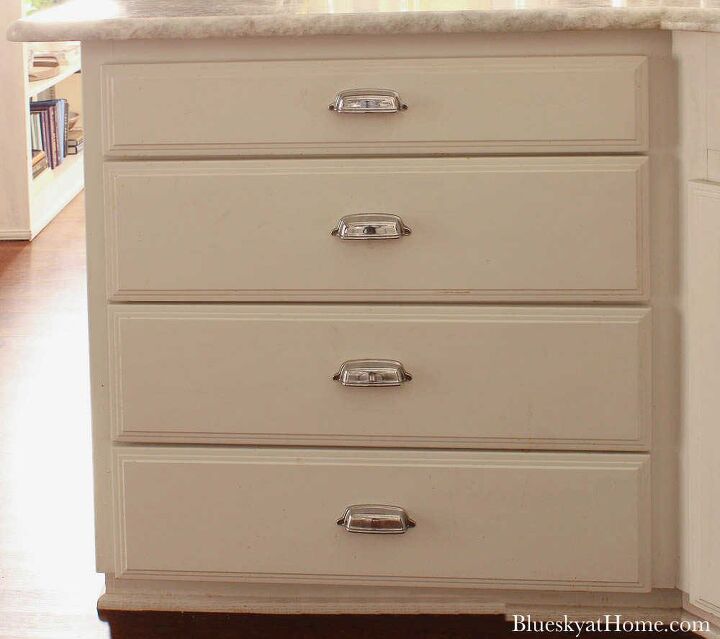
Here is the bank of drawers next to our sink. I just needed to organized the top three drawers.
The top drawer holds kitchen tools and my stack of parchment paper. The bottom drawer holds Corning Ware and Pyrex dishes, which thank goodness didn’t need organizing.
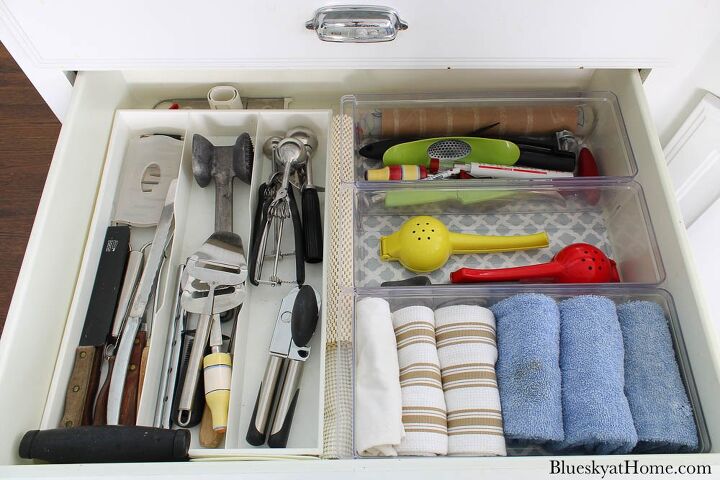
In the top drawer, I cleaned it out, added the drawer liner and did just a little bit of rearranging. The vegetable peelers were in another drawer, but will work better here.

TIP: Rolling up dish towels frees up space.
I was able to eliminate one plastic separator. The extra space provided room to roll up a piece of the rubber waffle liner that I use under cutting boards.
The ice cream/cookie scoops were in another drawer, but make more sense here.
The next drawer holds various plastic storage containers and serving dishes ~ ramekins, small pyrex dishes, souffle dishes and ceramic tart/creme brule dishes.
It’s definitely not living up to its potential.
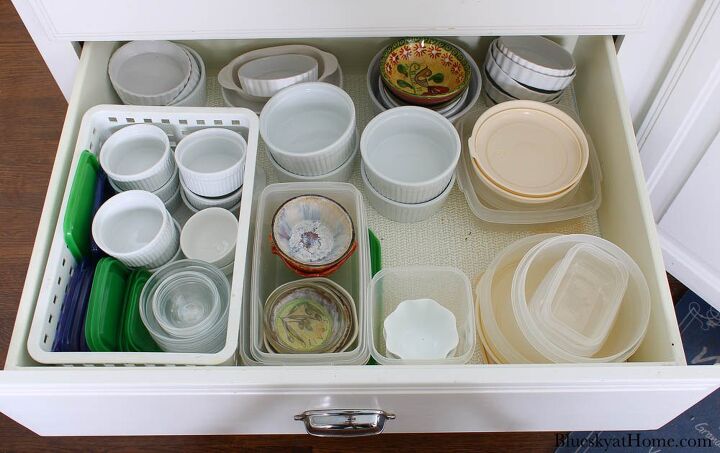
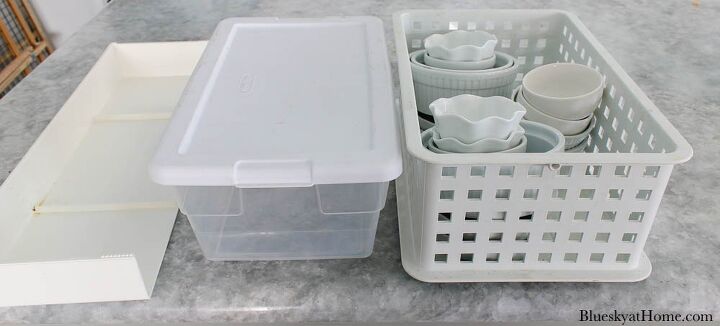
I had way too many ramekins. Since I only use a small number of them, I removed a dozen to a container.
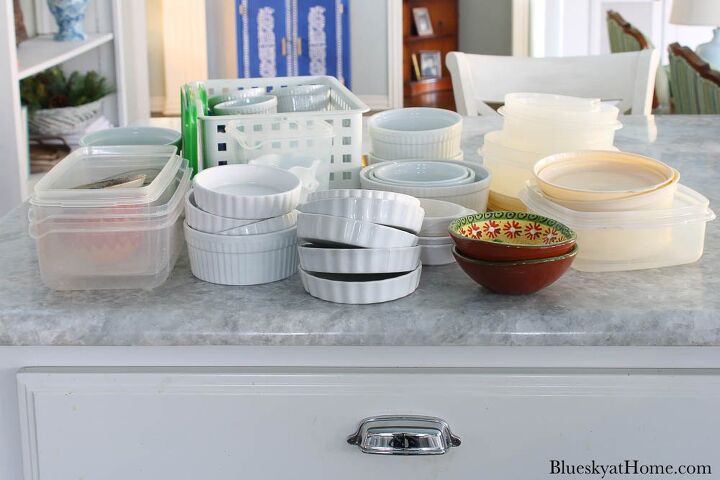
I used a plastic bin to collect extra ramekins, bowls, and souffle dishes. I moved them to the metro shelf in the landry room. The covered shoe box will be reused in my closet.
The extra plastic separator ended up in the trash.
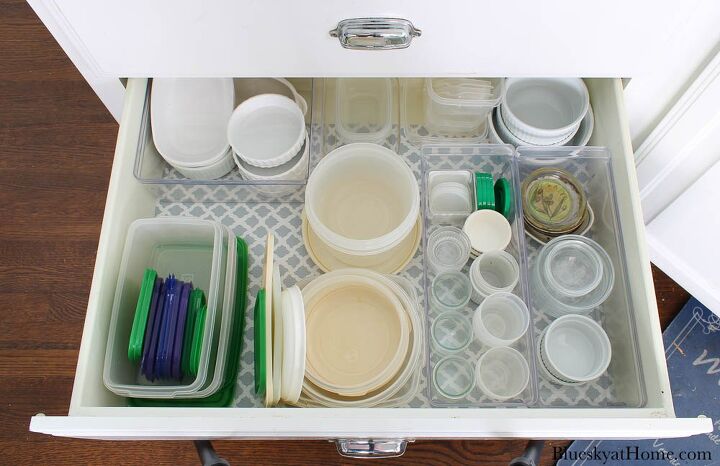
Using several of my new clear plastic bins, I completely reorganized the space.
So much better, don’t you think?
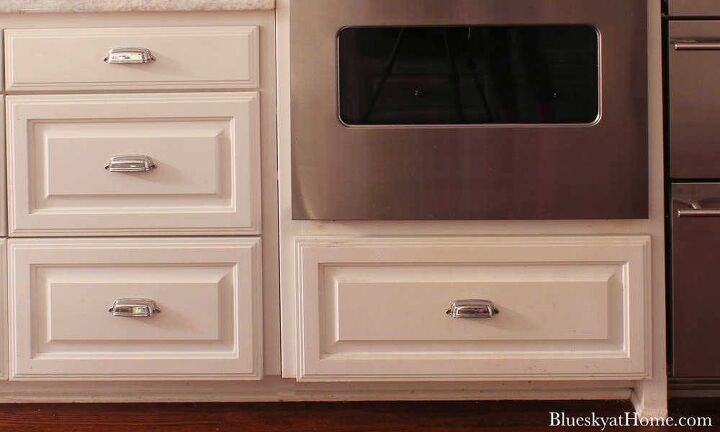
MORE ORGANIZING ON THE STOVE SIDE OF THE KITCHEN
The wall with the stovetop and ovens has the most drawers, from cooking utensils to pots and pans and skillets.
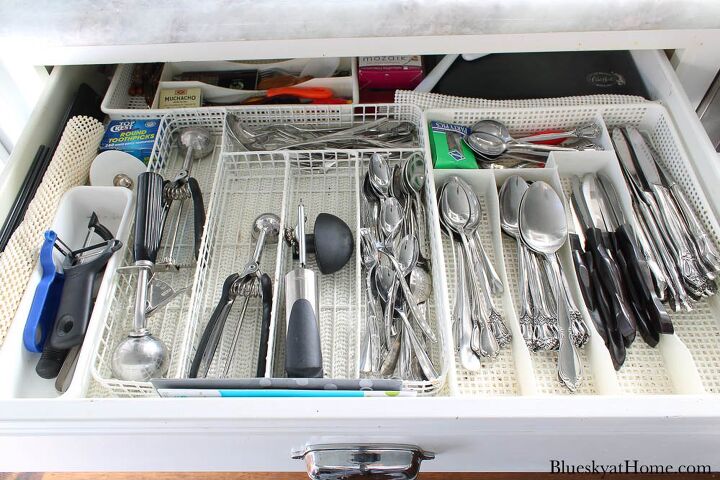
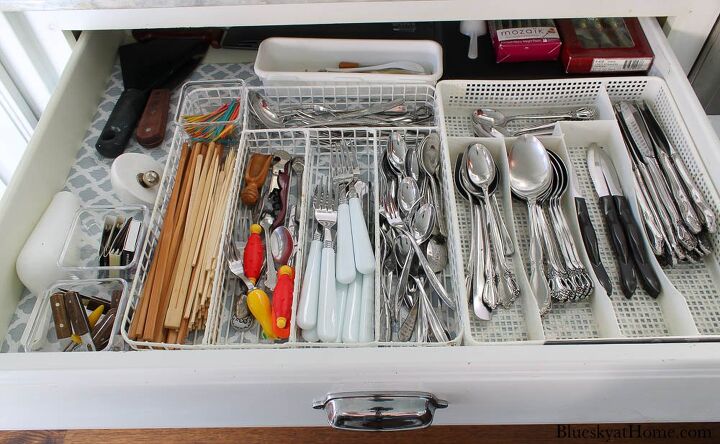
In the drawer to the left of the stove top is where I keep extra spoons, knives, ice cream/cookie. scoops, and vegetable peelers. Our forks, teaspoons and soup spoons are in a wire container on the counter.
Back to Step 1 ~ empty the drawer. I know it’s yucky. Number 1 reason to clean drawers occasionally. I threw away the rubber liners.
After emptying the drawer, I moved several tools to other drawers.
I was able to place another set of knives and forks where they can be seen and used. The same goes for corn skewers, toothpicks, and matches.
The chop sticks, wood skewers, jar opener and spatula came over from another drawer next to the double ovens that you’ll see in a moment.
TIP: Keep drawers with similar items open so you can see opportunities for re~organizing them together.
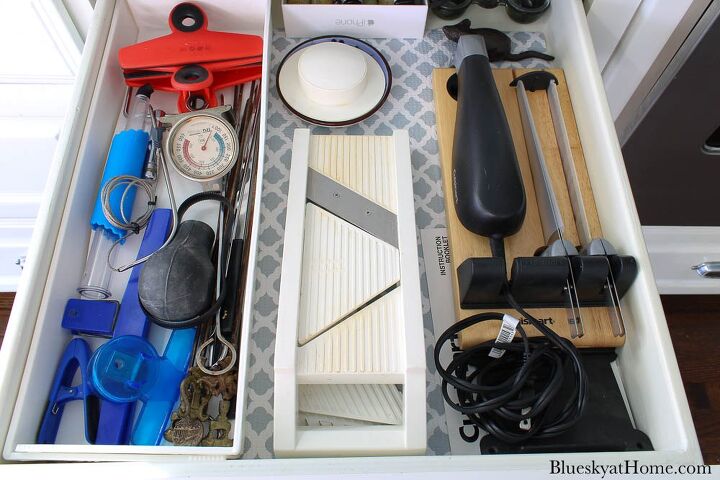
Next to our stove is another drawer that holds various kitchen tools that we don’t use every day. I forget to take a picture of it but trust me it was overflowing.
I moved about half of the items to other drawers or threw them out ~ things I never use. This was all that was left.
Now the electric knife and my mandoline are easy to see and use. Chip clips and my oven thermometer take up the rest of the space.
DRAWER BELOW THE DOUBLE OVENS
The drawer below the ovens held pot lids, but not in a very neat way.
I had used a roasting pan as a lid divider, which didn’t work very well. The rubber liner also was a bunched up mess.
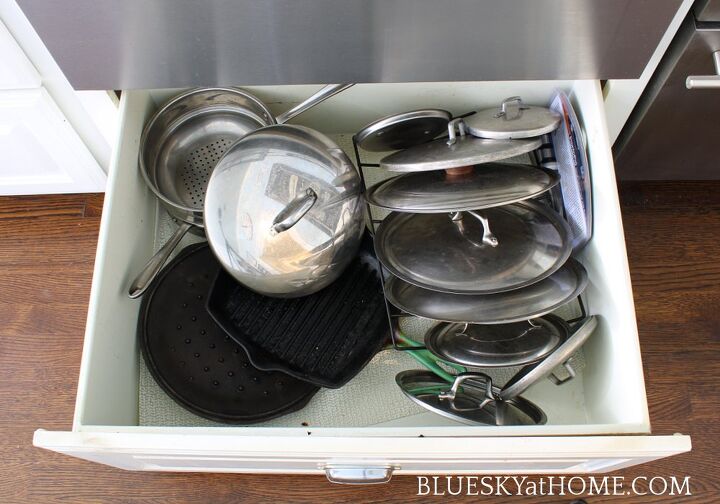
We rarely use lids with skillets in cooking, but I wouldn’t get rid of them.
I purchased a couple of designated lid holders from the Target Brightroom line. I tried them out first.
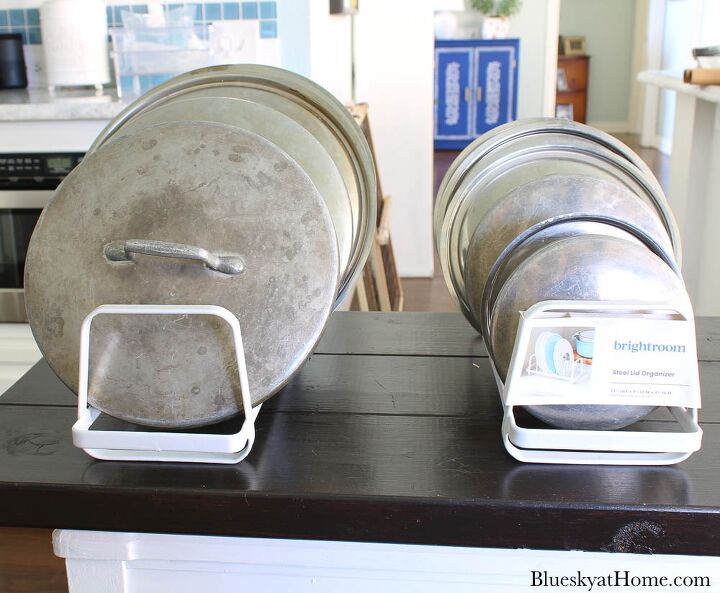
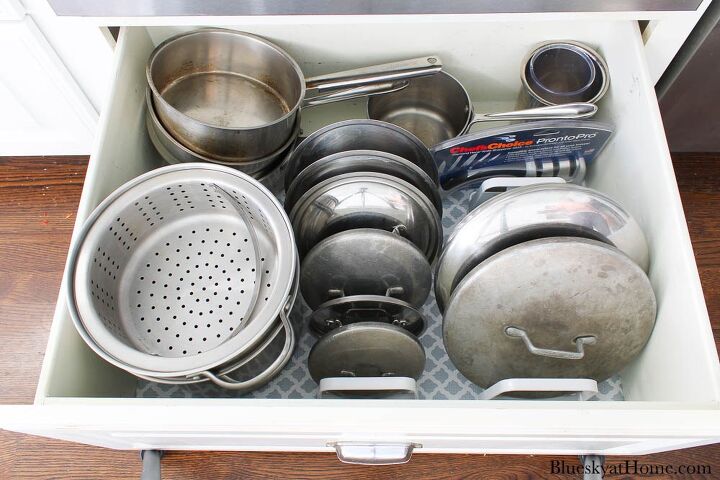
Following the same procedure I used on the other drawers, “remove~vacuumn~clean~new~liner” process. The pot lid drawers look and function so much better.
I acutally gained space: I added one of our pasta pots and a few saucepans. There was even room for a stainless container and our knife sharper.
This entire organization of kitchen drawers took parts of three days. It was so worth the time. I actually love looking at our pretty new organized kitchen drawers.
- The drawers are clean of crumbs and sticky residue.
- Pretty new liners that stay put, but can easily removed for cleaning, if necessary.
- By removing unused items, I was able to gain space to rearrange needed items.
- I now have a more efficent arrangement.
- Items are easily found and accessed.
Did I organize every drawer? No, a few didn’t need it. I do plan to clean the remaining drawers, remove the existing liners and replace them with the new Grip Liners ~ they are prettier and work so much better.
I hope that you found some good tips and the steps to organizing your kitchen drawers. I can tell you that it was worth every second and every cent to get this organzing project done.
Don’t forget to PIN IT to your Kitchen or Organizing Boards.


Comments
Join the conversation
I am so jealous about your many deep drawers. Looks great. Oh how i wish I could get a new kitchen designed by me. Your storage is beautiful!
Beautiful! Thank you for the tips😊