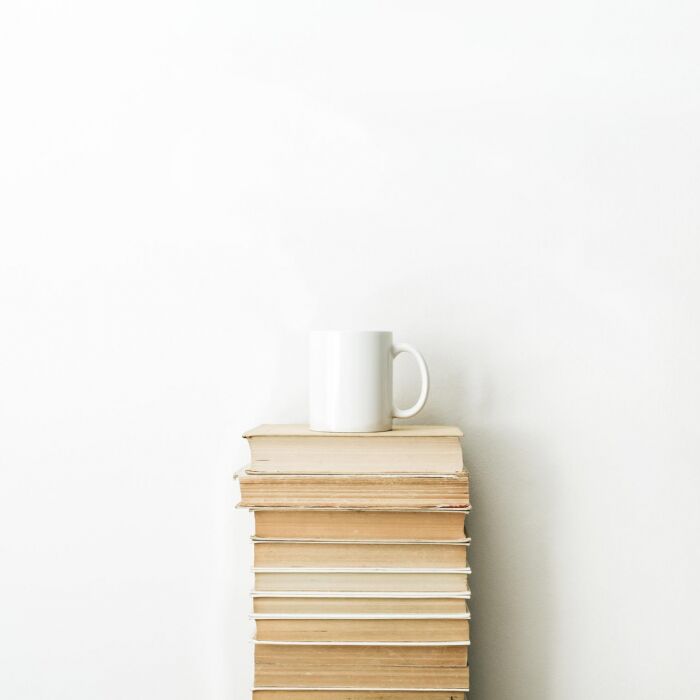
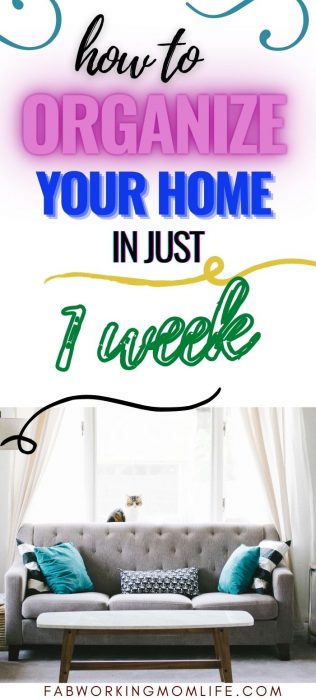
How to Organize Your Home in One Week

If you’re on social media, you’ve seen it: the perfectly minimalistic homes that are organized to a “t” with walls painted in the perfect white…the organization systems that make you wonder “why didn’t I think of that?” over and over again…the moms who claim to have a “messy” house yet whose homes on their worst days look better than your home on its best day.
Friend, I’ve seen it – you’ve seen it – we’ve all seen it. But guess what? That is not real life. That is a glimpse of someone’s life. A glimpse. We have no idea what the rest of that person’s home looks like – nor what they had to do to get it “Instagram-ready” for that one picture.
If “those” types of pictures or homes bother you, you are not alone. Chances are, they bother you because you desperately want something like it – heck, something just a tiny bit like it. You want to be organized, too – just like them. You want to have systems in your home that work day after day, month after month, year after year. You want to be a minimalist. But you have no idea where to start and fear that you can’t achieve your goals.
Well, guess what? You can achieve your goals of organization and minimalism! And guess what else? It’s actually not as hard and not nearly as daunting as it seems to be. Today, I am going to share with you 10 steps to organizing your home in just one week. That’s right – one week.
Fair warning: these steps are going to require work. Not necessarily hard work, but work nonetheless. Work that you may not feel prepared to do – but guess what? You can do it. I know you can. When you want something bad enough, you can do it – no matter how hard it may seem.
So, flush those fears away, put on some happy music, turn your diffuser on with some uplifting essential oils, and let’s get started!

Step 1: Become a Minimalist
I’ll be honest. This is going to be the hardest step for most of you. It seems impossible, I know – I’ve been there. But friends, it’s not impossible. It’s actually super possible and super freeing and one of the best changes I’ve ever made in my life. Minimalism, in its truest form, is simple: being a minimalist means you only allow things (and even people/ideas/feelings) in your life that either a) serve a functional purpose or b) bring you joy. That’s it. Anything else is not allowed in and does not belong. So how do you become a minimalist in one week? Well, part of the next 9 steps will direct you there, but for now, knowing what minimalism is, and believing that you can become a minimalist, will do the trick.
Step 2: Follow Minimalist Accounts on Instagram
This step may sound cheesy, but let’s face it – we’re all on social media nowadays – so we may as well make good use of it, right? Some of my favorite minimalist accounts to follow are @beginathome, @the.simplified.mom, and @thejunkyardjournals. Those are three great women to start following today to get a good, positive dose of minimalism every time you’re able to hop on Instagram.
There are so many more minimalist accounts you can follow, but I truly believe these three women are the best of the best, and over time, I’m sure you’ll find the rest of them. Remember: minimalism isn’t just about things – it’s about people, feelings, and ideas, too. So what you will see on these accounts is not just how they organize or declutter their things, but how they keep every single aspect of their life as minimal as possible – and how much joy this brings them daily. So head on over to Instagram, find these three women, follow them, and notice the change that begins to happen inside you. It will happen.
Step 3: Join Your Local Buy Nothing Facebook Group
If you’ve never heard of “Buy Nothing,” you are missing out! You can learn more about the Buy Nothing Project by reading the book that accompanies it, but I will just tell you a few things about it now: Buy Nothing groups can be found on Facebook (just search on Facebook “Buy Nothing Your City’s Name” and see what comes up) for just about any area you can think of. In fact, many cities have multiple Buy Nothing groups for different parts of town, which is really nice.
Buy Nothing groups are on Facebook to give community members a place where they can go to list items they no longer want or need, for 100% free. It is much like Facebook Marketplace, with the exception that there is absolutely no money involved whatsoever. For instance, the other day, I cleaned out our master bedroom closet. From it, I found that I no longer needed one pair of tennis shoes, one pair of high heels, three makeup bags, and a mirror. I immediately took pictures of these items and listed on my local Buy Nothing group and voila! Within one hour, all those items had gone to someone else via a porch pick-up and were no longer cluttering my house for no good reason. And, even better, the person who picked the items up had been searching for those exact tennis shoes that I donated – which is what makes me just love the Buy Nothing groups. So, whether you are searching for something (say, for instance, a kitchen table or some toddler clothes) or wanting to get rid of some household clutter, use your local Buy Nothing group!

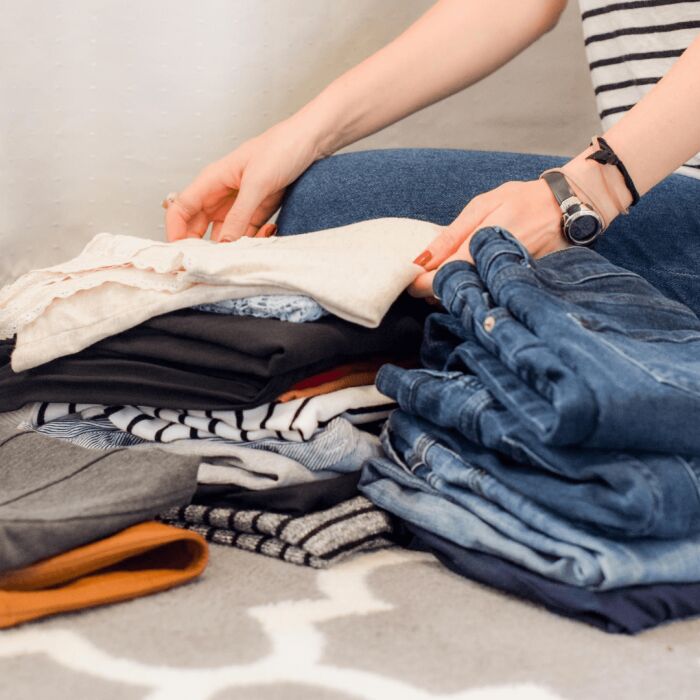
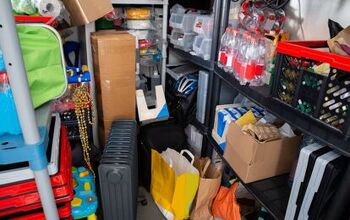
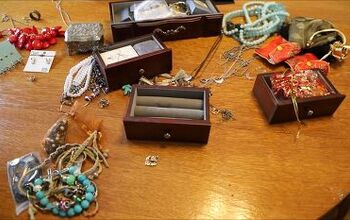
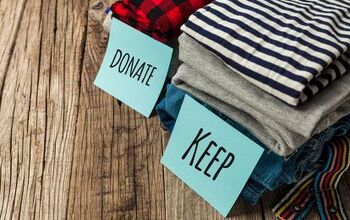
Step 4: Grab a Trash Bag and Two Boxes
Now that you have adopted the mindset of a minimalist, followed several on Instagram, and joined your local Buy Nothing group, it is time to take action and make it happen (organize your home, that is). What you are going to do is grab a trash bag (you will probably need more than one as you get going) and two boxes (if you don’t have any boxes, use a laundry bin, and some other container you have in your home).
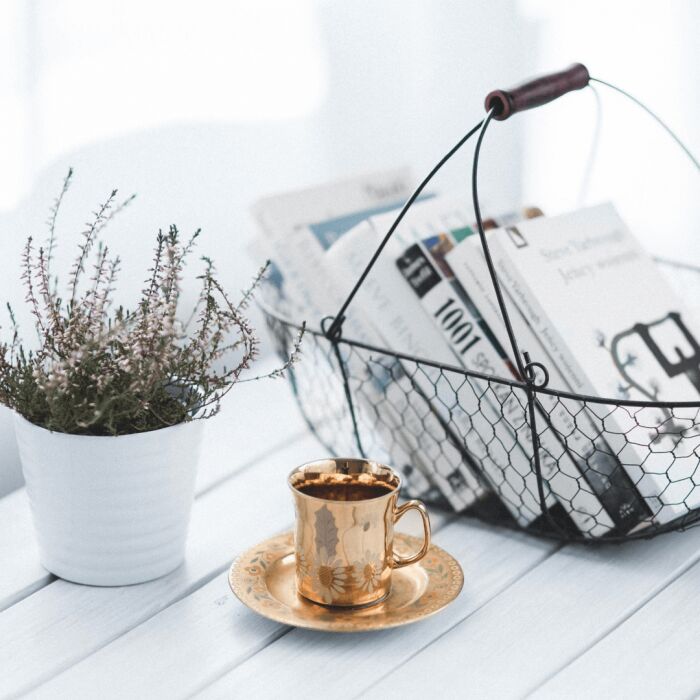
Recommended Post: Coffee benefits for moms: The Morning Life Saver for Working Moms
The trash bag is for trash. The first box is for items you want to sell or donate. The second box is for items you want or need to relocate to a different area of your home. What I want you to do is walk your entire home, from front to back, up to down, side to side, with the mindset of a minimalist – that the only things you allow in your home are those that serve a functional purpose and those that bring you joy.
Throw anything that is not able to be sold or donated into the trash bag, and forget it (this is important). Anything that you no longer need or want, yet is able to be sold or donated, is placed in the first box.
Anything that needs to move to a different area in your house, place it in the second box. This process should take you no more than 3 hours and no less than 30 minutes (move swiftly while completing this step).
Throw away the bag of trash. Then, once you have all items in your sell/donate box, begin listing them on either Facebook Marketplace (for items you are selling) or your local Buy Nothing group (for items you are donating). Finally, relocate all items that ended up in the second box to the area of your house where they need to be.
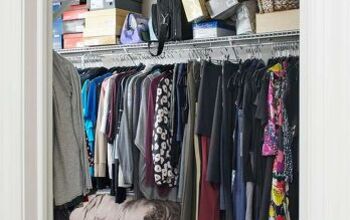
Step 5: Tackle Your Most Lived-In Spaces First
Next, I want you to make a list of all the rooms and spaces in your house. Place the most lived-in spaces at the top of the list, down to the least lived-in spaces at the bottom of the list. Start with the first space on your list. For most people, this will be your living room followed by the kitchen (and then probably your kids’ bedroom or playroom).
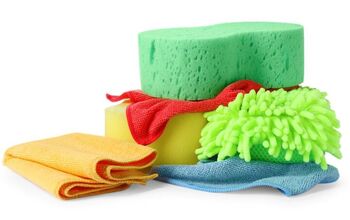
Now, grab another trash bag, and the same two boxes you used in step #4. What I want you to do here, now that you have already removed trash, things you no longer want or need, and things that don’t belong (all from step is to take everything off of each surface, one by one, and clean the surface. So, for instance, take all your books off of your bookcase and clean the bookcase. Before placing the items back on the surface, go through them and see if any can go into the trash bag or two boxes.
You will be surprised here – what you first looked over is now in front of your face and questioning you – let it question you – and question it back! Give in and allow things to be removed from your home, once again. The more, the better.
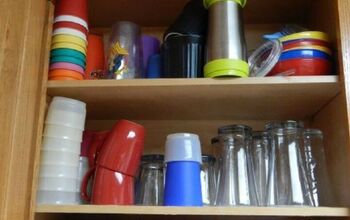
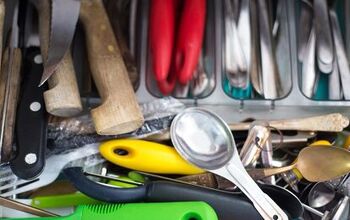
Repeat these actions for every single surface in the space you are working in – shelves, tables, couches, drawers, cabinets – one at a time, remove everything from inside/on top of the surface, clean it, then determine if anything can go into the trash bag or two boxes before placing everything back on the surface.
Once you are finished with all the surfaces in the room you are working in, vacuum or sweep the room and move onto the next room/space on your list. Work until you complete every single room/space in your home. This should take you no more than 4 days and no less than 1 day.
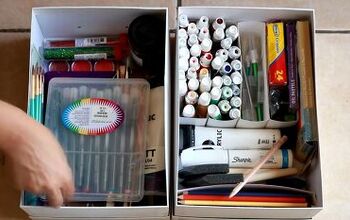
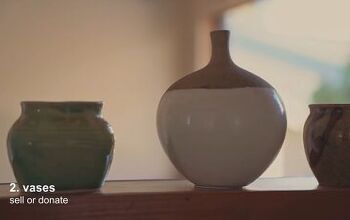
Step 6 Make Note of & Obtain Storage Containers/Bins Needed:
As you are completing step take a piece of paper and write down storage containers/bins you need for each room. Remember, the goal is to organize – and for this, you will need storage containers/bins. Oftentimes, when attempting to organize their home, people buy the storage containers/bins before organizing, rather than during/after – this is a big mistake. You should always organize first, then buy the storage containers/bins you know you need. You will better be able to see exactly what you need, what size you need, and the quantity you need, if you assess as you move along rather than before you get started.
Another note here: utilize containers/bins from within your home, first, before going to the store to buy any. You’d be surprised how many items you have that can be used as storage containers/bins. For example, shoe boxes, product boxes, phone and tablet boxes, baskets, unused Tupperware, unused planters, and more can be used as storage containers/bins for organizing.
In addition, hop onto your local Buy Nothing group before going to buy these containers/bins. People are always gifting these types of items on Buy Nothing – see what you can find there first. Whatever you still need, after utilizing all of your resources at home, go out and buy. My favorite place for small storage containers/bins is Dollar Tree. My favorite place for larger storage containers/bins is Goodwill (hello, baskets!) and Ross (hello, cheap prices!).
Step 7 Focus on Systems that Will Work Over and Over Again:
Once you have completed steps #5 & focus on building organizational systems that work for your space and your family – and that will work over and over again, for years to come. Now, a note for this step – sometimes it takes a while to find the right system. It takes trial and error, and time. You won’t implement a system for every room and space in your house on day 1 and stick with it forever – there will be some that you redo over and over until you find the one that is perfect for the space (and family) at hand.
Here are some tips for organizational systems: when organizing drawers, leave some “empty” space. This helps because as time goes on, you will acquire additional items, and will have room to place these additional items in your “empty” space. Here are some great organizational systems for a small bedroom.
When organizing surfaces (such as shelves, tables, and countertops), utilize the “rule of 3” – try your best to never put more than 3 things on any surface (with the exception of bookcases). This will eliminate visual clutter (which equates to stress) and make you happier.
Place things where they make sense. If your coffee pot is under a cabinet, place your coffee mugs in that cabinet – not across the kitchen; if the outlet to dry your hair is on the opposite wall of your bathroom, place your hairdryer near the outlet.
Recommended Post: Self-Care Ideas for Supermoms
In your garage/basement/storage room/hall closet, have a designated space for storage containers/bins – you will use these more and more as you adapt a minimalist (and organized) lifestyle.
Perhaps one of the most important tips I can give you for this step: share with your family exactly how your systems work. This may take a while, as you will have to go from room to room and space to space to do so, but it is totally worth it – tell your spouse and kids exactly how each system works, and require that they use the system the way it is meant to be used – from “this day forward.” Forgetting this step can lead to chaos.
Step 8 Evaluate Your Lifestyle with a Minimalist Mindset:
Once you have completed steps sit back, and think about your lifestyle. Are there places where you can cut things out? Are there places where you can use your own resources rather than buying things? How can you live a more minimalist lifestyle? What steps will you need to take in order to do so?
Being a minimalist, remember, means not allowing things/people/ideas/feelings in your life that do not either a) serve a purposeful function or b) give you joy. Sometimes, this comes down to money – are you spending too much? Are you not saving enough? Just think about it.
Maybe even write your thoughts on the subject down in a journal so that you can go back to them and make additional notes when needed. Evaluate your lifestyle and cut back where you can and add positive, beneficial things where you can.
Step 9 Stop Comparing:
Comparison is the thief of joy – we have all heard this, many times. It is true. It absolutely is the thief of joy. Remember the house I spoke about at the beginning of this article? The perfect home with the perfect white paint that was never messy? That is not real life, remember.
Real (minimalist) life is having a mess because it brings you (or your children/spouse) joy – but knowing that that mess can be cleaned up and put back where it belongs in a jiffy. Real life is having a house that is not “picture perfect” and magazine-worthy (look at @beginathome on Instagram, her house is an older house) yet having a house that is clean, organized, and brings joy to everyone in it.
So, stop comparing yourself to others and what their homes look like (or what they have). The only person you should be comparing yourself to is you. And the only reason you should be comparing yourself to yourself is in order to better yourself and your life and your family’s life, day by day.
Step 10 Be Grateful/Practice Gratitude:
Finally, once all of the above 9 steps are completed, start practicing gratitude. Practicing gratitude isn’t something I have always done, but ever since starting (a year ago), I have naturally become happier and more content within my life. I have stopped comparing myself or my life to others’, and have found that there are so many (countless) things I am grateful for each and every day.
If it would help, I recommend getting a gratitude journal. You can either get an actual gratitude journal like this one (the one I have) or you can get a simple blank journal like this one. All you do is write about what you are grateful for each day – preferably in the quiet early morning moments or in the quiet late evening moments when you can do some true reflecting.
According to Harvard Health, “in positive psychology research, gratitude is strongly and consistently associated with greater happiness. Gratitude helps people feel more positive emotions, relish good experiences, improve their health, deal with adversity, and build strong relationships. People feel and express gratitude in multiple ways.” Gratitude and minimalism and organization all go hand in hand – but I know you have already realized that if you have followed this guide step-by-step.
Well friends, now that you have a nice, clean, organized, minimalist home – sit back, relax, and enjoy it with your loved ones!
If you enjoyed this post, please share it with a friend or family member whom you know would benefit from reading it.
Author Bio

A little about me: My name is Leslie and I am the blogger and owner of Leslie W. Blog. I am a wife to Eric and mother of 3 boys, Noah (20), Jonah (13), and Harrison (2.5). I graduated with my Masters in Teaching and Multiple Subject Teaching Credential this past May and have since been focusing all of my free time on writing for my blog, creating products, and collaborating within the community of today’s mom & women’s lifestyle bloggers. I designed and published my planner, The Busy Woman’s Planner, in March of this year, and I just published my first book, “Make That Money, Honey!” and it is now on Amazon! When I am not working on my business, I am spending all the time I can with my 2.5 year old (my older stepsons are into gaming so are very rarely found outside of their rooms, haha) teaching him everything I can and letting him play until his little heart’s content! I love being outdoors, reading a good magazine or book, and watching a good crime show or documentary on Netflix. I would really love it if you visited and subscribed to my blog – it is a blog for busy moms and women with topics on family, business, and lifestyle. You can also find me on Instagram, Facebook, Twitter, and Pinterest. Thanks so much for reading and I hope to see you soon!

Infographic by Angi.com


Comments
Join the conversation
Thank you!!